> ## Documentation Index
> Fetch the complete documentation index at: https://chatbotx.io/docs/llms.txt
> Use this file to discover all available pages before exploring further.
# Telegram
> Configure Telegram integration for ChatbotX.
**Telegram** is one of the most popular messaging channels. By connecting your Telegram Bot to ChatbotX, you can receive messages in the unified Inbox, set up automated Flows, and use AI Agents to provide 24/7 customer support.
## Prerequisites
Before you begin, make sure you have:
* A Telegram account
* A ChatbotX installation
Unlike Facebook or Zalo, Telegram does not require complex app reviews or any credential configuration in ChatbotX. You only need to create a Bot and paste the Bot Token.
## Step 1: Get your Bot Token
You can connect a **new** Telegram bot or **reuse an existing** one. Either way, you need the bot's API Token.
Open the Telegram app and search for **@BotFather**, or visit [https://t.me/BotFather](https://t.me/BotFather). Click **Start** to begin the conversation.
Send the `/newbot` command. BotFather will ask for two pieces of information:
* **Name**: the display name of your bot (for example, `ChatbotX Customer Support`)
* **Username**: the unique username, which must end with `bot` (for example, `chatbotx_support_bot`)
Once created, BotFather will send you a message containing the **API Token** (for example, `123456789:ABCDEF1234ghIkl-zyx57W2v1u123ew11`). Copy the entire token.
The Bot Token is the key to your bot. Never share it publicly. If you suspect it has been compromised, send `/revoke` to BotFather to generate a new one.
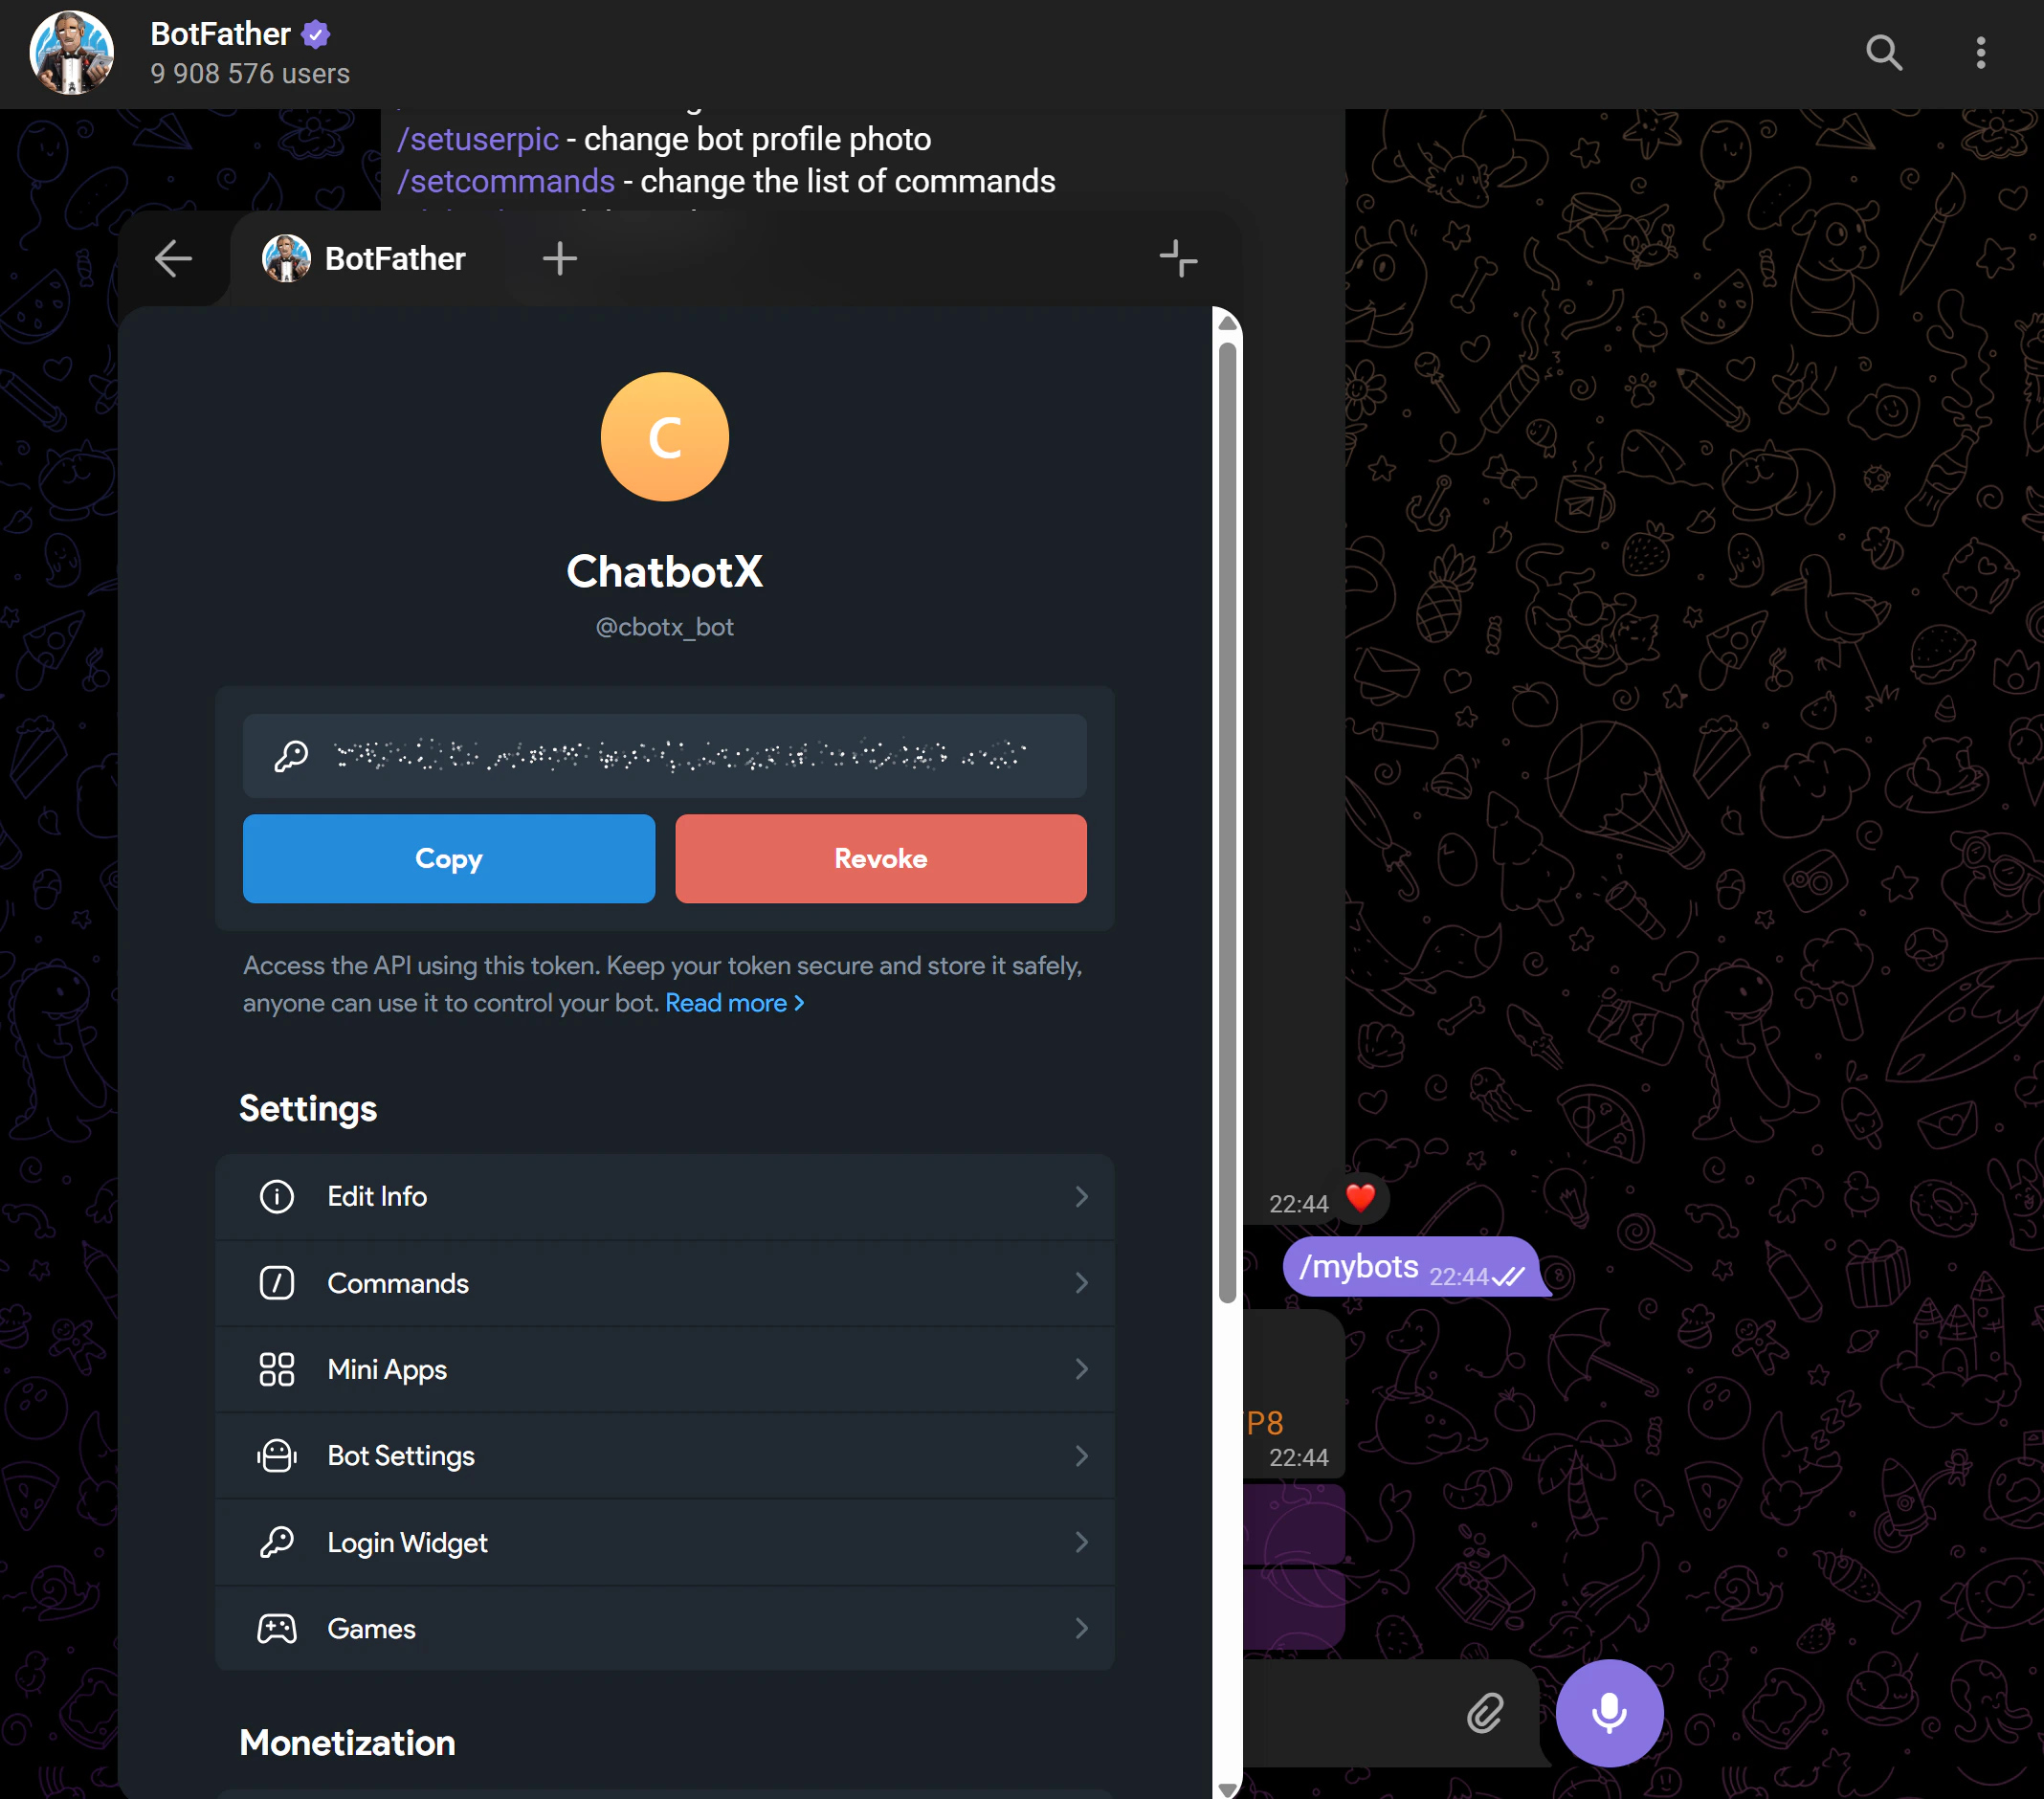 If you already have a Telegram bot, you can retrieve its token from BotFather at any time.
Open the Telegram app and search for **@BotFather**, or visit [https://t.me/BotFather](https://t.me/BotFather).
Send the `/mybots` command. BotFather will show a list of all bots you own. Select the bot you want to connect to ChatbotX.
Tap **API Token** to reveal the token for that bot. Copy the entire token.
Connecting an existing bot to ChatbotX will replace any webhook previously registered for that bot. Messages will stop flowing to the old endpoint and will be routed to ChatbotX instead. Make sure you no longer need the previous integration before proceeding.
## Step 2: Connect to ChatbotX
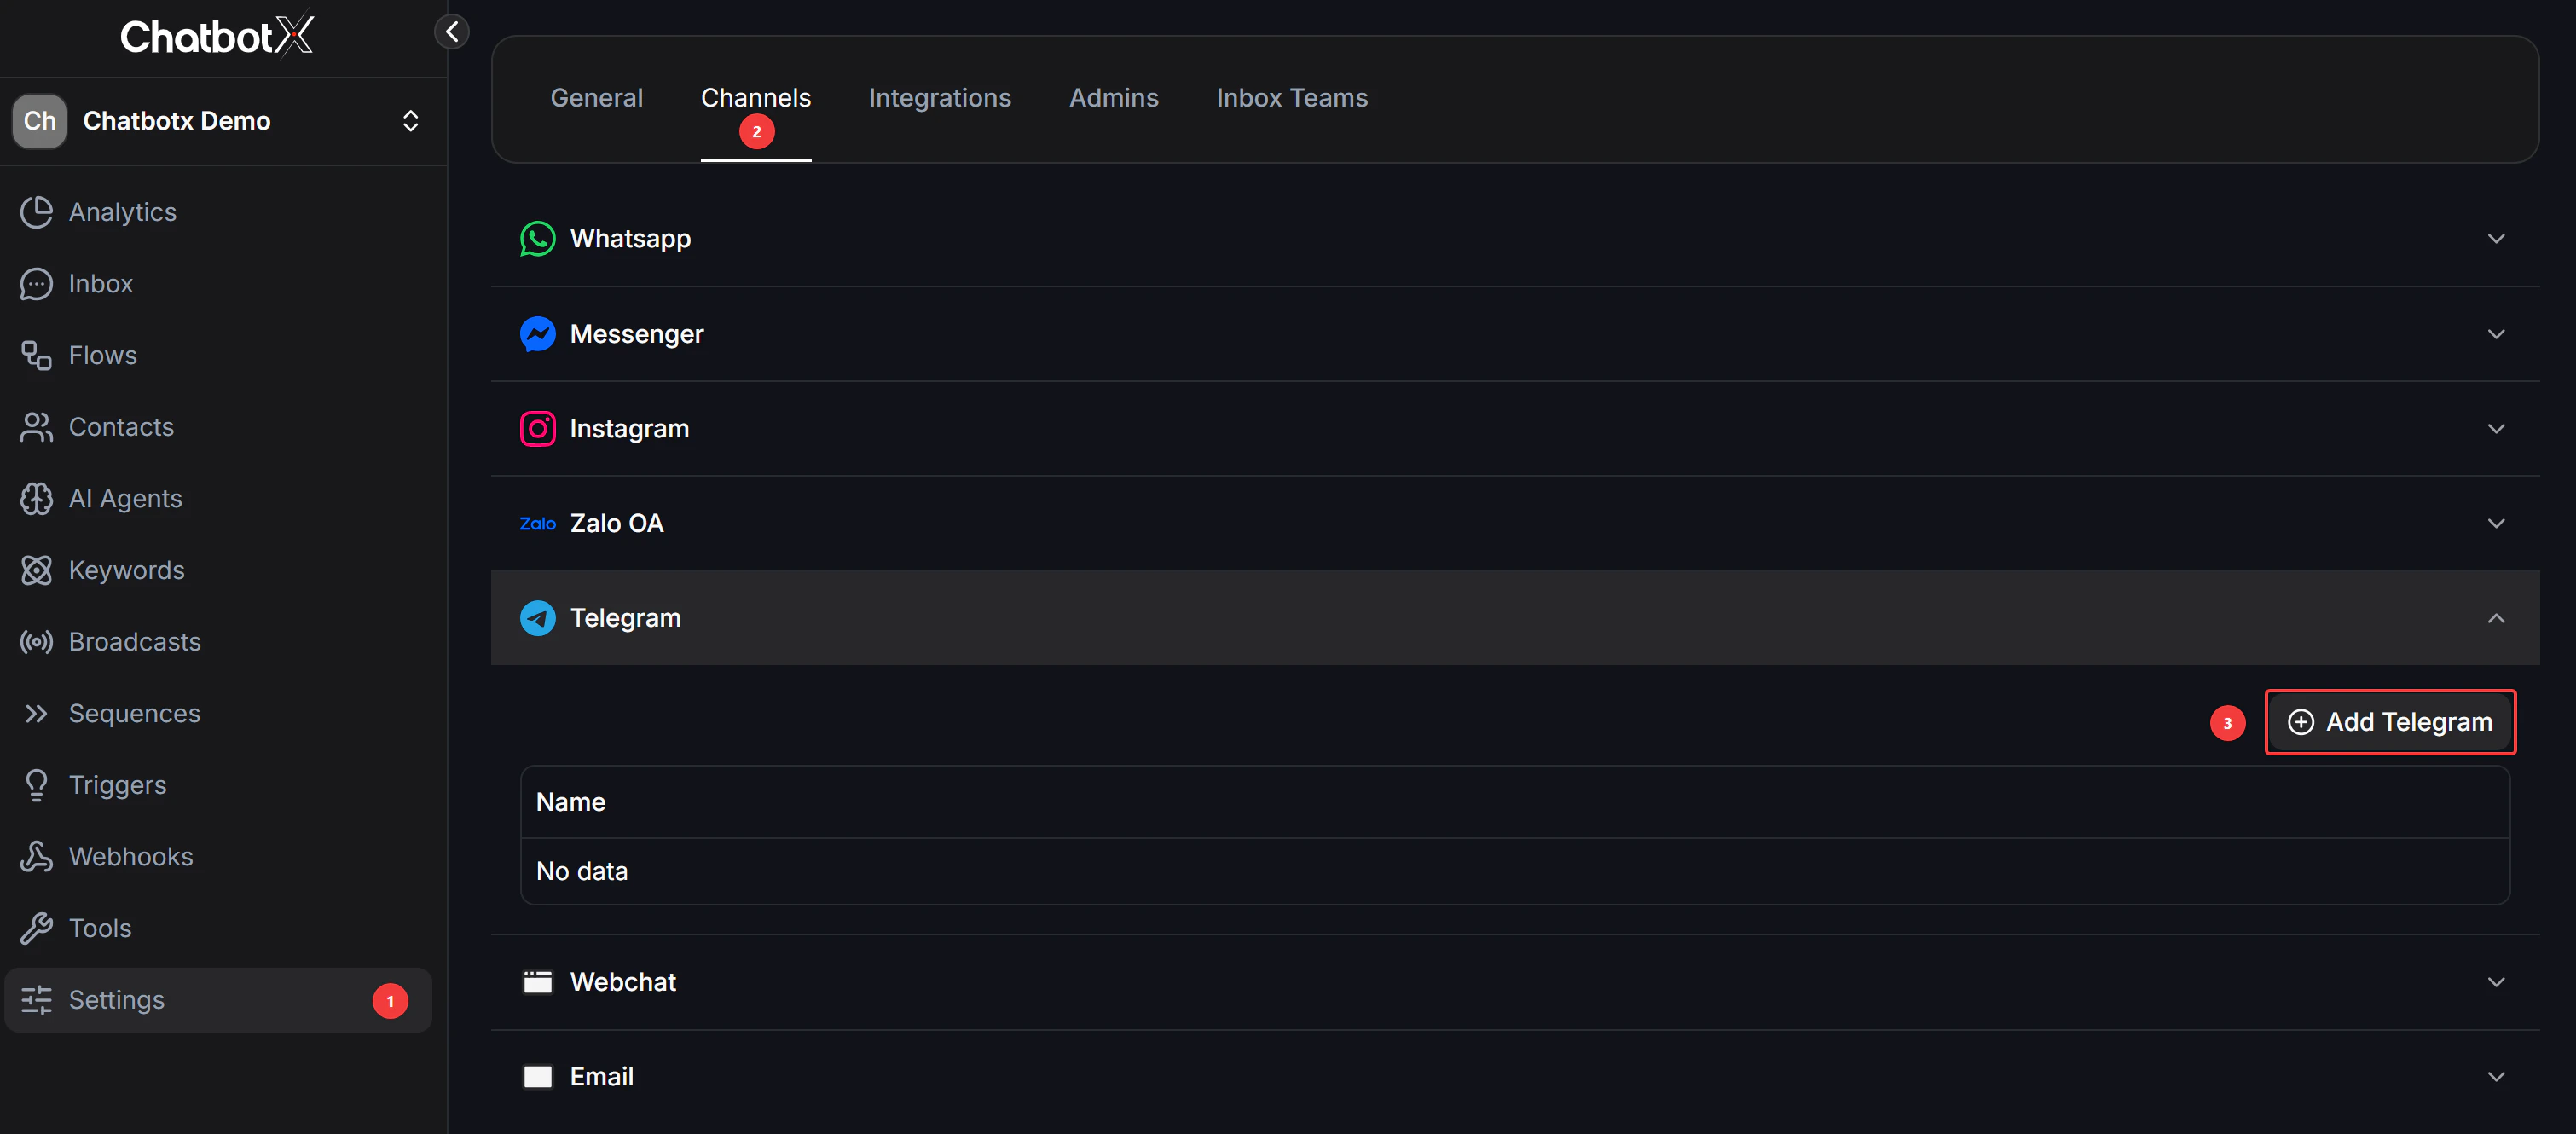
In ChatbotX, go to **Settings → Channels**.
Click the **Telegram** row in the channel list, then click **Add Telegram**.
If you already have a Telegram bot, you can retrieve its token from BotFather at any time.
Open the Telegram app and search for **@BotFather**, or visit [https://t.me/BotFather](https://t.me/BotFather).
Send the `/mybots` command. BotFather will show a list of all bots you own. Select the bot you want to connect to ChatbotX.
Tap **API Token** to reveal the token for that bot. Copy the entire token.
Connecting an existing bot to ChatbotX will replace any webhook previously registered for that bot. Messages will stop flowing to the old endpoint and will be routed to ChatbotX instead. Make sure you no longer need the previous integration before proceeding.
## Step 2: Connect to ChatbotX
In ChatbotX, go to **Settings → Channels**.
Click the **Telegram** row in the channel list, then click **Add Telegram**.
 Paste the **Bot Token** you copied from BotFather into the input field.
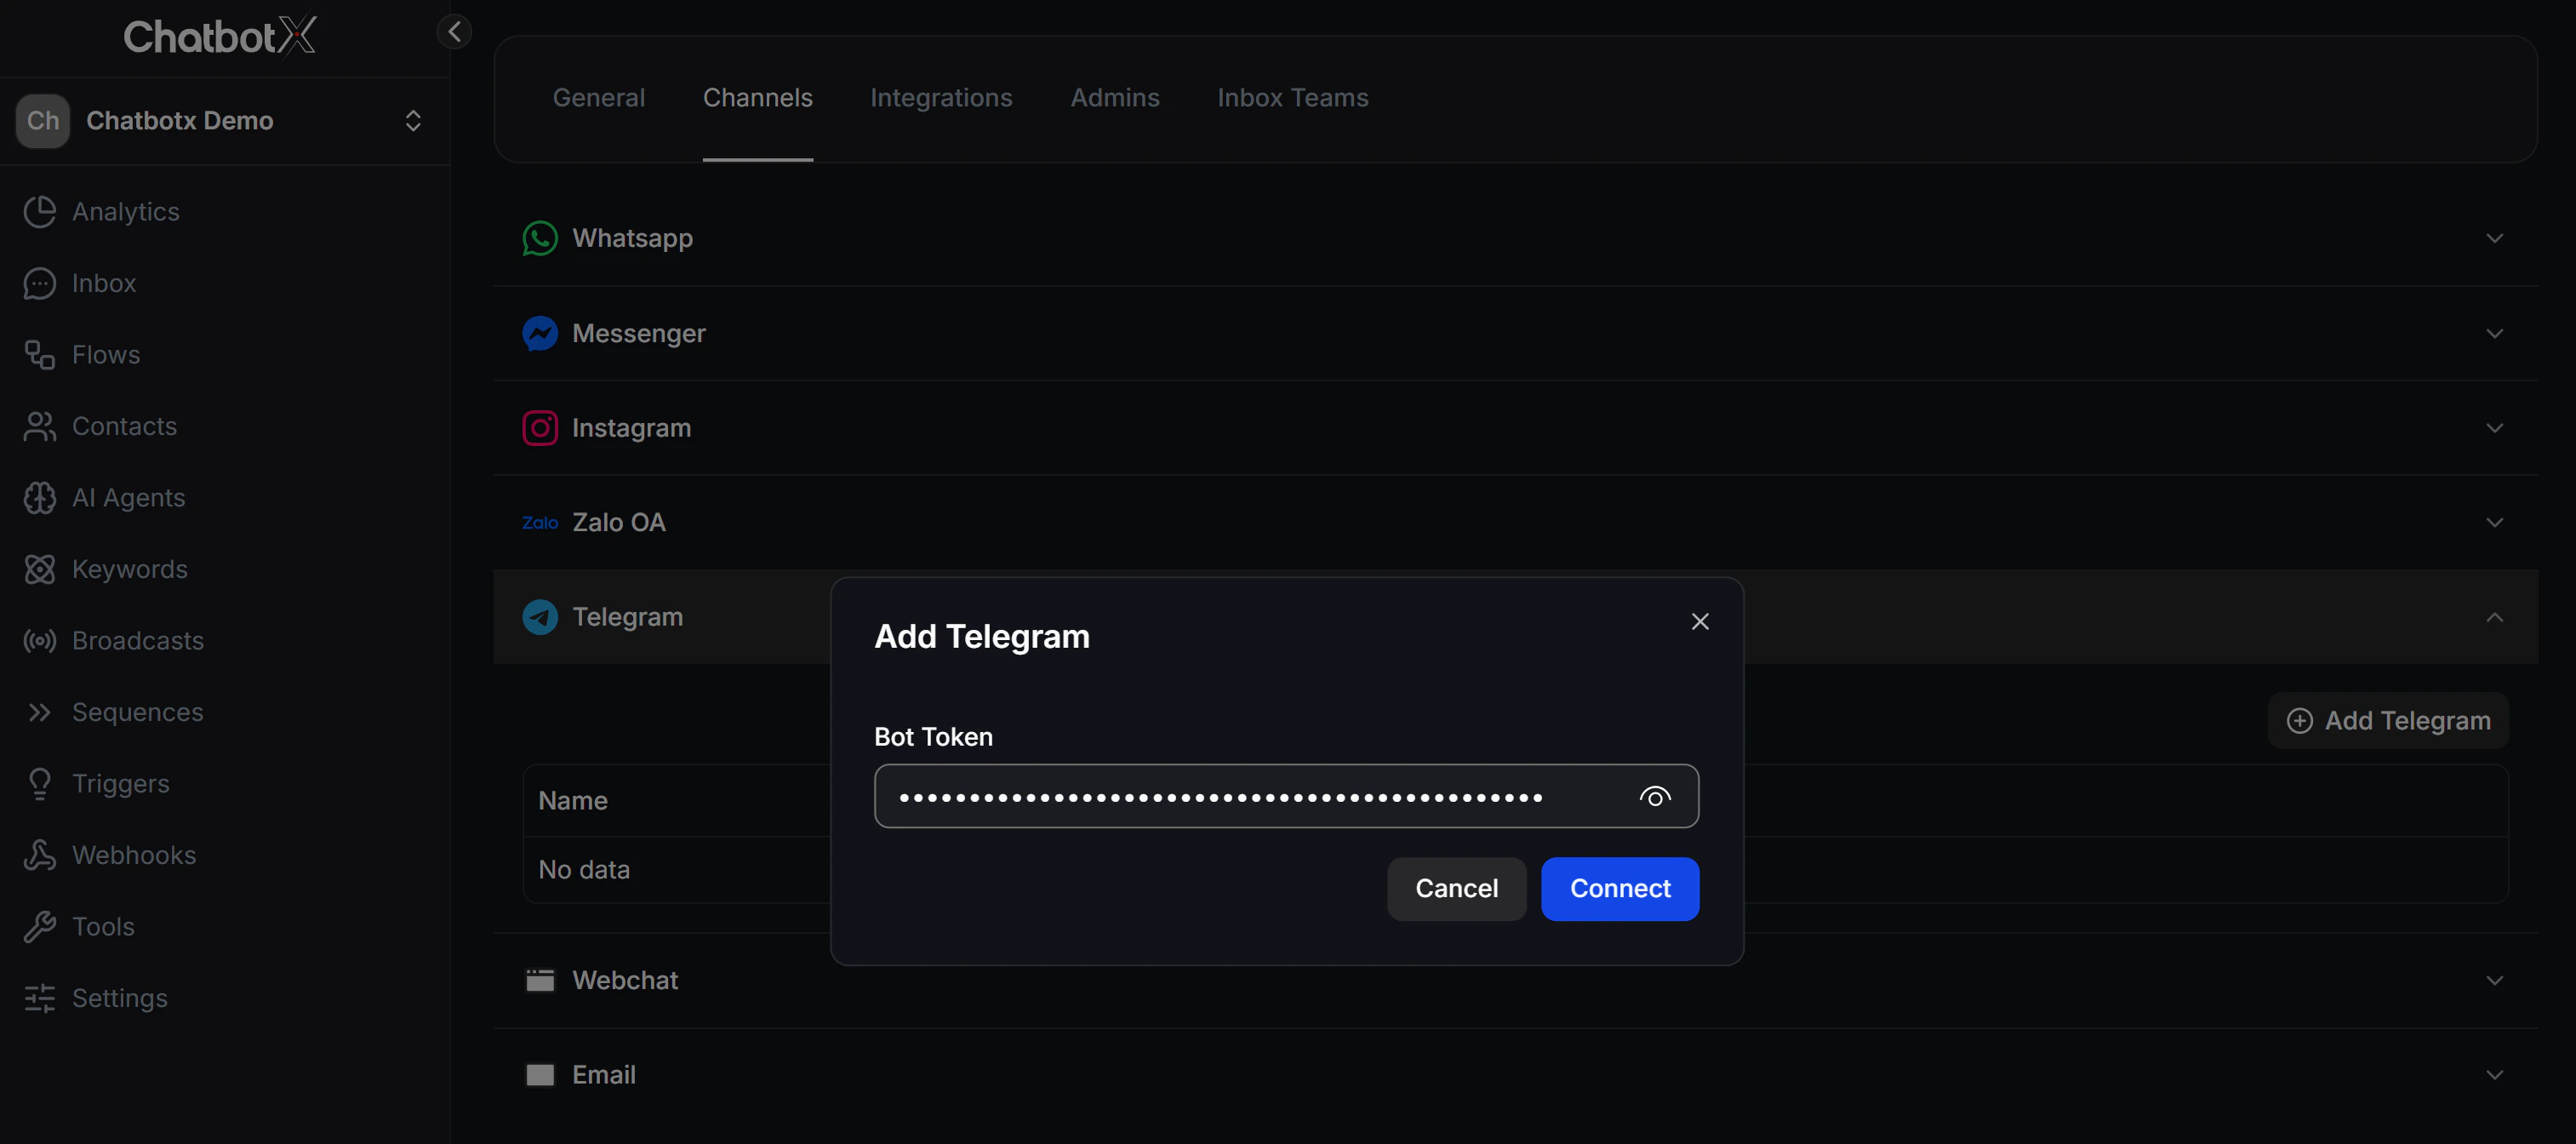 Click **Connect**. ChatbotX will automatically set up the webhook connection with Telegram to start receiving and sending messages.
 ## Step 3: Test the Connection
After connecting, run a quick test to confirm everything is working:
* **Send a message**: Open the Telegram app, search for your bot's username, and send any message (for example, `Hello`). It should appear in the ChatbotX **Inbox** shortly after.
* **Test an automated Flow**: Create a Flow or configure an AI Agent in ChatbotX, then send another message to your bot to verify it responds automatically as configured.
## Step 3: Test the Connection
After connecting, run a quick test to confirm everything is working:
* **Send a message**: Open the Telegram app, search for your bot's username, and send any message (for example, `Hello`). It should appear in the ChatbotX **Inbox** shortly after.
* **Test an automated Flow**: Create a Flow or configure an AI Agent in ChatbotX, then send another message to your bot to verify it responds automatically as configured.