> ## Documentation Index
> Fetch the complete documentation index at: https://chatbotx.io/docs/llms.txt
> Use this file to discover all available pages before exploring further.
# QR Code Generator
> Learn how to create and manage QR codes in ChatbotX to guide customers directly into chatbot flows from print materials and physical stores.
**QR Code Generator** is a tool that allows you to automatically generate QR codes and short URLs. When customers scan a QR code using their smartphone camera or click the link, ChatbotX instantly triggers a pre-configured chatbot scenario (Flow) for consultation or customer care.
This is an ideal solution for offline marketing and physical retail: print QR codes on product packaging, business cards, flyers, store standees, or event materials to seamlessly capture customers into automated support sequences.
## Accessing QR Code Generator
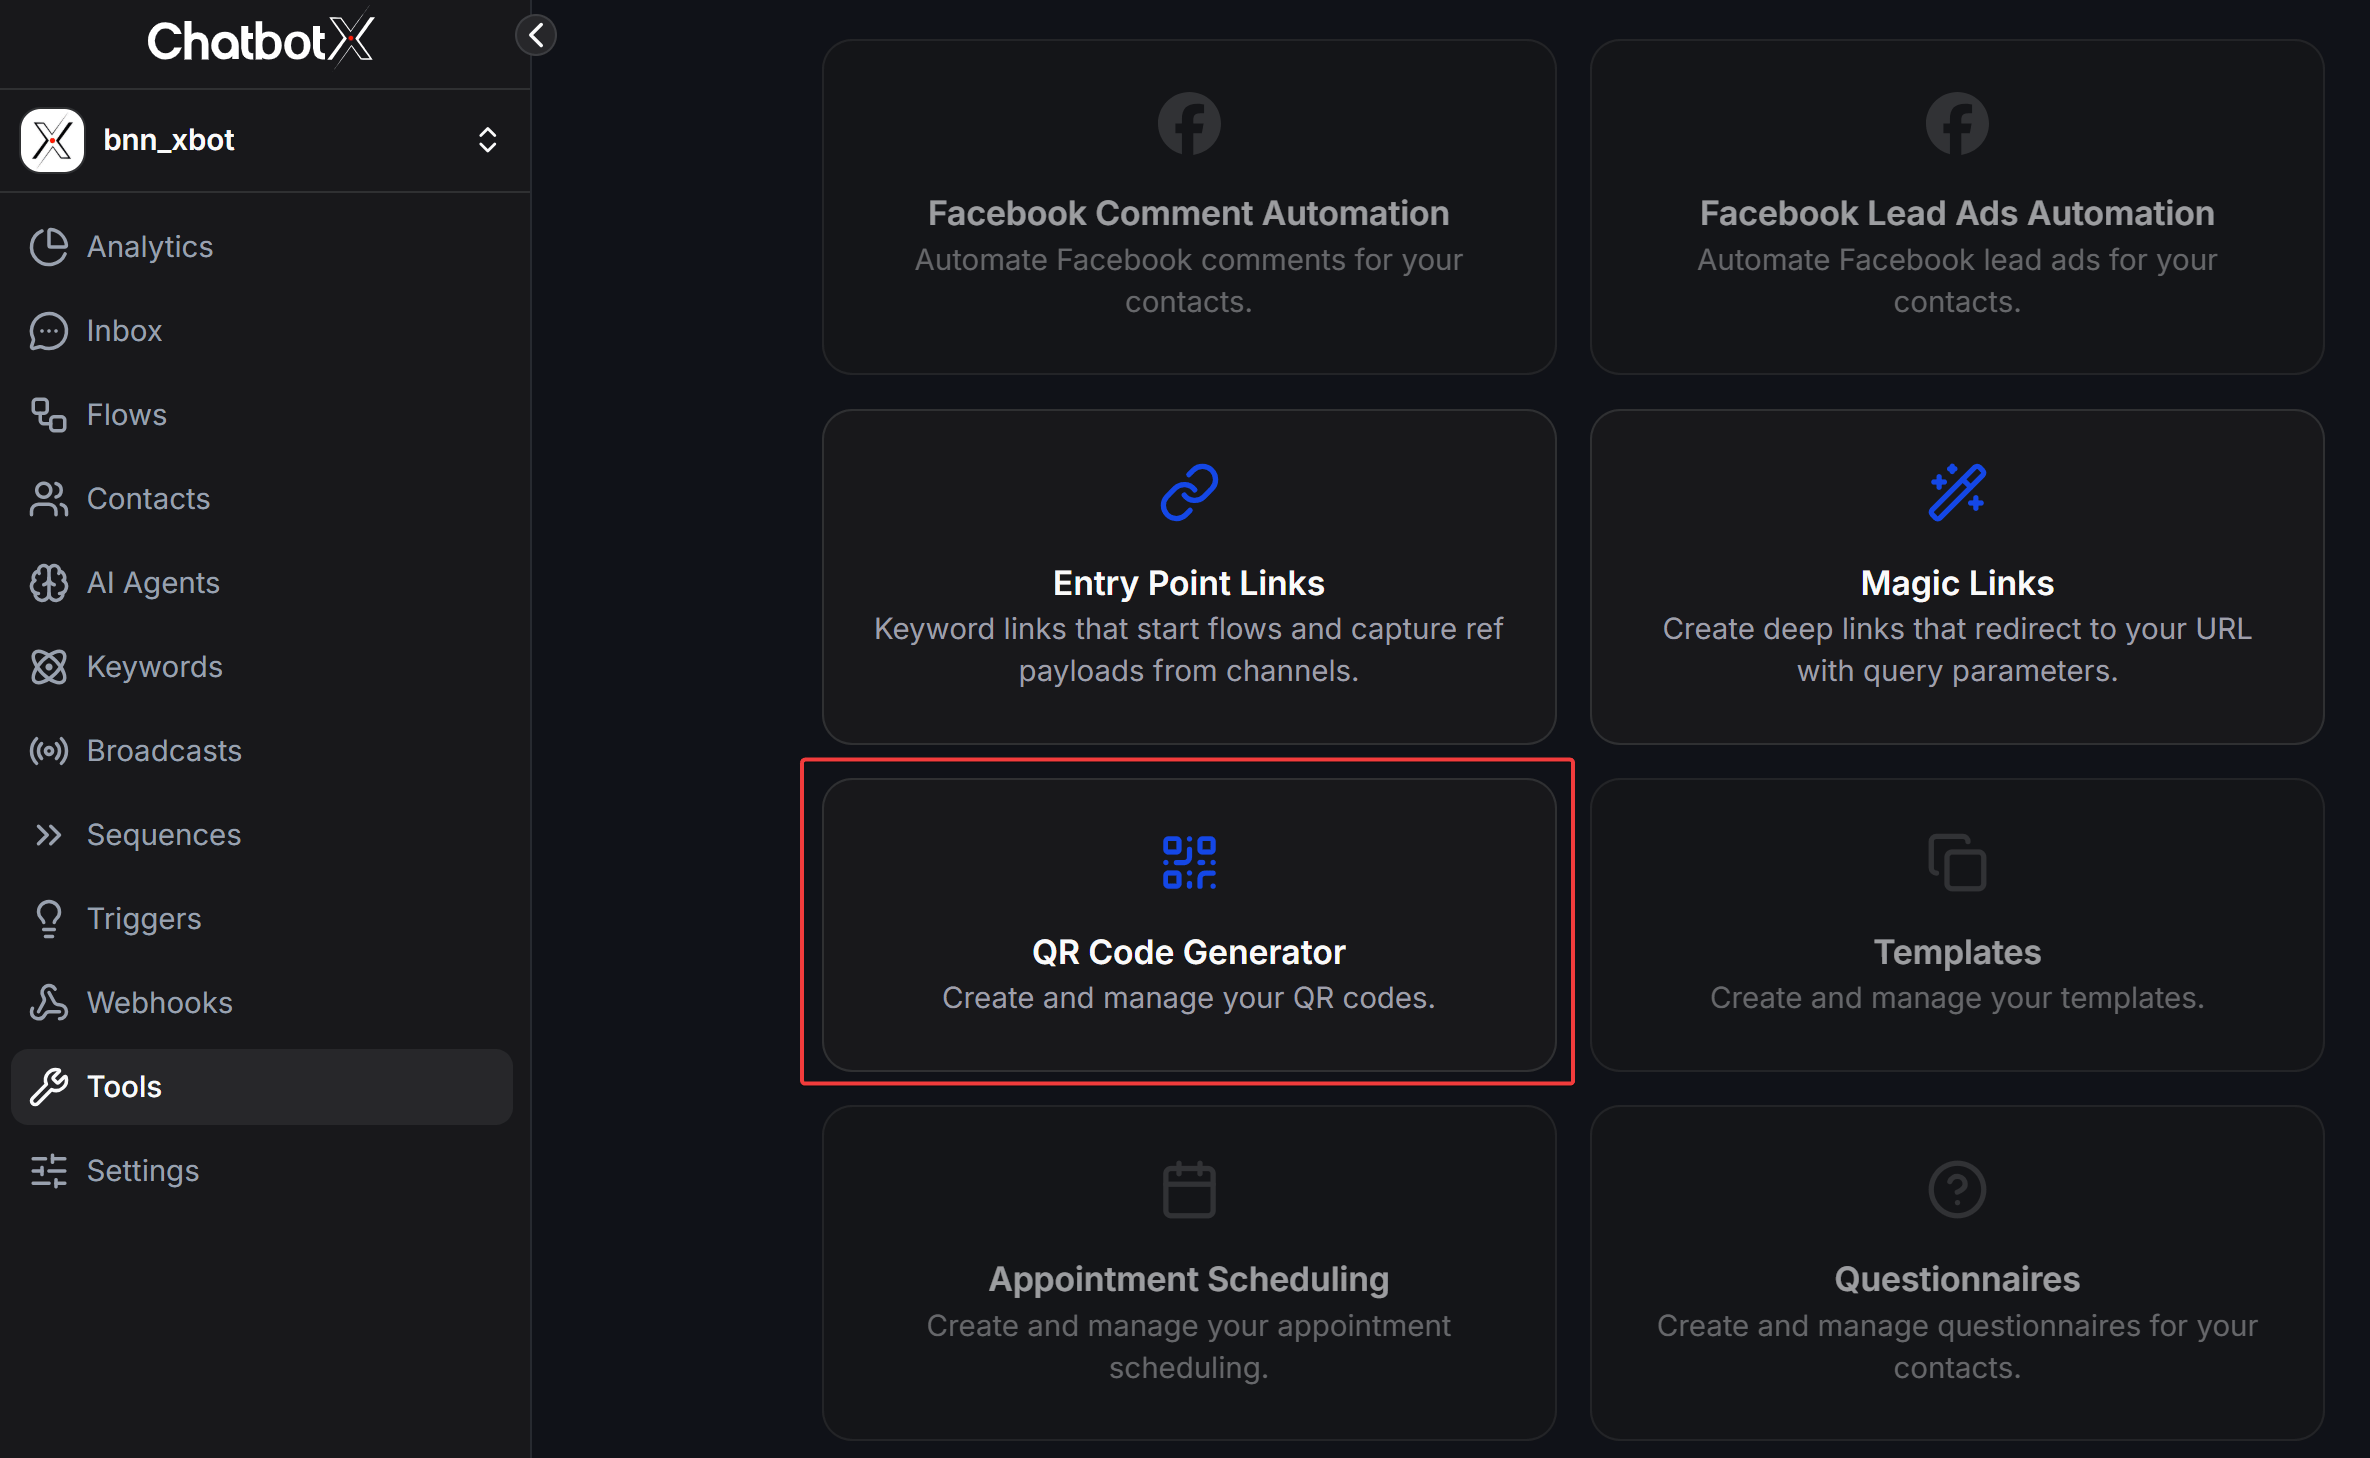
From the left navigation bar in ChatbotX, select **Tools** and click the **QR Code Generator** card.
 ## How to Create a New QR Code
On the **QR Codes** management page, click the **+ Create QR Code** button in the top right corner.
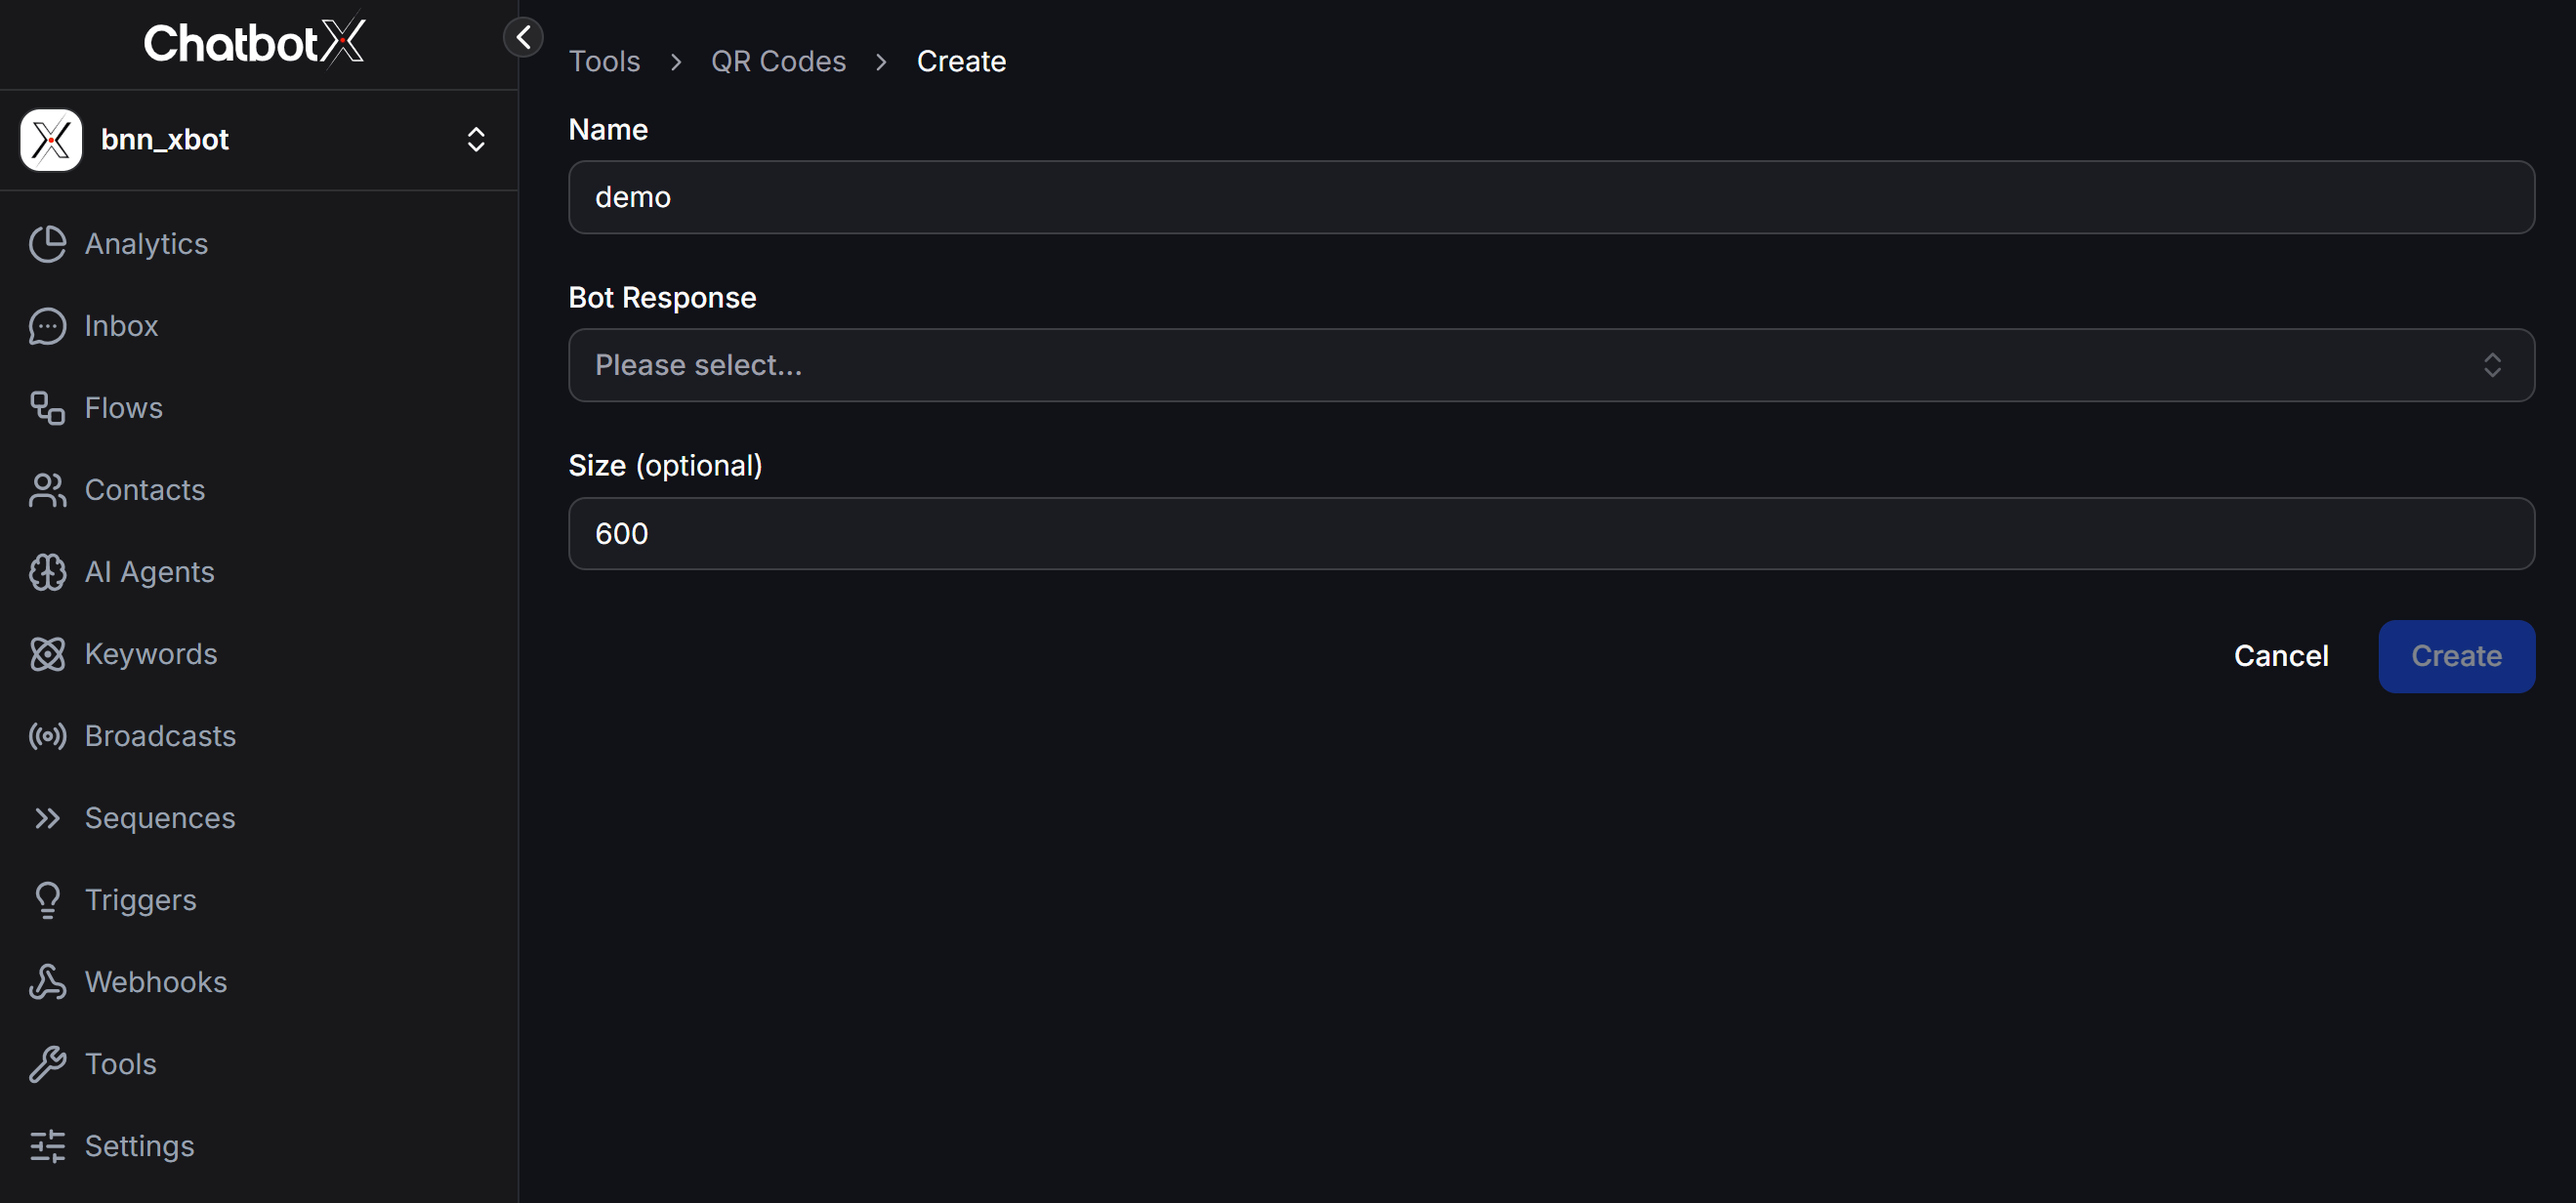
In the creation form, fill in the following information:
* **Name**: Enter an identifier for the QR code (e.g., `demo`, `qr-store-menu`, `qr-order-confirmation`).
* **Bot Response**: Select the chatbot scenario (Flow) to trigger automatically when customers scan the QR code.
* **Size (optional)**: Customize the QR code image size in pixels (e.g., enter `600` for high-resolution images suitable for high-quality printing).
Click **Create** to generate your QR code.
## How to Create a New QR Code
On the **QR Codes** management page, click the **+ Create QR Code** button in the top right corner.
In the creation form, fill in the following information:
* **Name**: Enter an identifier for the QR code (e.g., `demo`, `qr-store-menu`, `qr-order-confirmation`).
* **Bot Response**: Select the chatbot scenario (Flow) to trigger automatically when customers scan the QR code.
* **Size (optional)**: Customize the QR code image size in pixels (e.g., enter `600` for high-resolution images suitable for high-quality printing).
Click **Create** to generate your QR code.
 ## Preview, Edit, and Download QR Codes
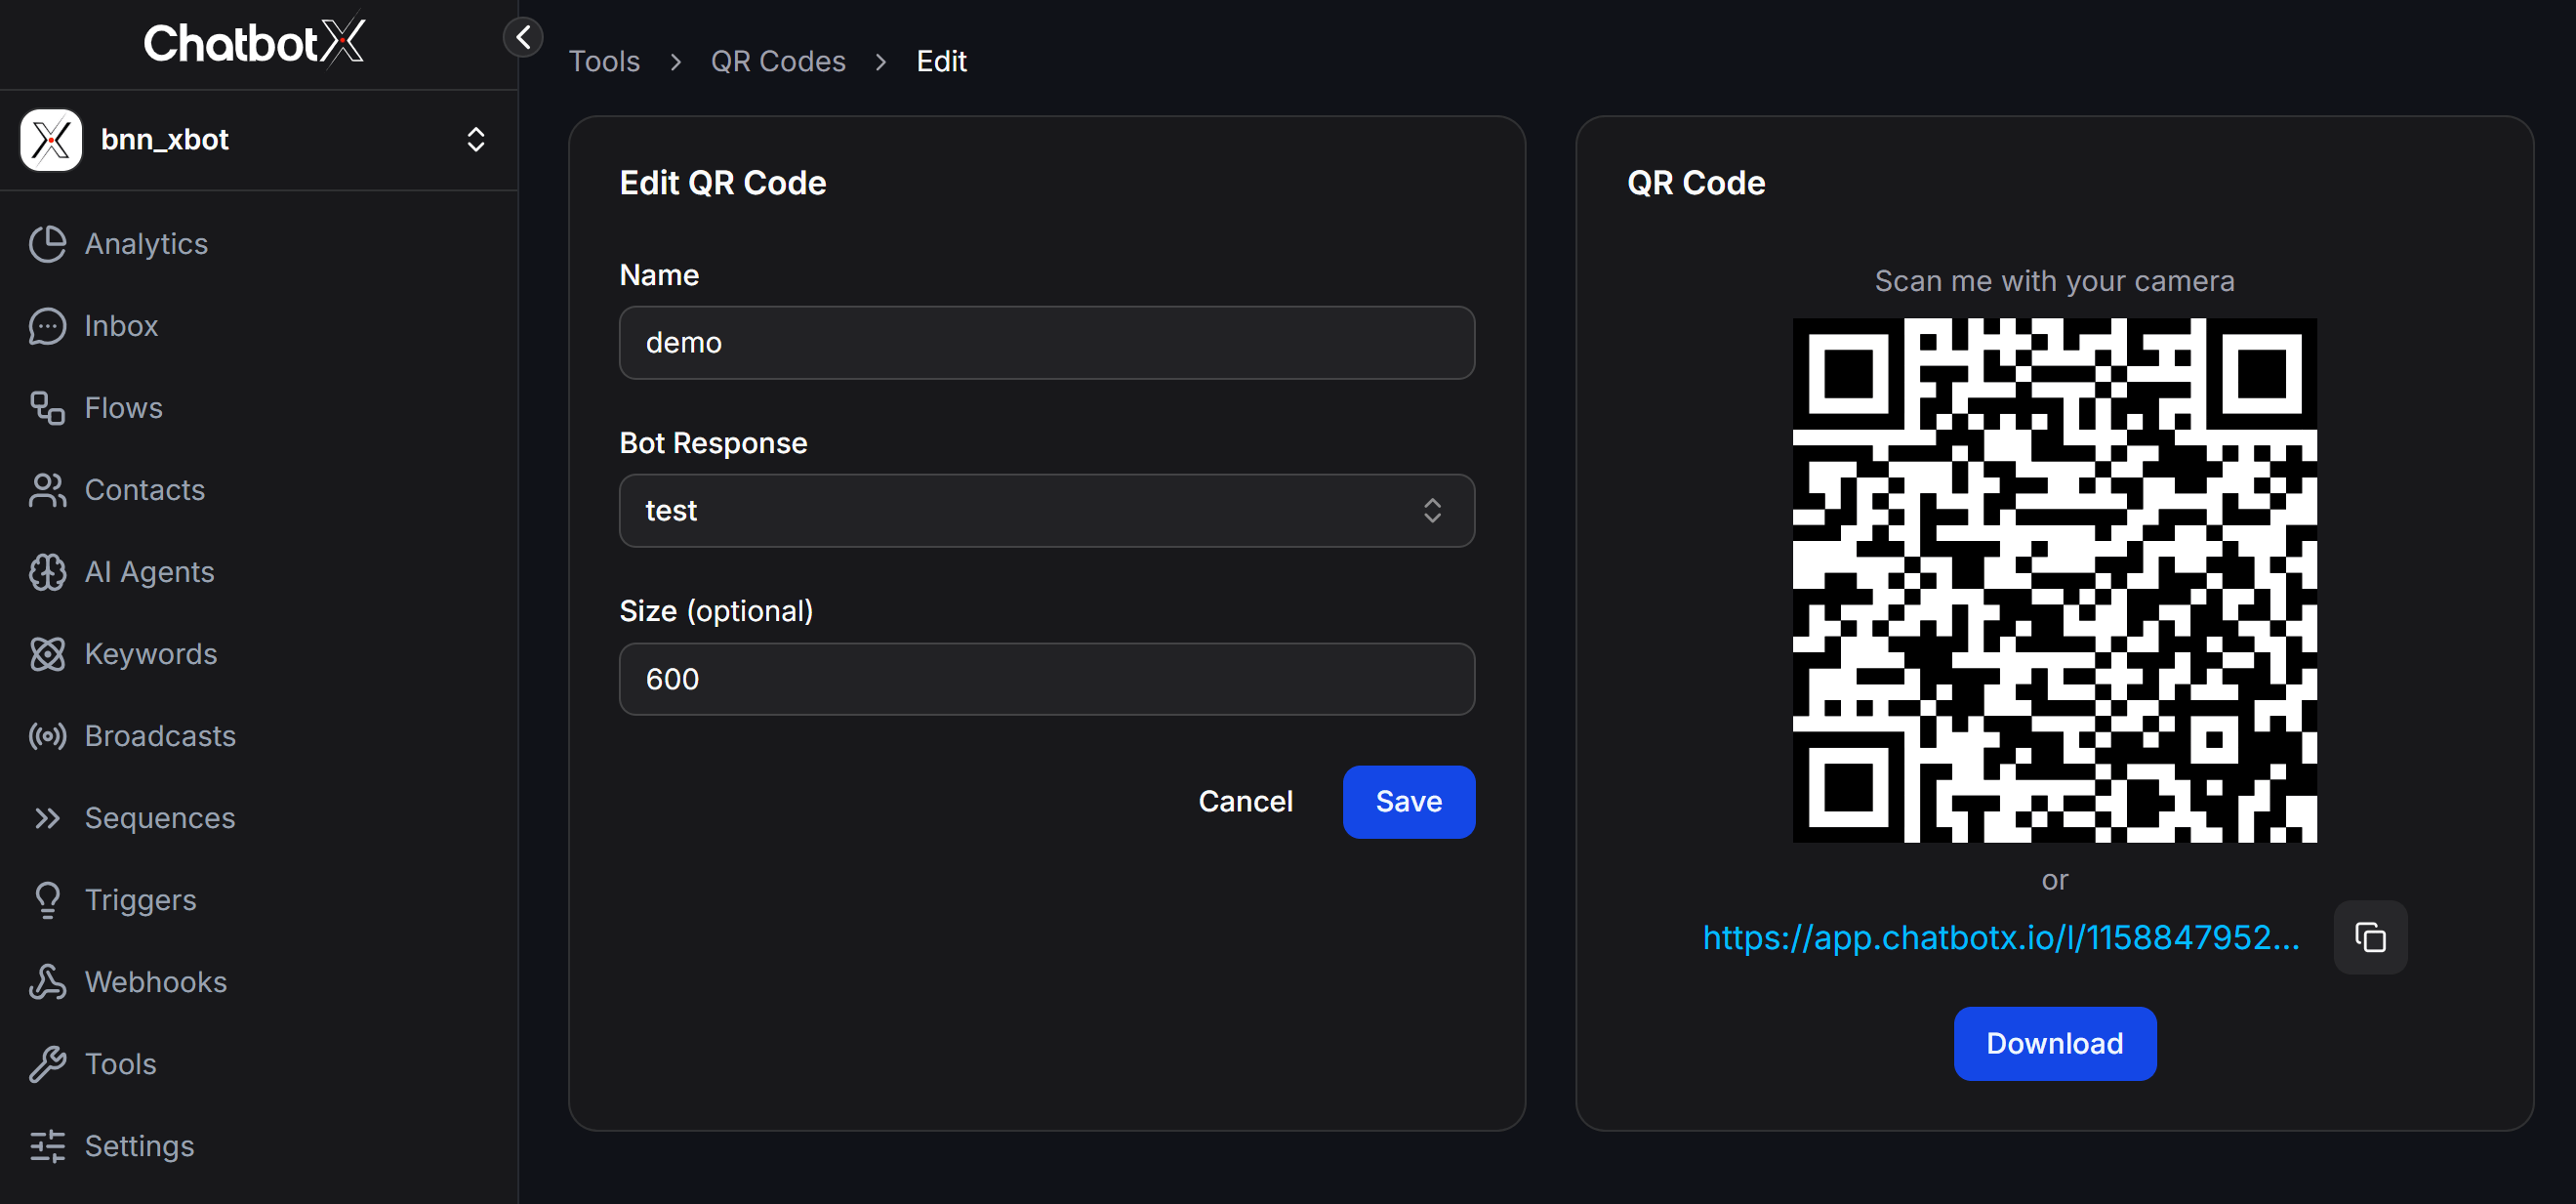
After successful creation, the detailed QR code management interface displays 2 main sections:
### Edit QR Code Details
You can update the **Name**, choose a different **Bot Response** flow, or change the image **Size** at any time, then click **Save** to apply your changes.
### Preview and Download QR Code
The preview section provides complete utilities:
* **QR Code Image**: Displays the visual QR code with the label "Scan me with your camera".
* **Short URL**: Provides a shortened link (e.g., `https://app.chatbotx.io/l/...`) alongside a convenient **Copy** button for online sharing.
* **Download Button**: Download a crisp QR code image file to your computer for design and print production.
## Preview, Edit, and Download QR Codes
After successful creation, the detailed QR code management interface displays 2 main sections:
### Edit QR Code Details
You can update the **Name**, choose a different **Bot Response** flow, or change the image **Size** at any time, then click **Save** to apply your changes.
### Preview and Download QR Code
The preview section provides complete utilities:
* **QR Code Image**: Displays the visual QR code with the label "Scan me with your camera".
* **Short URL**: Provides a shortened link (e.g., `https://app.chatbotx.io/l/...`) alongside a convenient **Copy** button for online sharing.
* **Download Button**: Download a crisp QR code image file to your computer for design and print production.
 ## Managing Your QR Codes List
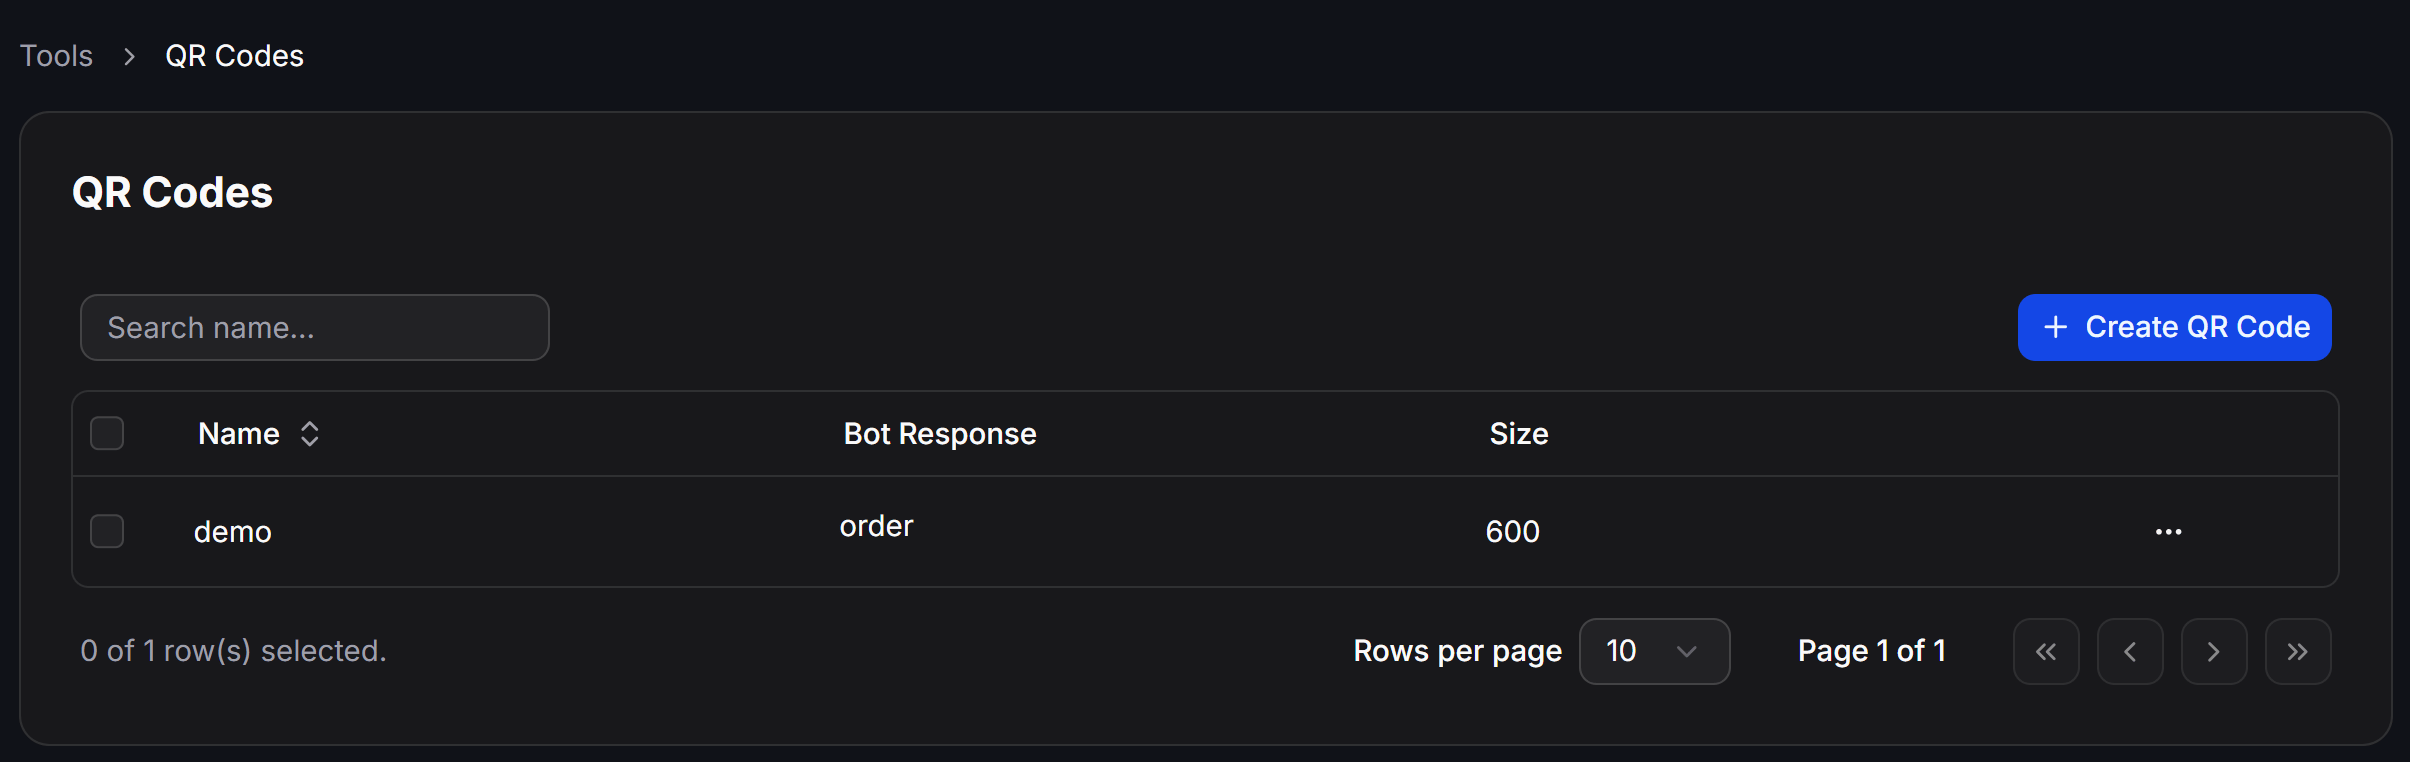
All created QR codes are centrally listed on the **QR Codes** management dashboard:
* **Quick Search**: Use the **Search name...** input field to look up QR codes by name.
* **Detailed Info**: The table displays **Name**, attached **Bot Response** flow, and image **Size**.
* **Action Menu**: Click the **...** icon at the end of any row to open options to **Edit** or **Delete** the QR code.
## Managing Your QR Codes List
All created QR codes are centrally listed on the **QR Codes** management dashboard:
* **Quick Search**: Use the **Search name...** input field to look up QR codes by name.
* **Detailed Info**: The table displays **Name**, attached **Bot Response** flow, and image **Size**.
* **Action Menu**: Click the **...** icon at the end of any row to open options to **Edit** or **Delete** the QR code.
 ## Customer Scanning Experience
When a customer scans the QR code on a product or clicks the short link, ChatbotX displays a multi-channel landing page:
## Customer Scanning Experience
When a customer scans the QR code on a product or clicks the short link, ChatbotX displays a multi-channel landing page:
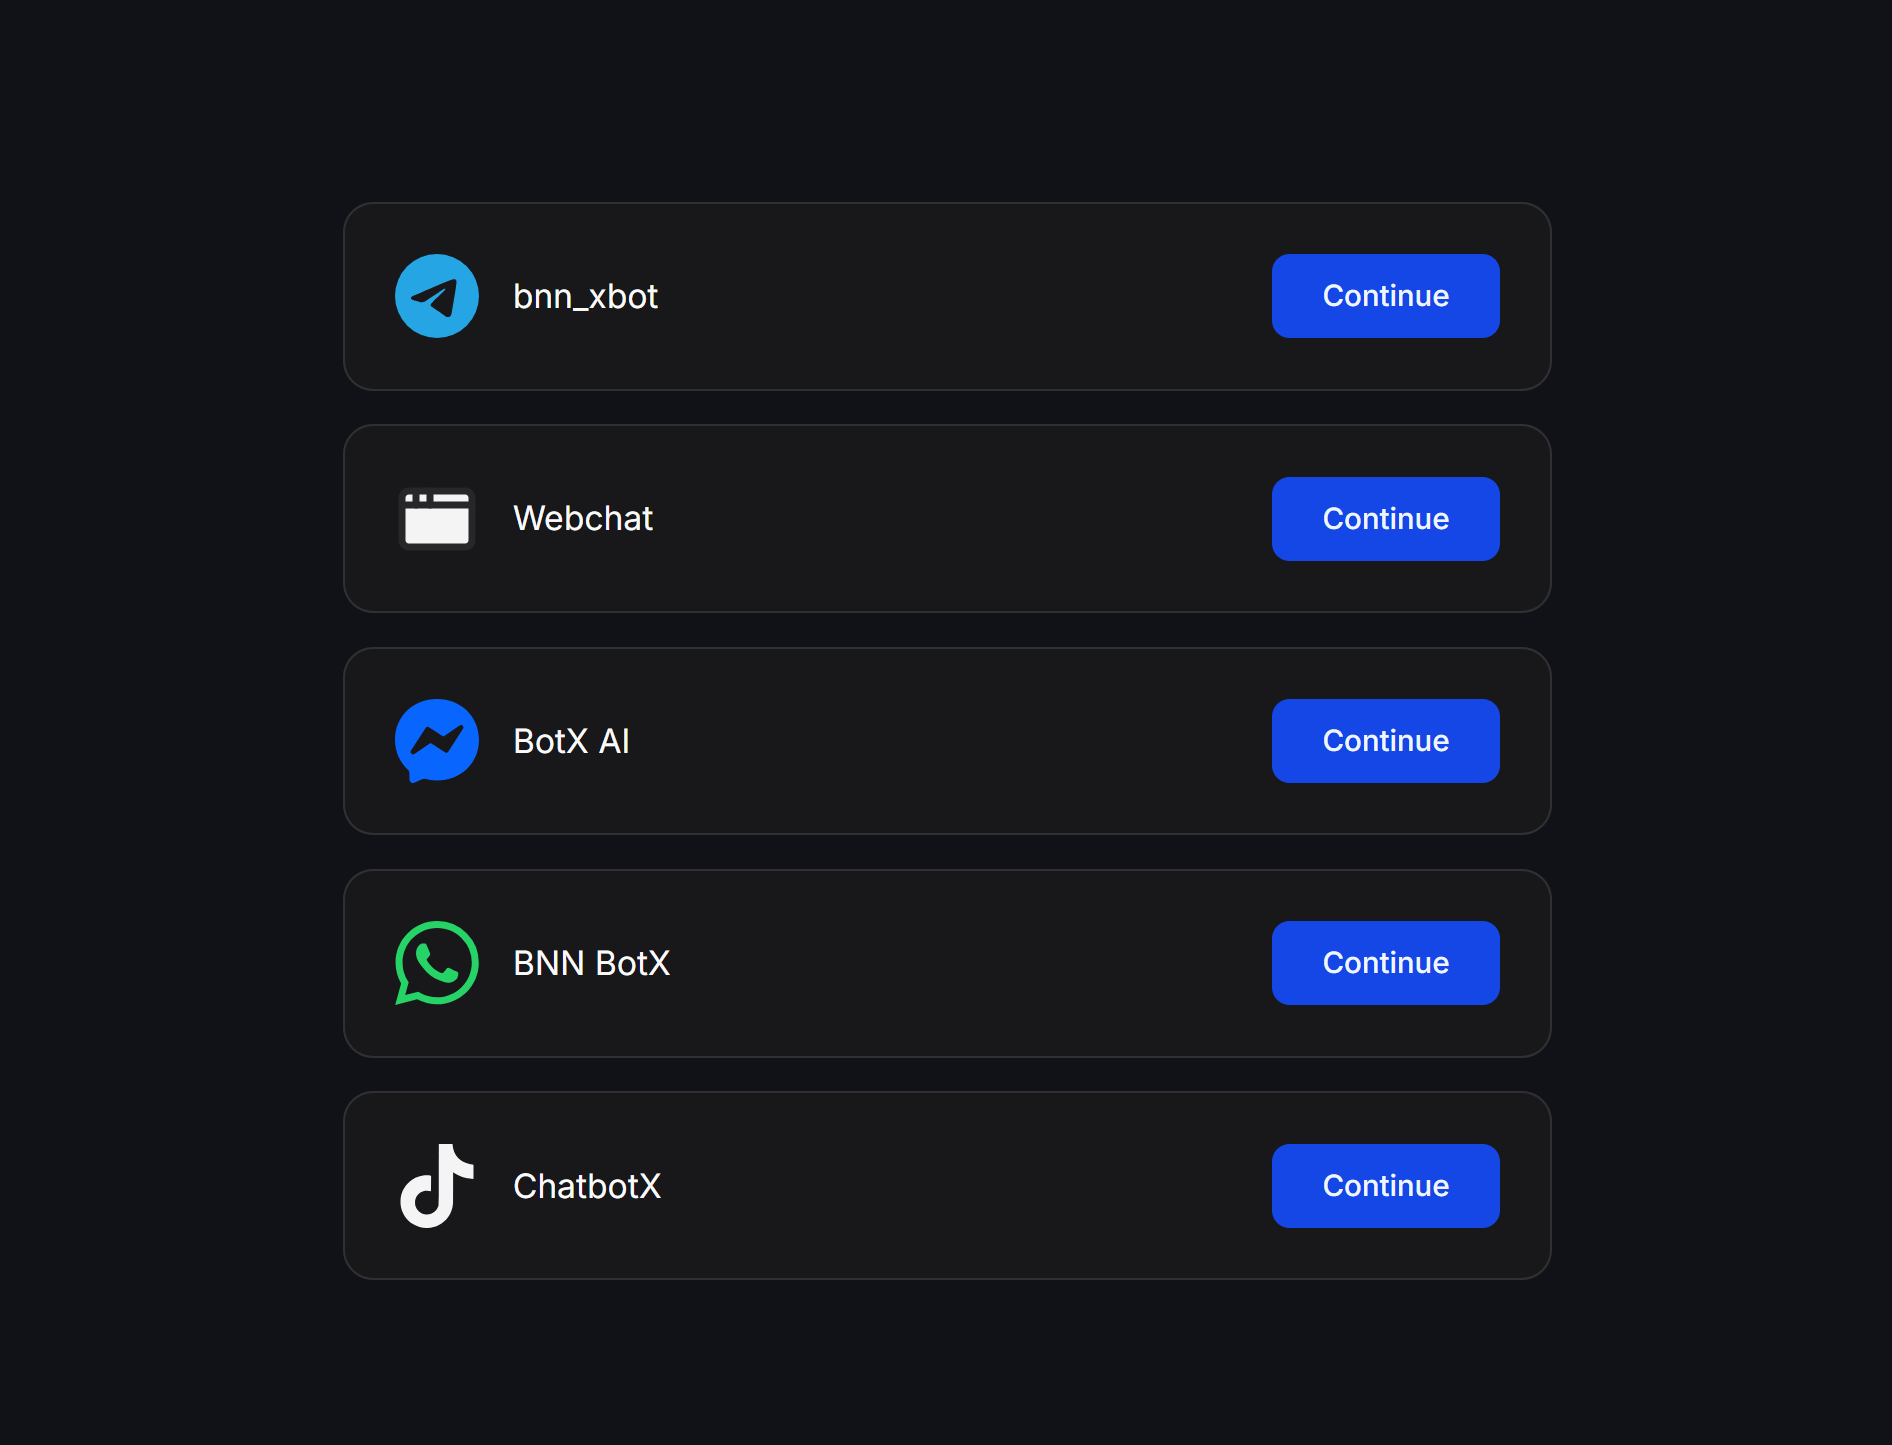 1. The landing page shows all active messaging channels supported by your business (such as Telegram, Webchat, Facebook Messenger, WhatsApp, TikTok...).
2. Customers choose their preferred messaging app and click **Continue**.
3. The messaging app opens and the Bot automatically sends the initial response according to your configured Flow.
## Best Practices and Important Notes
QR codes in ChatbotX are dynamic QR codes. You can change the linked **Bot Response** flow in settings at any time without altering the QR code image or breaking links already printed on physical media.
When printing on large physical items like store standees, posters, or banners, set **Size (optional)** to 600px or higher to ensure the QR code image remains sharp when scaled up.
1. The landing page shows all active messaging channels supported by your business (such as Telegram, Webchat, Facebook Messenger, WhatsApp, TikTok...).
2. Customers choose their preferred messaging app and click **Continue**.
3. The messaging app opens and the Bot automatically sends the initial response according to your configured Flow.
## Best Practices and Important Notes
QR codes in ChatbotX are dynamic QR codes. You can change the linked **Bot Response** flow in settings at any time without altering the QR code image or breaking links already printed on physical media.
When printing on large physical items like store standees, posters, or banners, set **Size (optional)** to 600px or higher to ensure the QR code image remains sharp when scaled up.