Custom Domain Setup Process
To activate your custom domain, follow these steps:1
Add your domain
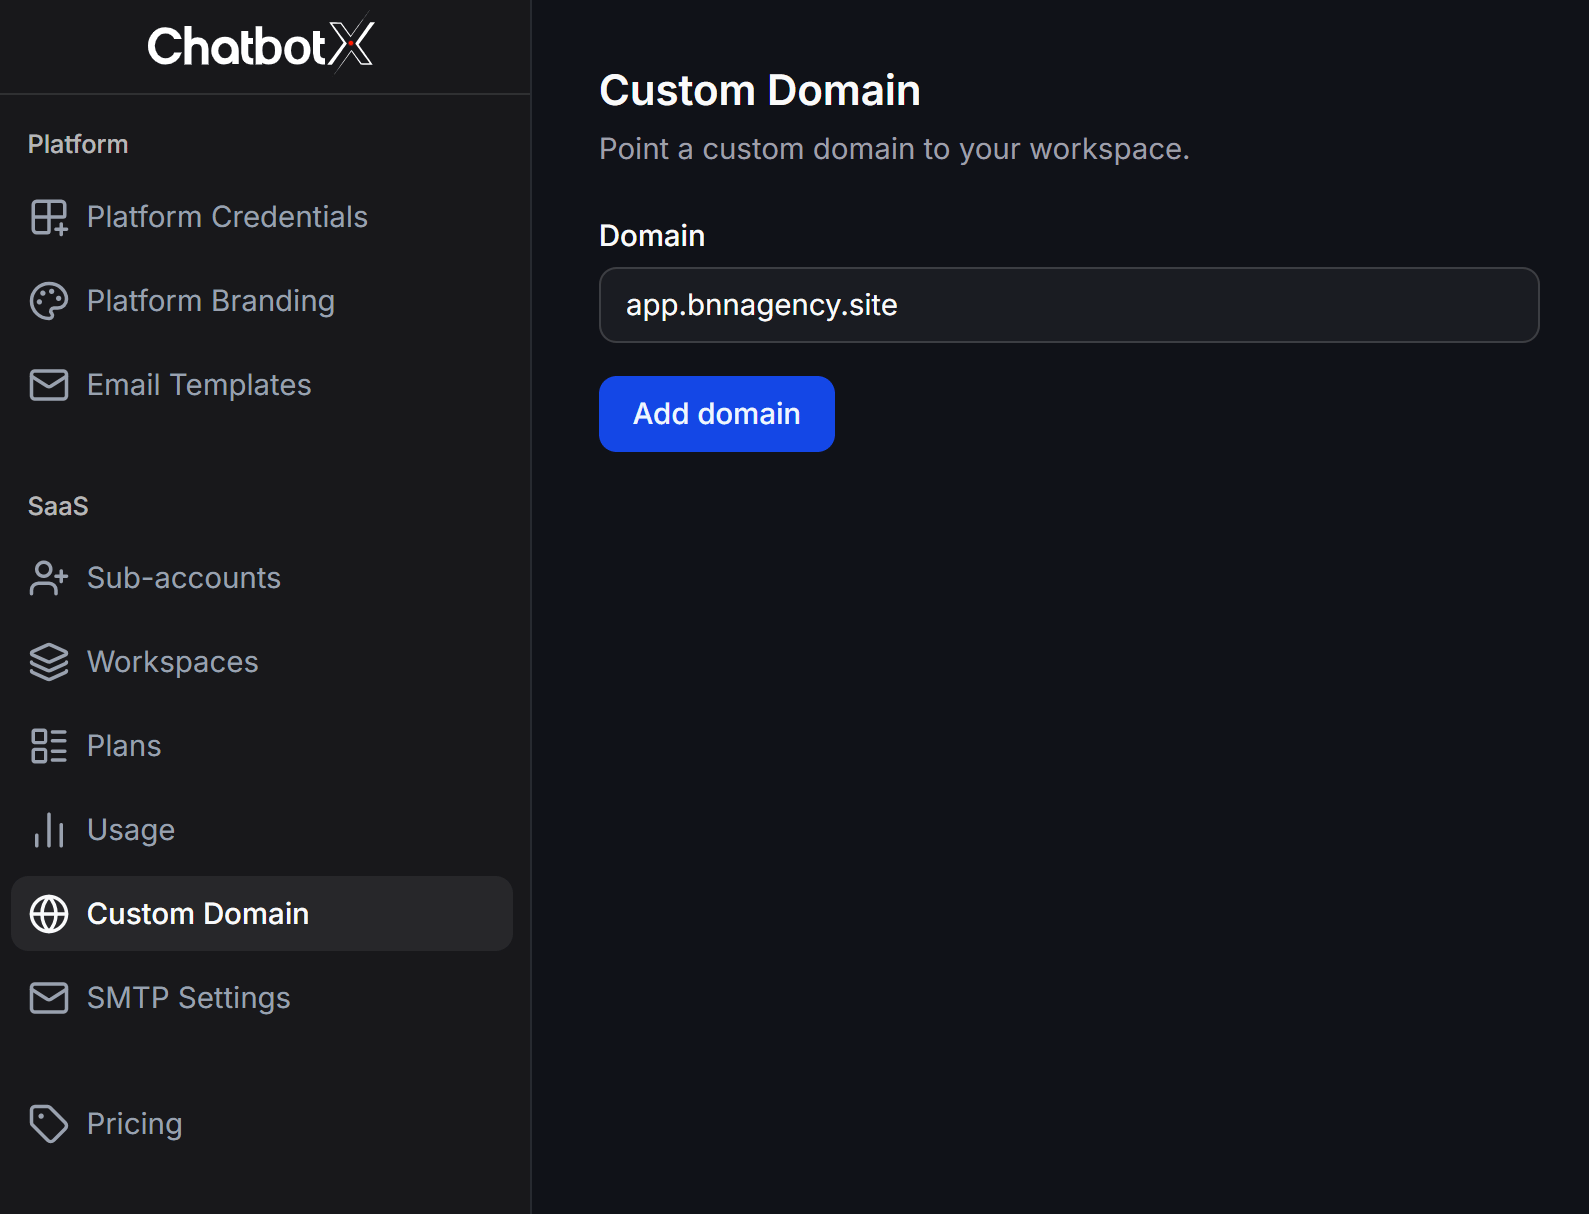
In the Domain field, enter your domain or subdomain name and click the Add domain button.
2
Retrieve DNS records
Once added, the domain status will show as pending. The system will generate three DNS records that you need to configure.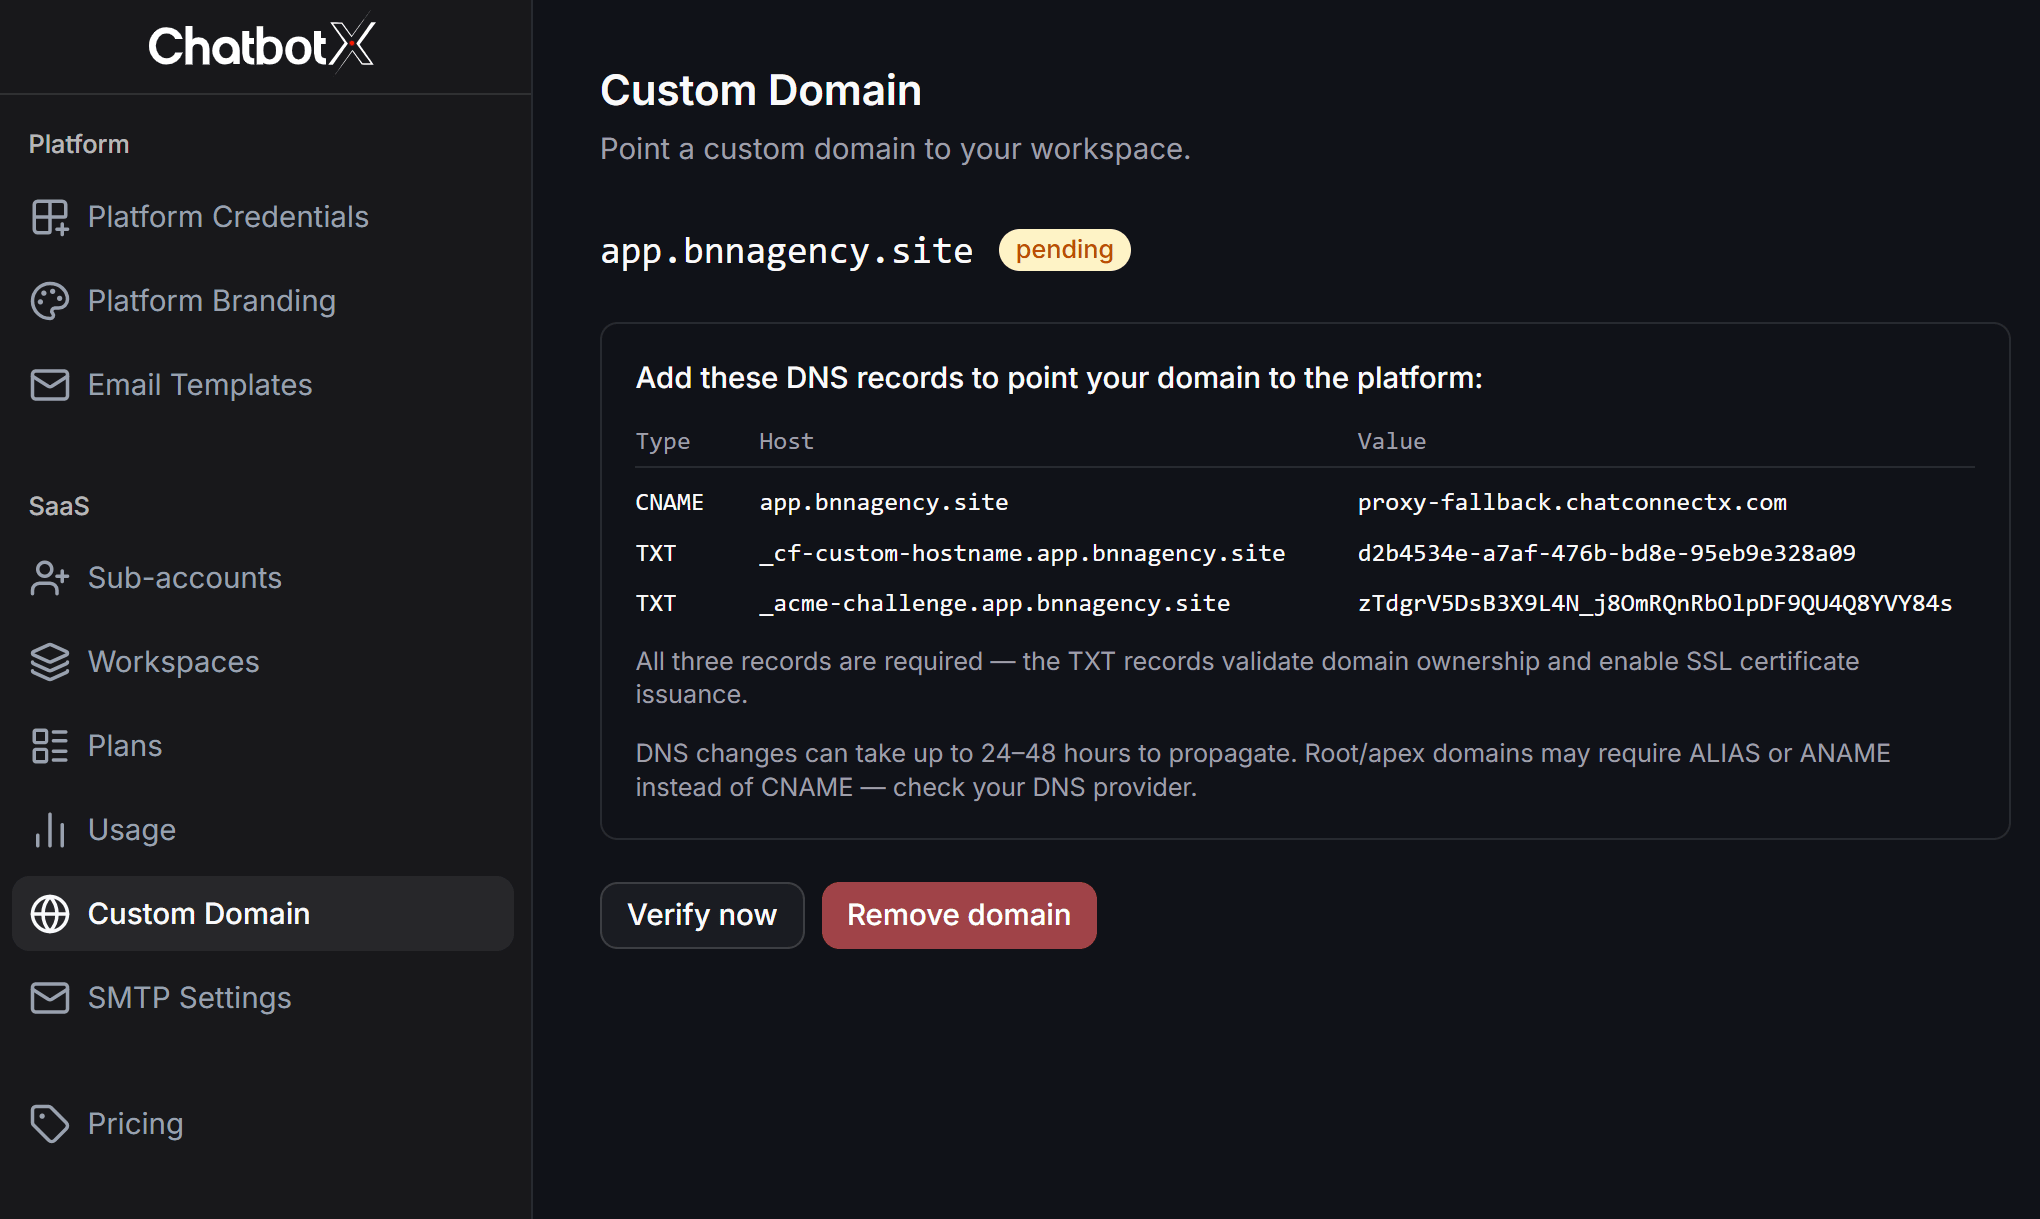
3
Configure records at your DNS provider
Log in to your domain registrar or DNS management portal and add the following three records:
- CNAME Record: Point your domain to
proxy-fallback.chatconnectx.com. For root domains, your DNS provider might require you to use an ALIAS or ANAME record instead of CNAME. - First TXT Record: Input the Host name and value provided to verify your domain ownership.
- Second TXT Record: Used to verify and provision your SSL security certificate (the value displays as
Creating...during initialization).
4
Verify your domain
After adding the records, return to your Portal admin page and click Verify now.DNS propagation typically takes a few minutes, but can take up to 24 to 48 hours depending on your domain registrar.
5
Complete activation
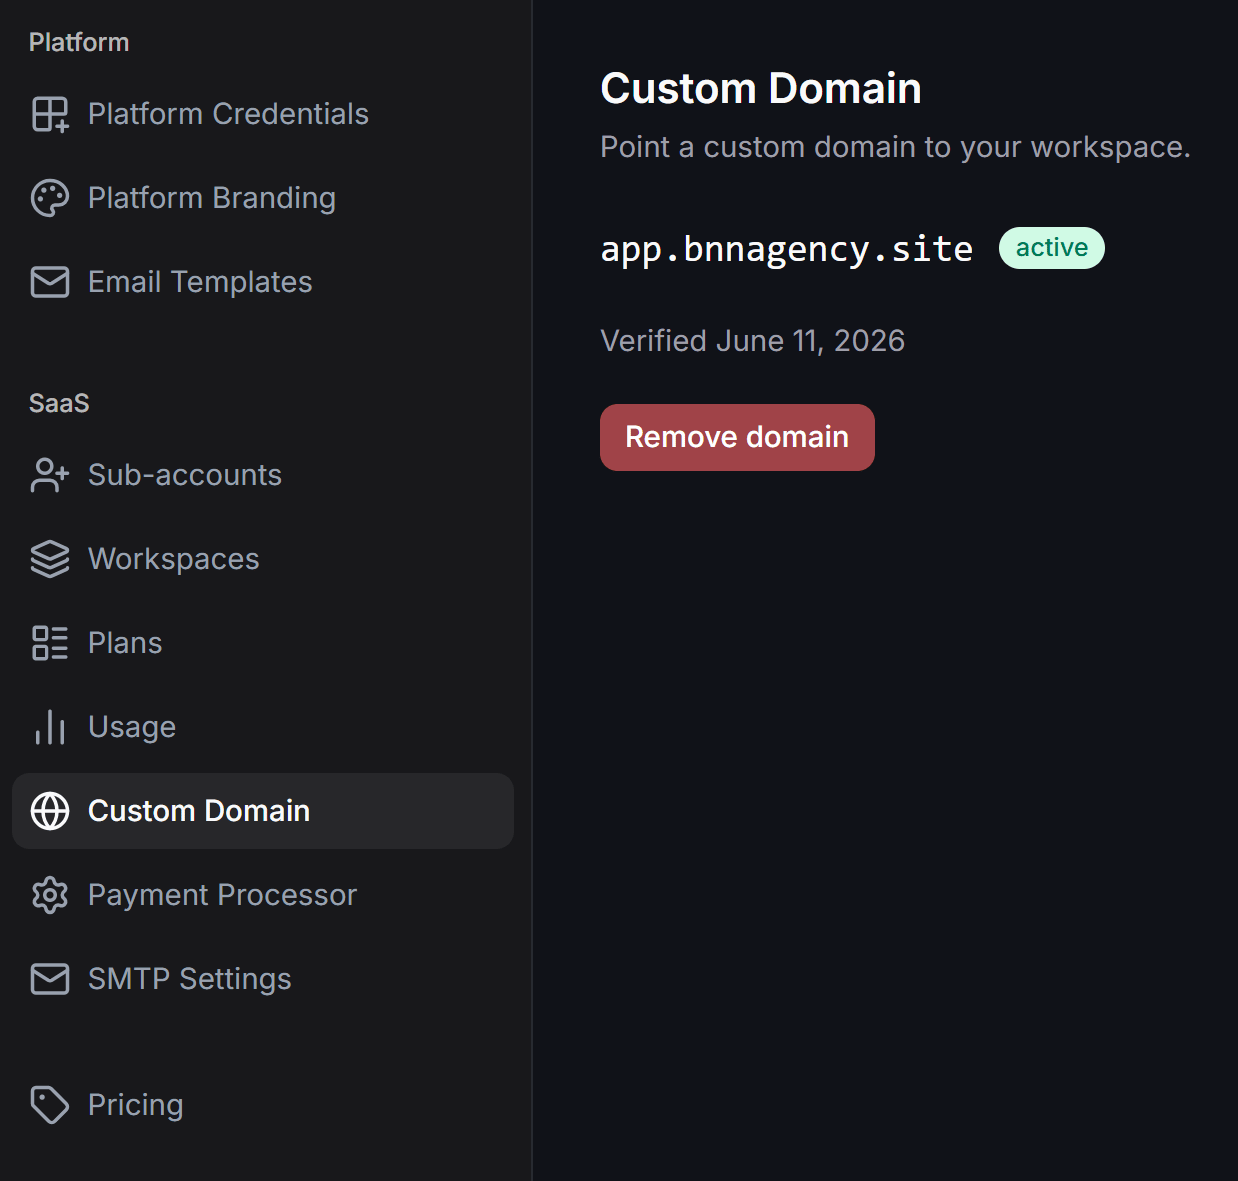
Once DNS records are successfully verified, the domain status badge changes to a green active label with the verification date. Clients can now access the portal using this new domain.