

Prerequisites
Before you begin, make sure you have:- A valid Facebook account
- A Facebook Page you own or administer
- A valid Instagram Professional account (Business or Creator) linked to that Facebook Page
- Super Admin access to your portal to input configurations
If you are developing locally, you will need a tunneling tool such as ngrok to expose your local server to the internet to receive Facebook webhooks.
Step 1: Create a Facebook App
If you have already created a Facebook app for the Messenger channel, you can reuse it for Instagram, skip to Step 2.1
Create a new app
Go to the Facebook Developer Portal and click Create App.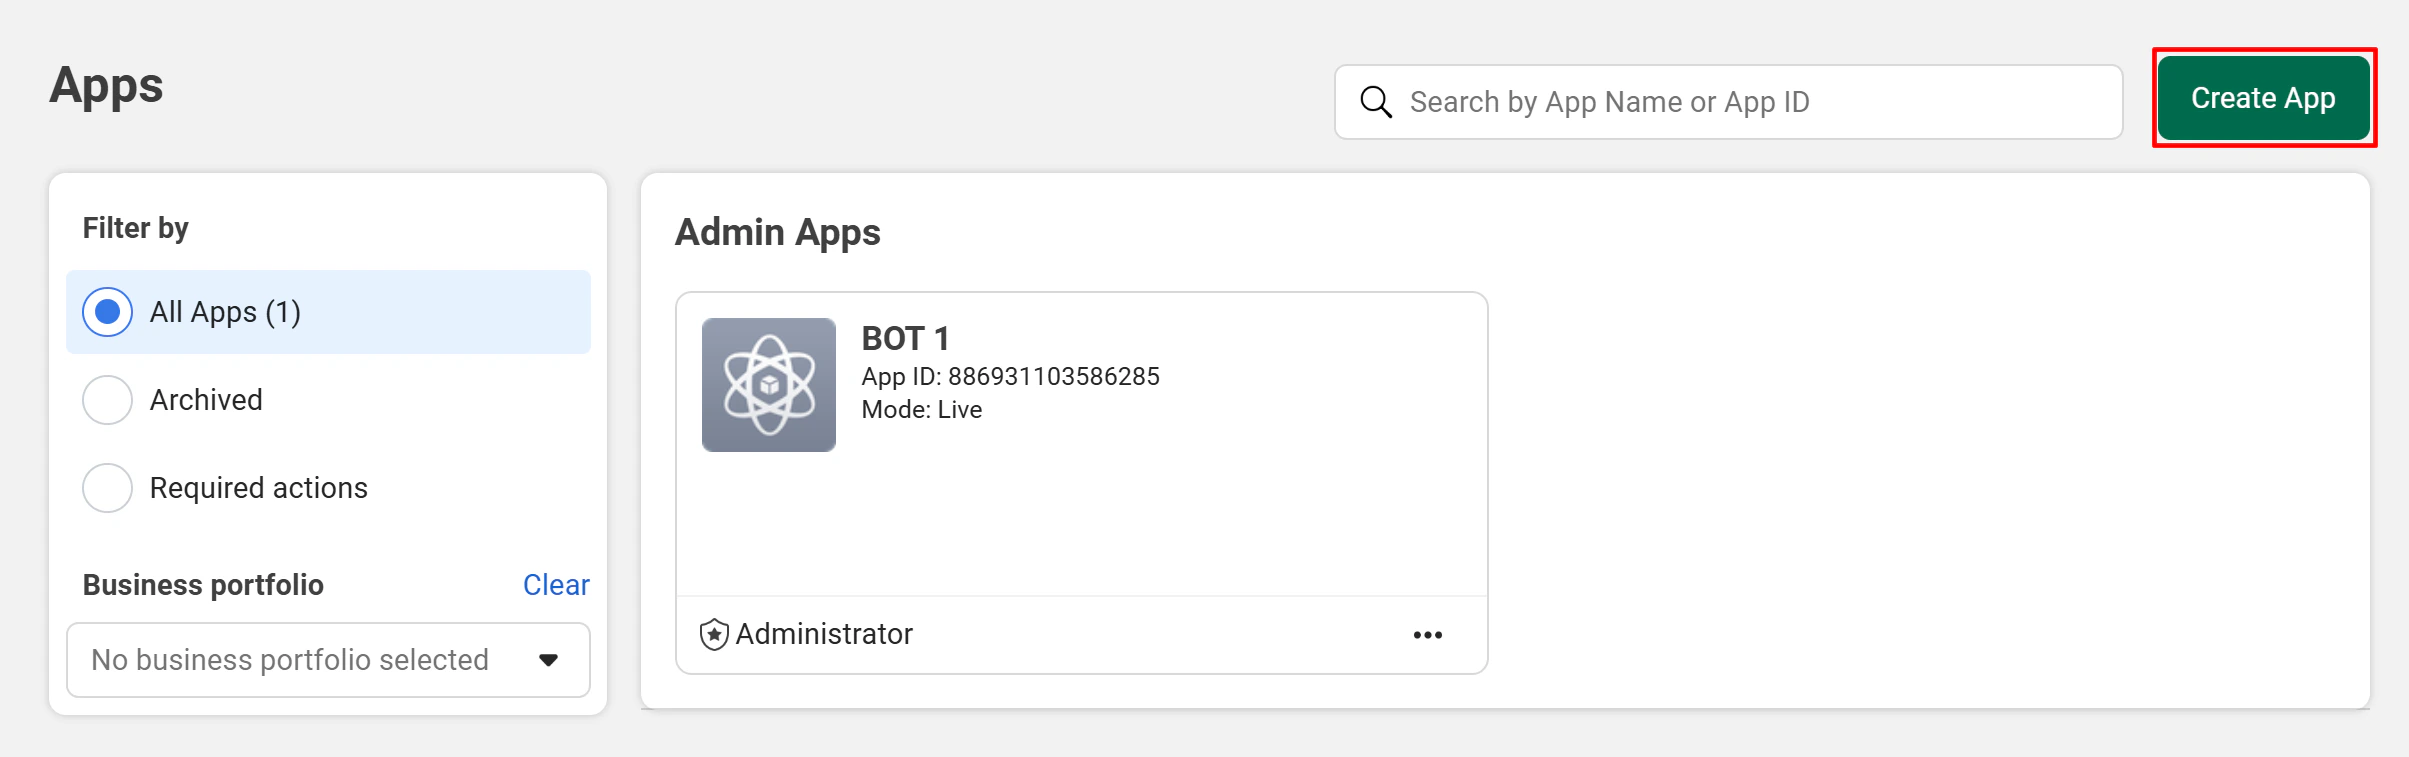
2
Enter app details
Enter your App name and contact email, then click Next.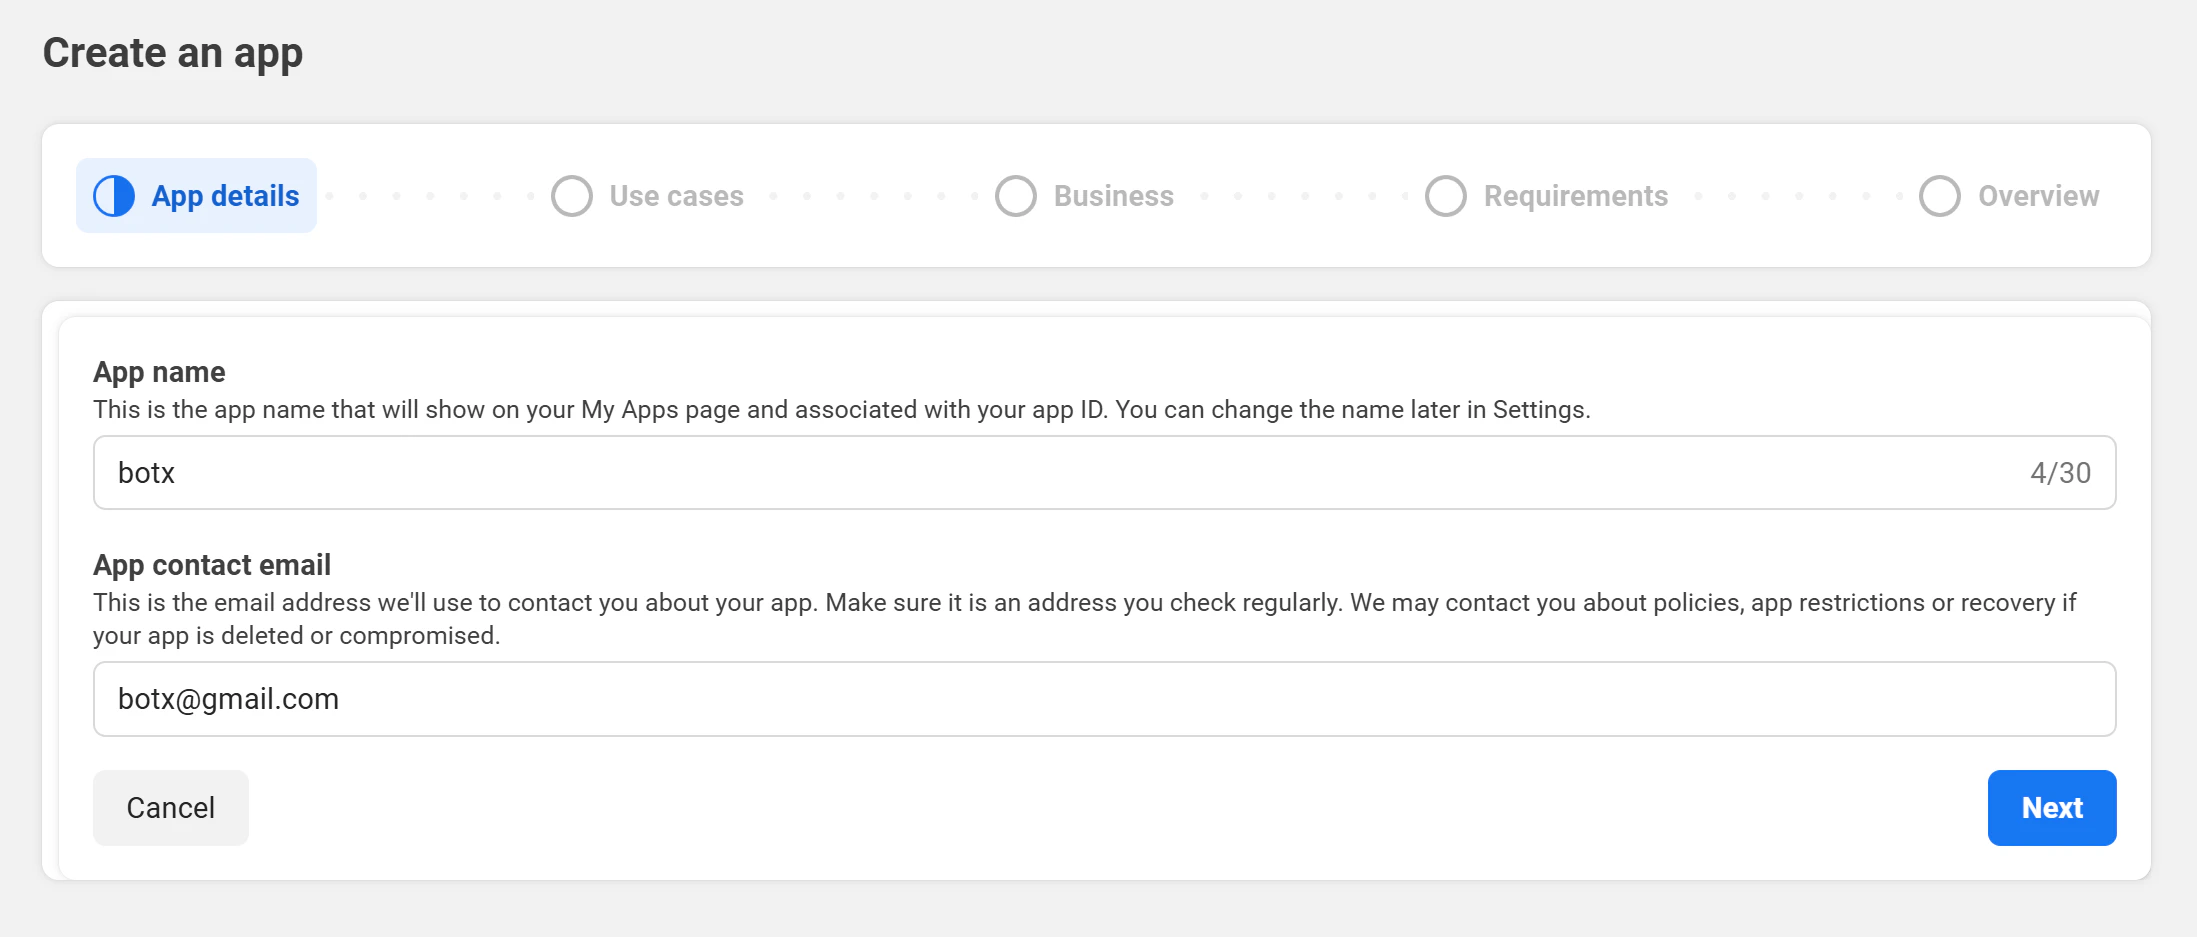
3
Select a use case
When asked for a use case, select Other.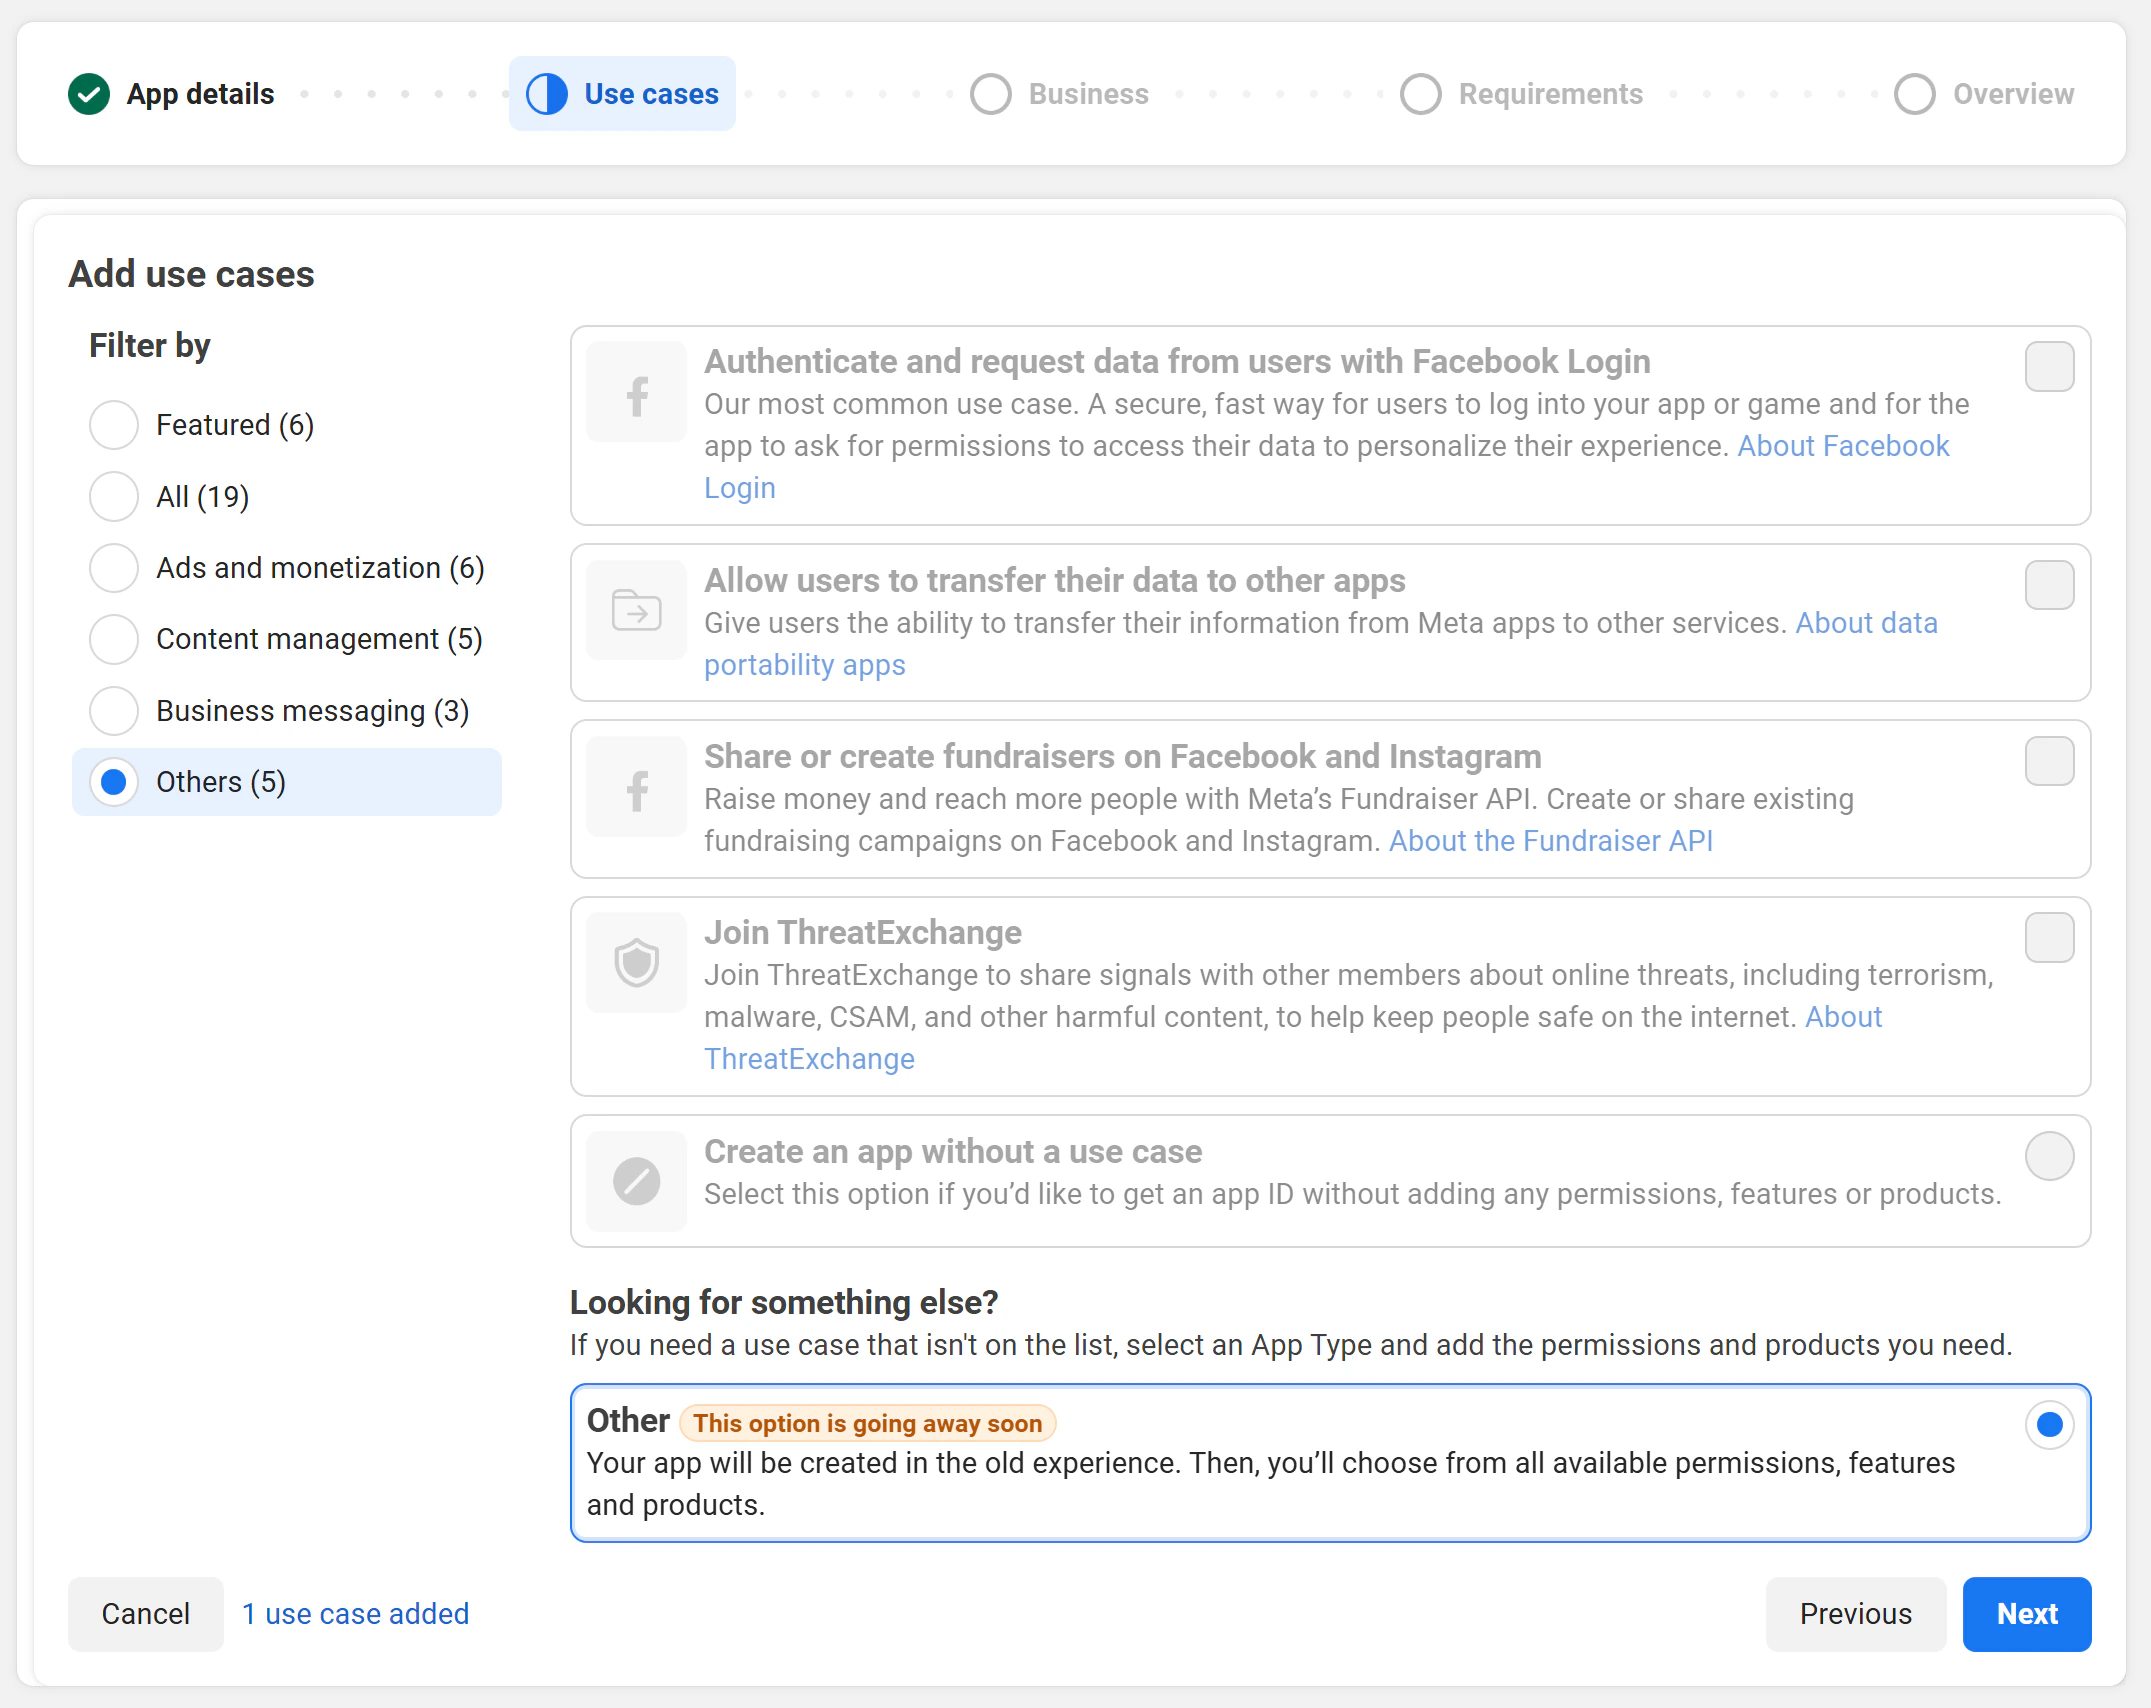
4
Choose app type
For the app type, choose Business.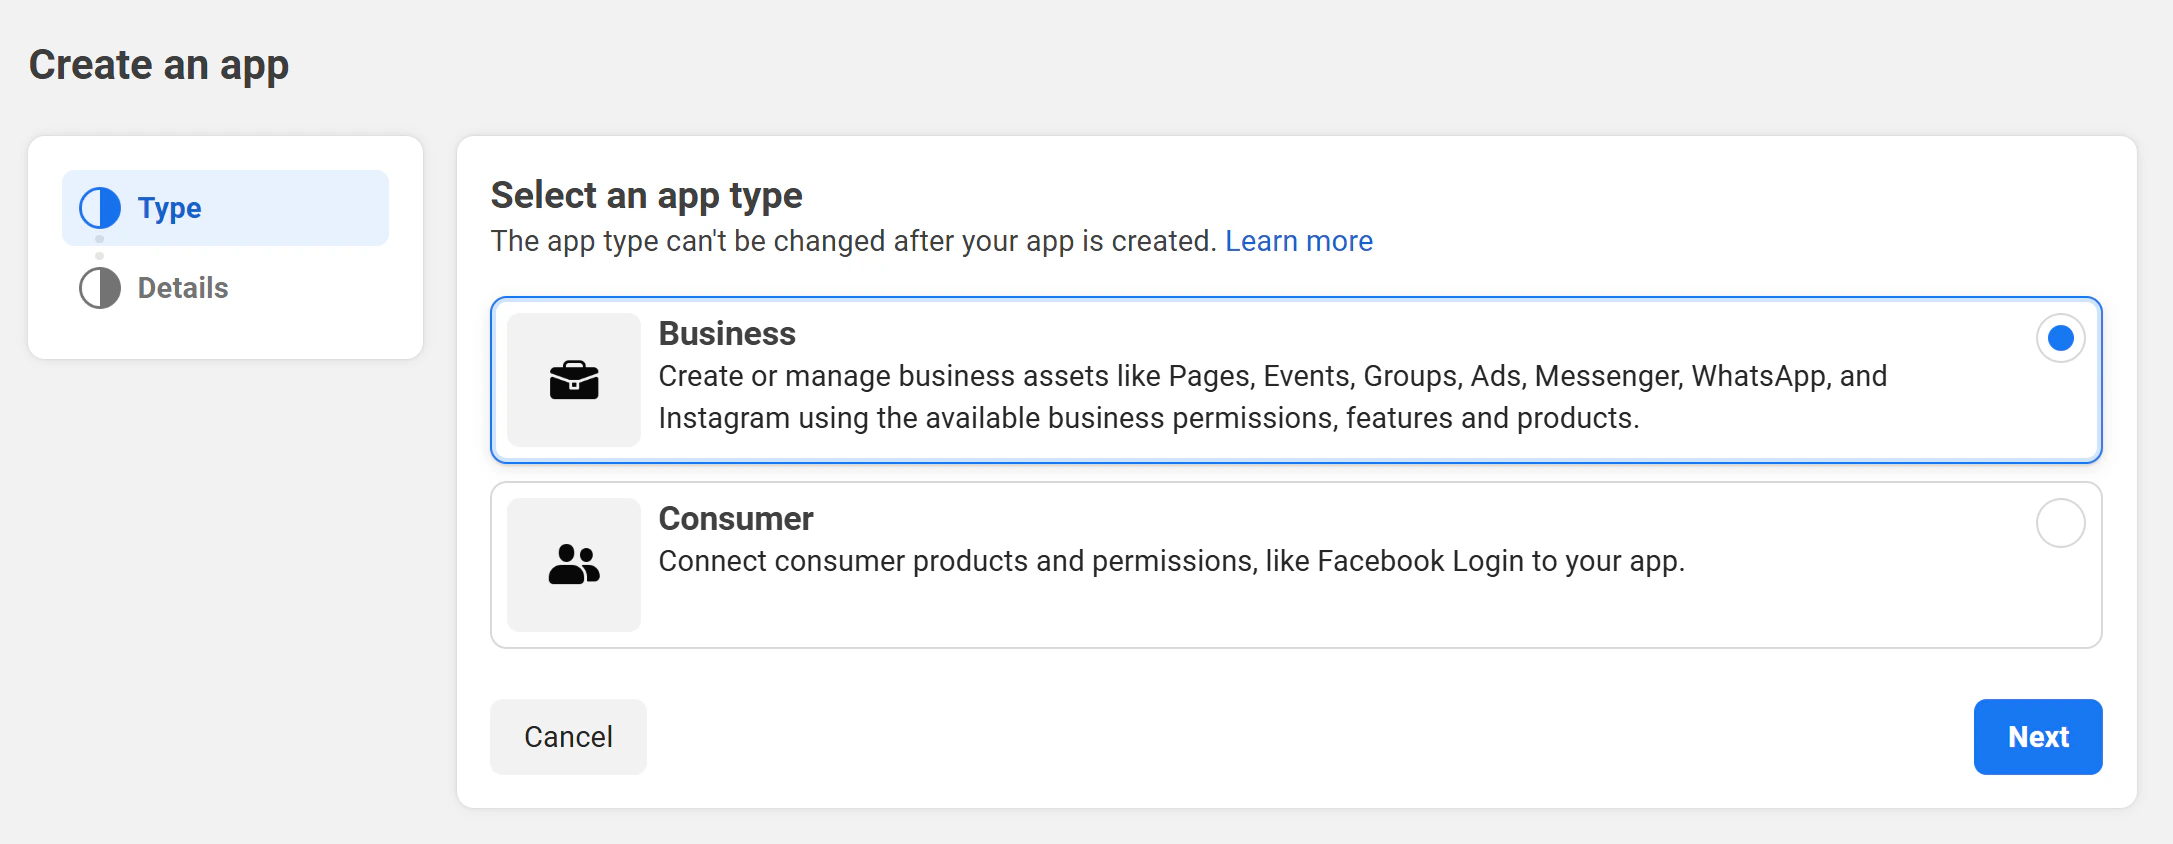
5
Finish creation
Review your details and click Create App to finish.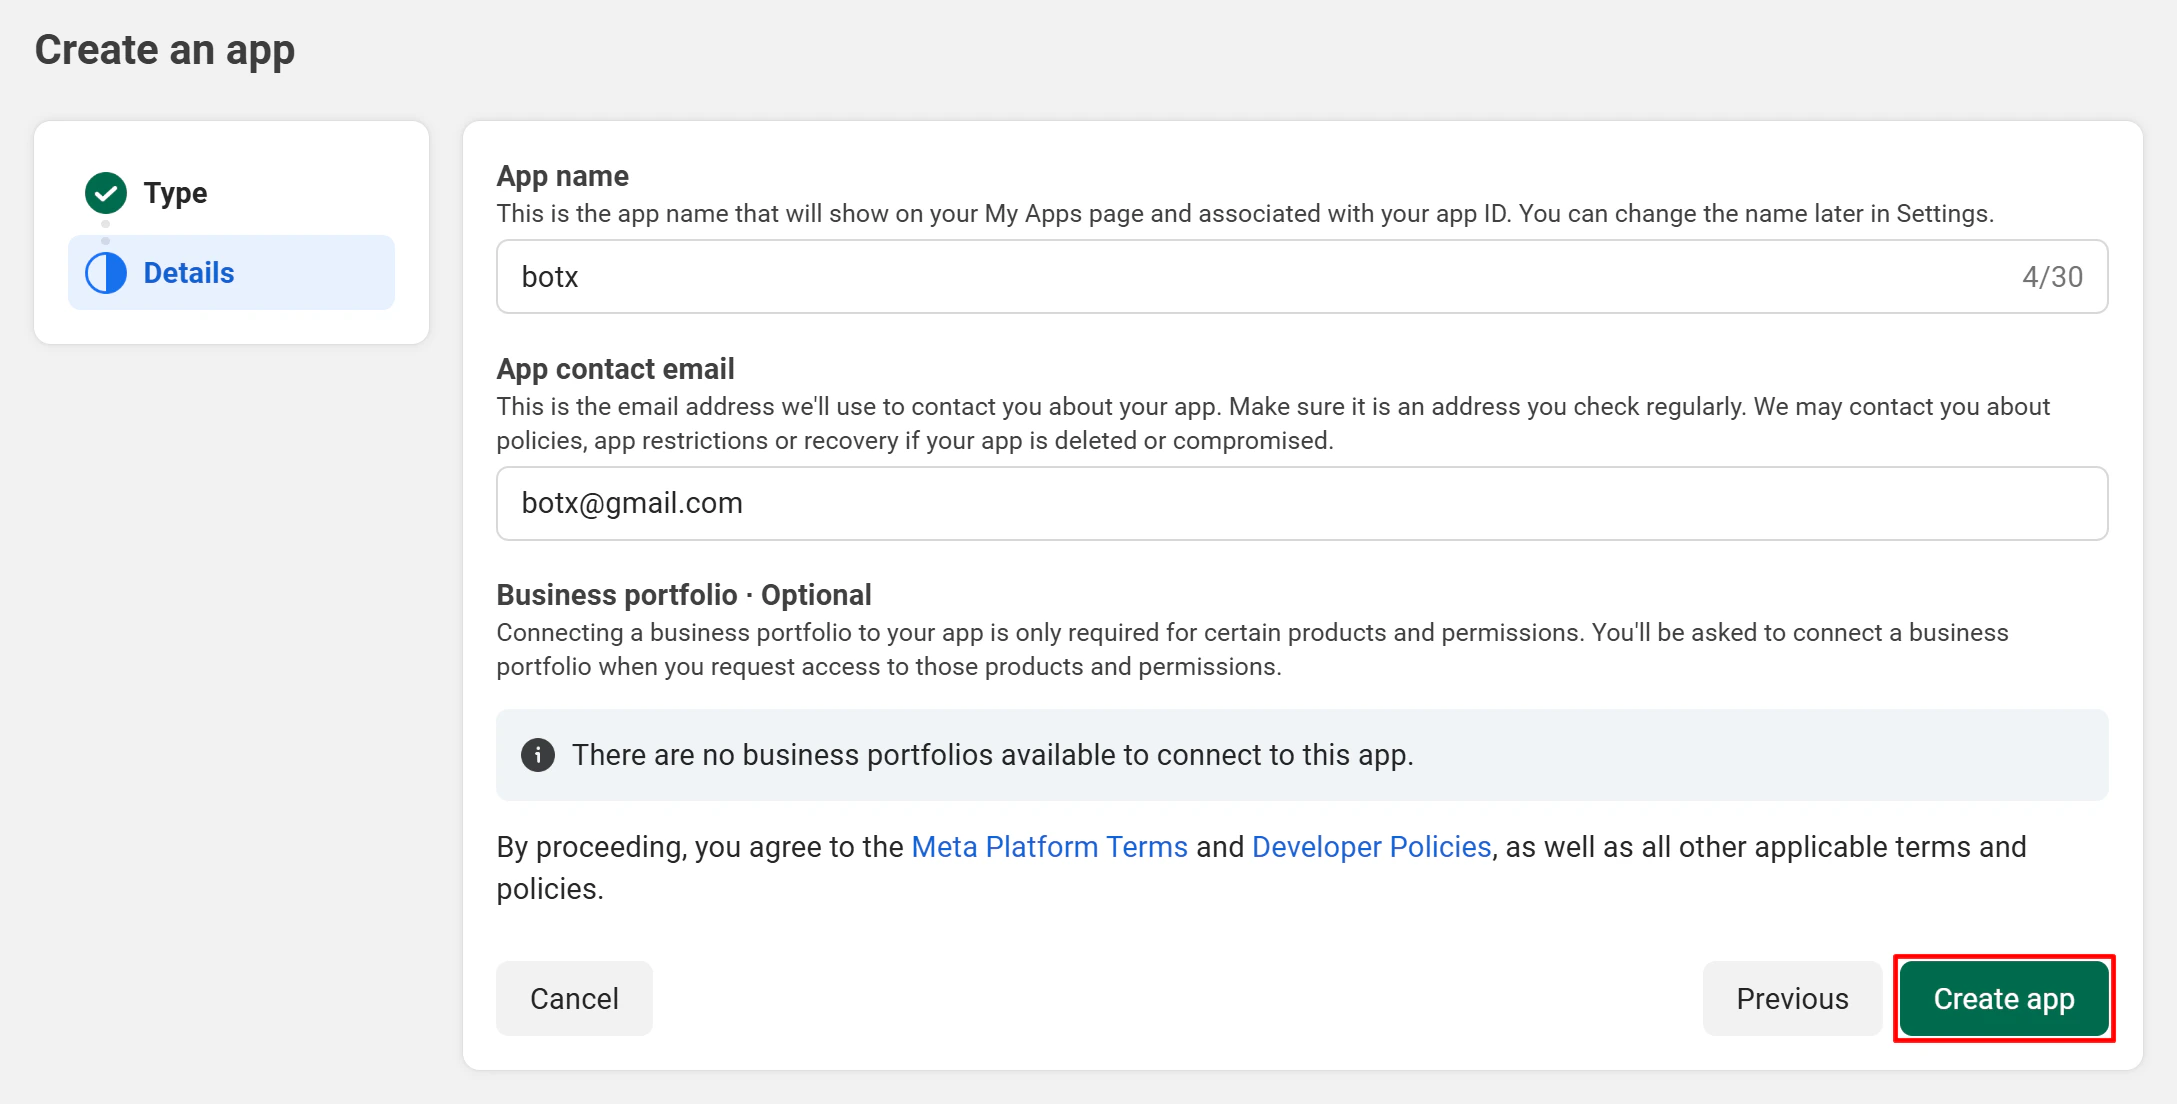
6
Get your App ID and App Secret
After creating your app, go to Settings → Basic to find your App ID and App Secret. You will need both values in the next step.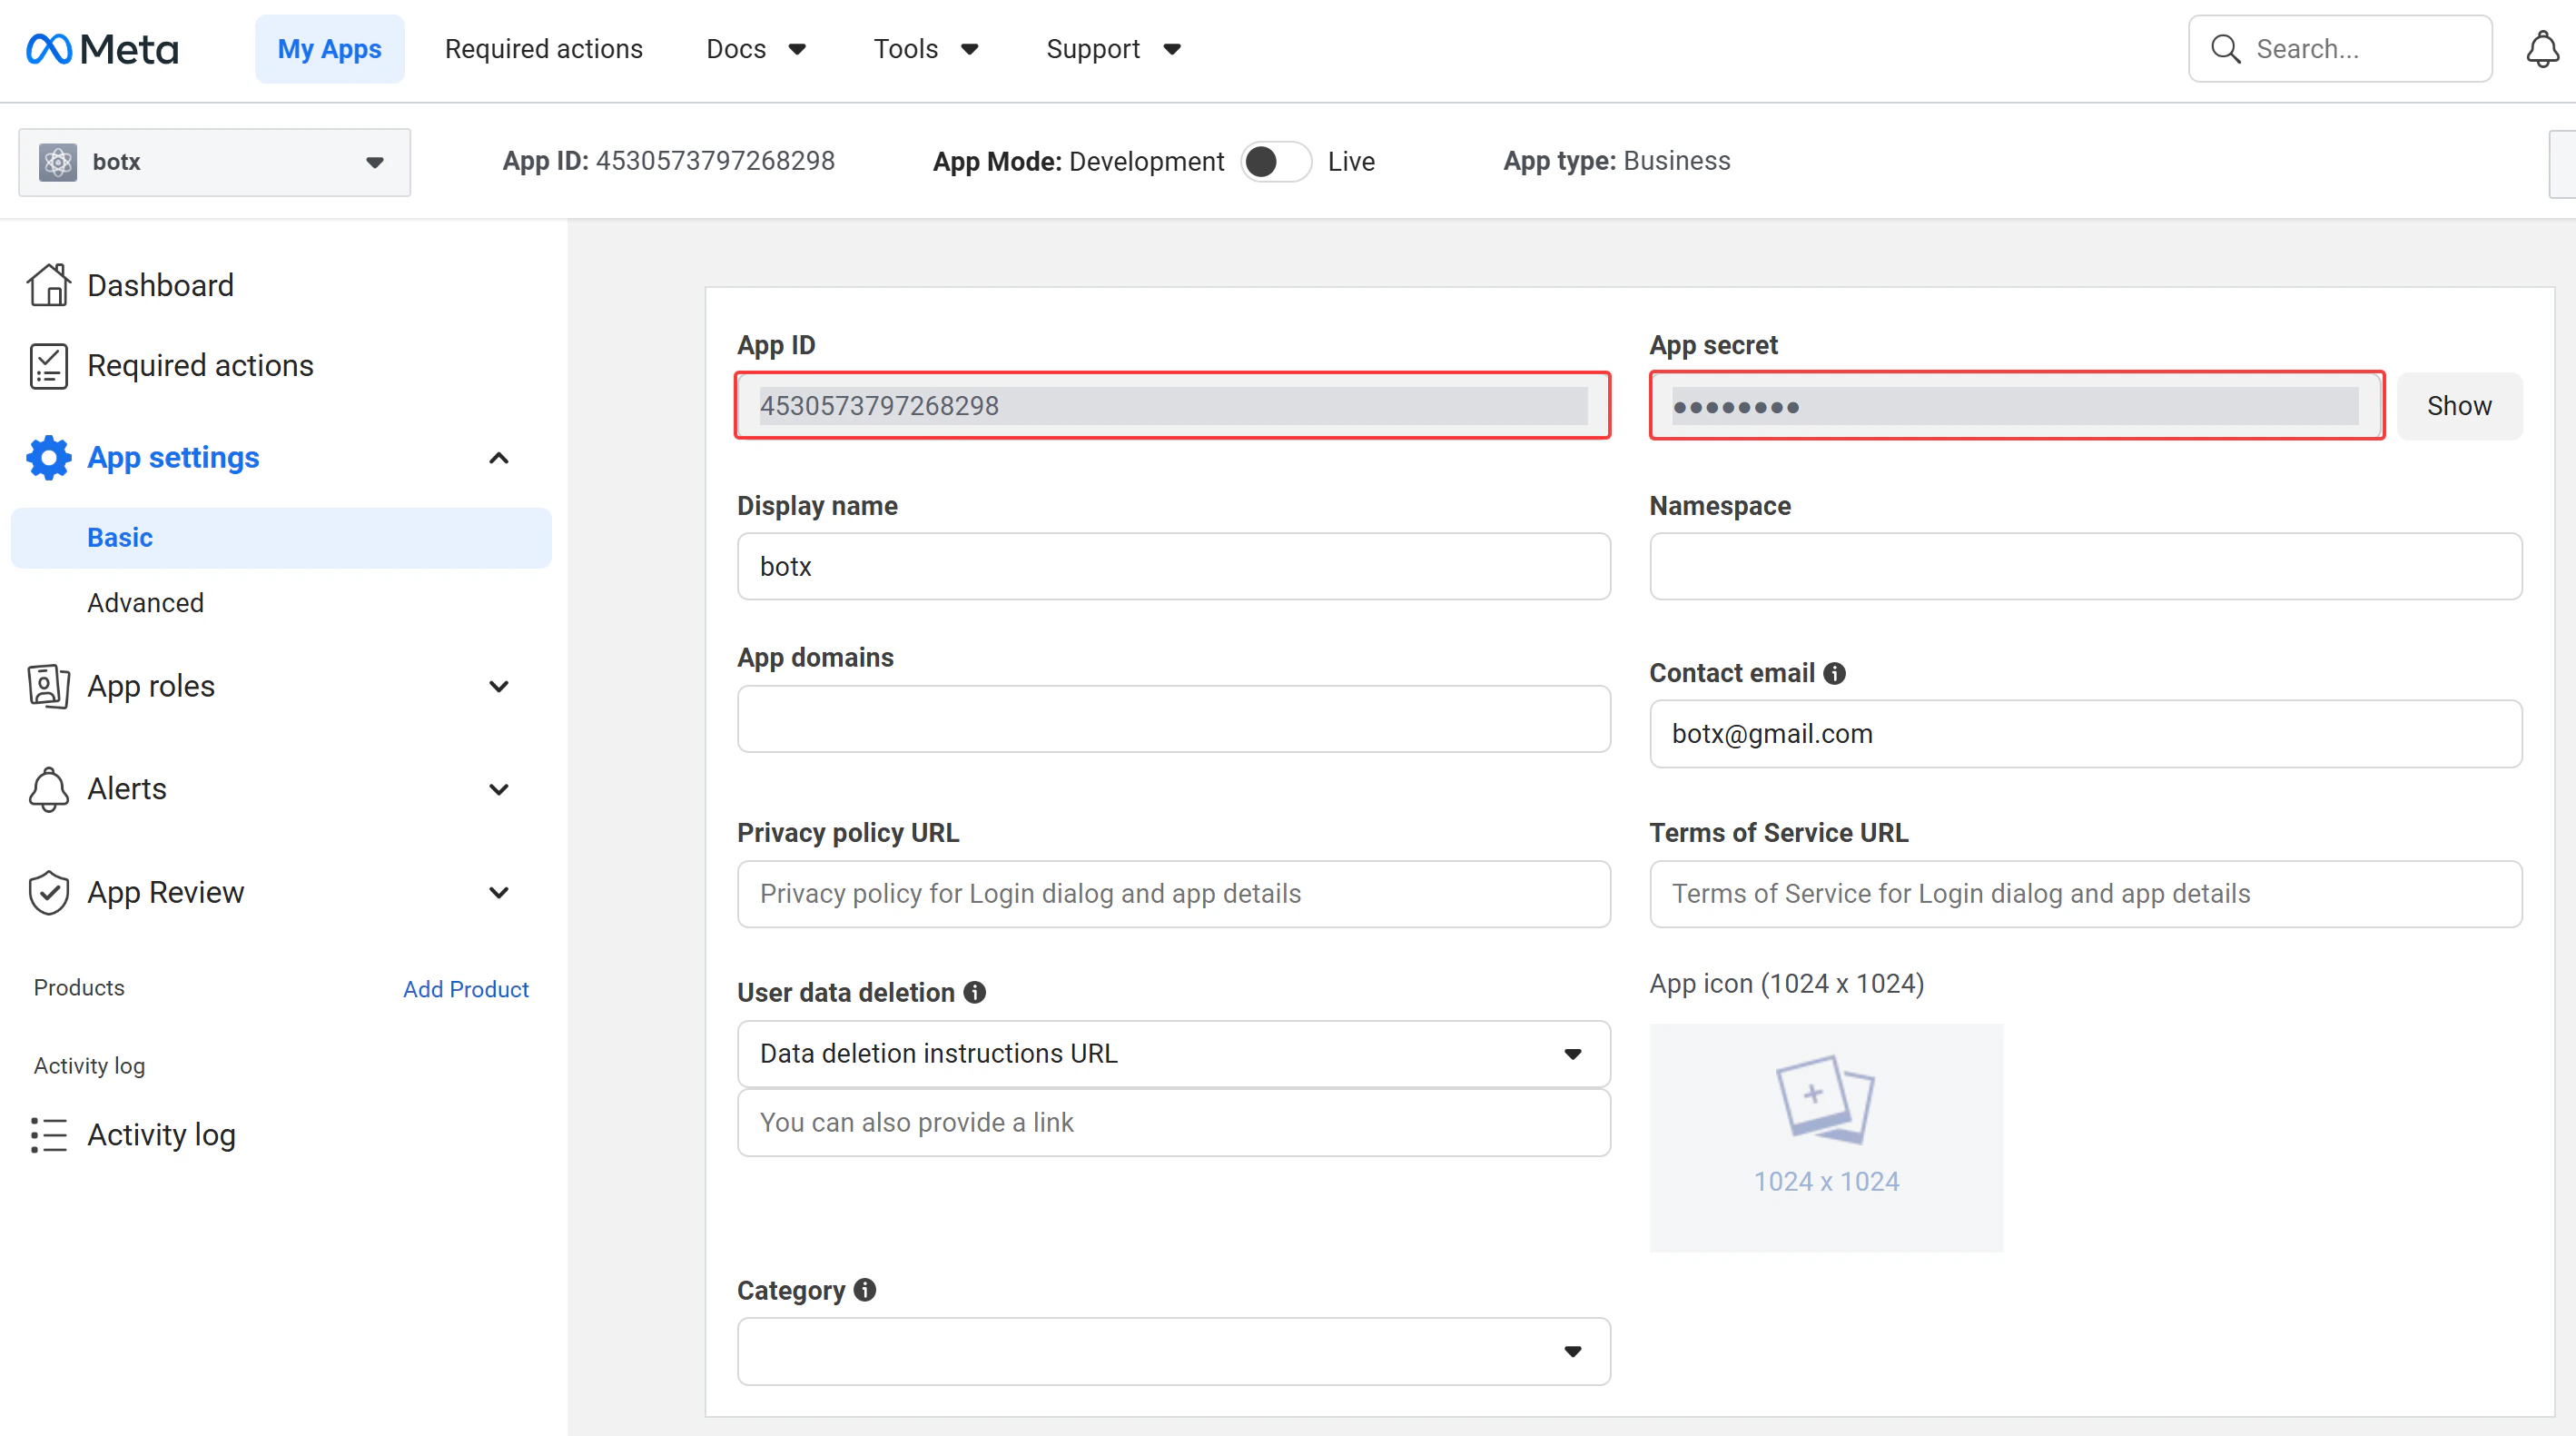
Step 2: Configure Credentials in the Admin Portal
You must enter the Facebook App credentials in the Admin Portal to enable the Instagram connection feature for your customers.1
Open Integrations
Log in to your Admin Portal, navigate to:Then select Instagram.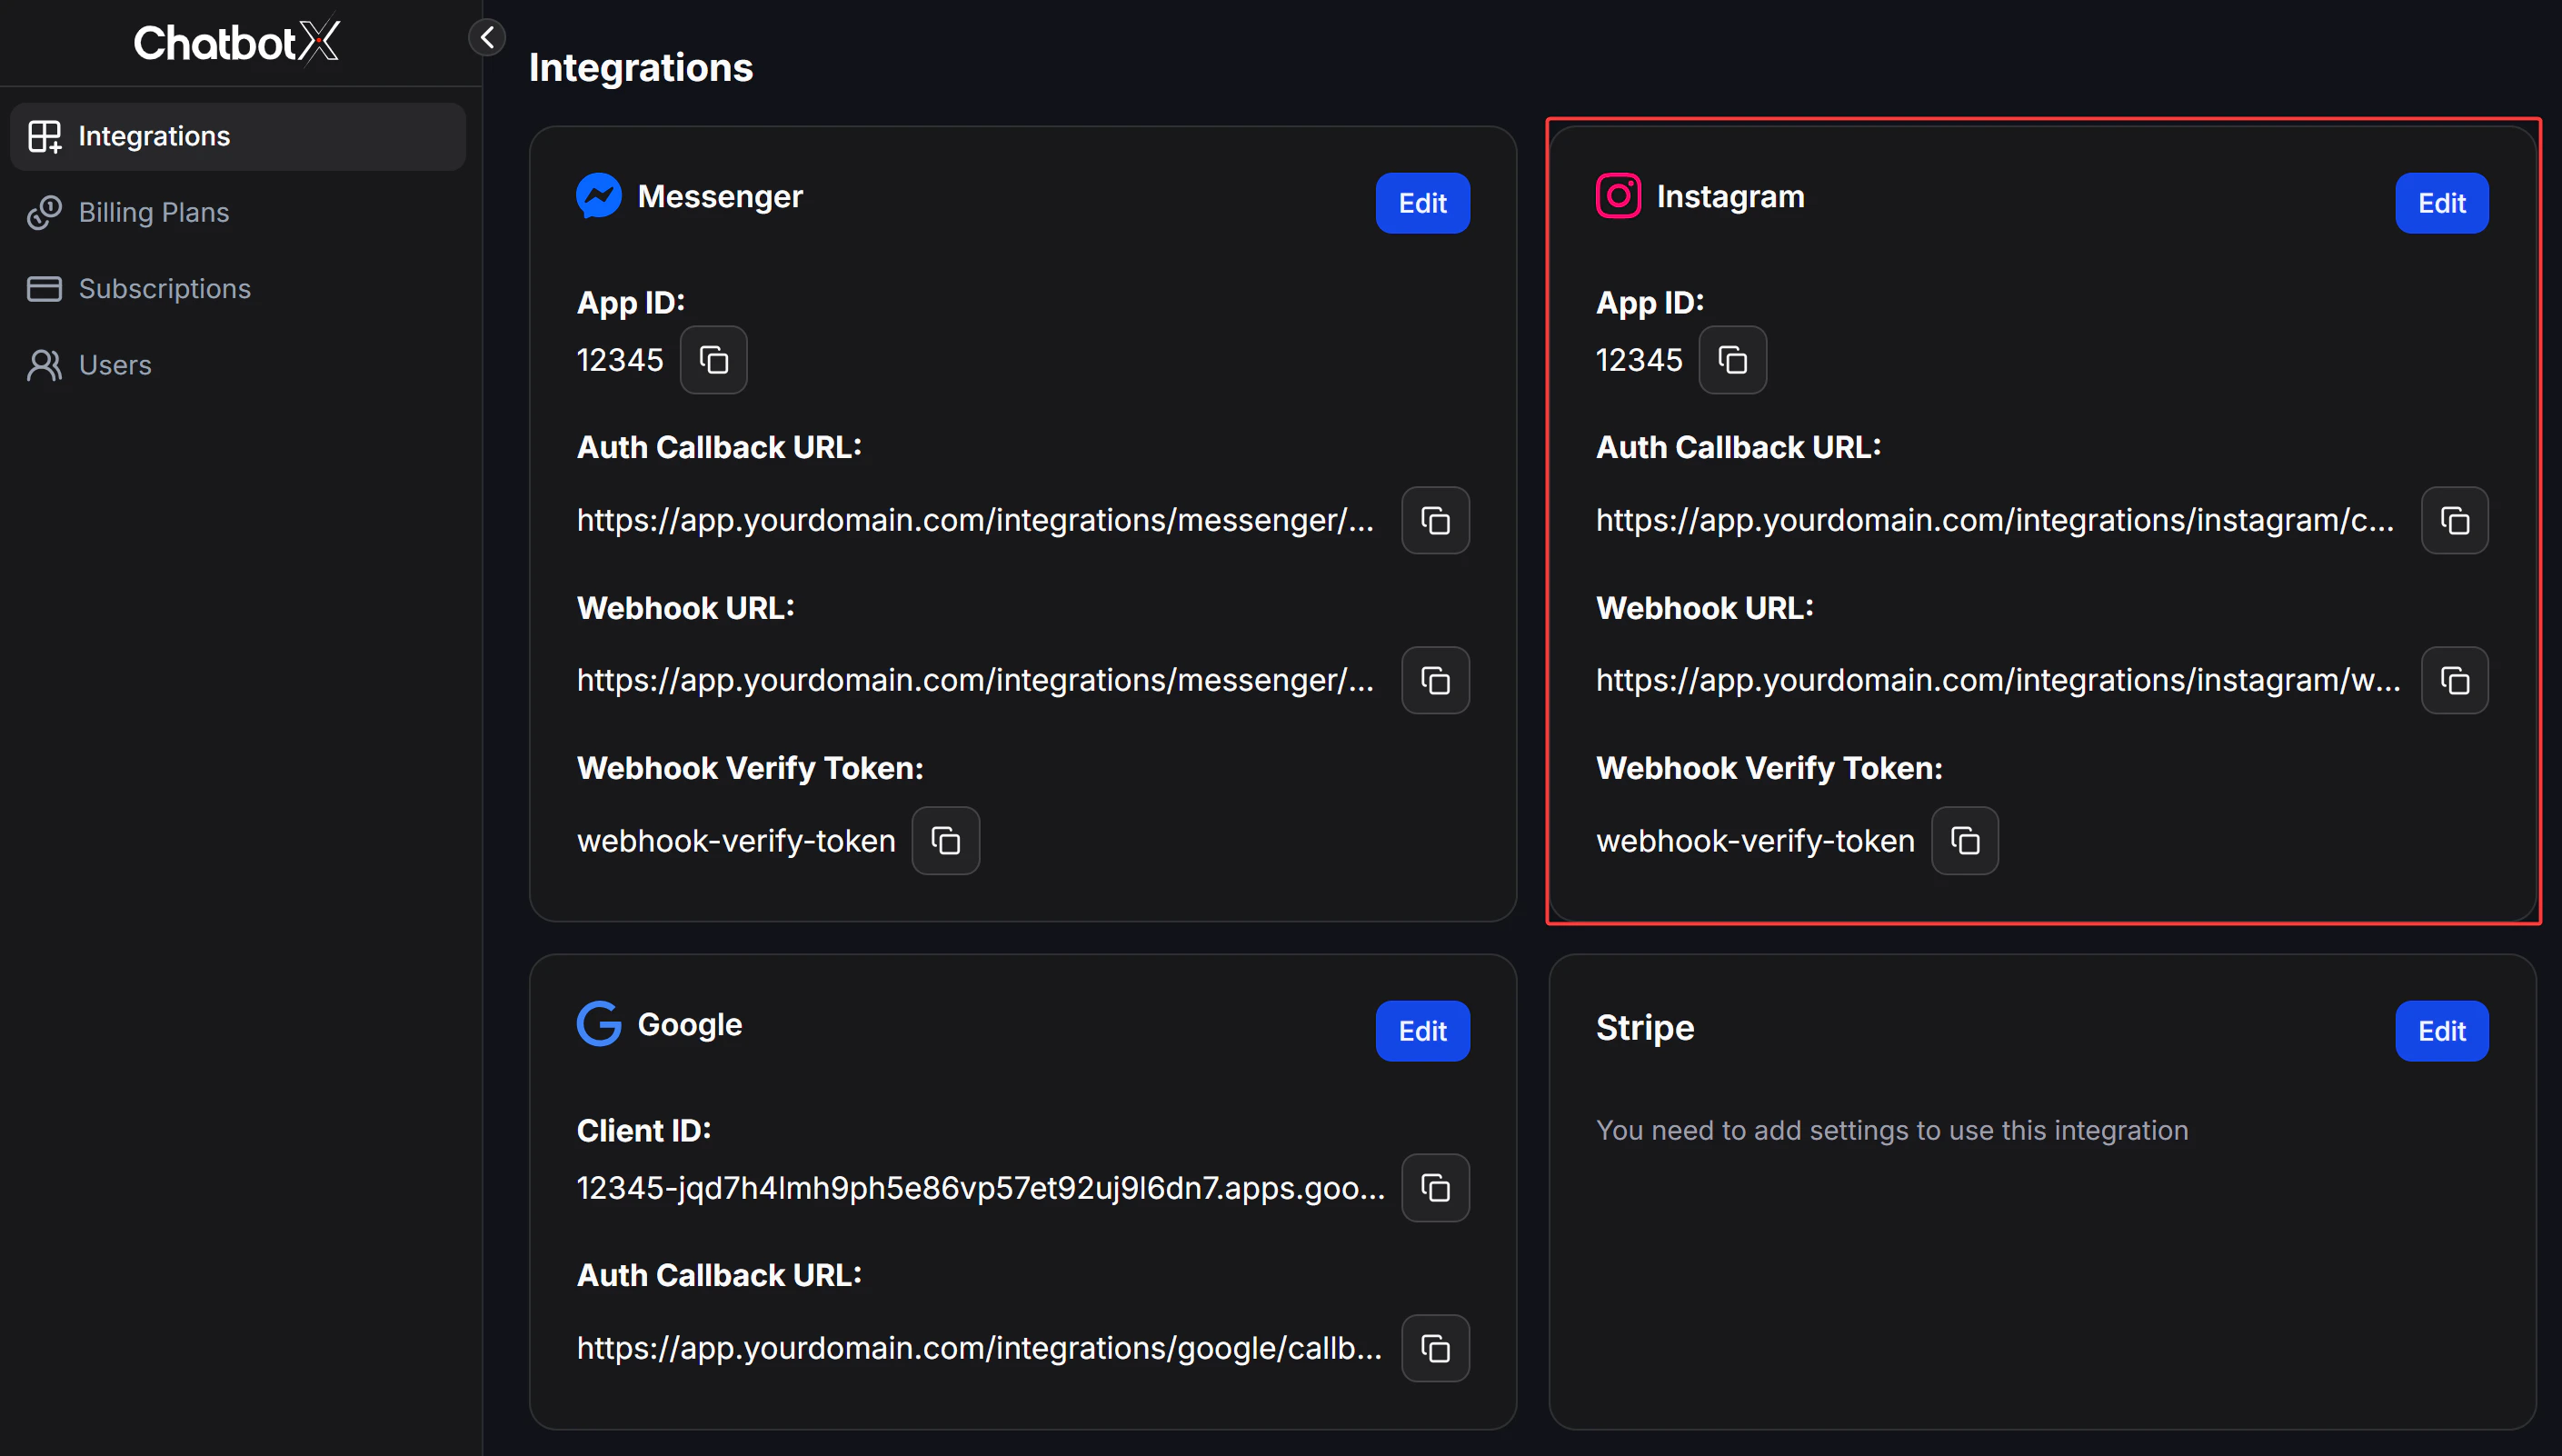
2
Open the Instagram configuration
Click the Edit button on the Instagram card to open the configuration modal.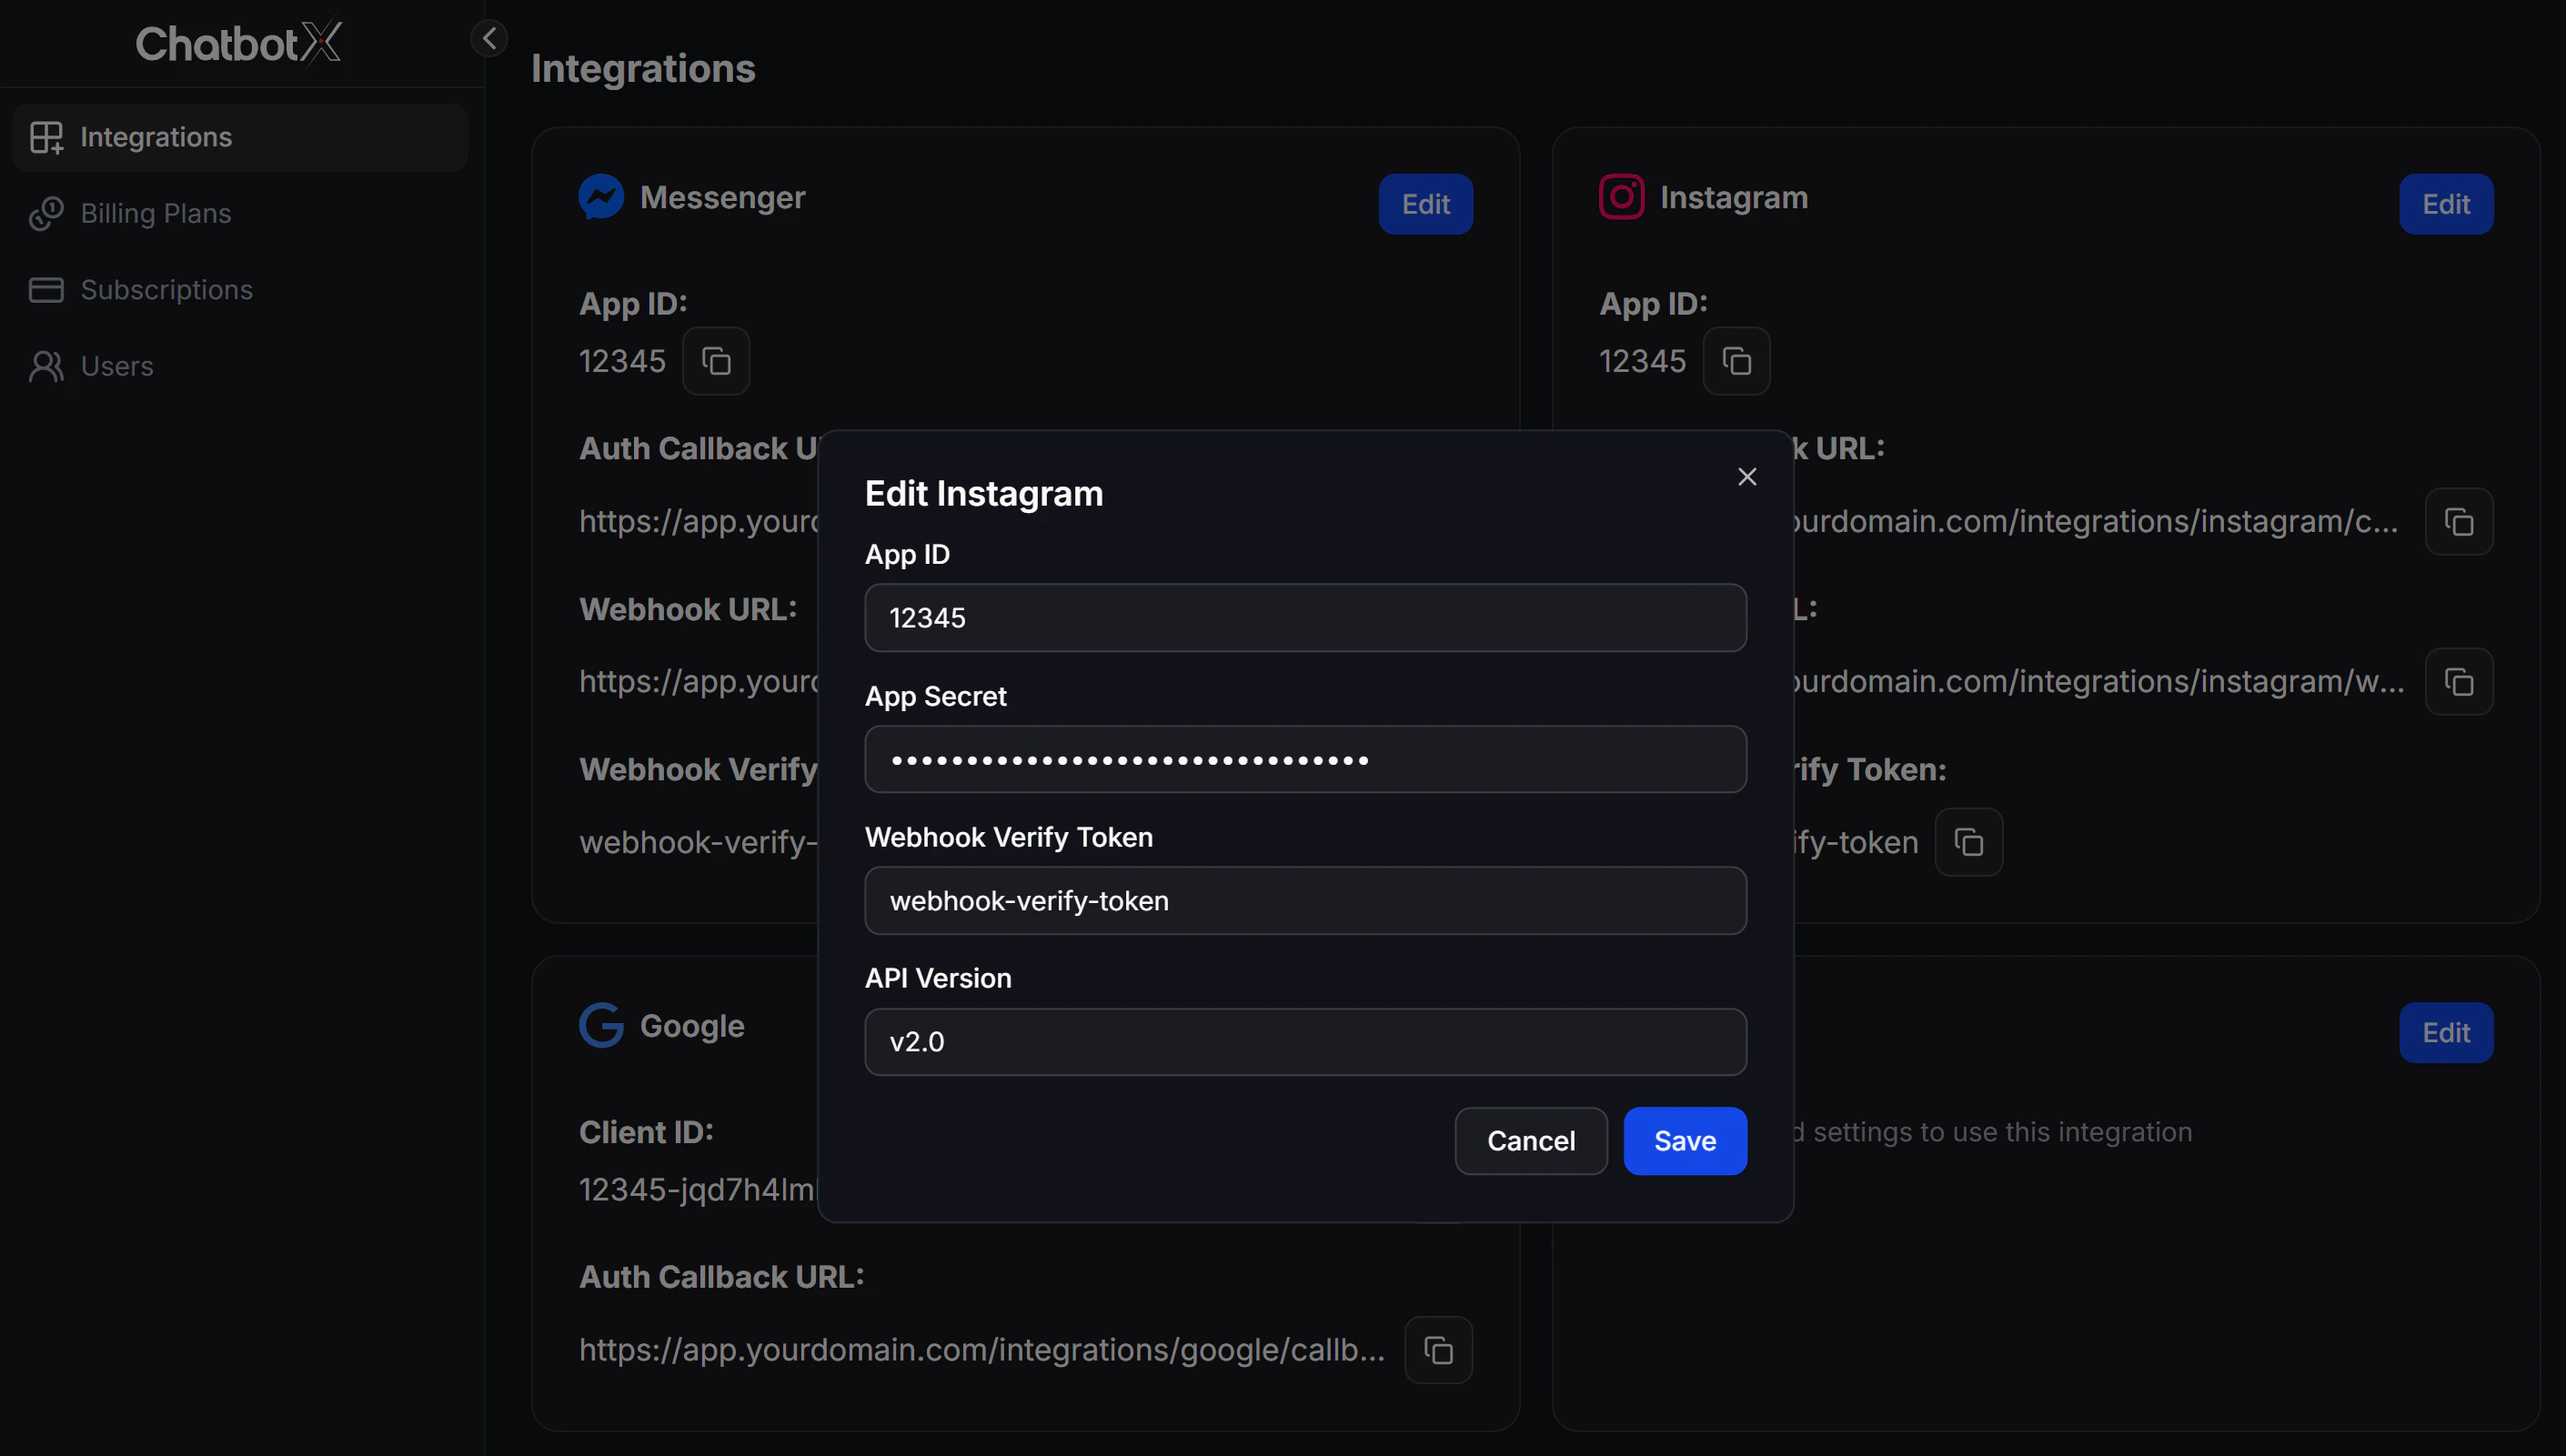
3
Enter your App credentials
Fill in the following fields using the values from the Meta Developer Portal:
4
Save
Click Save. The Instagram channel will now be ready for your customers to connect.After saving, the system will display a Webhook URL. Copy this URL to use in Step 3.
Step 3: Configure the Instagram App
1
Add your app domain
Under Settings → Basic, add your portal domain (e.g., 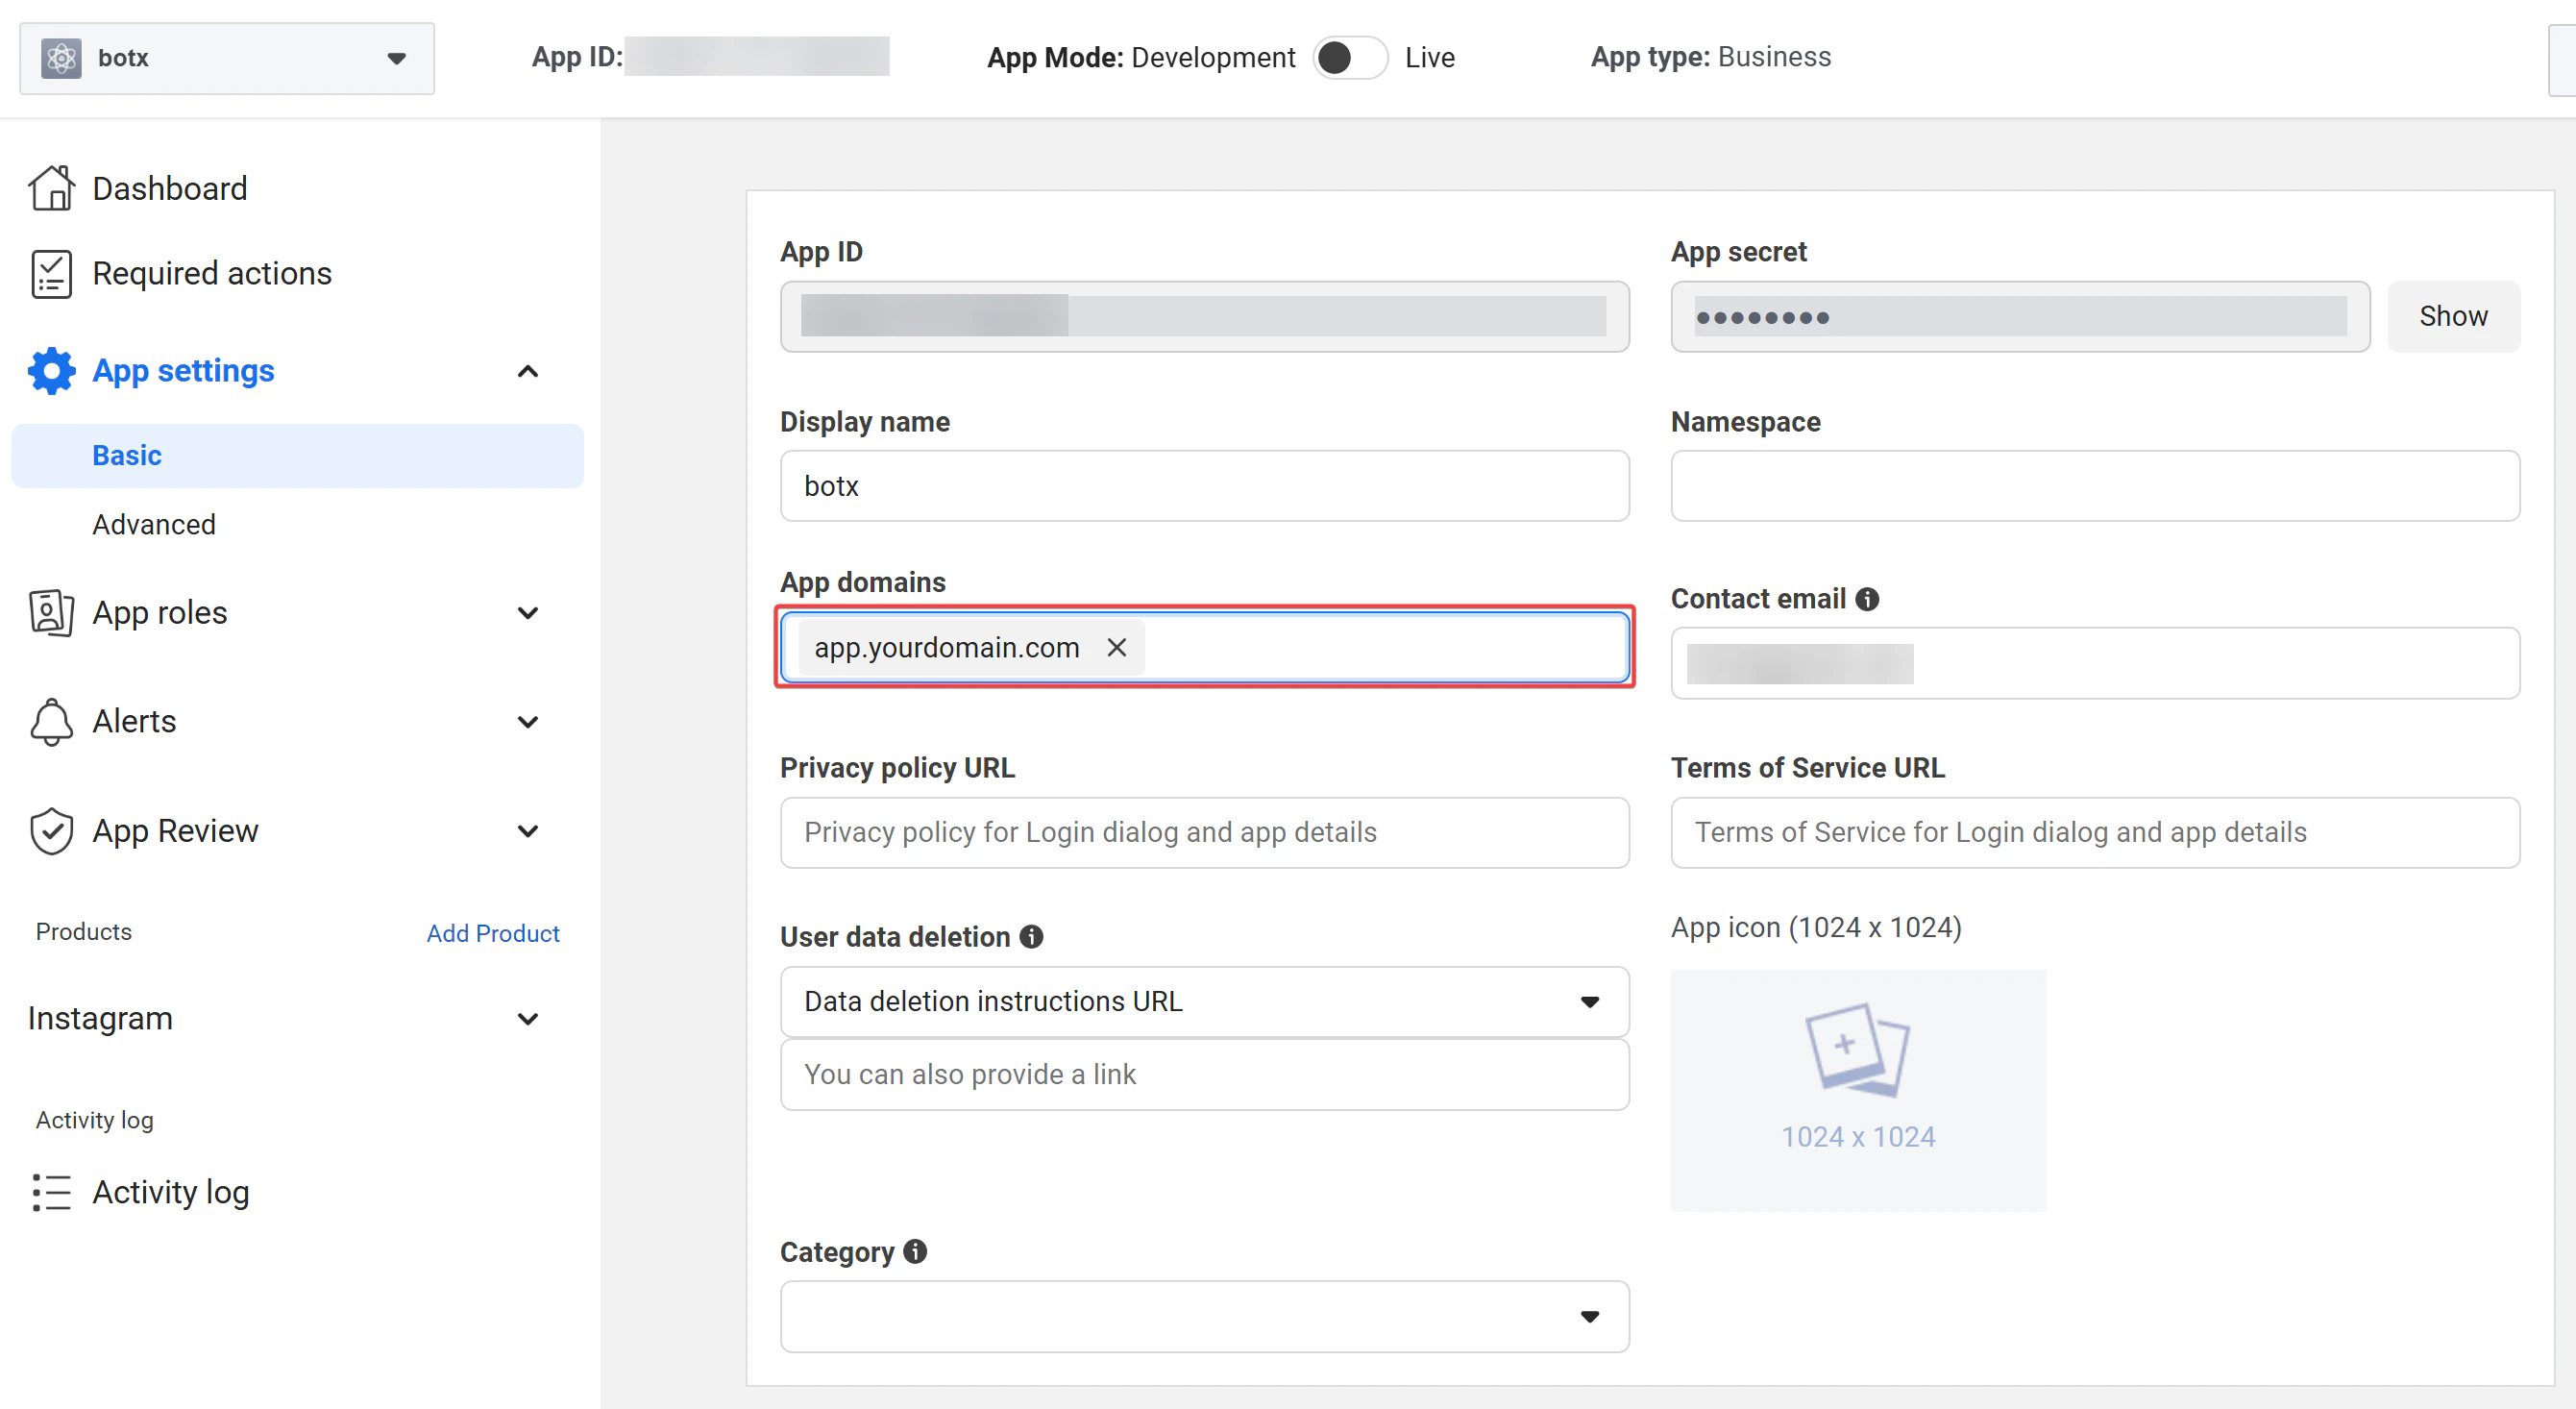
app.chatconnectx.com) as an app domain.2
Add Instagram product to your app
In the App dashboard, find the Instagram card under “Add products to your app” and click Set up.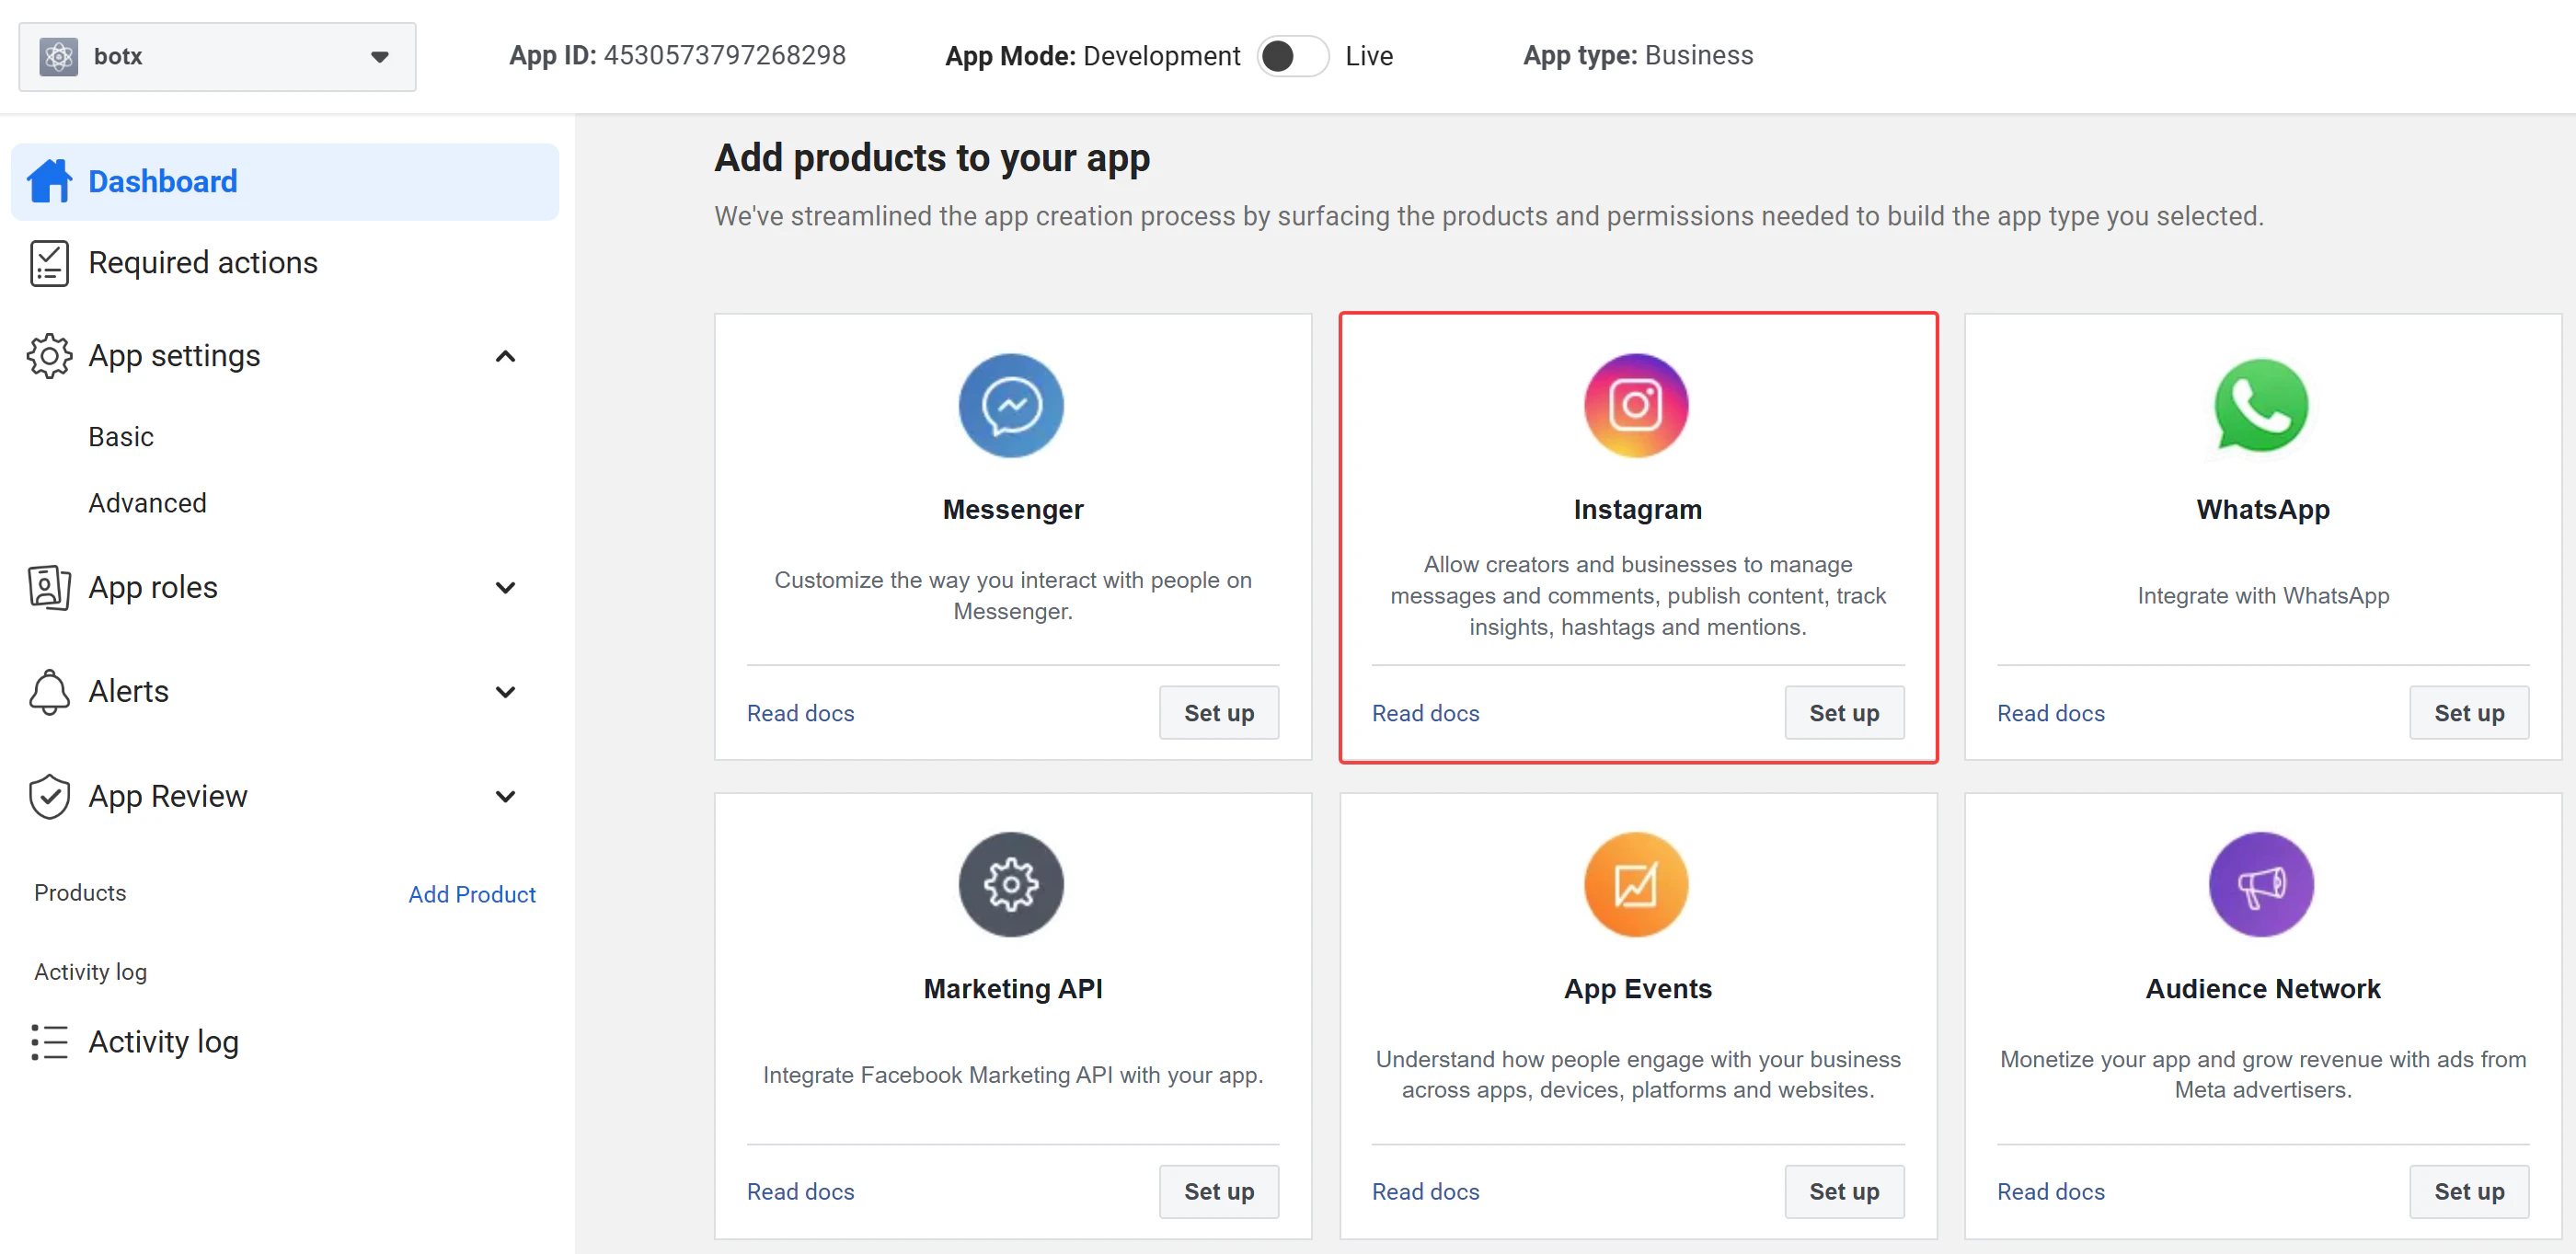
3
Open the API setup page
After adding the Instagram product, you will be redirected to the API setup with Instagram business login page. This page consolidates all configuration into 4 steps.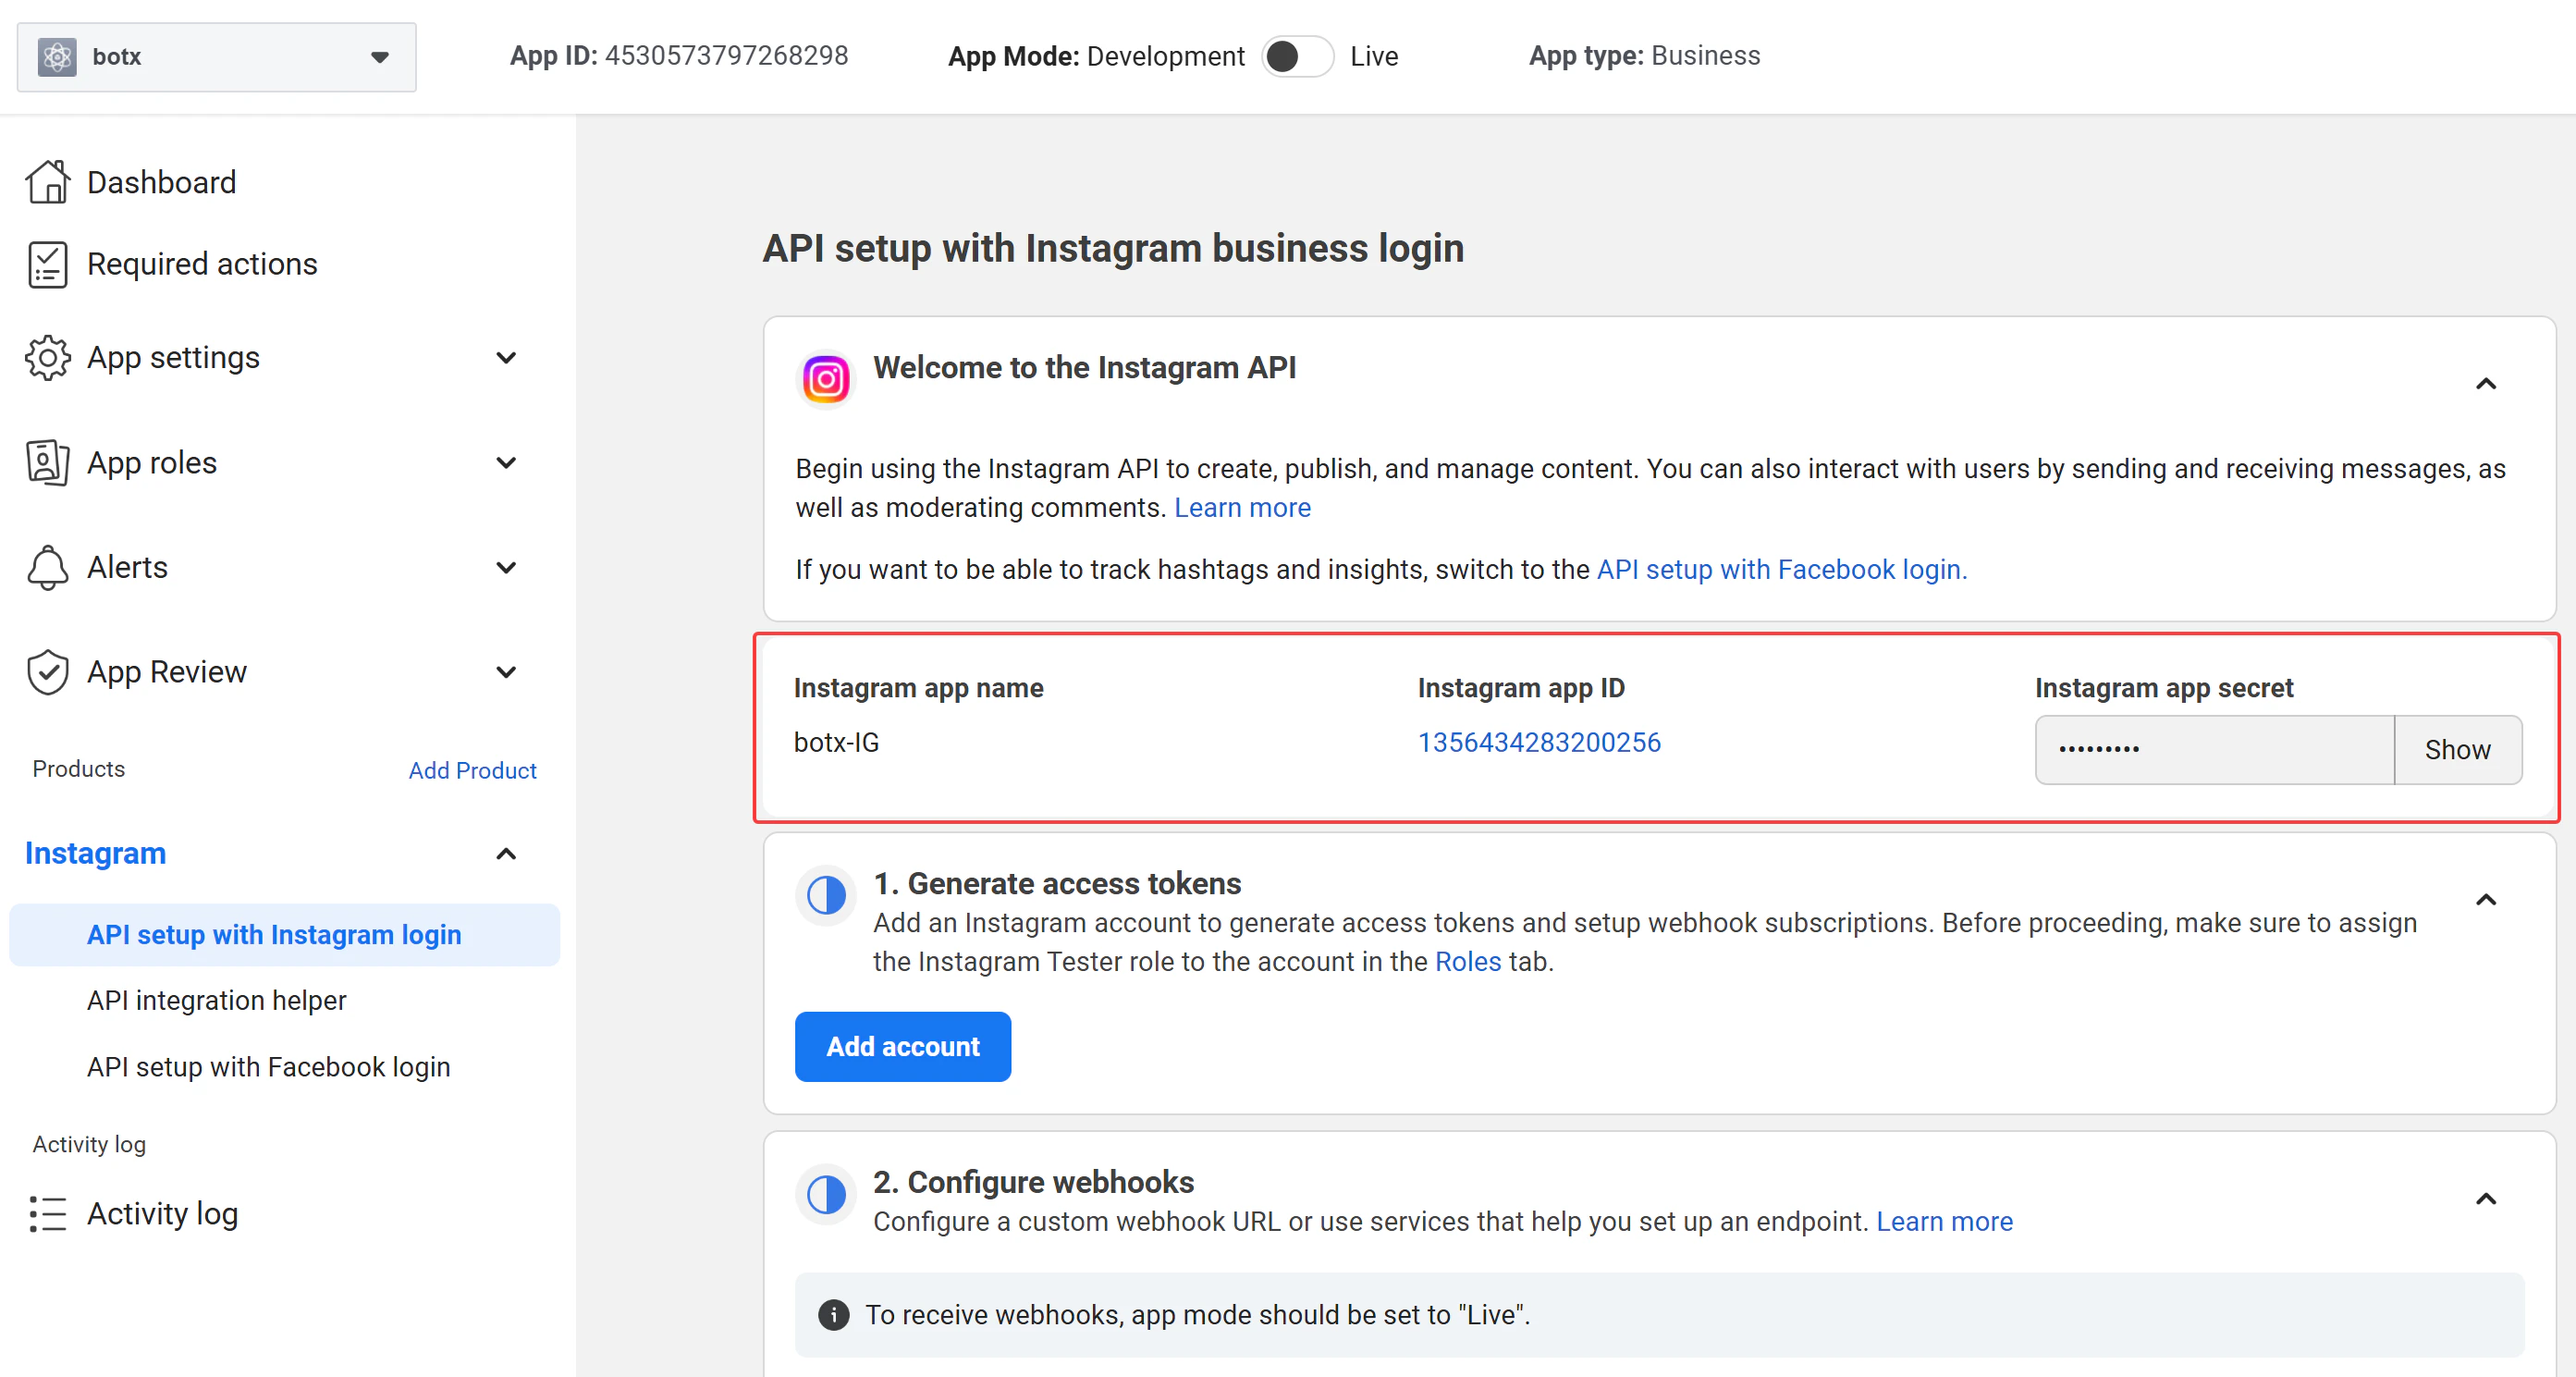
4
Configure webhooks
Under Step 2: Configure webhooks, fill in the following: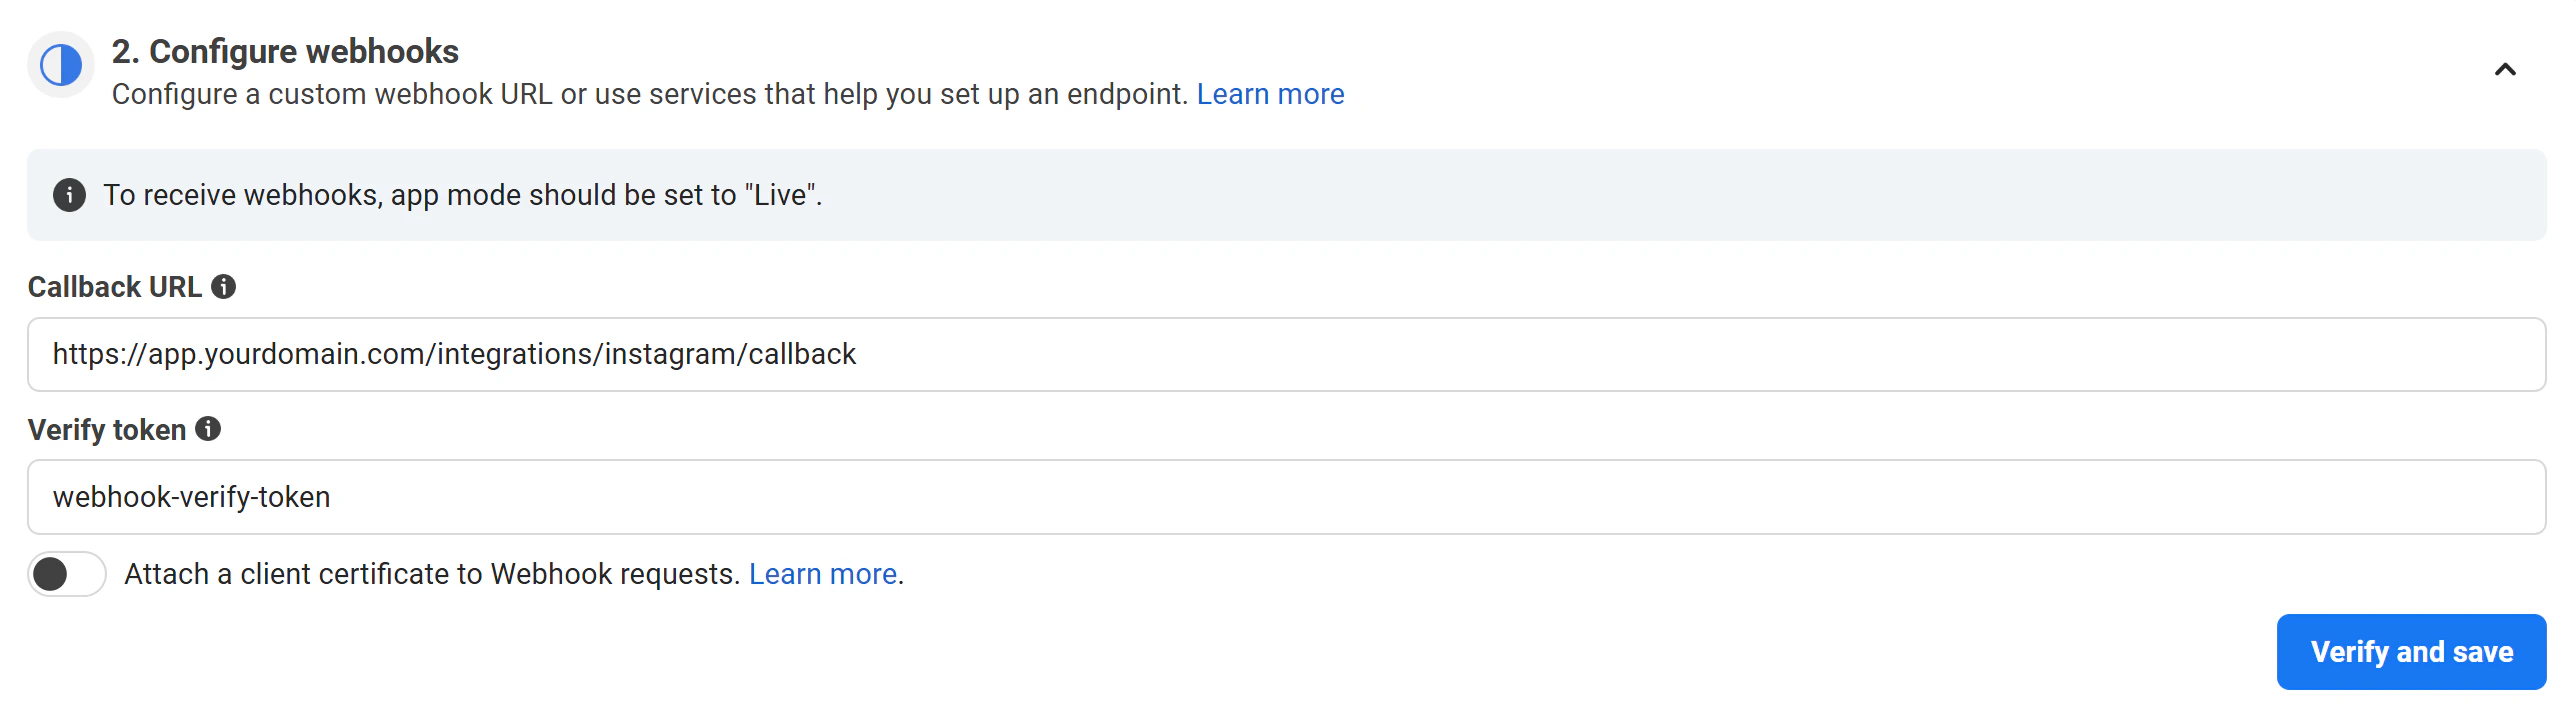
- Callback URL: Use the Webhook URL generated by the Admin Portal in Step 2 (e.g.,
https://app.chatconnectx.com/webhooks/instagram) - Verify Token: Enter the Webhook Verify Token value you configured in the Admin Portal (Step 2)
To receive webhooks, your app mode must be set to Live. You can toggle this from the top bar of the App dashboard.
Step 4: Connect your Facebook Page to Instagram
1
Open Facebook Page settings
Go to Facebook Page settings, select your page, and open Settings.
2
Link your Instagram account
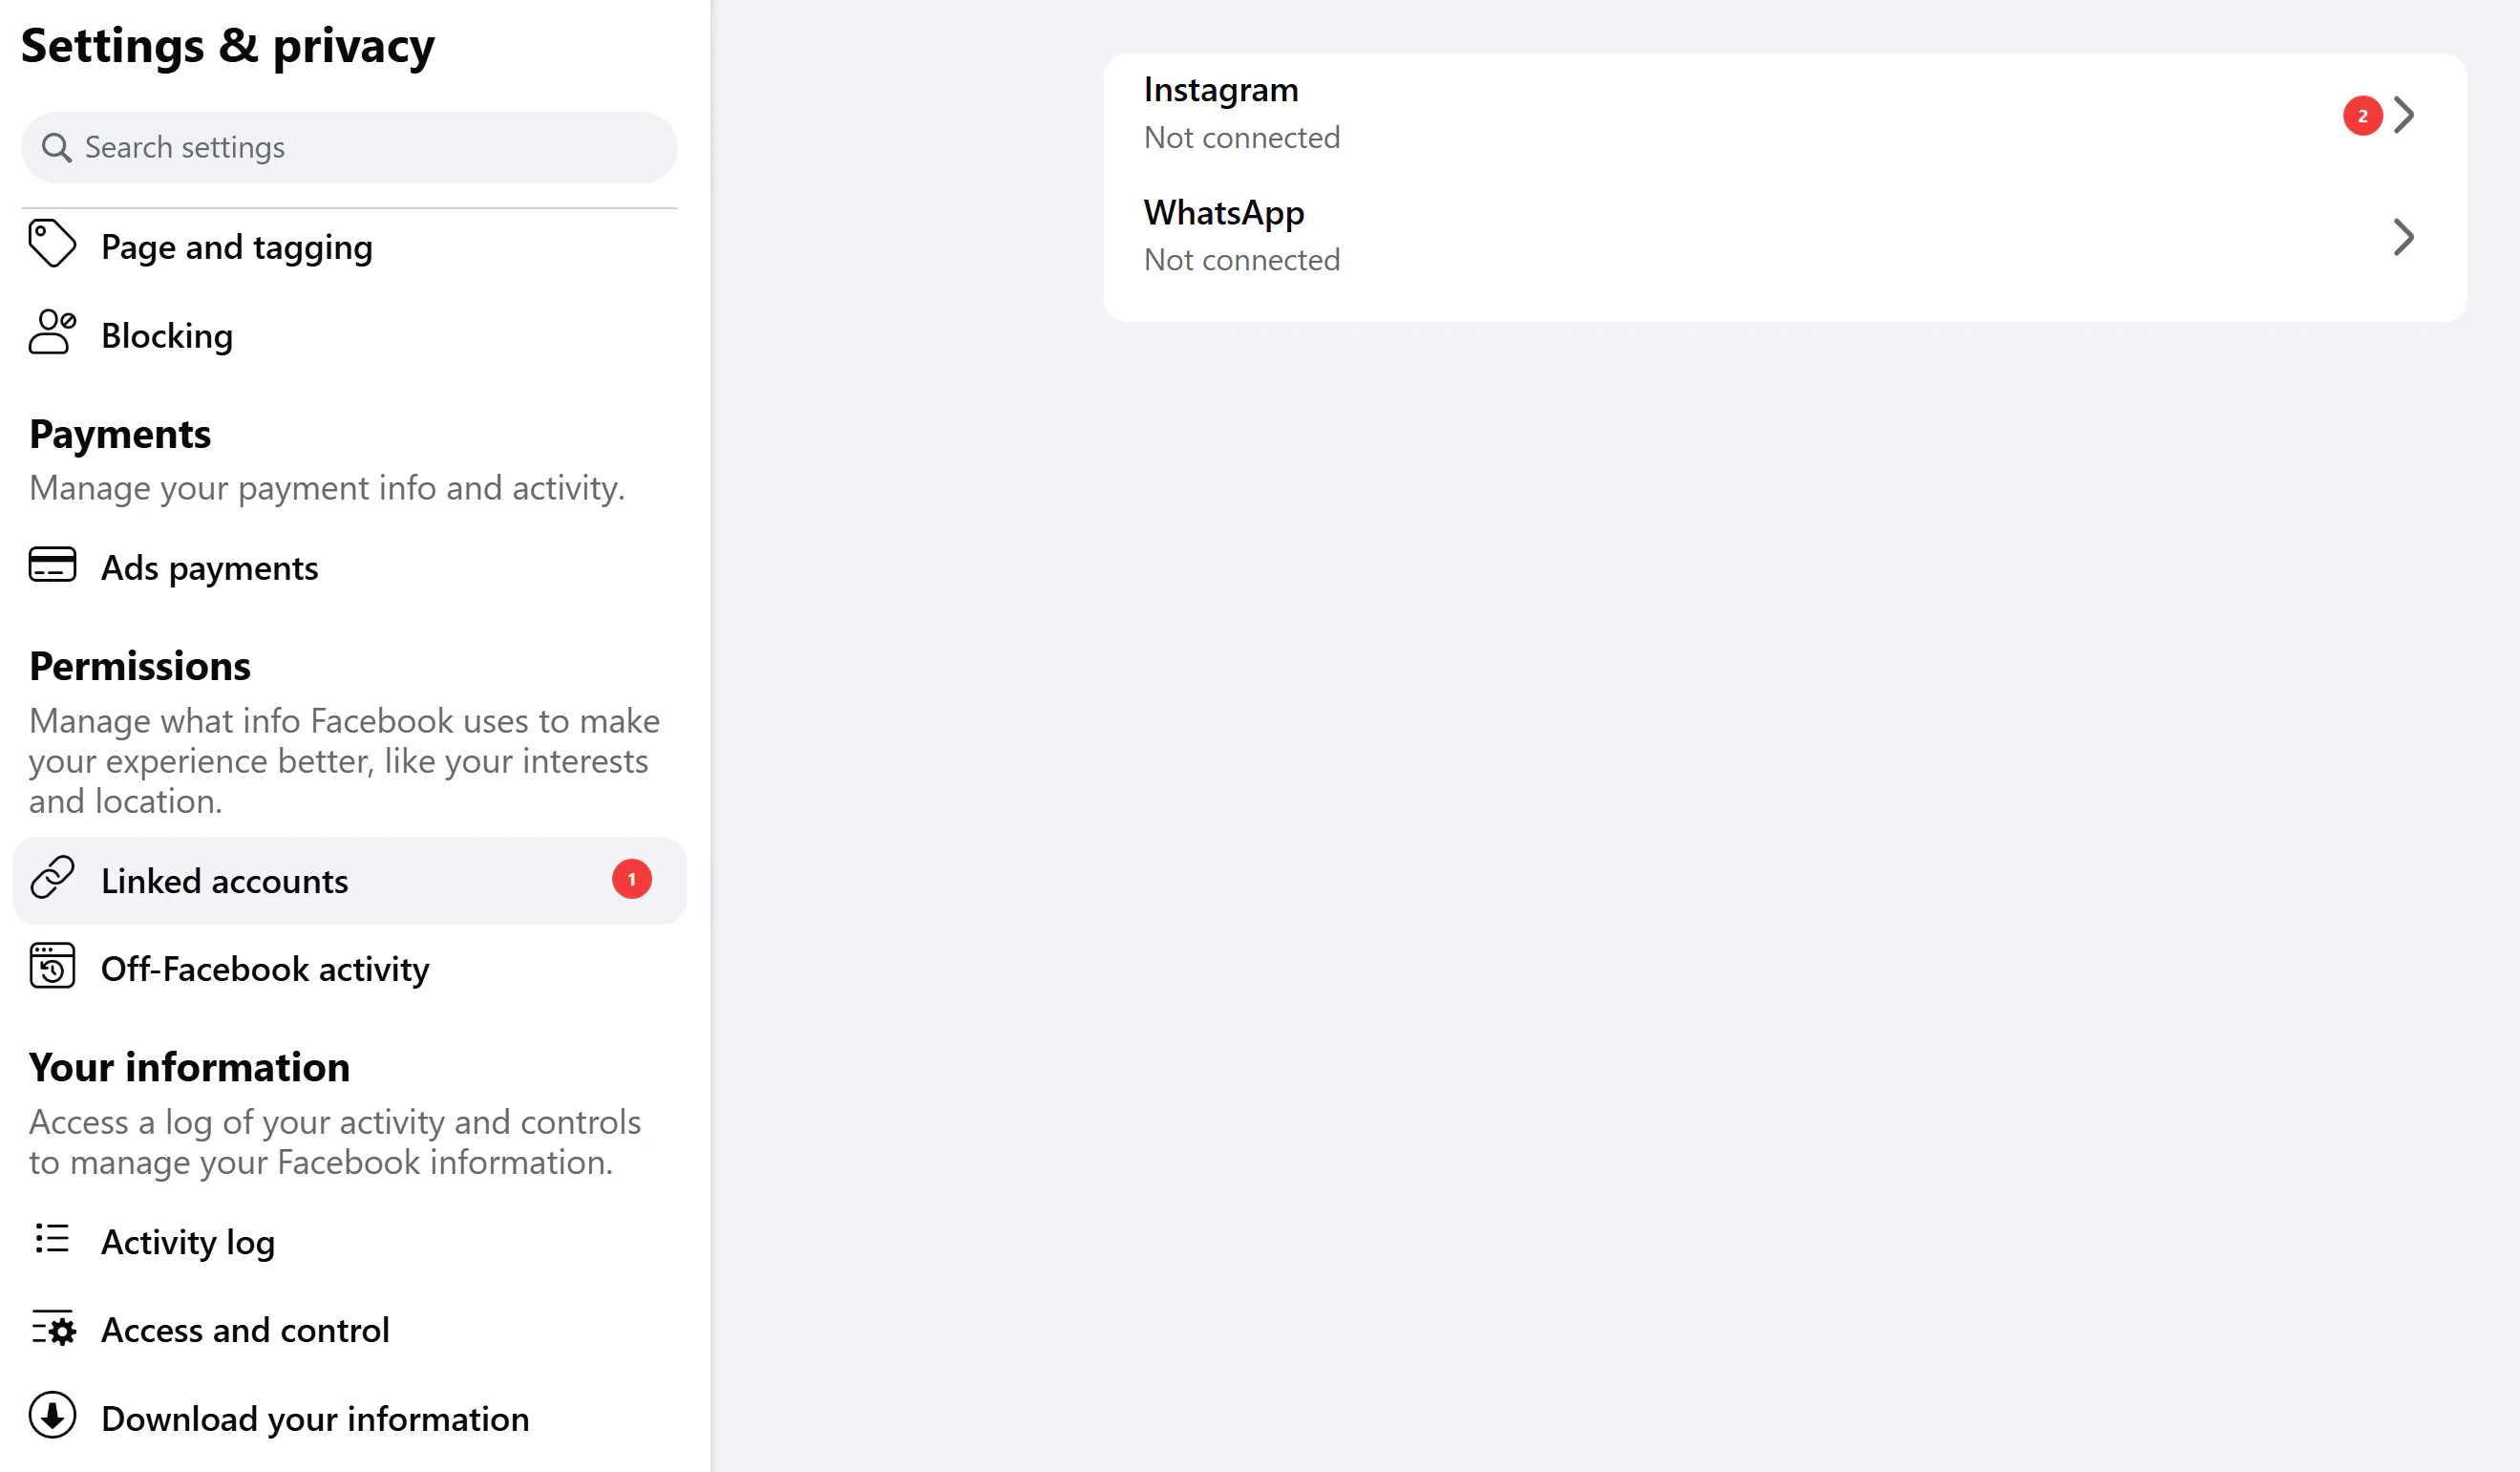
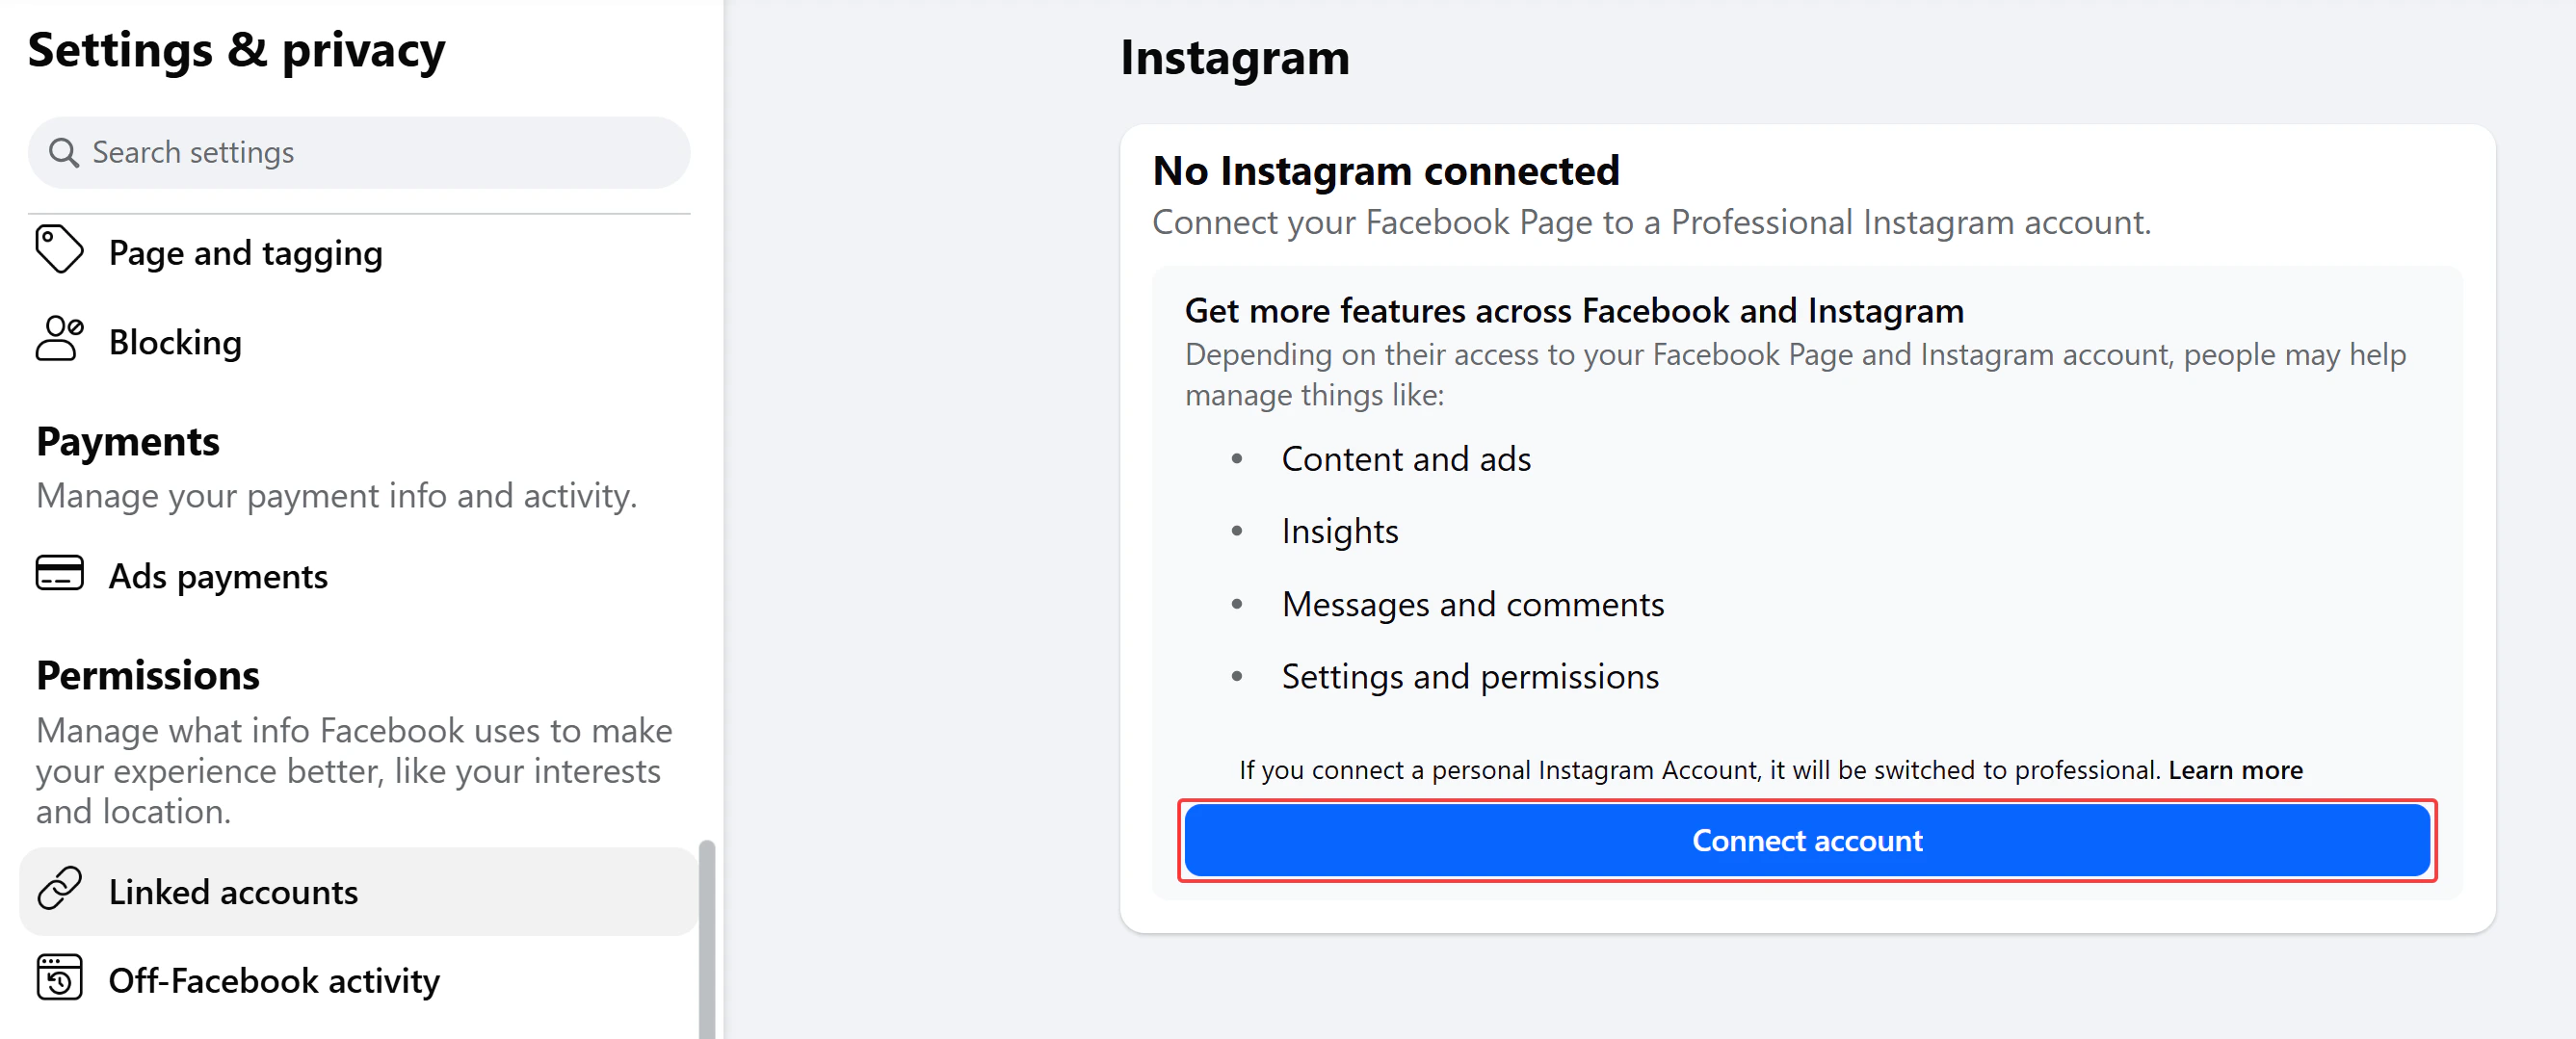
Go to Linked Accounts and connect your Instagram Professional account.
- Select Instagram
- Click Connect account
3
Verify the connection
If everything is set up correctly, you will see the message “Instagram connected.”