Platform Branding Identity Structure
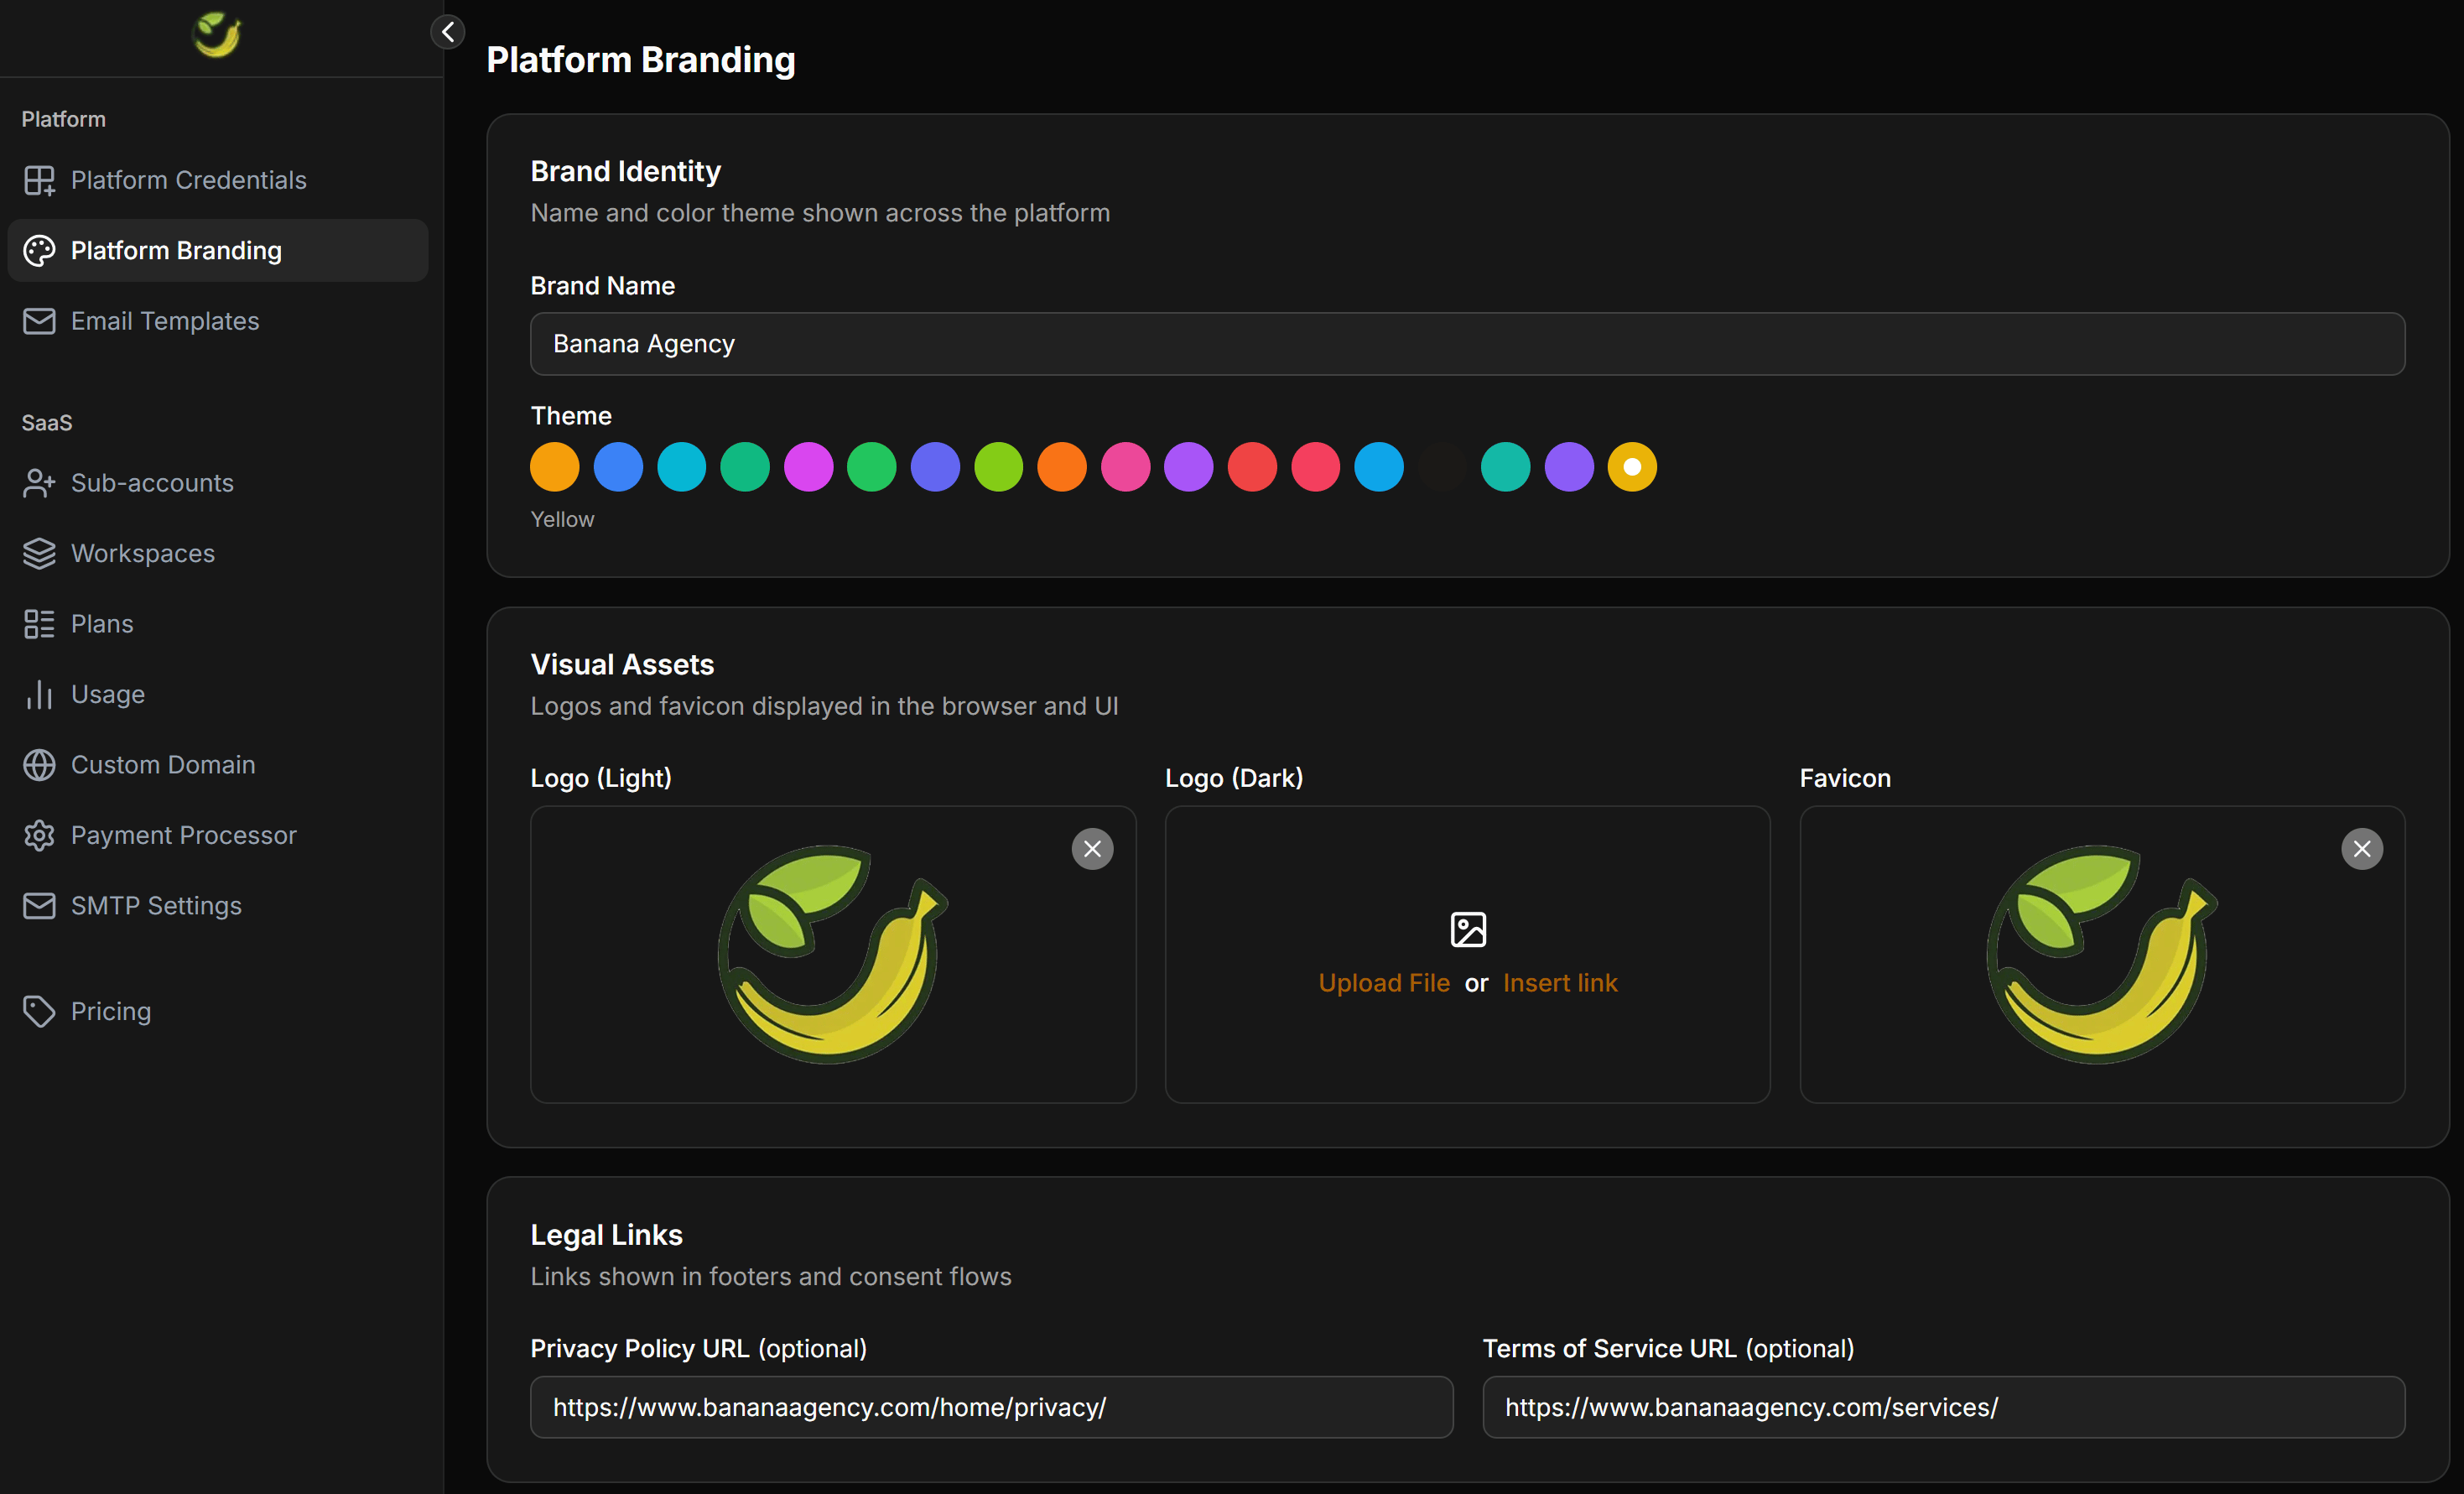
To configure your brand identity, log in to your ChatbotX Portal, open the Platform group on the left navigation menu, and select Platform Branding. The settings are divided into the following main sections:Brand Identity
Configure the display name and primary colors for the entire portal:- Brand Name: Your official brand name. This name appears in the browser page title, the sidebar, the login page, and within automated system emails.
- Theme: A list of primary color options. Selecting a theme color (such as Yellow, Blue, Green, etc.) automatically applies it to main action buttons, active tabs, and graphic highlights throughout the interface.
Visual Assets
Upload the logo and icon files displayed on browser tabs and the portal interface:- Logo (Light): The brand logo displayed on light interface backgrounds (such as the default sidebar or the login page with a white background). Transparent PNG or SVG formats are highly recommended.
- Logo (Dark): The brand logo displayed on dark interface backgrounds or when users enable Dark Mode.
- Favicon: The small icon displayed on browser tabs or shortcut bookmarks. The favicon should be a square image with a recommended resolution of 32x32 px or higher in PNG or ICO format.
Legal Links
Add your own business legal links, which are displayed in the footer or during authentication flows:- Privacy Policy URL (optional): The URL pointing to your Privacy Policy page.
- Terms of Service URL (optional): The URL pointing to your Terms of Service page.
Note: These legal links are extremely important and mandatory if you configure custom login applications through Google, Meta, or TikTok. These platforms require your application to display clear privacy policies before approval.
Advanced
Configure custom styling or tracking scripts directly into every page of the portal:- Custom CSS: Enter custom CSS code to apply deeper design modifications (such as changing system fonts, hiding specific buttons, or adjusting block spacing).
- Custom JS: Enter JavaScript code to integrate third-party tools (such as Google Analytics, Facebook Pixel, or custom live chat widgets to support your clients).
How to configure Platform Branding
Before you begin, prepare your brand name, logo files, a square favicon file, legal links, and custom CSS/JS snippets if applicable.Open the Platform Branding page
Log in to your admin account on the ChatbotX Portal. In the left navigation menu, select Platform > Platform Branding.
Update Brand Identity
Under Brand Identity, enter your brand name in the Brand Name field. Select a primary theme color that matches your brand guidelines from the Theme color list.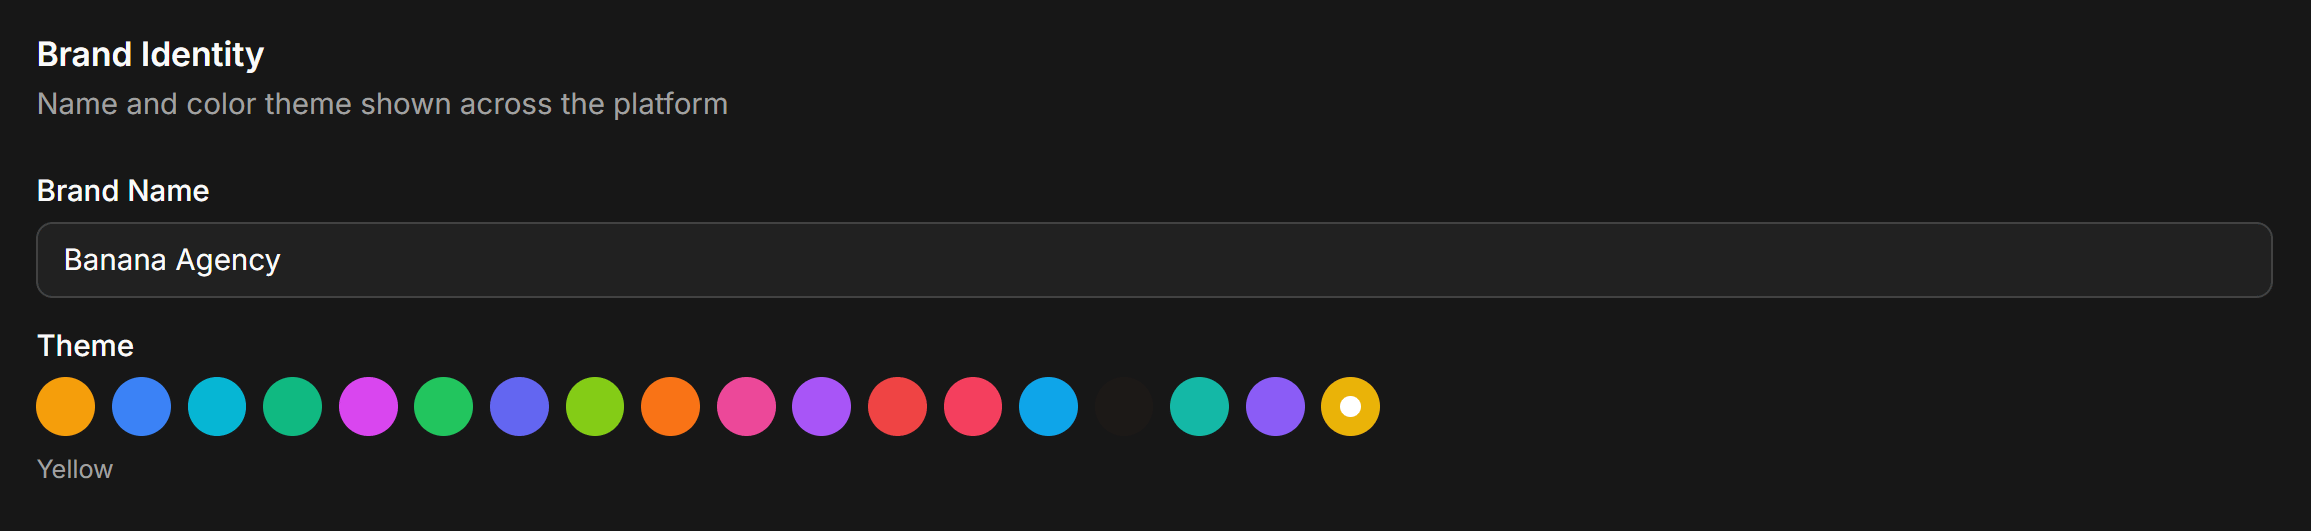
Upload Visual Assets
Under Visual Assets, perform the following actions: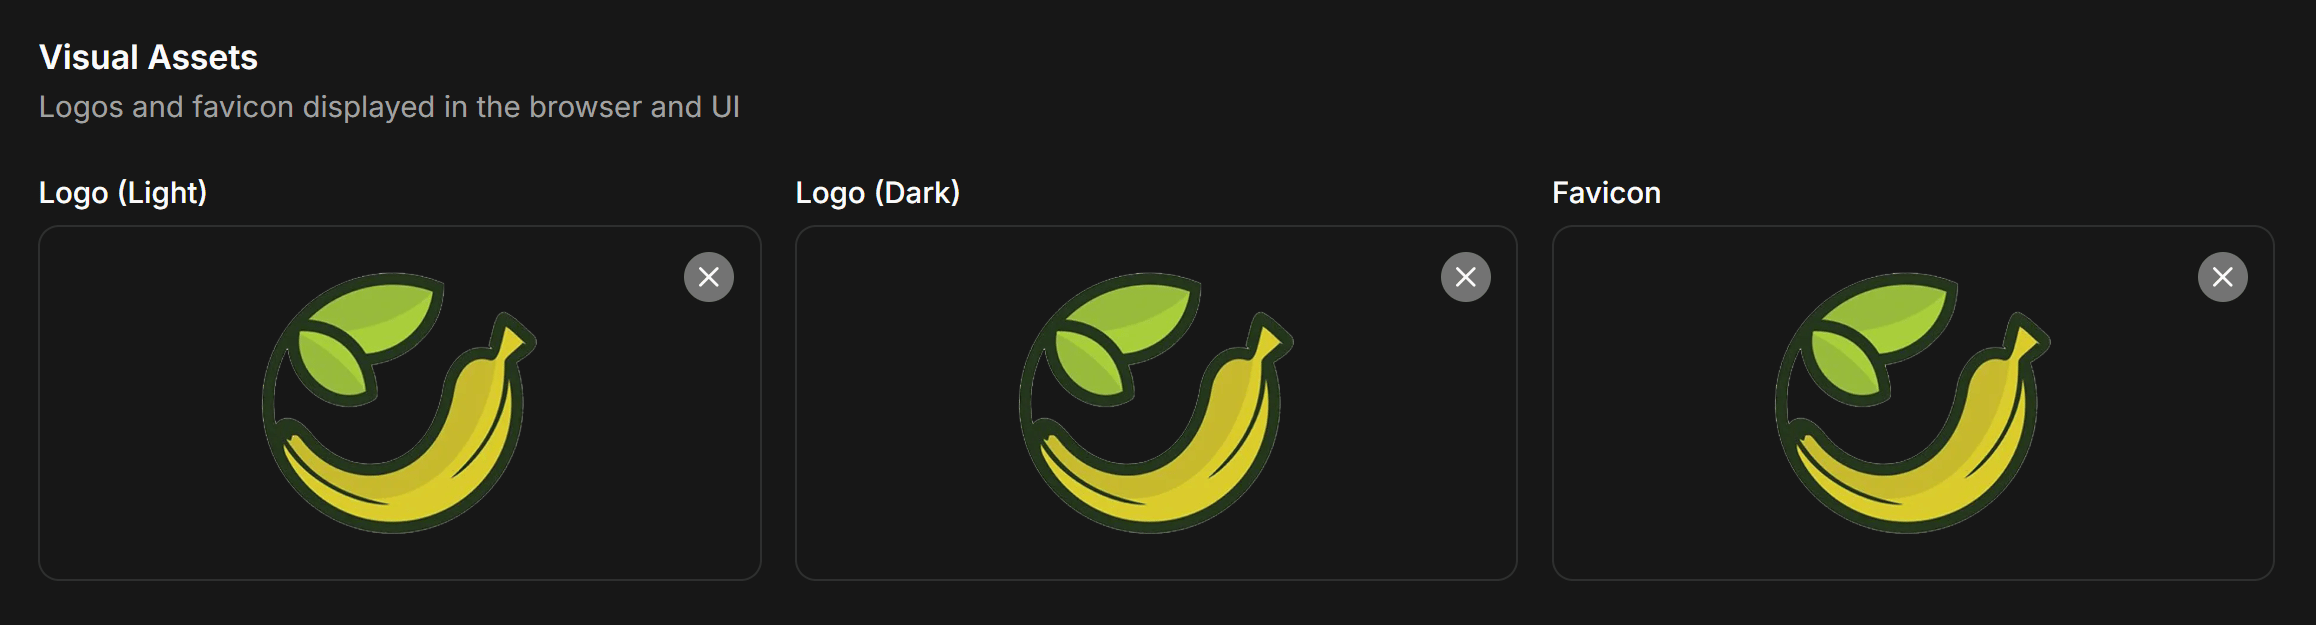
- Click the Logo (Light) area to upload your light logo (or paste a direct image URL).
- Click the Logo (Dark) area to upload your dark logo.
- Click the Favicon area to upload your browser tab icon.
Configure Legal Links
Under Legal Links, enter your privacy policy URL in the Privacy Policy URL field and your terms of service URL in the Terms of Service URL field. Ensure both paths start with the secure 
https:// format.Configure Advanced Settings (optional)
To embed custom code, navigate to the Advanced section: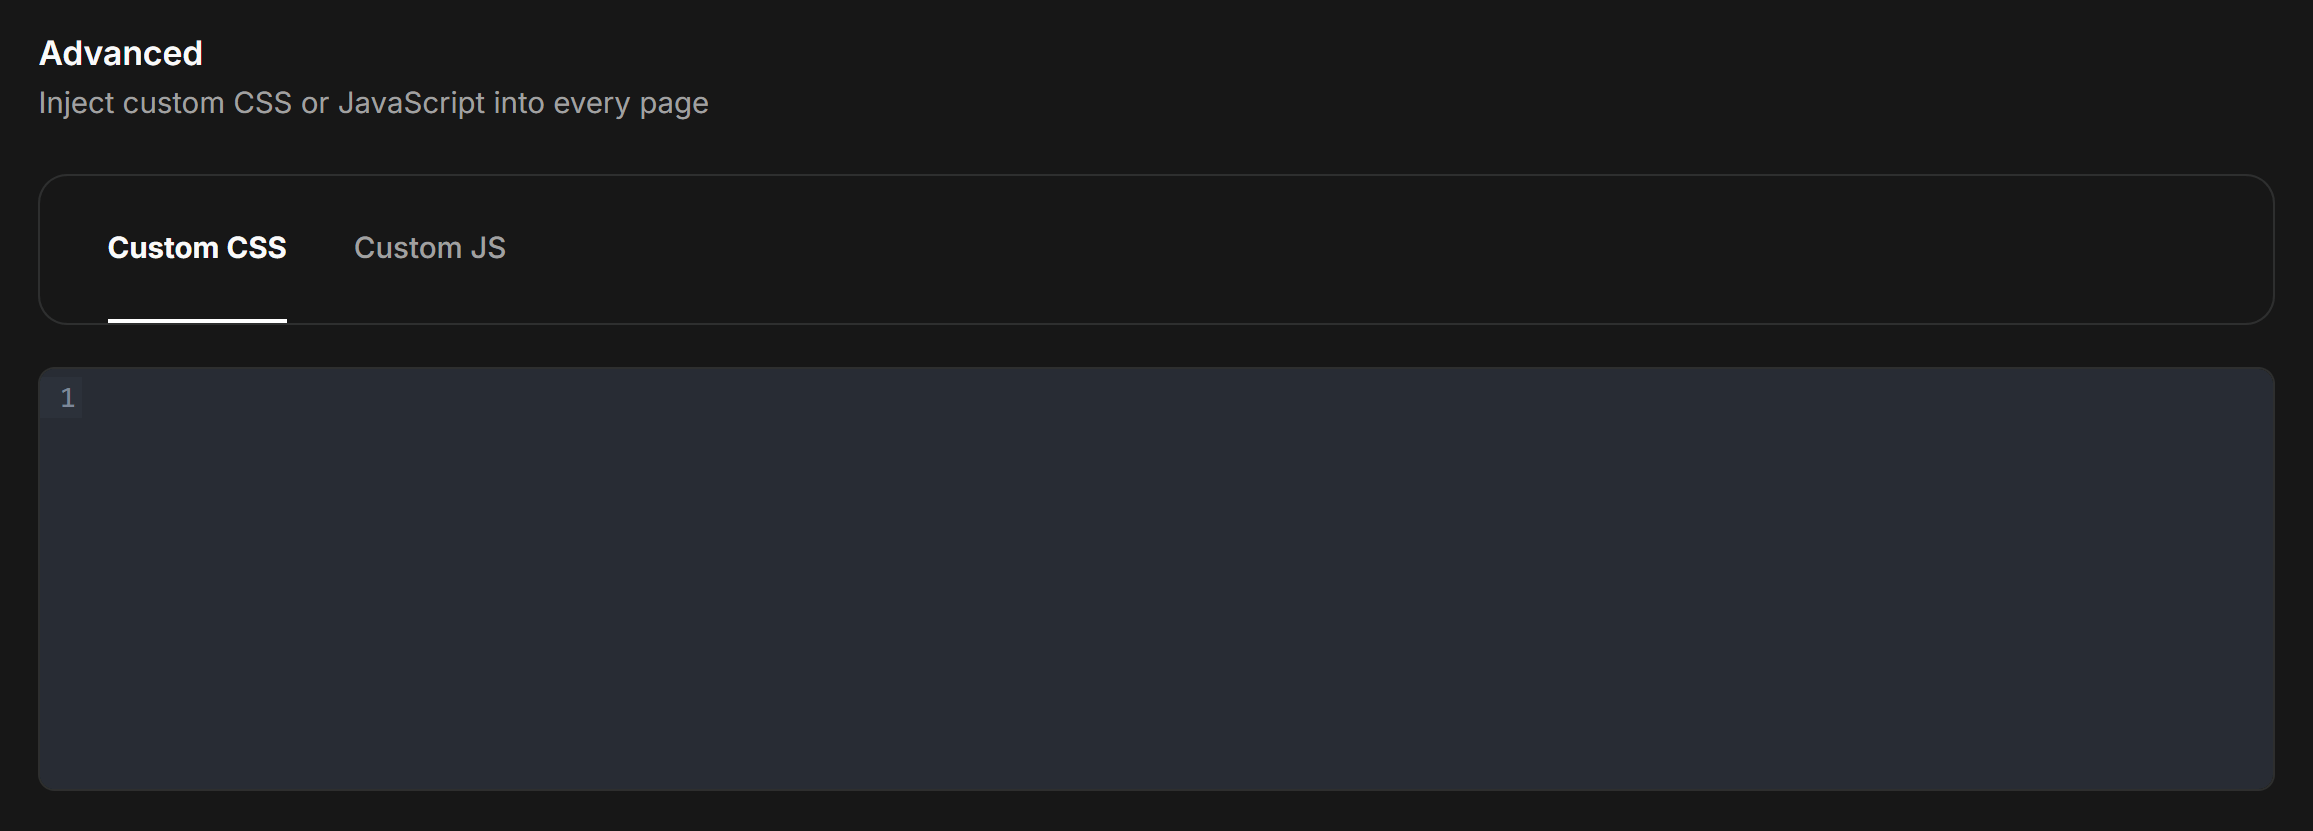
- Select the Custom CSS tab and enter your CSS overrides.
- Select the Custom JS tab and paste your third-party tracking or chat support scripts.
Troubleshooting display issues
If you do not see your logo or favicon updates immediately after saving, follow these verification steps:Web browsers cache favicons and logos aggressively. Press Ctrl + F5 (on Windows) or Cmd + Shift + R (on Mac) to reload the page while bypassing the cache. You can also open the portal in an incognito window to verify the display.