Configure SMTP Settings
SMTP Settings provide the infrastructure configuration that allows your portal to send emails from your own business mailbox instead of the platform’s default address. All your SMTP login credentials are encrypted securely upon storage. The SMTP configuration interface is located under the SaaS > SMTP Settings section on the left menu.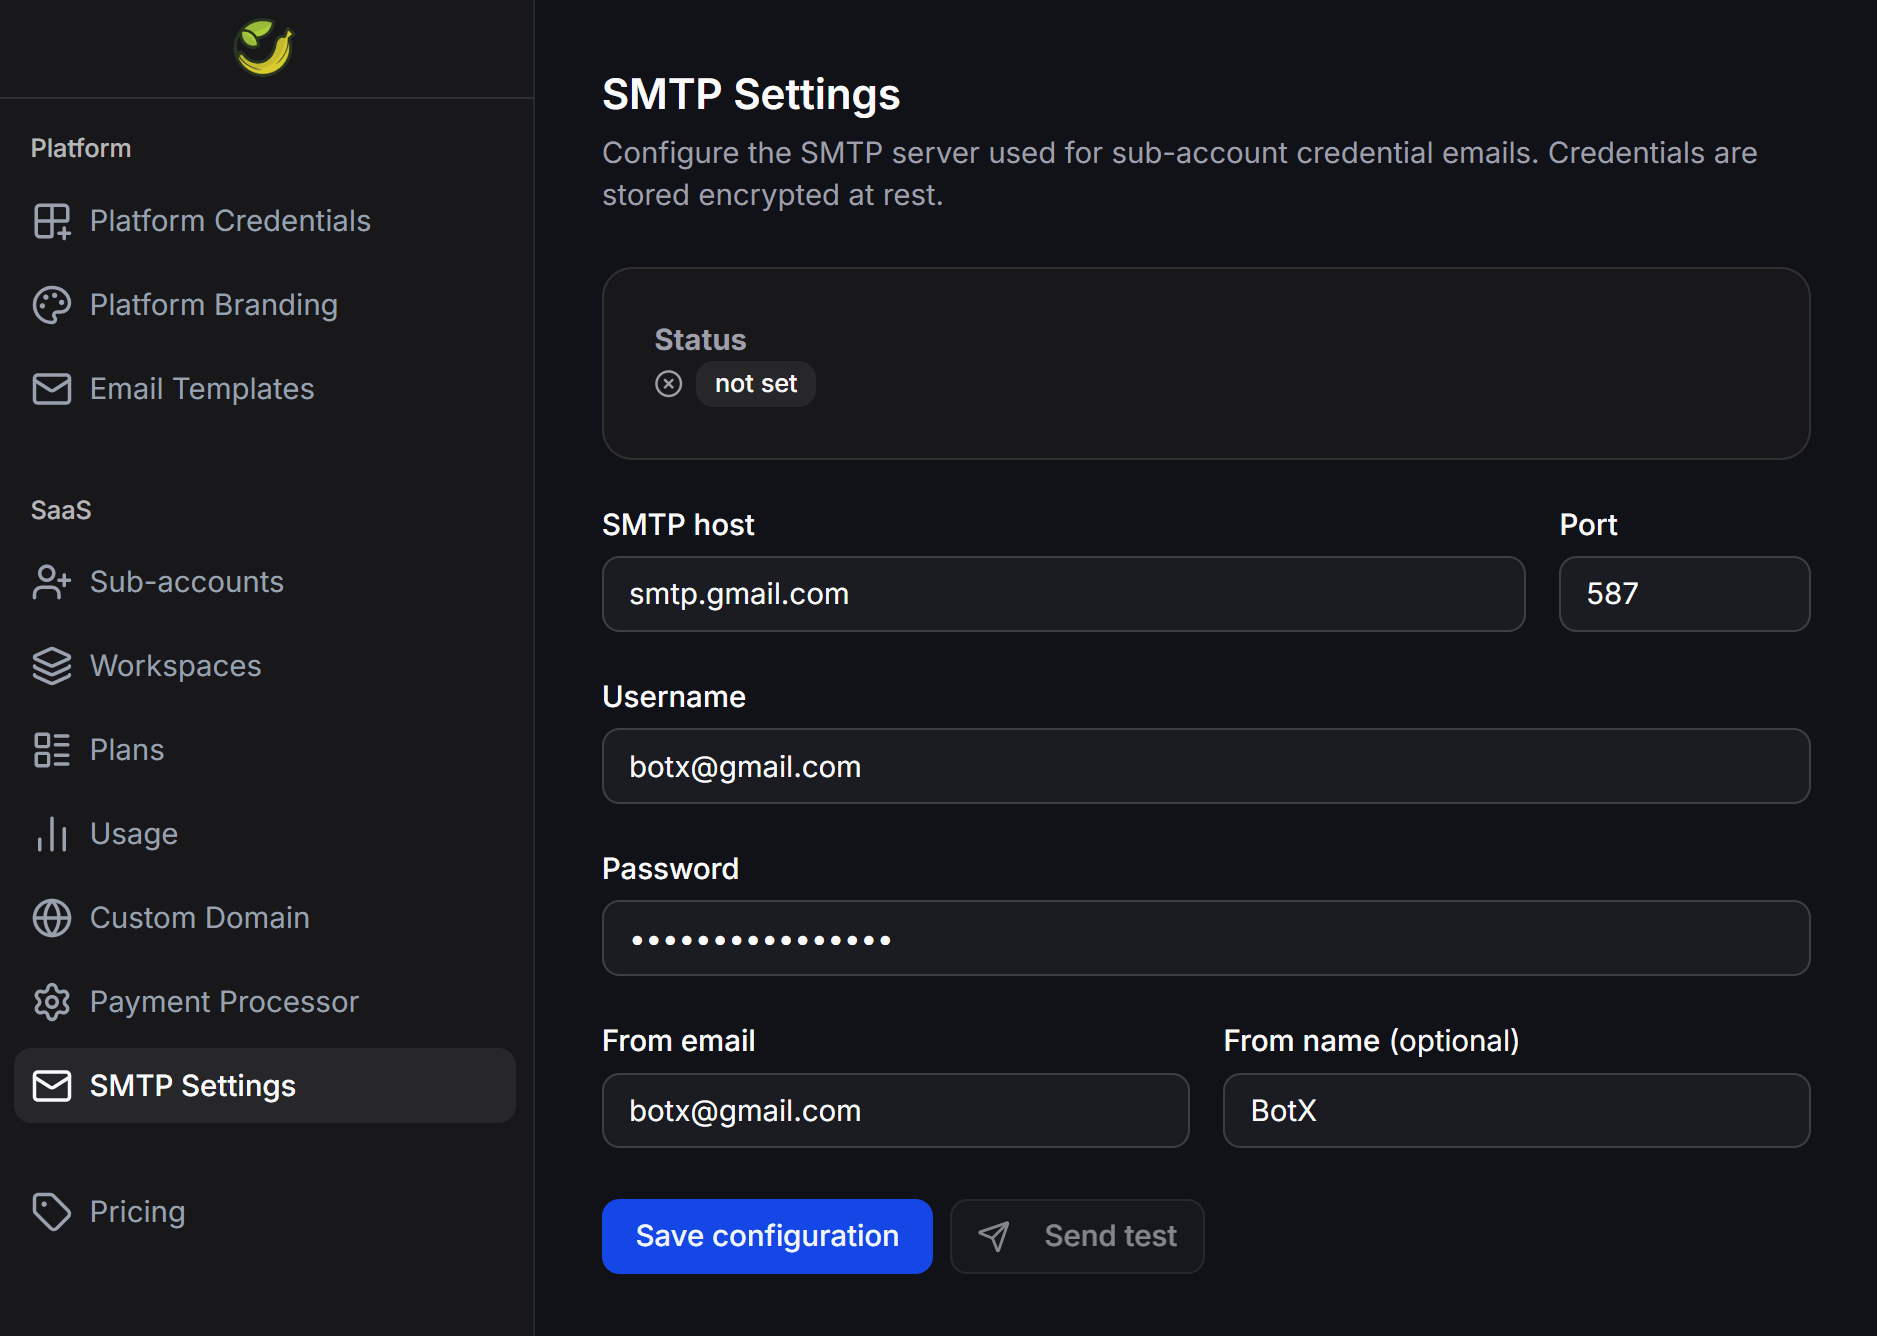
Required Parameters
When configuring your outgoing mail server, enter the following parameters:- SMTP host: The SMTP server address of your email service provider (e.g.,
smtp.gmail.comfor Google,smtp.sendgrid.netfor SendGrid,smtp.mailgun.orgfor Mailgun, etc.). - Port: The connection port for the outgoing mail server. The system defaults to port 587 (for secure TLS connections). If your provider requires SSL, you can change it to port 465.
- Username: The account username to log into your mail server (typically your full email address).
- Password: The login password. For services like Gmail, you must generate and use an App Password instead of your primary account password for security reasons.
- From email: The sender email address displayed in your clients’ inbox (e.g.,
support@yourdomain.com). This address must belong to the SMTP account you configure. - From name (optional): The display name representing the sender (e.g.,
Banana Agency Team).
SMTP Setup Steps
To activate your custom mail server, follow this process:Open SMTP Settings
Log in to your admin account on the ChatbotX Portal, select the SaaS group on the left menu, and click SMTP Settings.
Enter configuration parameters
Input your SMTP server address, connection port, username, and app password into the corresponding fields.
Configure sender email
Enter your sender email in the From email field and your brand representation name in the From name (optional) field.
Test the connection
Click the Send test button to send a trial email. Enter a recipient email address to verify that your SMTP server works correctly and that emails do not end up in the spam folder.
Configure Email Templates
After setting up SMTP as your email delivery engine, proceed to customize the content of each notification type under Platform > Email Templates.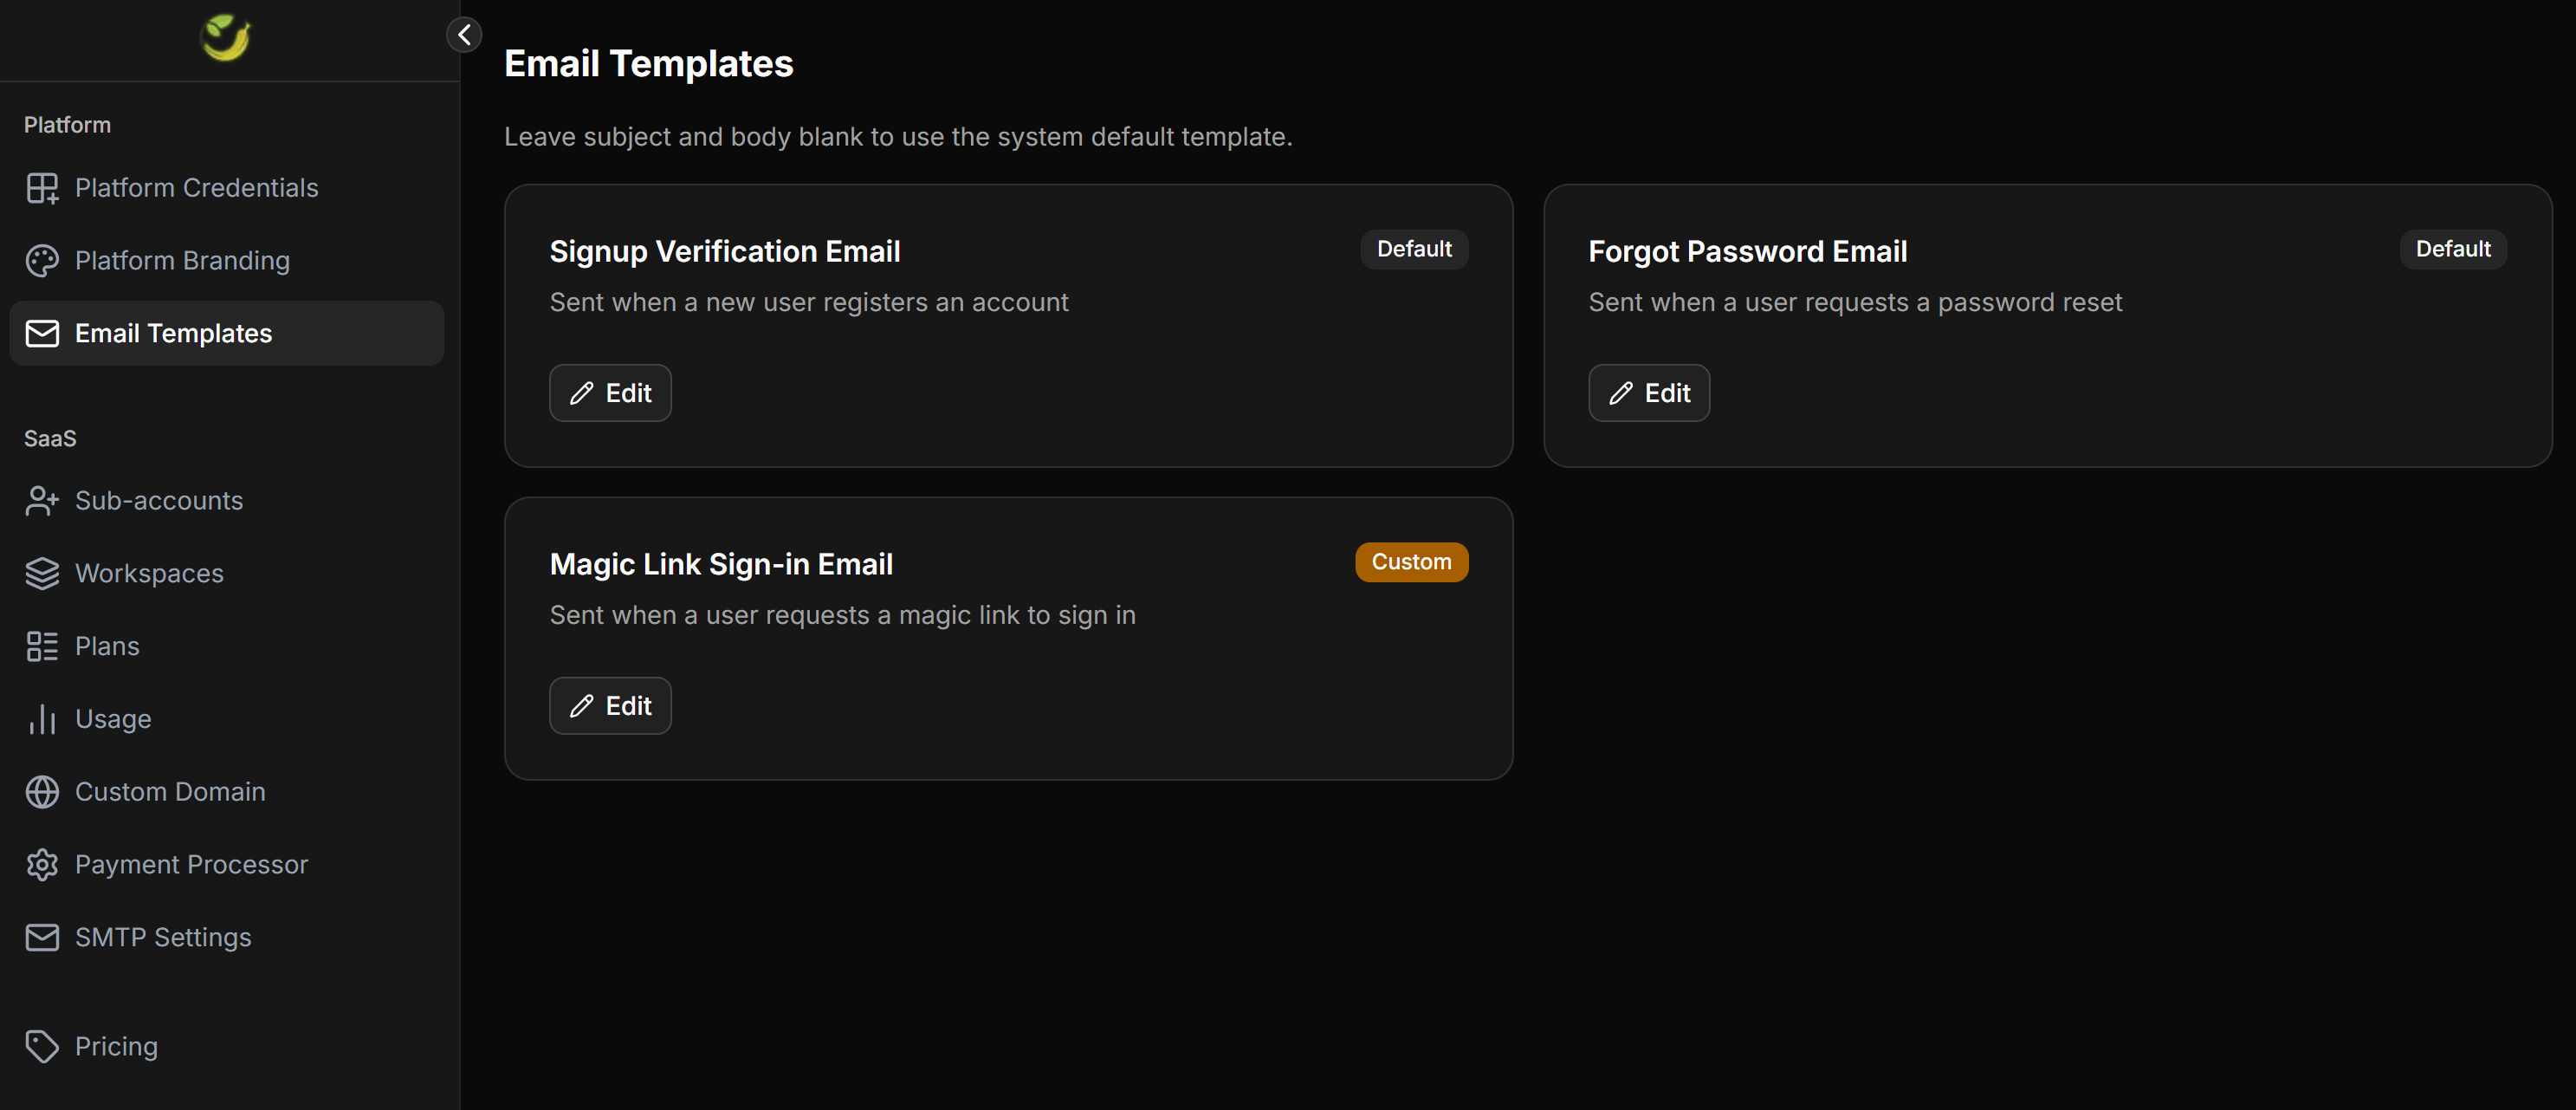
Supported System Email Templates
ChatbotX provides ready-made templates for specific user account events:- Signup Verification Email: Sent containing a verification link immediately after a new user signs up on your portal.
- Forgot Password Email: Sent containing a password reset link when a user requests to restore their login password.
- Magic Link Sign-in Email: Sent containing a fast login link (Magic Link) when a user requests to sign in directly without typing their password.
Customization Guidelines
When configuring the content of these templates, keep the following rules in mind:- Using Default Templates: If you leave the Subject and Body fields empty, the system automatically uses the pre-designed system default templates.
- Customizing Content: Click the Edit button on each email card to write a new subject and body that matches your brand voice.
- Using Dynamic Variables: When editing, preserve the dynamic placeholders (such as
{{link}}for the verification/magic link, and{{brand}}for your brand name) so the system can fill in the recipient-specific details.
Customized emails can only be sent successfully once your SMTP Settings are fully configured and in an active state. Always send a test email after modifying a template design.