Instructions to check and activate White Label
To begin configuring your custom branded portal, you need to ensure your account has been granted the White Label permission from ChatbotX.Verify activation status
In the Usage interface, find the Features card and check the White Label line. If the status is displayed as Active, your account is ready for branding configuration.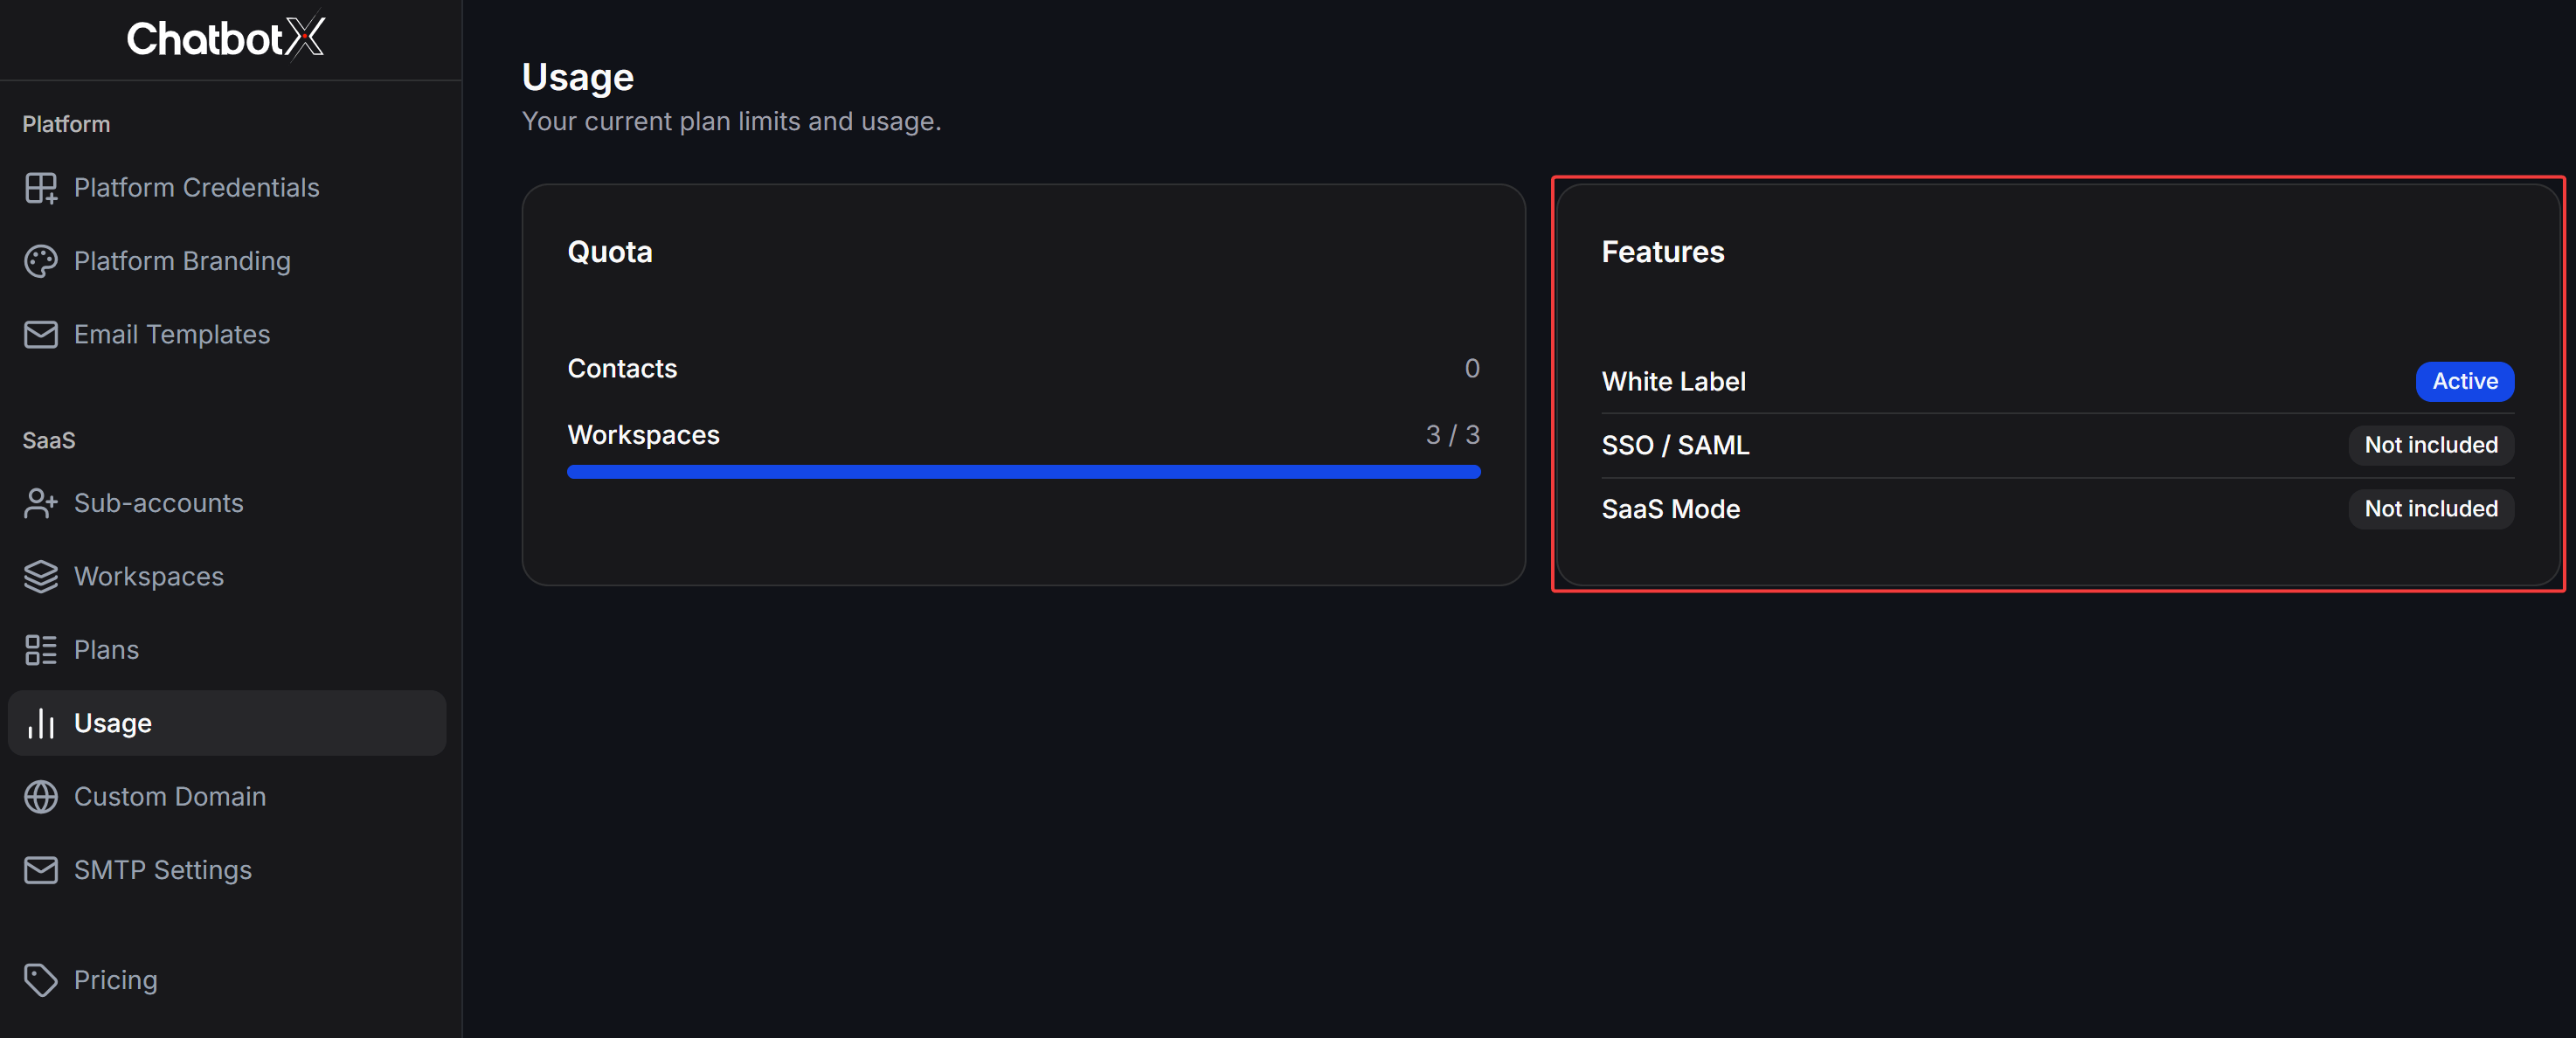
System configuration modules
Below are the configuration modules to build a complete custom branded portal. Select each subcategory below to view detailed instructions:Branding & Identity Setup
Configure the core identity of the portal, helping clients recognize your own brand when accessing it.Branding Configuration
Update brand name, upload light and dark logo versions, favicon, and primary UI theme color.
Custom Domain for Portal
Point your custom domain to the platform and configure DNS records to activate SSL security.
SMTP & Email Templates
Configure your custom SMTP email server and customize the styling of automated system notifications.
Business & Quota Management
Configure pricing plans, create accounts, and manage resource limits for end users.Manage Sub-accounts
Manage client accounts, configure access permissions, and handle manual or automated registrations.
Manage Plans
Create pricing plans, configure resource quotas, and specify the features included for each plan.
Workspaces & Quotas
Manage your clients’ workspaces and monitor real-time resource consumption.
Stripe Billing Automation
Connect Stripe to automate subscription management, upgrades, and recurring payments.
App Credentials & Advanced Configuration
Configure developer apps for shared logins and advanced API integrations.Shared App Credentials
Configure Meta, Google, TikTok, Zalo apps for clients to connect channels under your brand.
Create Google App
Learn how to create a Google App to enable Google Login, Google Sheets, and Google Calendar.
Resource quotas and features can vary depending on the White Label package you registered with the parent provider. All limits are updated in real-time on the SaaS > Usage page.