

- Community Edition provides the core self-hosted platform under the open-source license.
- Enterprise Edition adds commercially licensed administration, security, and branding capabilities for larger organizations.
Community and Enterprise comparison
Enterprise Edition is not automatically unlimited. Workspace limits and other allowances can depend on your license or commercial agreement.
Activate Enterprise Edition
The official Compose file may defineNEXT_PUBLIC_EDITION: community directly in x-environment. In that case, creating .env alone does not change the edition because values in the Compose environment block take precedence.
1
Open the deployment directory
Use the directory that contains the active
docker-compose.yml. The default path in the self-hosting package is:2
Allow Compose to read the edition and license
Open the active Compose file:Find
x-environment: &common-vars. Replace the fixed Community value and add the server-only license variable:3
Create the protected environment file
Open Add these values:Protect the file after saving it:
.env in the same directory as docker-compose.yml:4
Validate the resolved configuration
Verify that Compose resolves the Enterprise values. This command redacts the license before printing the result:Confirm that the result contains
NEXT_PUBLIC_EDITION: enterprise and LICENSE_KEY: [REDACTED] before continuing.5
Restart Builder
Recreate Builder so it reads the new edition and license values:Recreate Worker or Realtime only if those services were already running and need the updated shared environment.
Configure SMTP email delivery
SMTP lets ChatbotX send account verification, password reset, invitation, and other system emails from your own sender address. The current environment template usesSMTP_SERVER and SMTP_FROM for this connection.
The following example uses Gmail with implicit TLS on port 465.
1
Connect Compose to the SMTP variables
Open the active Compose file:In
x-environment: &common-vars, replace the fixed SMTP values with variables read from .env:2
Add the Gmail SMTP values
Open the protected environment file:Add the SMTP connection and sender identity:Replace the example email, App Password, and company name with your own values. Keep
%40 in the username to represent the @ character inside the connection URL. Use a Gmail App Password without spaces, not the normal password for the Google account.3
Restart Builder and send a test email
Validate the resolved configuration, then recreate Builder:Request an account verification or password reset email. Confirm that the message arrives with the expected sender name and that its verification link uses your ChatbotX domain.
Verify Enterprise features
1
Sign in again
Sign out, then sign in with a Super Admin account after the services are healthy.
2
Confirm the edition and license
Open the Builder logs and confirm that they contain
License verified with tier set to enterprise. Never share the complete log line if it contains customer information.3
Test Enterprise capabilities
Open 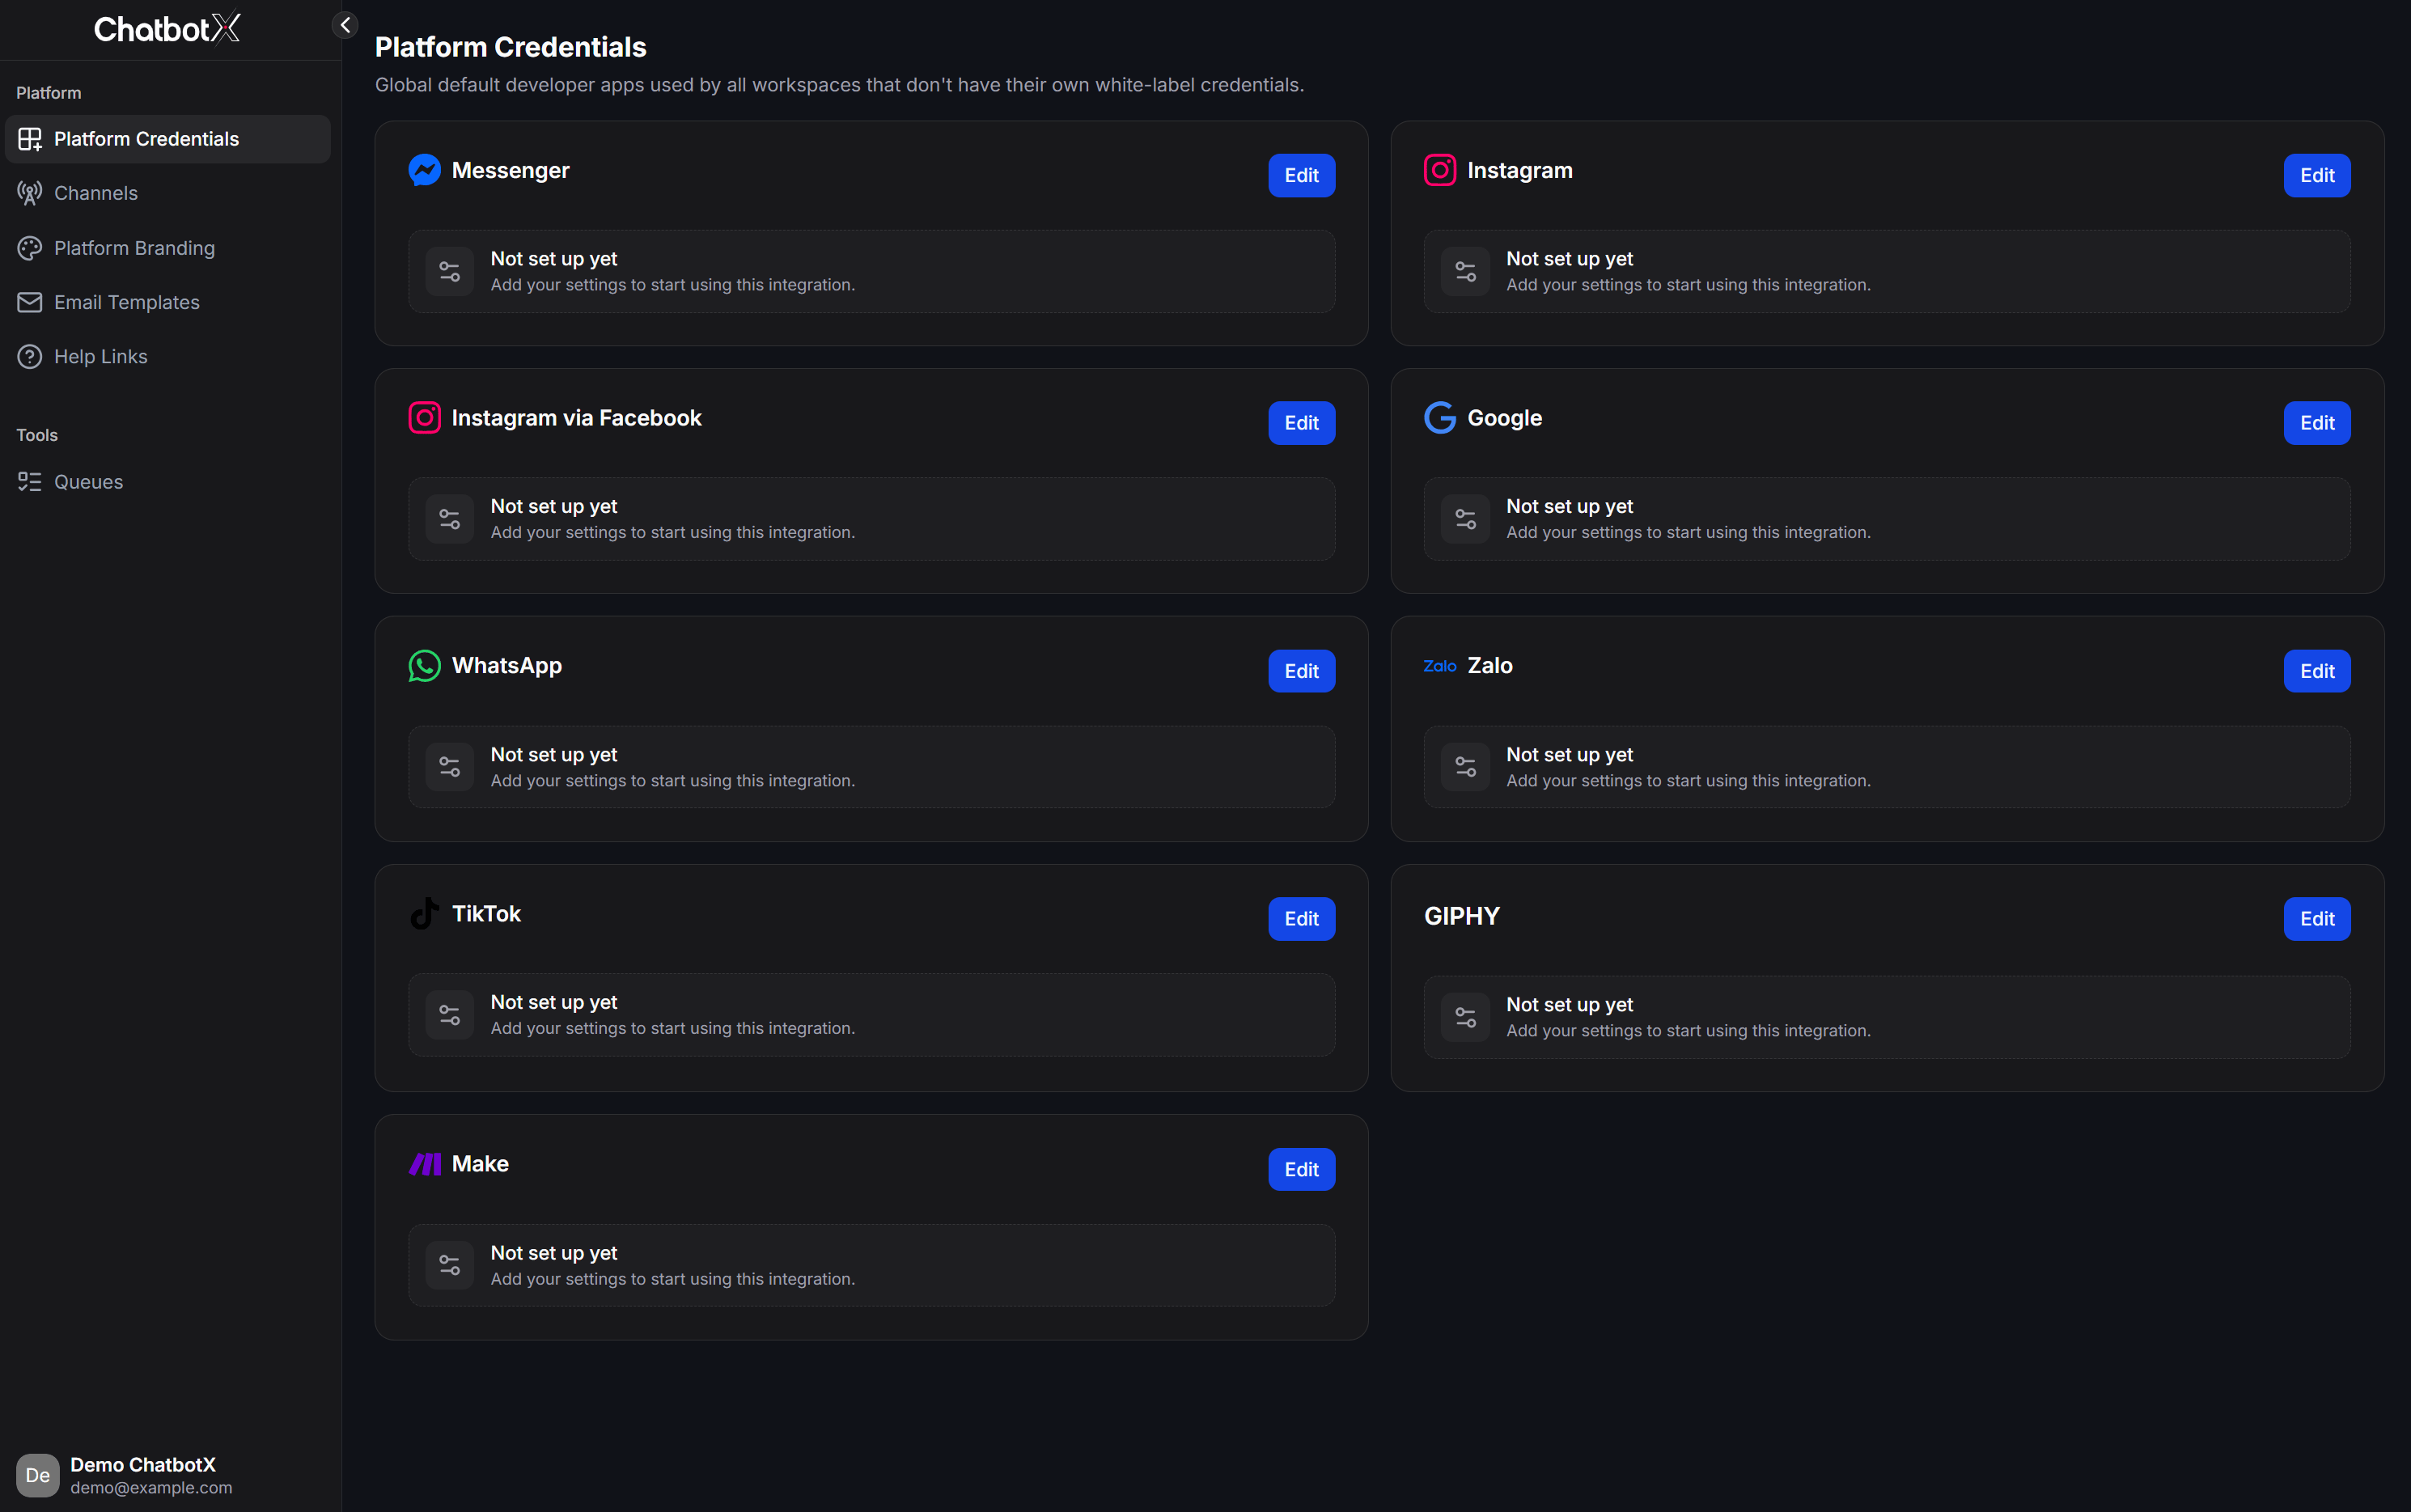
/admin with the account configured in PLATFORM_ADMIN_EMAIL. Confirm the capabilities included in the license, such as Platform Branding, Audit log, or SSO.Manage and protect the license
- Store the license key in a secret manager or a protected
.envfile. - Restrict access to the deployment environment and backups containing the key.
- Check the license state after upgrading ChatbotX or moving the installation.
- Contact ChatbotX before transferring a license to another server or installation.
- Do not reuse a license across installations unless your commercial agreement explicitly permits it.