

Prerequisites
Before you begin, make sure you have:- Super Admin access to your portal to input credentials.
- A Zalo OA (Official Account) with admin privileges.
- A Zalo Developer account with admin privileges at Zalo Developers.
- A valid Vietnamese mobile phone number.
Zalo OA is a popular messaging channel in Vietnam. A Vietnamese mobile phone number is required to register on the Zalo Developer platform.
Step 1: Create a Zalo Application
If you do not have a Zalo application yet, create one on the Zalo Developer platform before connecting to your portal.Register on Zalo Developers
Go to Zalo Developers and sign in with your Zalo account. If you don’t have a developer account, register one using your Vietnamese phone number.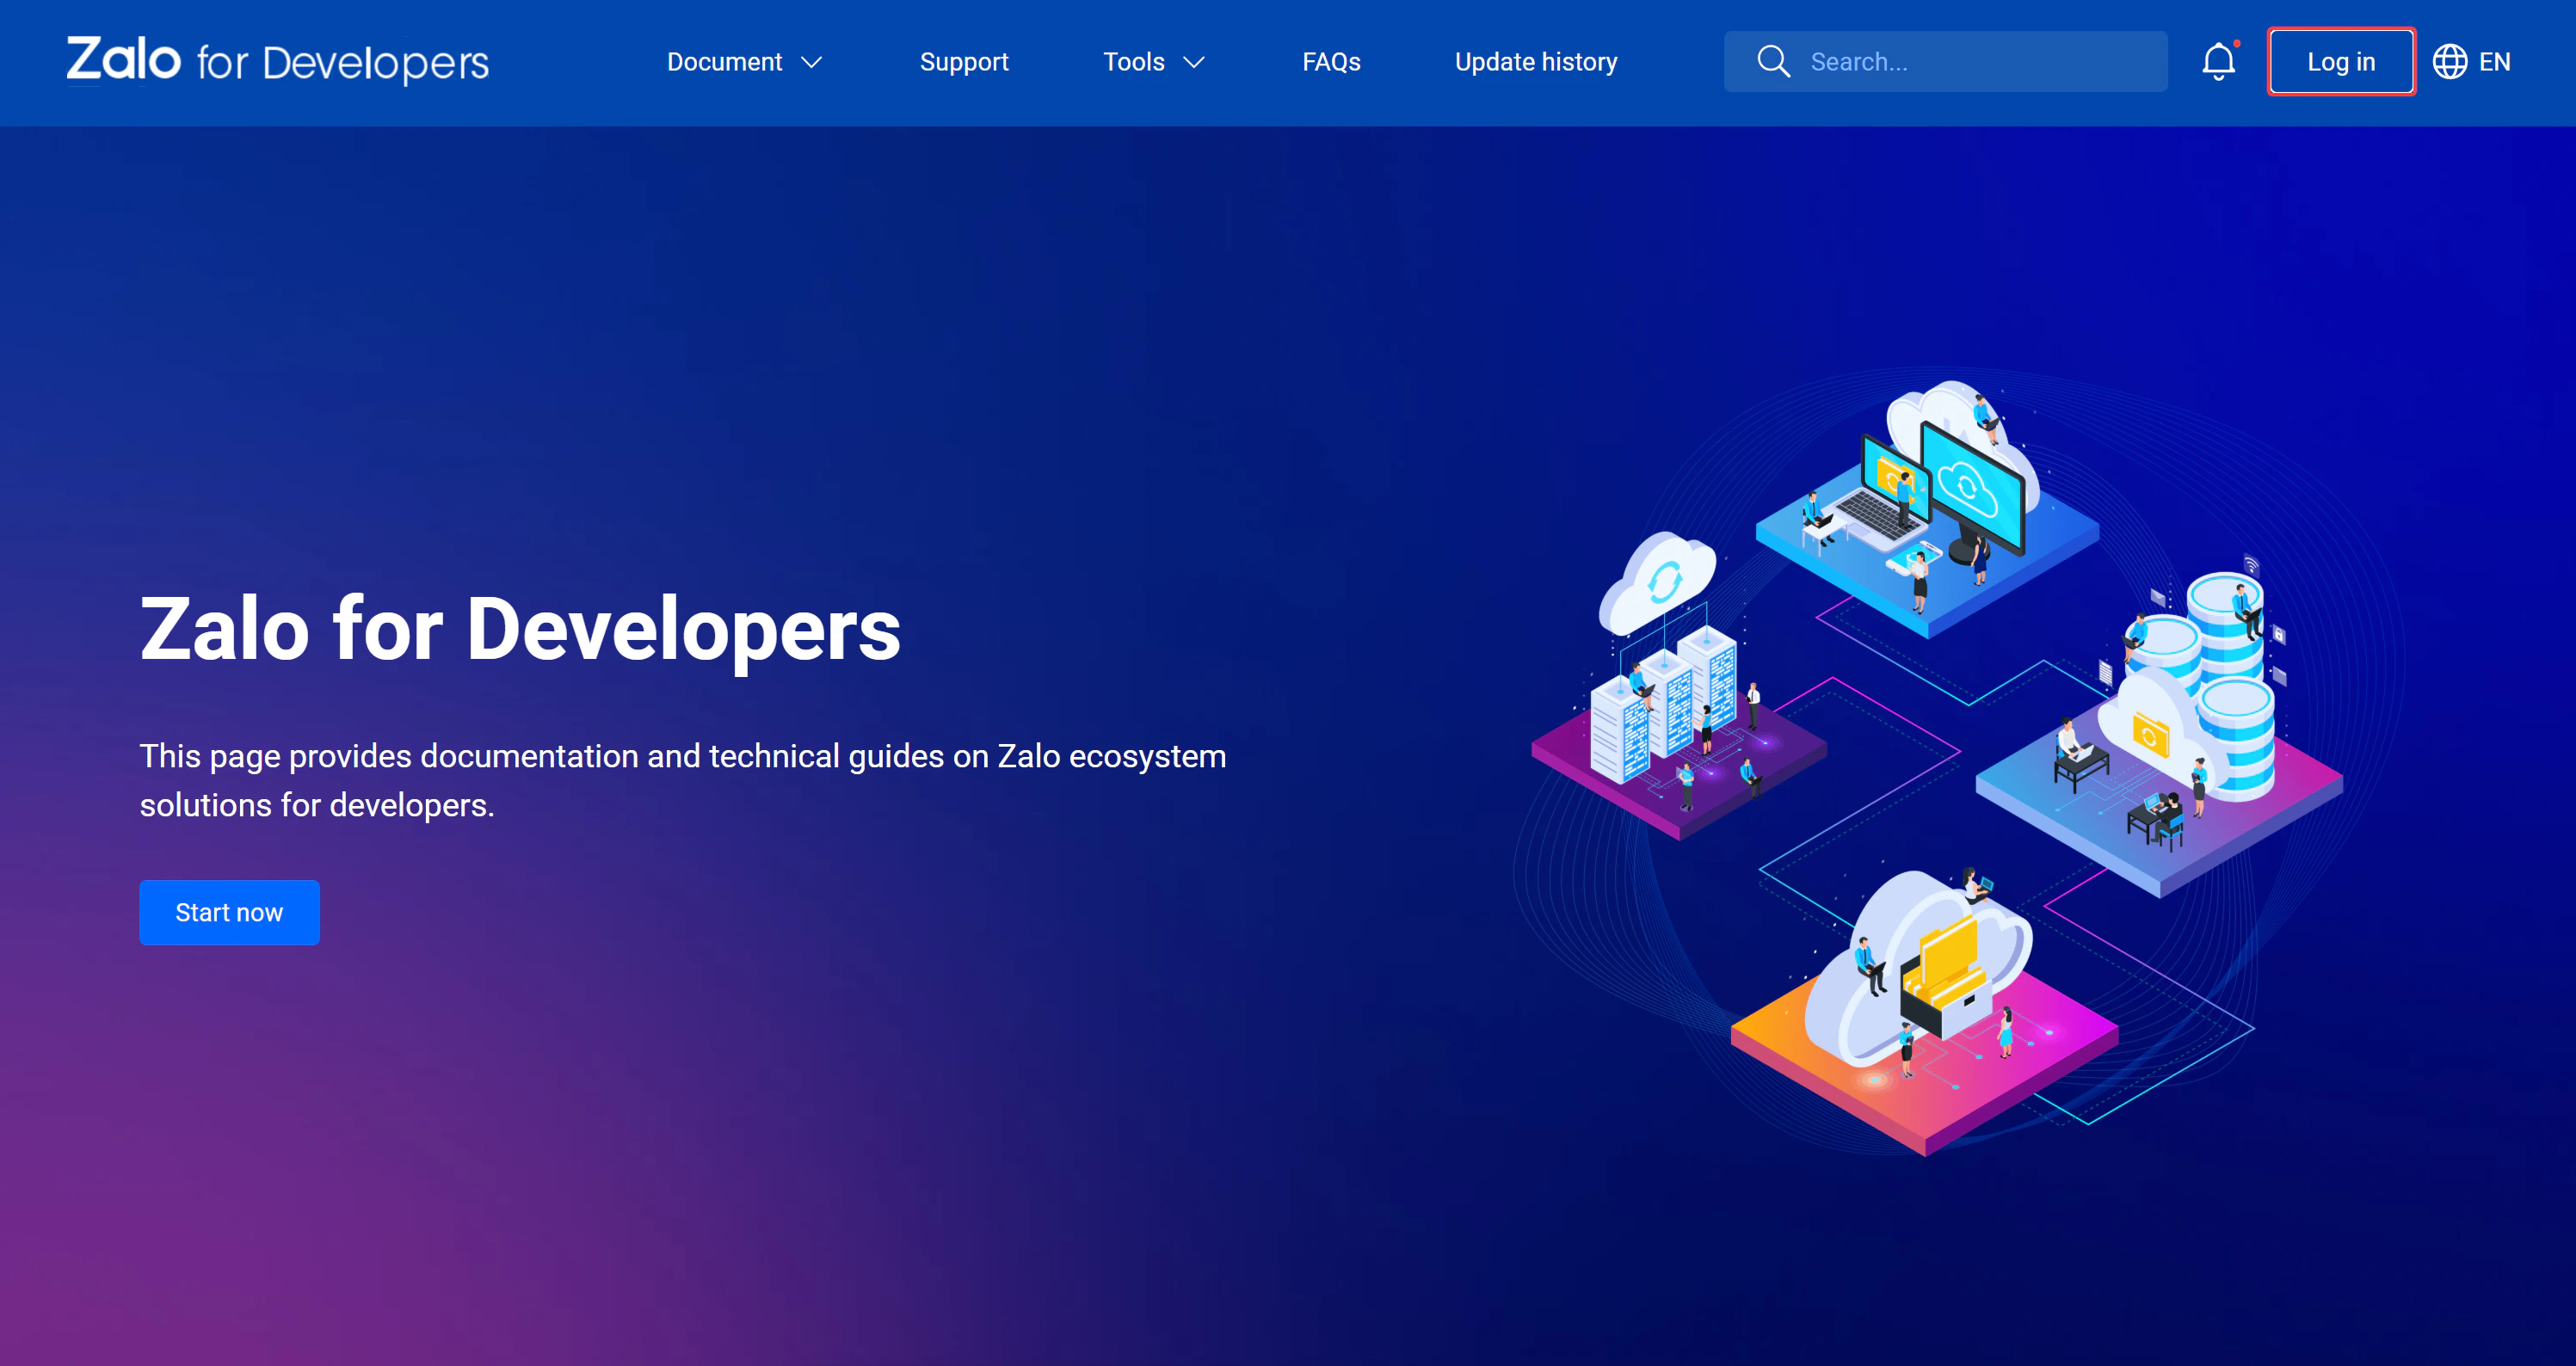
Create a new application
Follow the official Zalo documentation to create a new application. Provide your application name and description.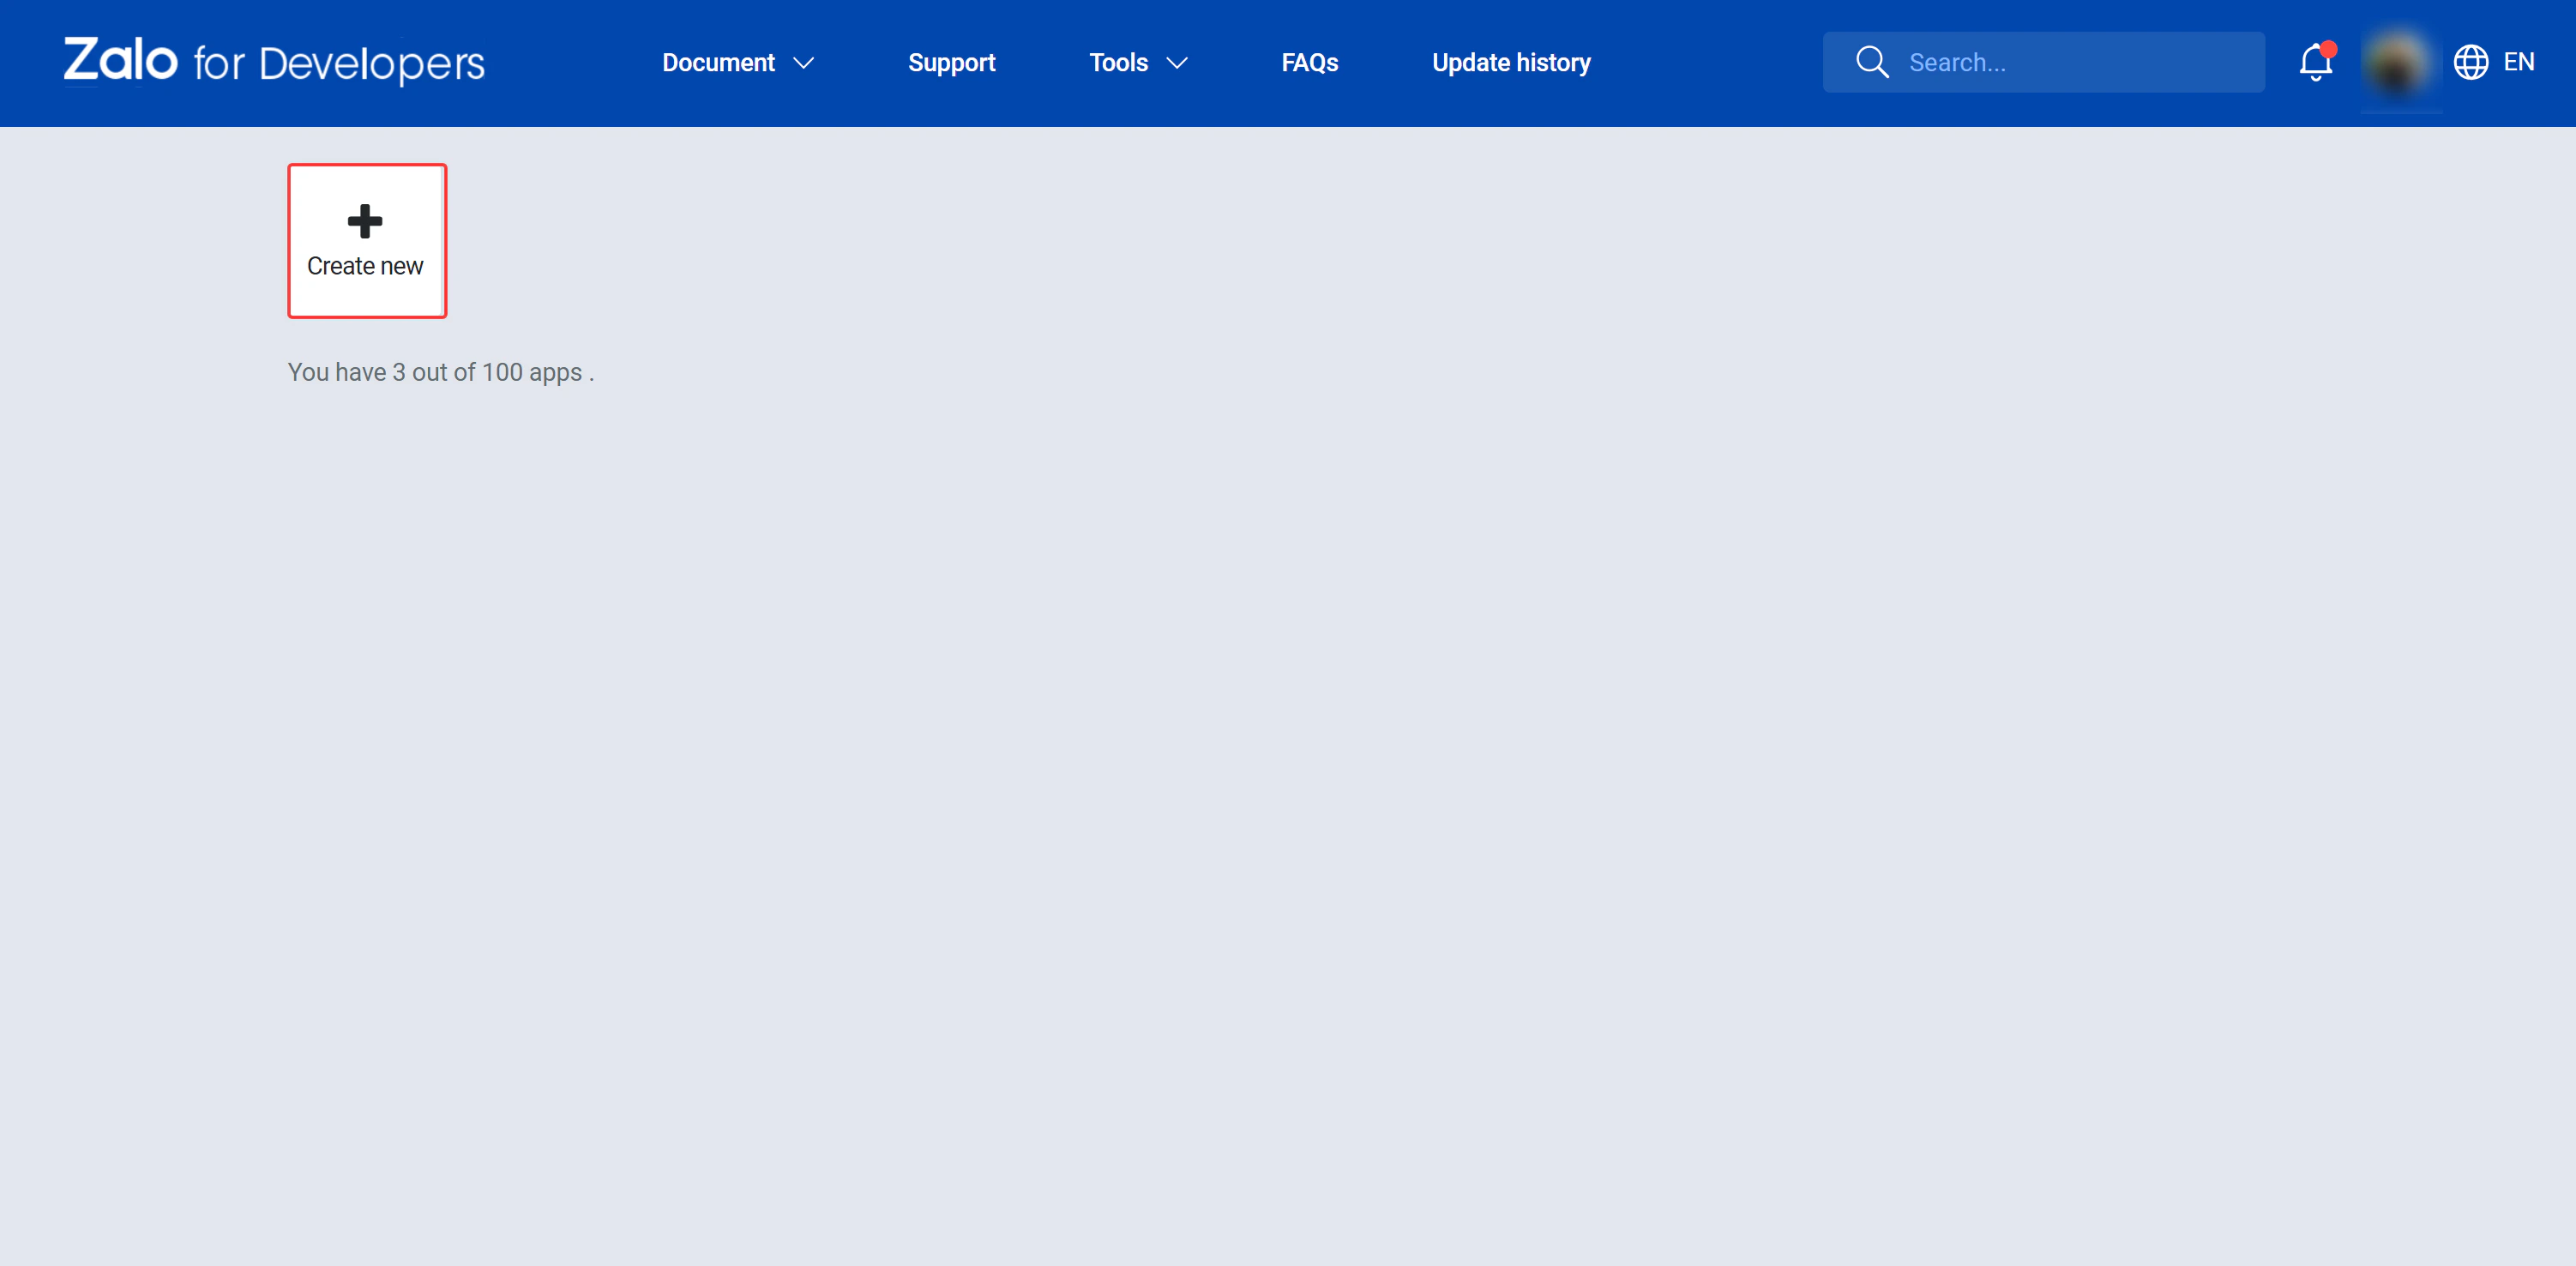
Activate the application
After the application is created, set its status to Active in the application dashboard.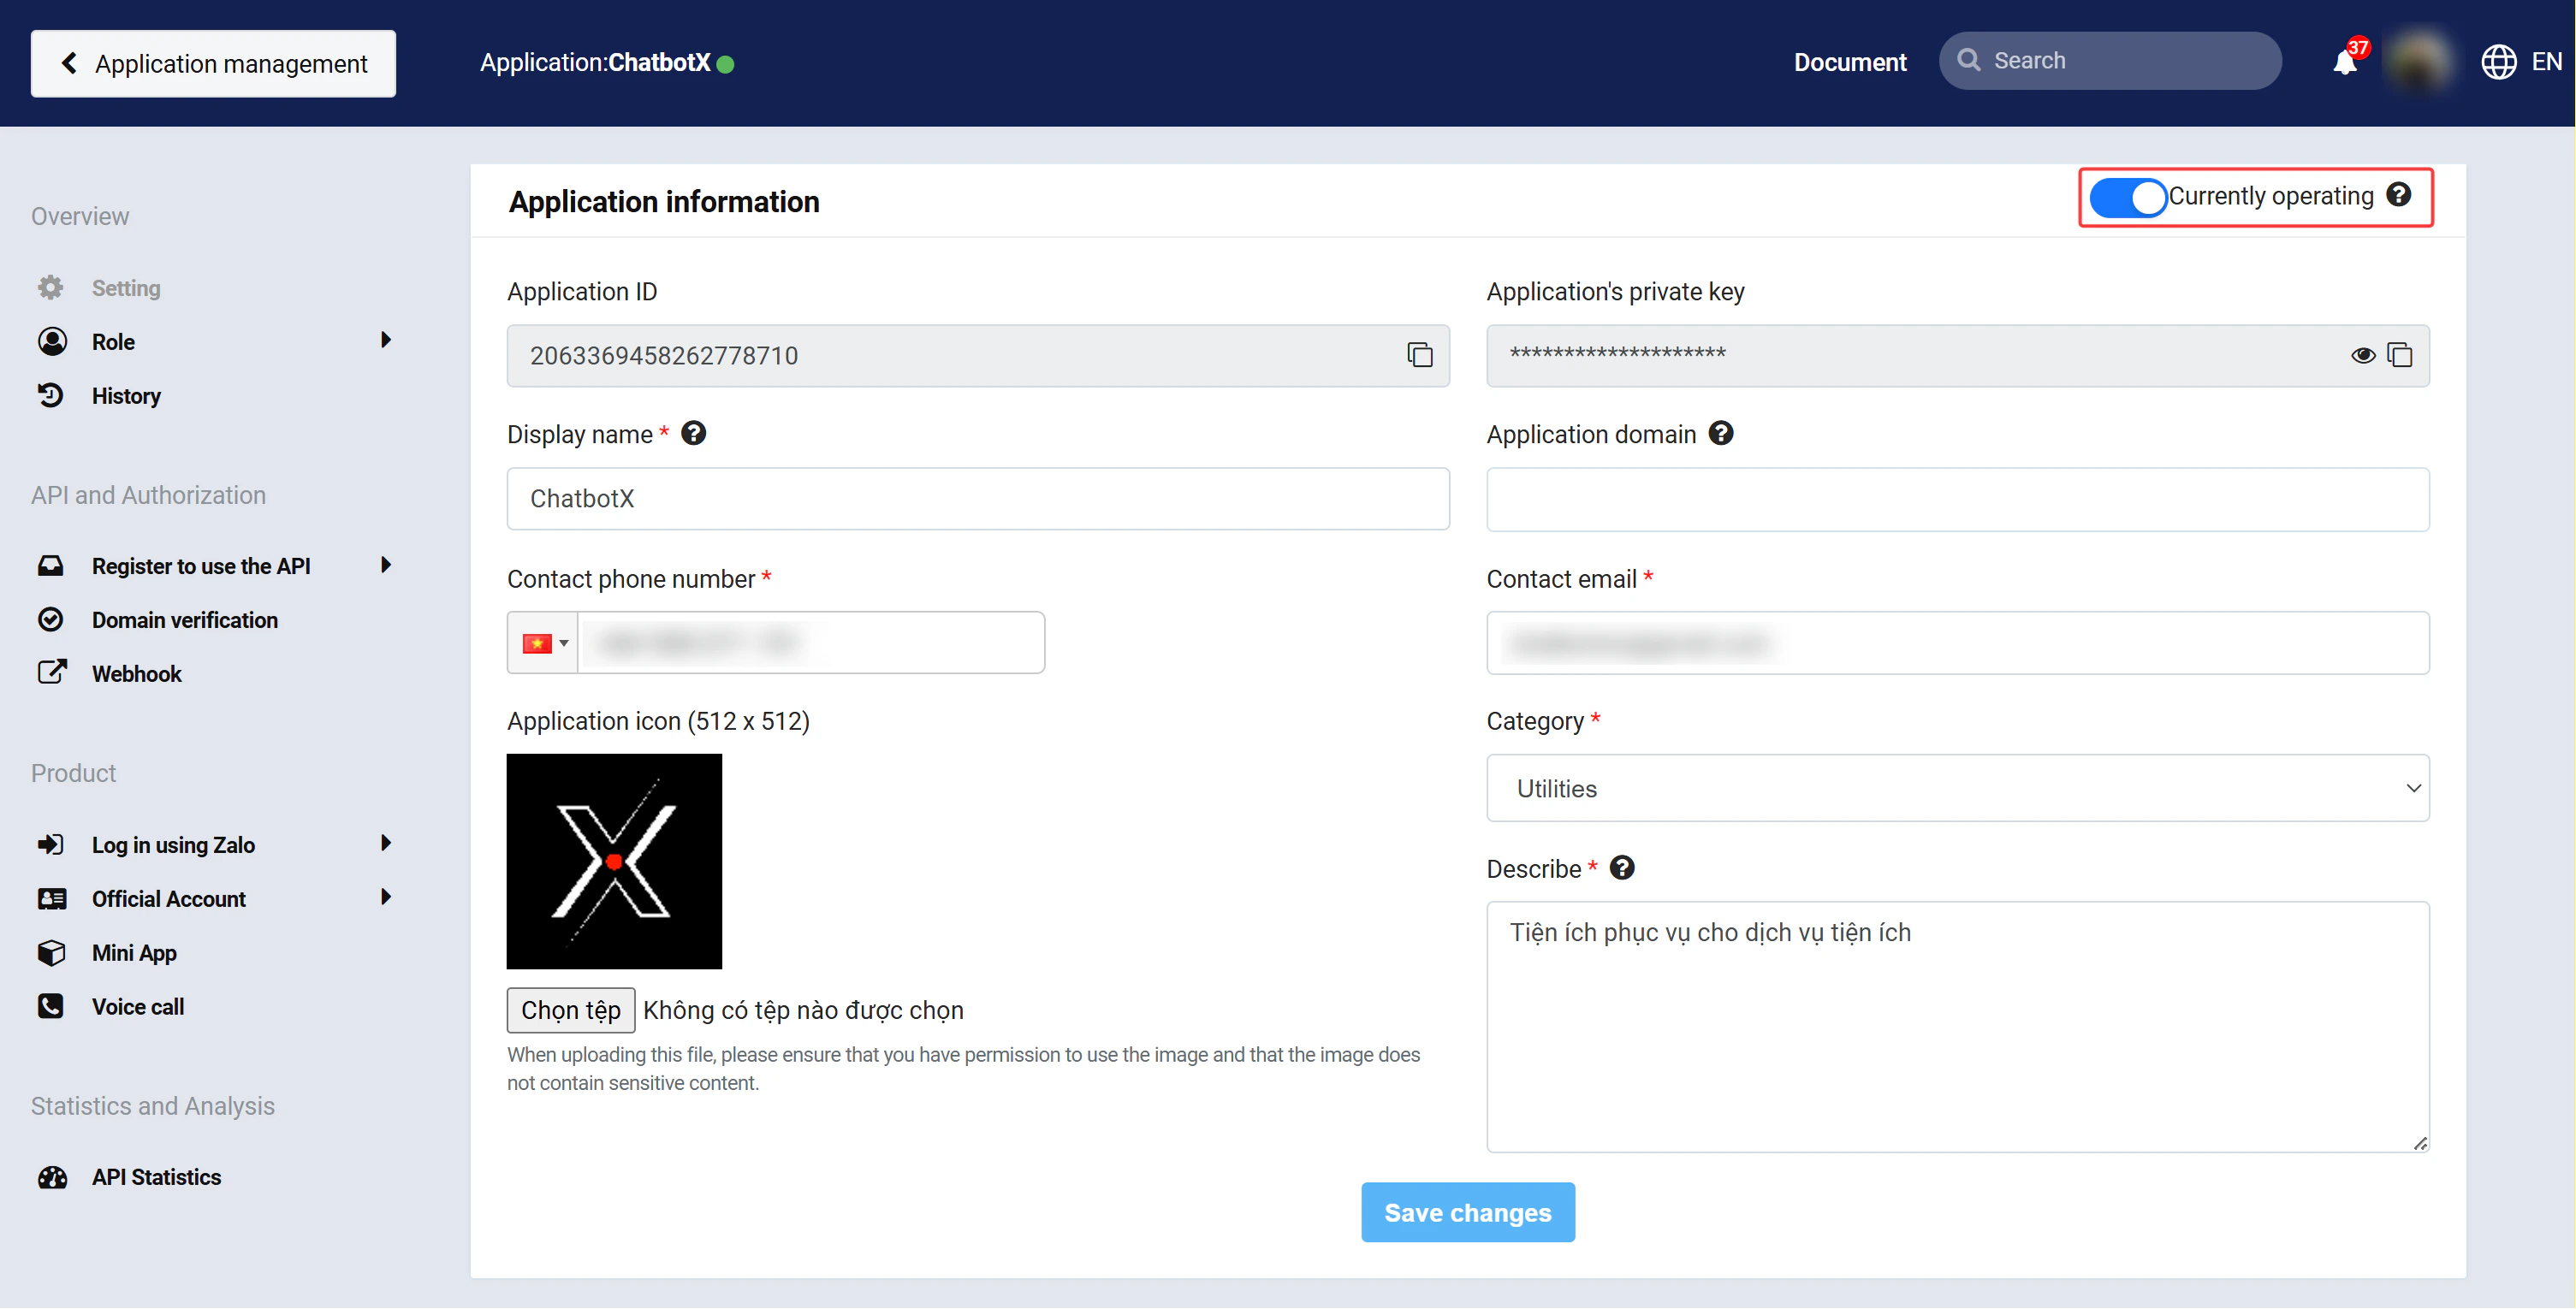
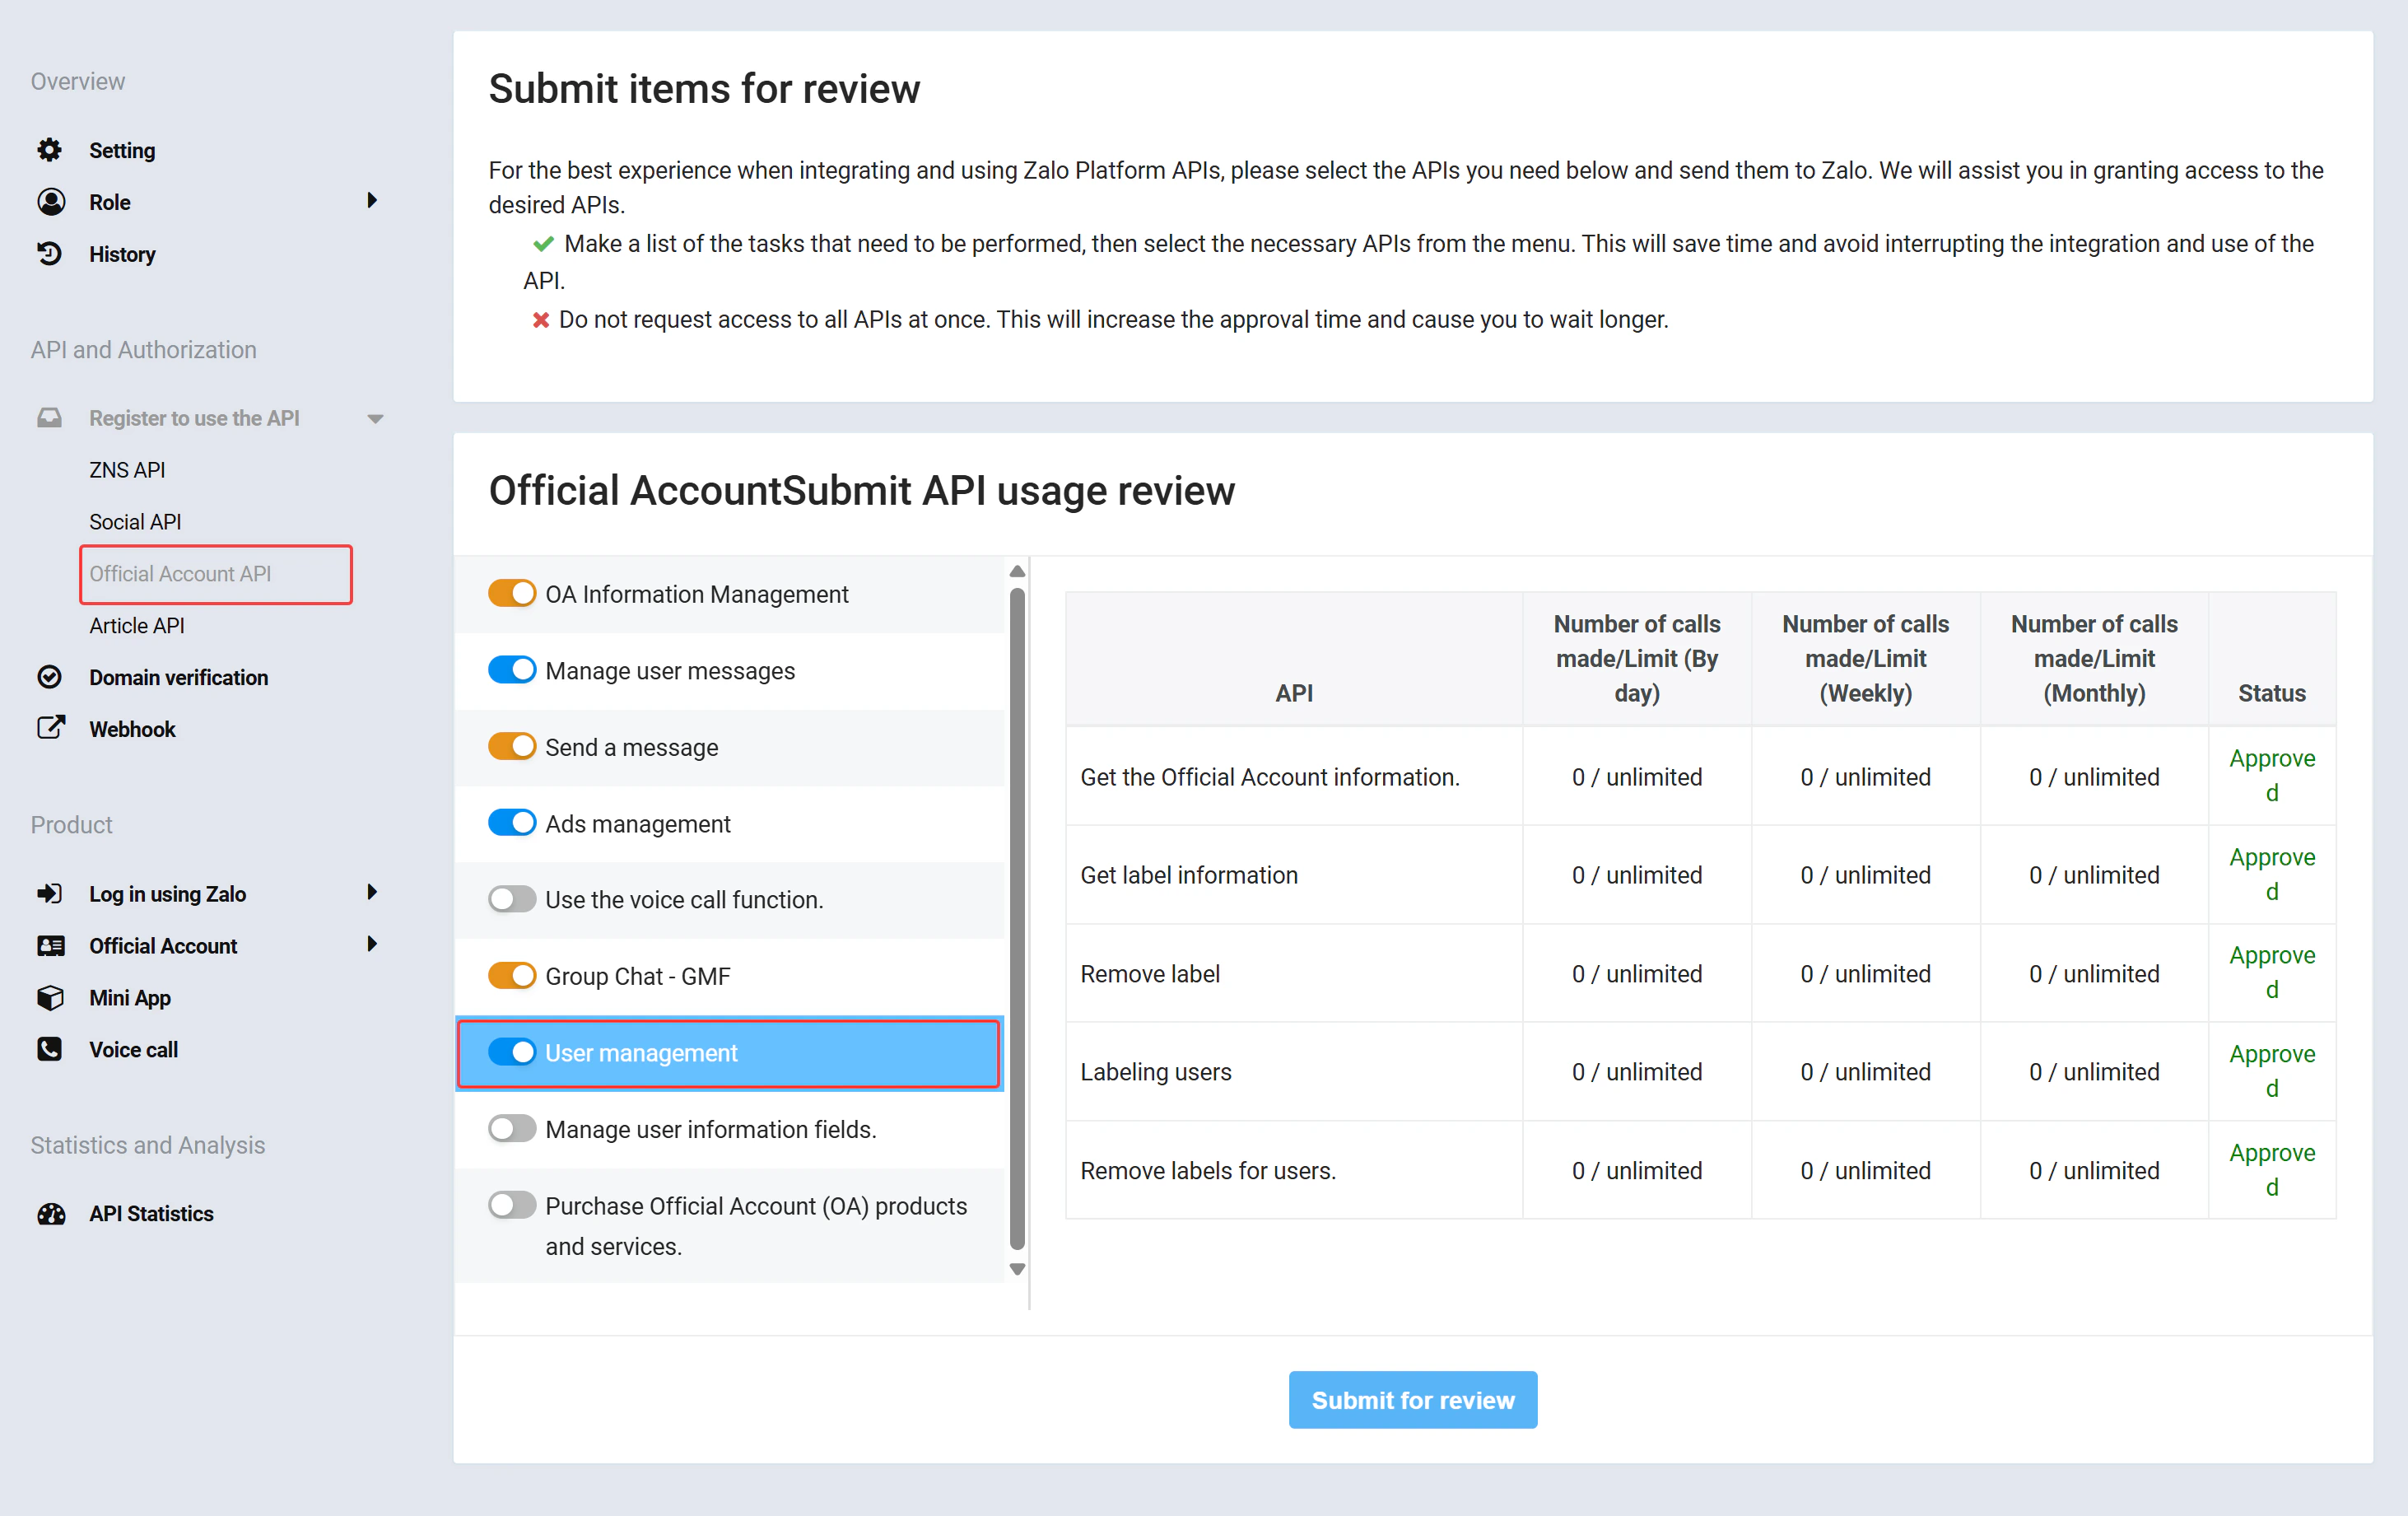
Copy App ID and Secret Key
In your Zalo application dashboard, locate the Application ID and Application’s Private Key. Copy these values, you will need them in the next step.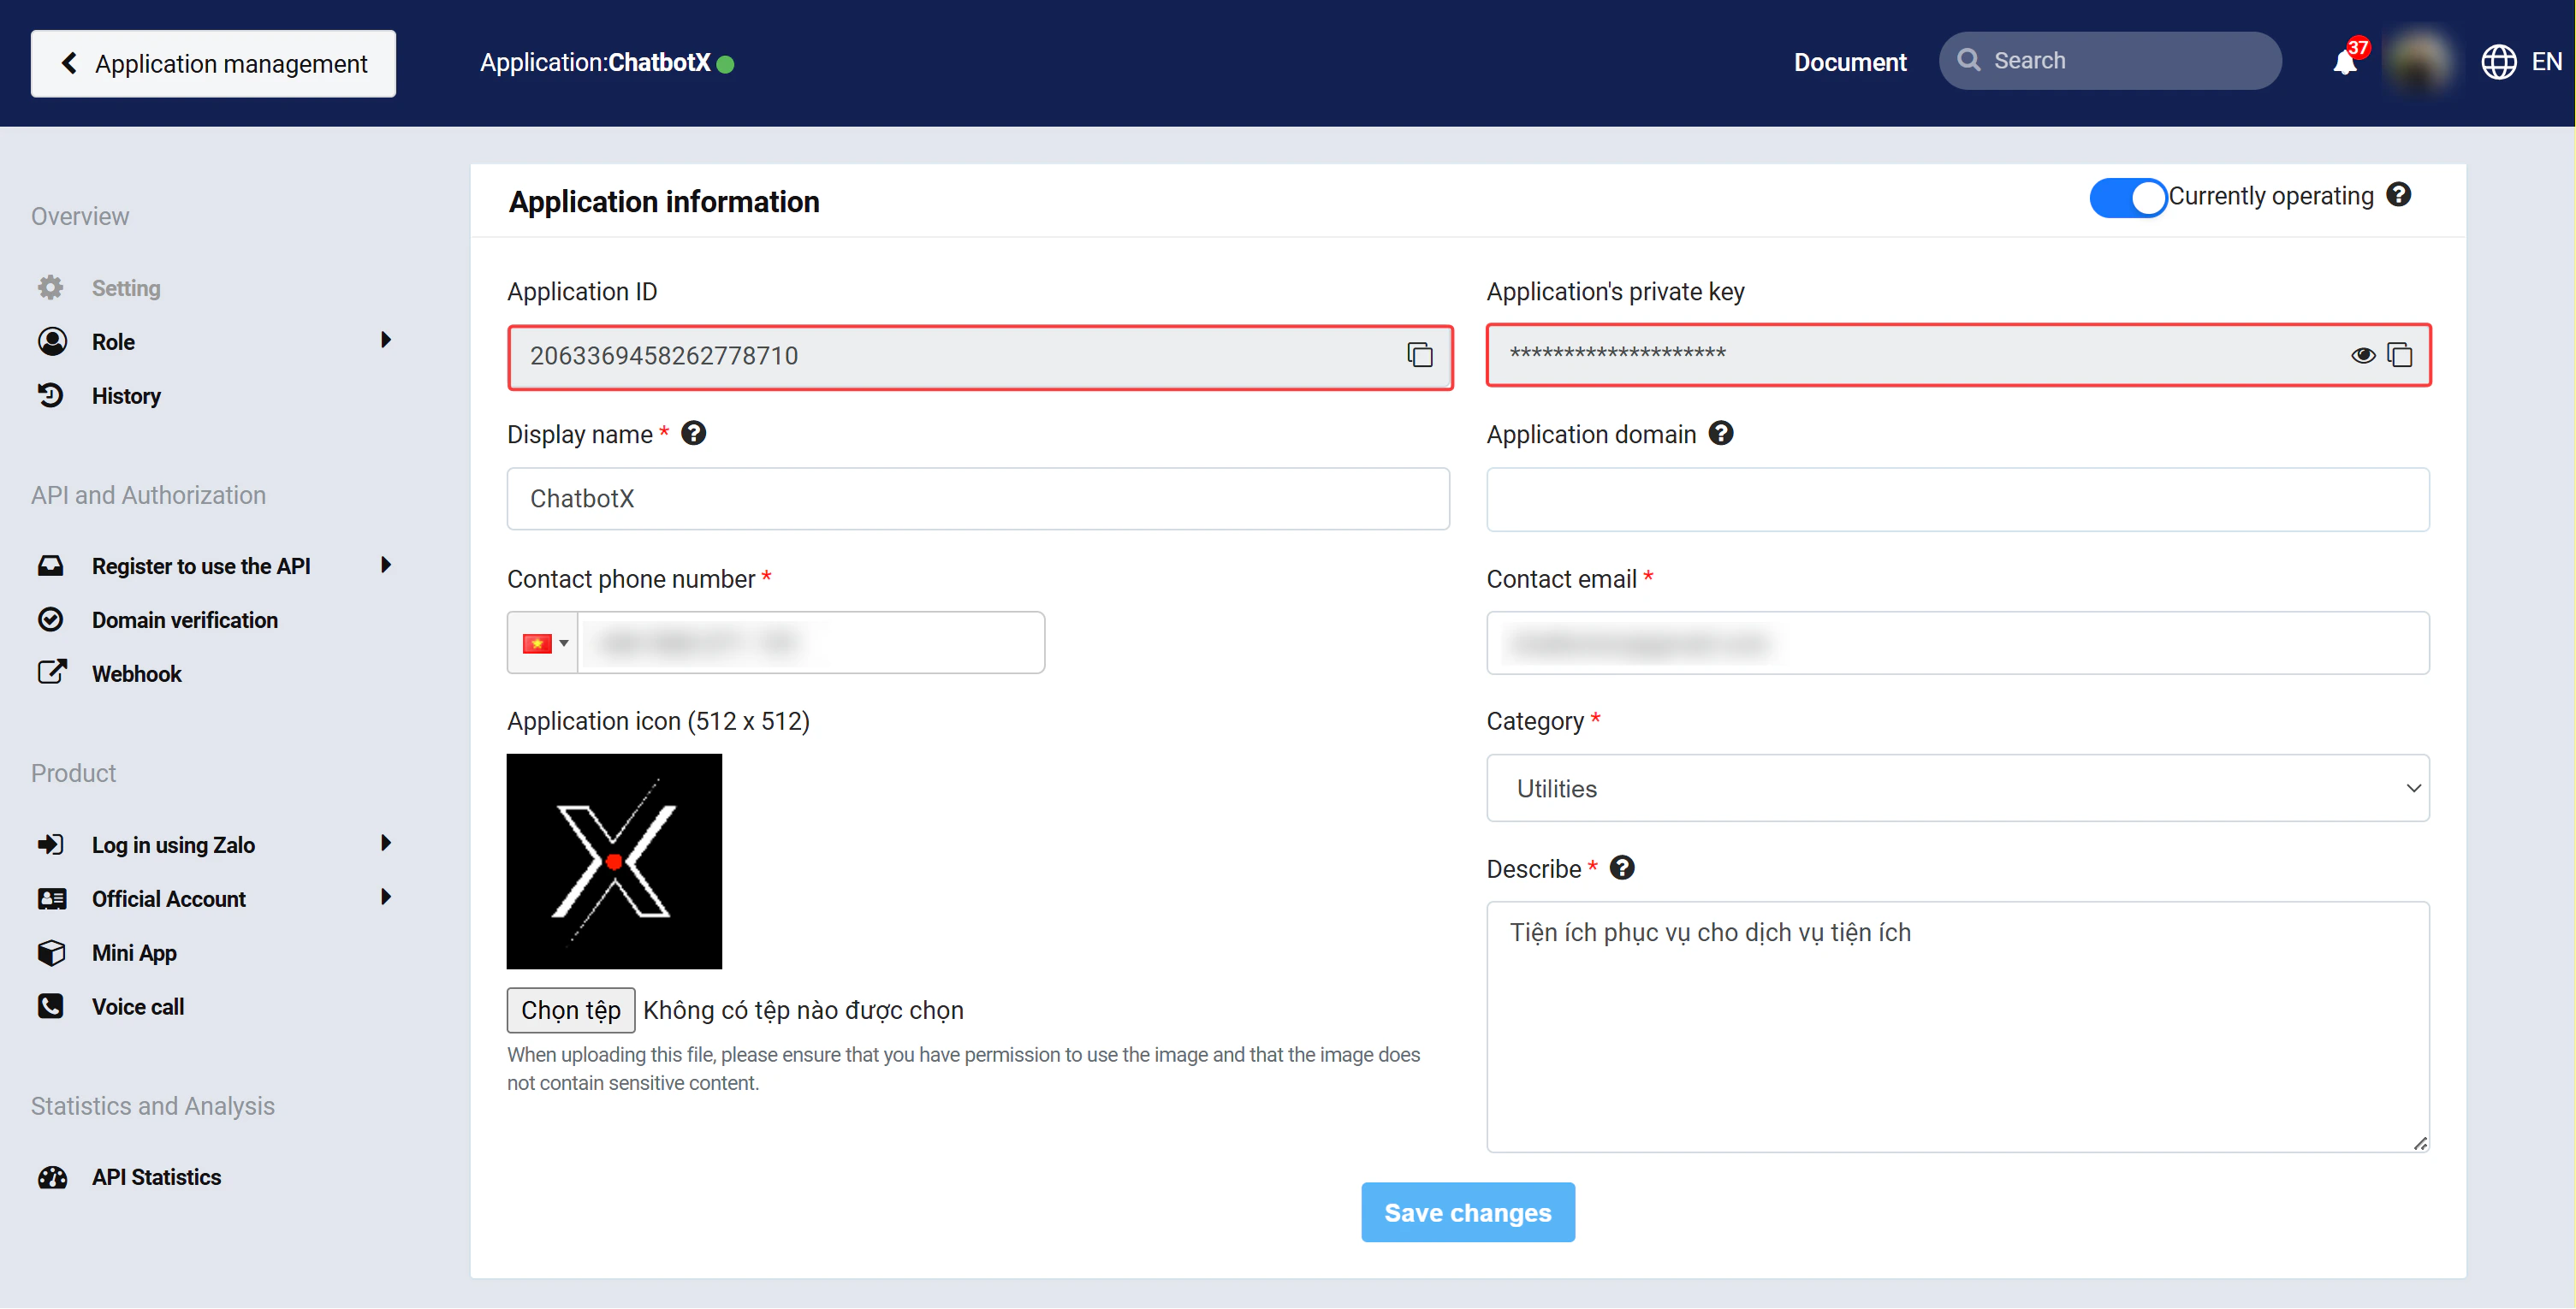
Step 2: Configure Credentials in the Admin Portal
A Super Admin must enter the Zalo credentials in the Admin Portal before the integration can work.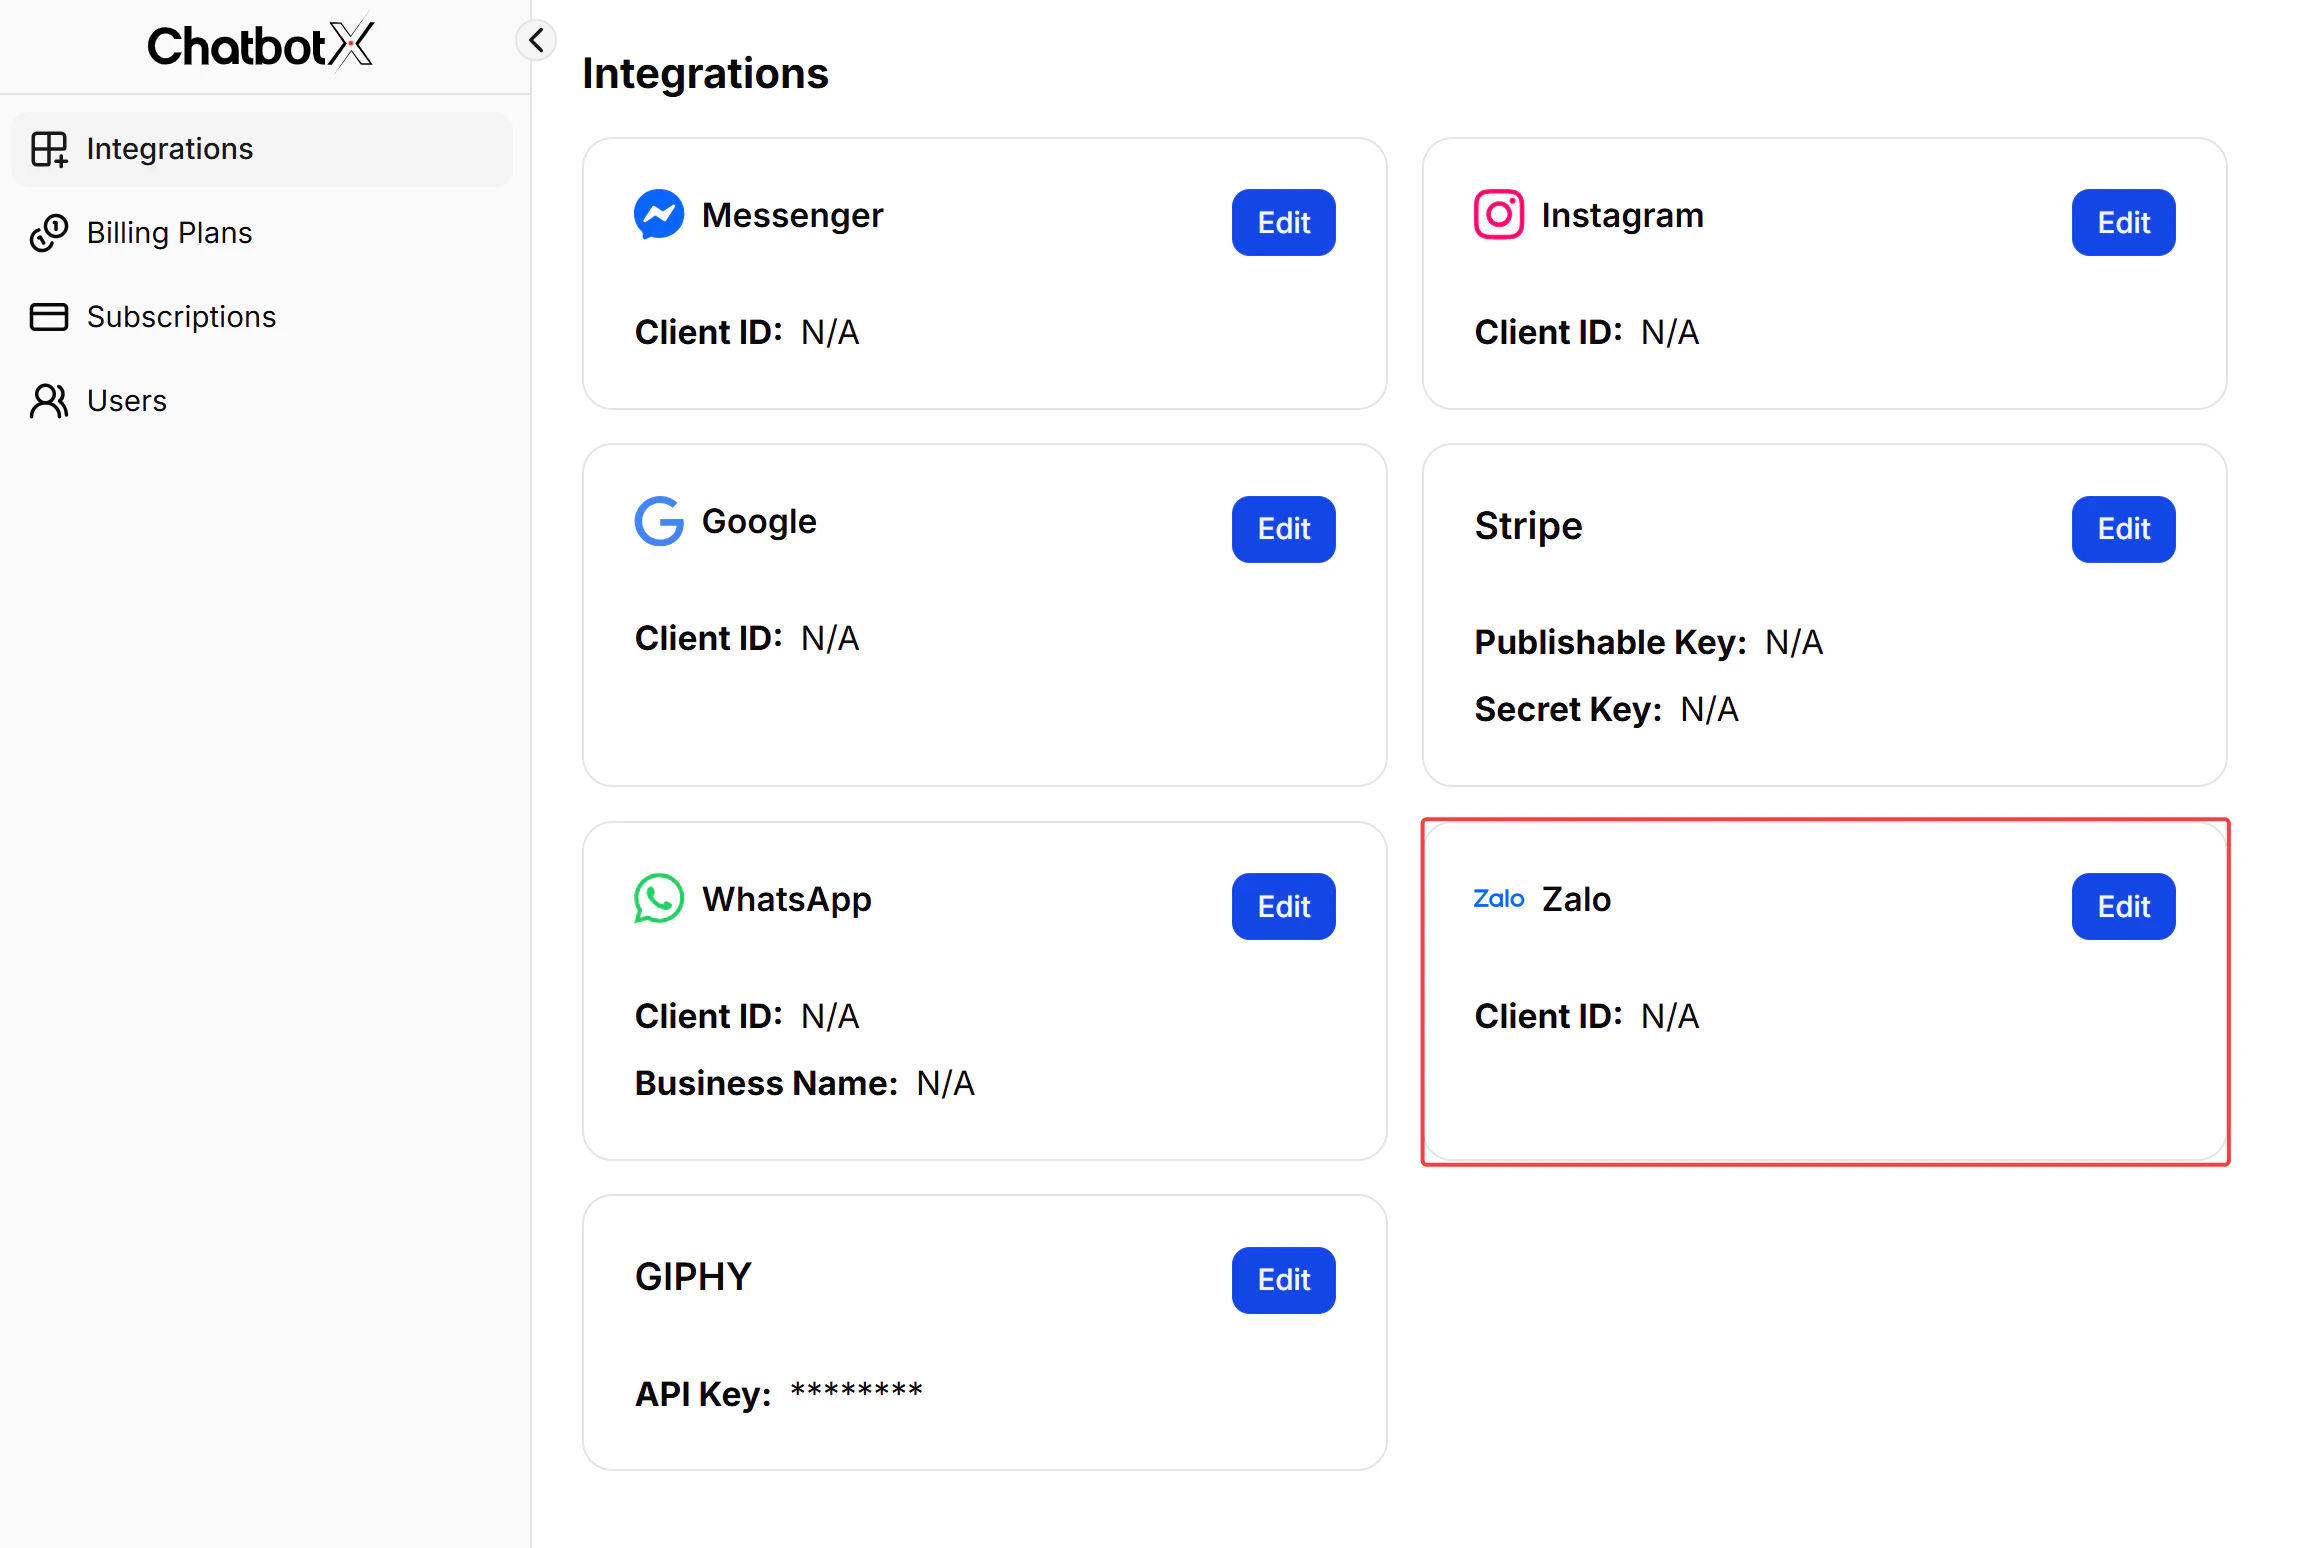
Fill in the Zalo credentials
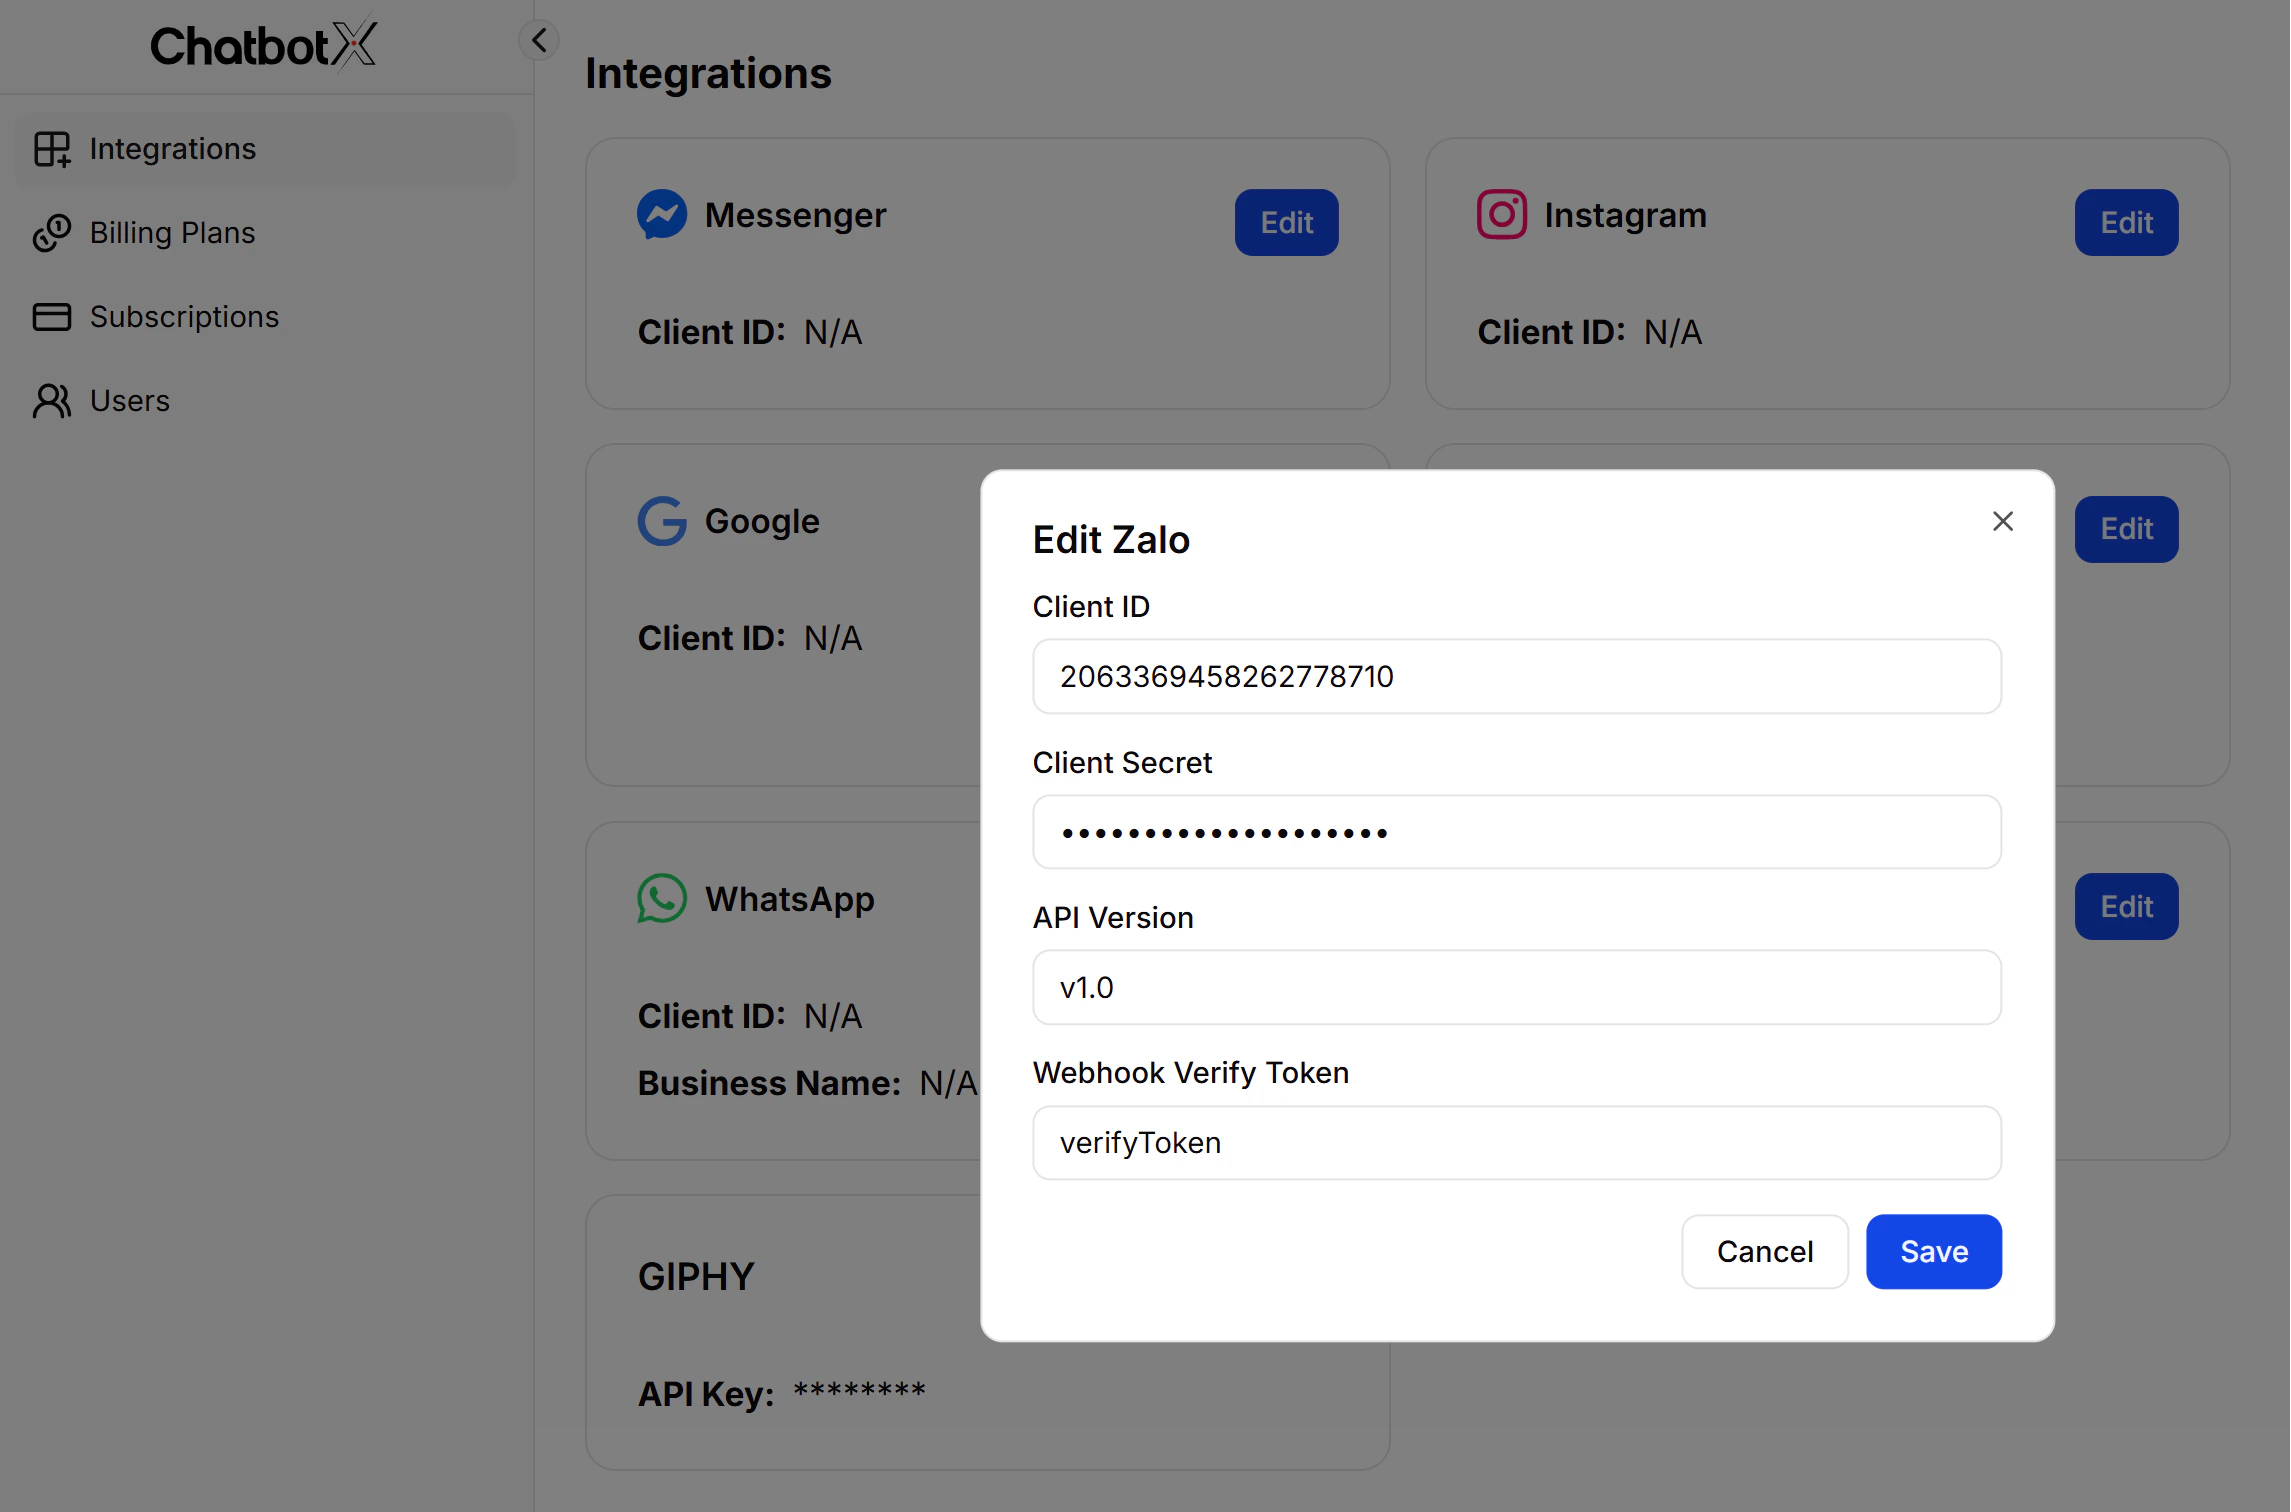
In the Edit Zalo modal, fill in the following fields:
| Field | Description | Where to find |
|---|---|---|
| Client ID | Zalo Application ID | Zalo Developers → App Dashboard |
| Client Secret | Zalo Application’s Private Key | Zalo Developers → App Dashboard |
| API Version | API version to use | e.g., v1.0 |
| Webhook Verify Token | Any string you create yourself | Self-generated |
The Webhook Verify Token is a unique string you generate yourself. Zalo uses this token to verify webhook requests from your server.
Step 3: Verify Your Domain
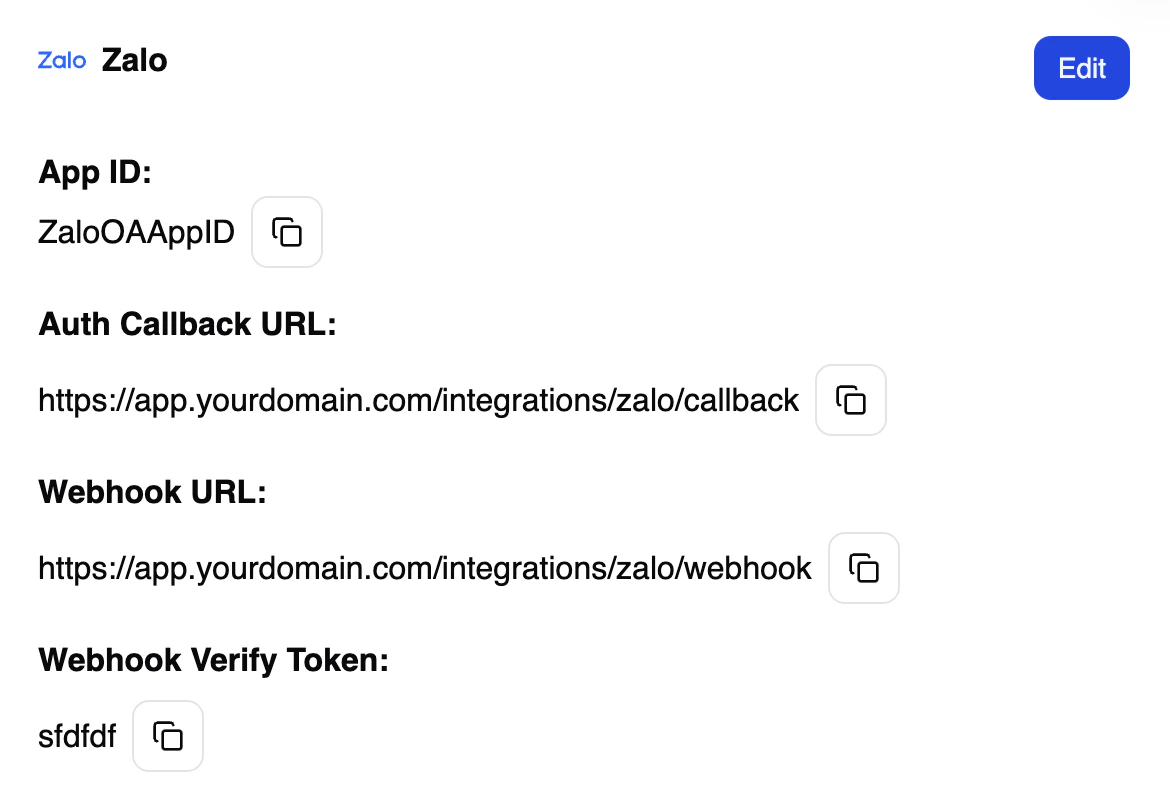
Zalo requires domain verification before your application can receive webhook events. This step confirms that you own the domain where your portal is hosted.Get the verification URL from the system
Copy the domain of your portal where the application is hosted:
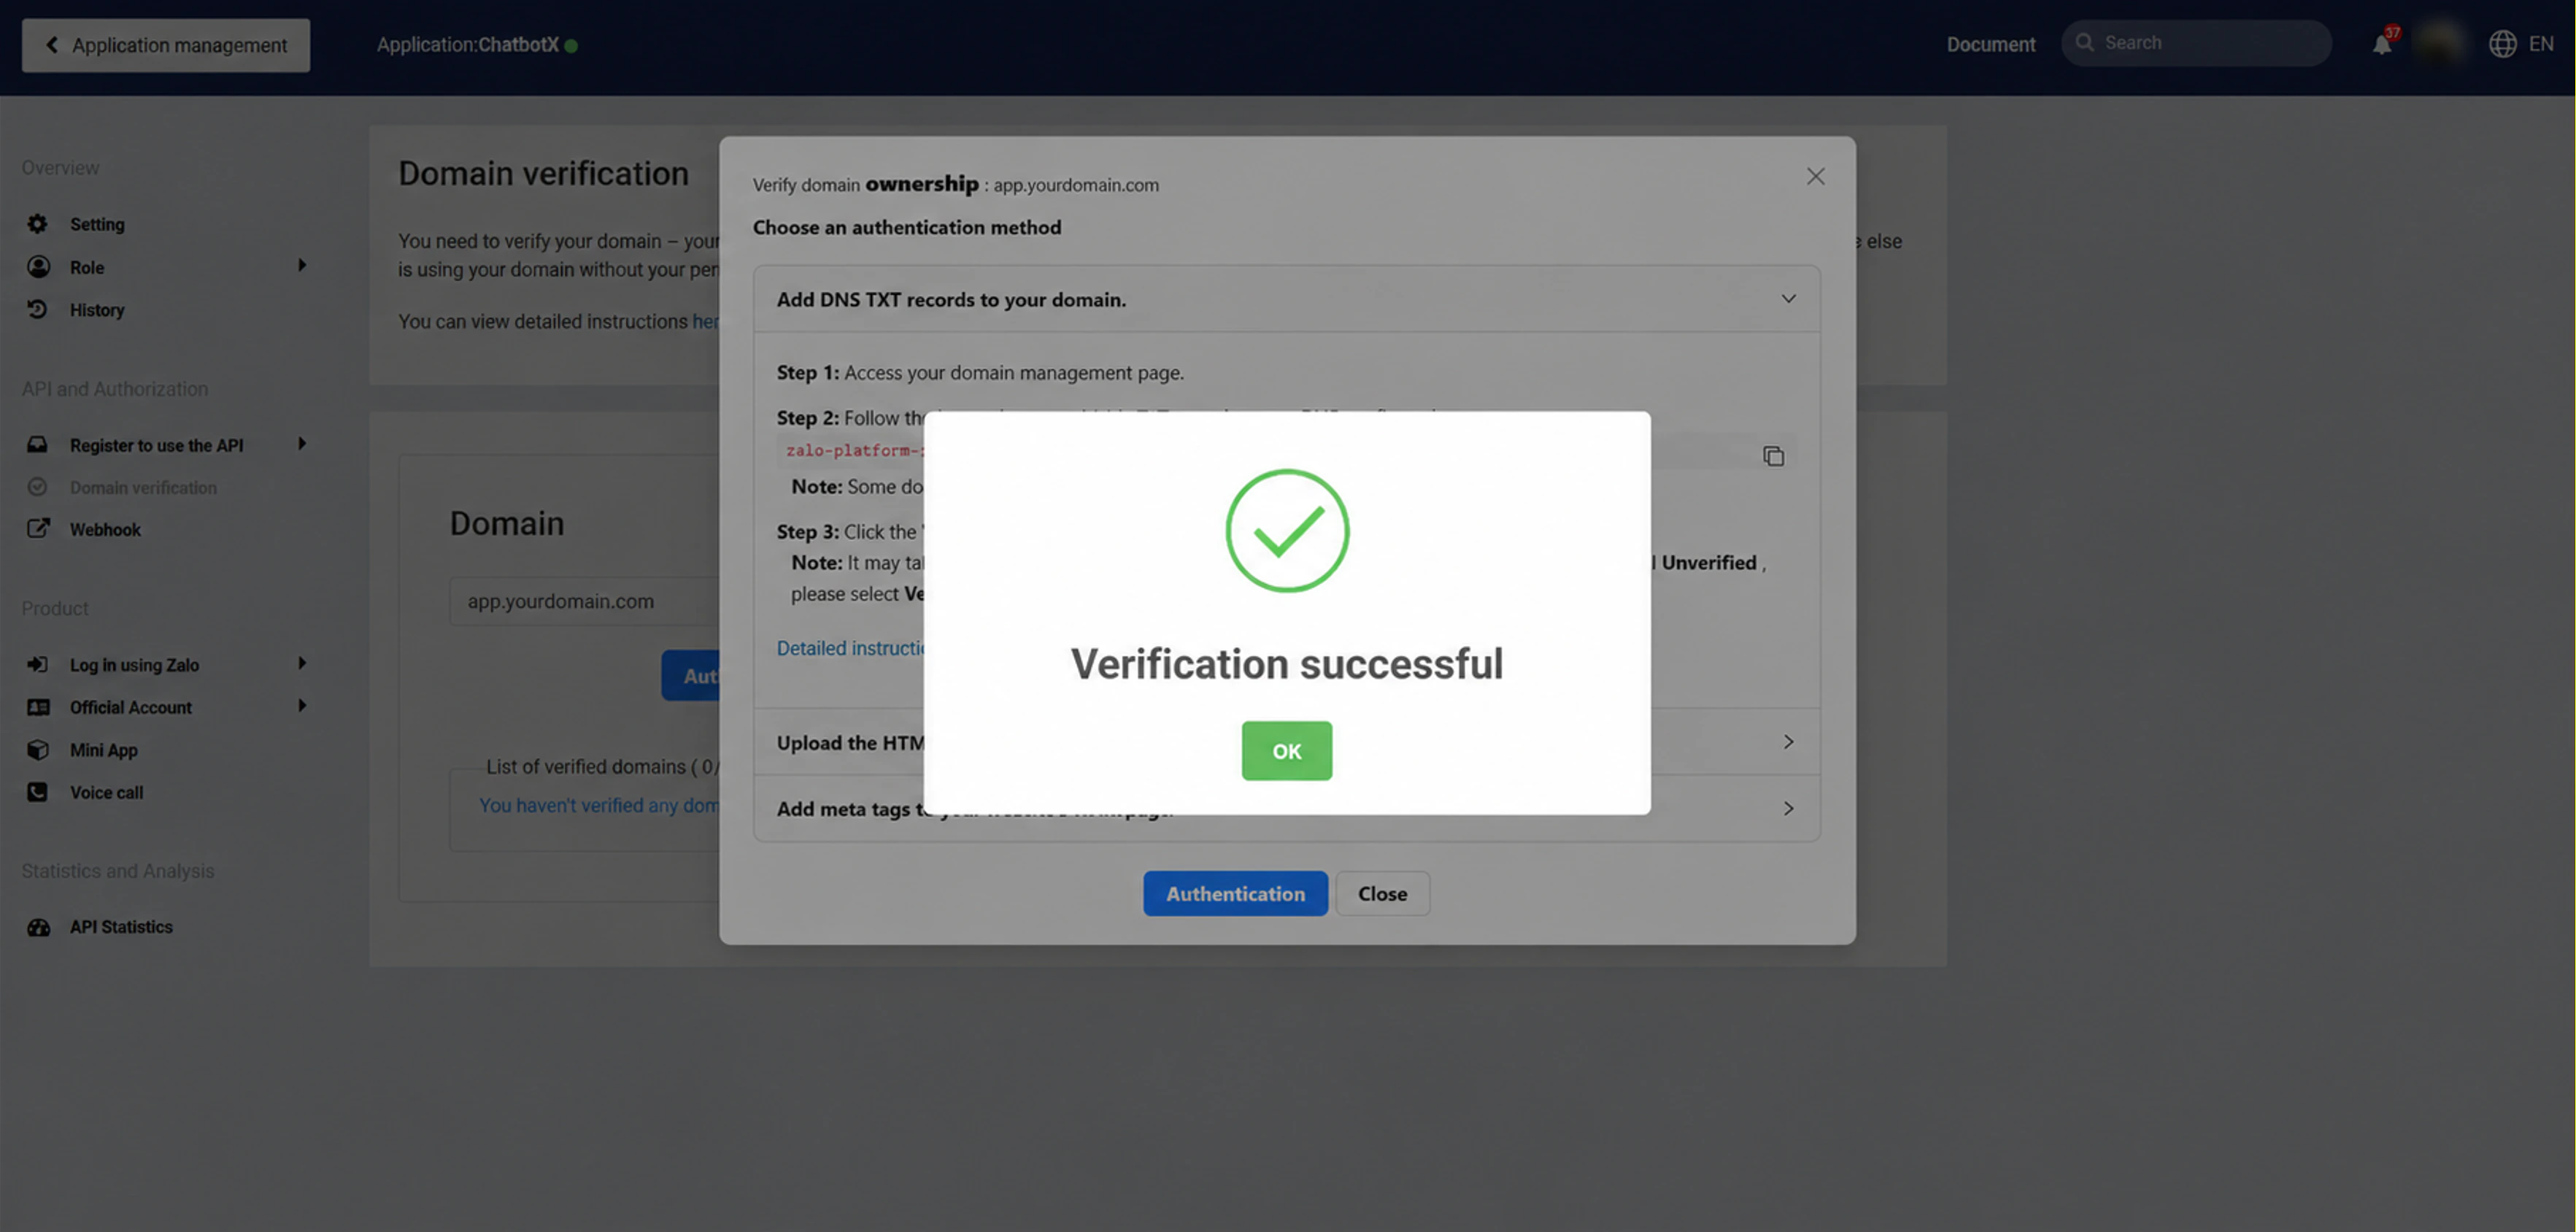
Complete domain verification in Zalo
Go to your Zalo application settings and follow the Zalo domain verification guide. Add the meta tag obtained from Zalo to your portal domain’s HTML or DNS settings.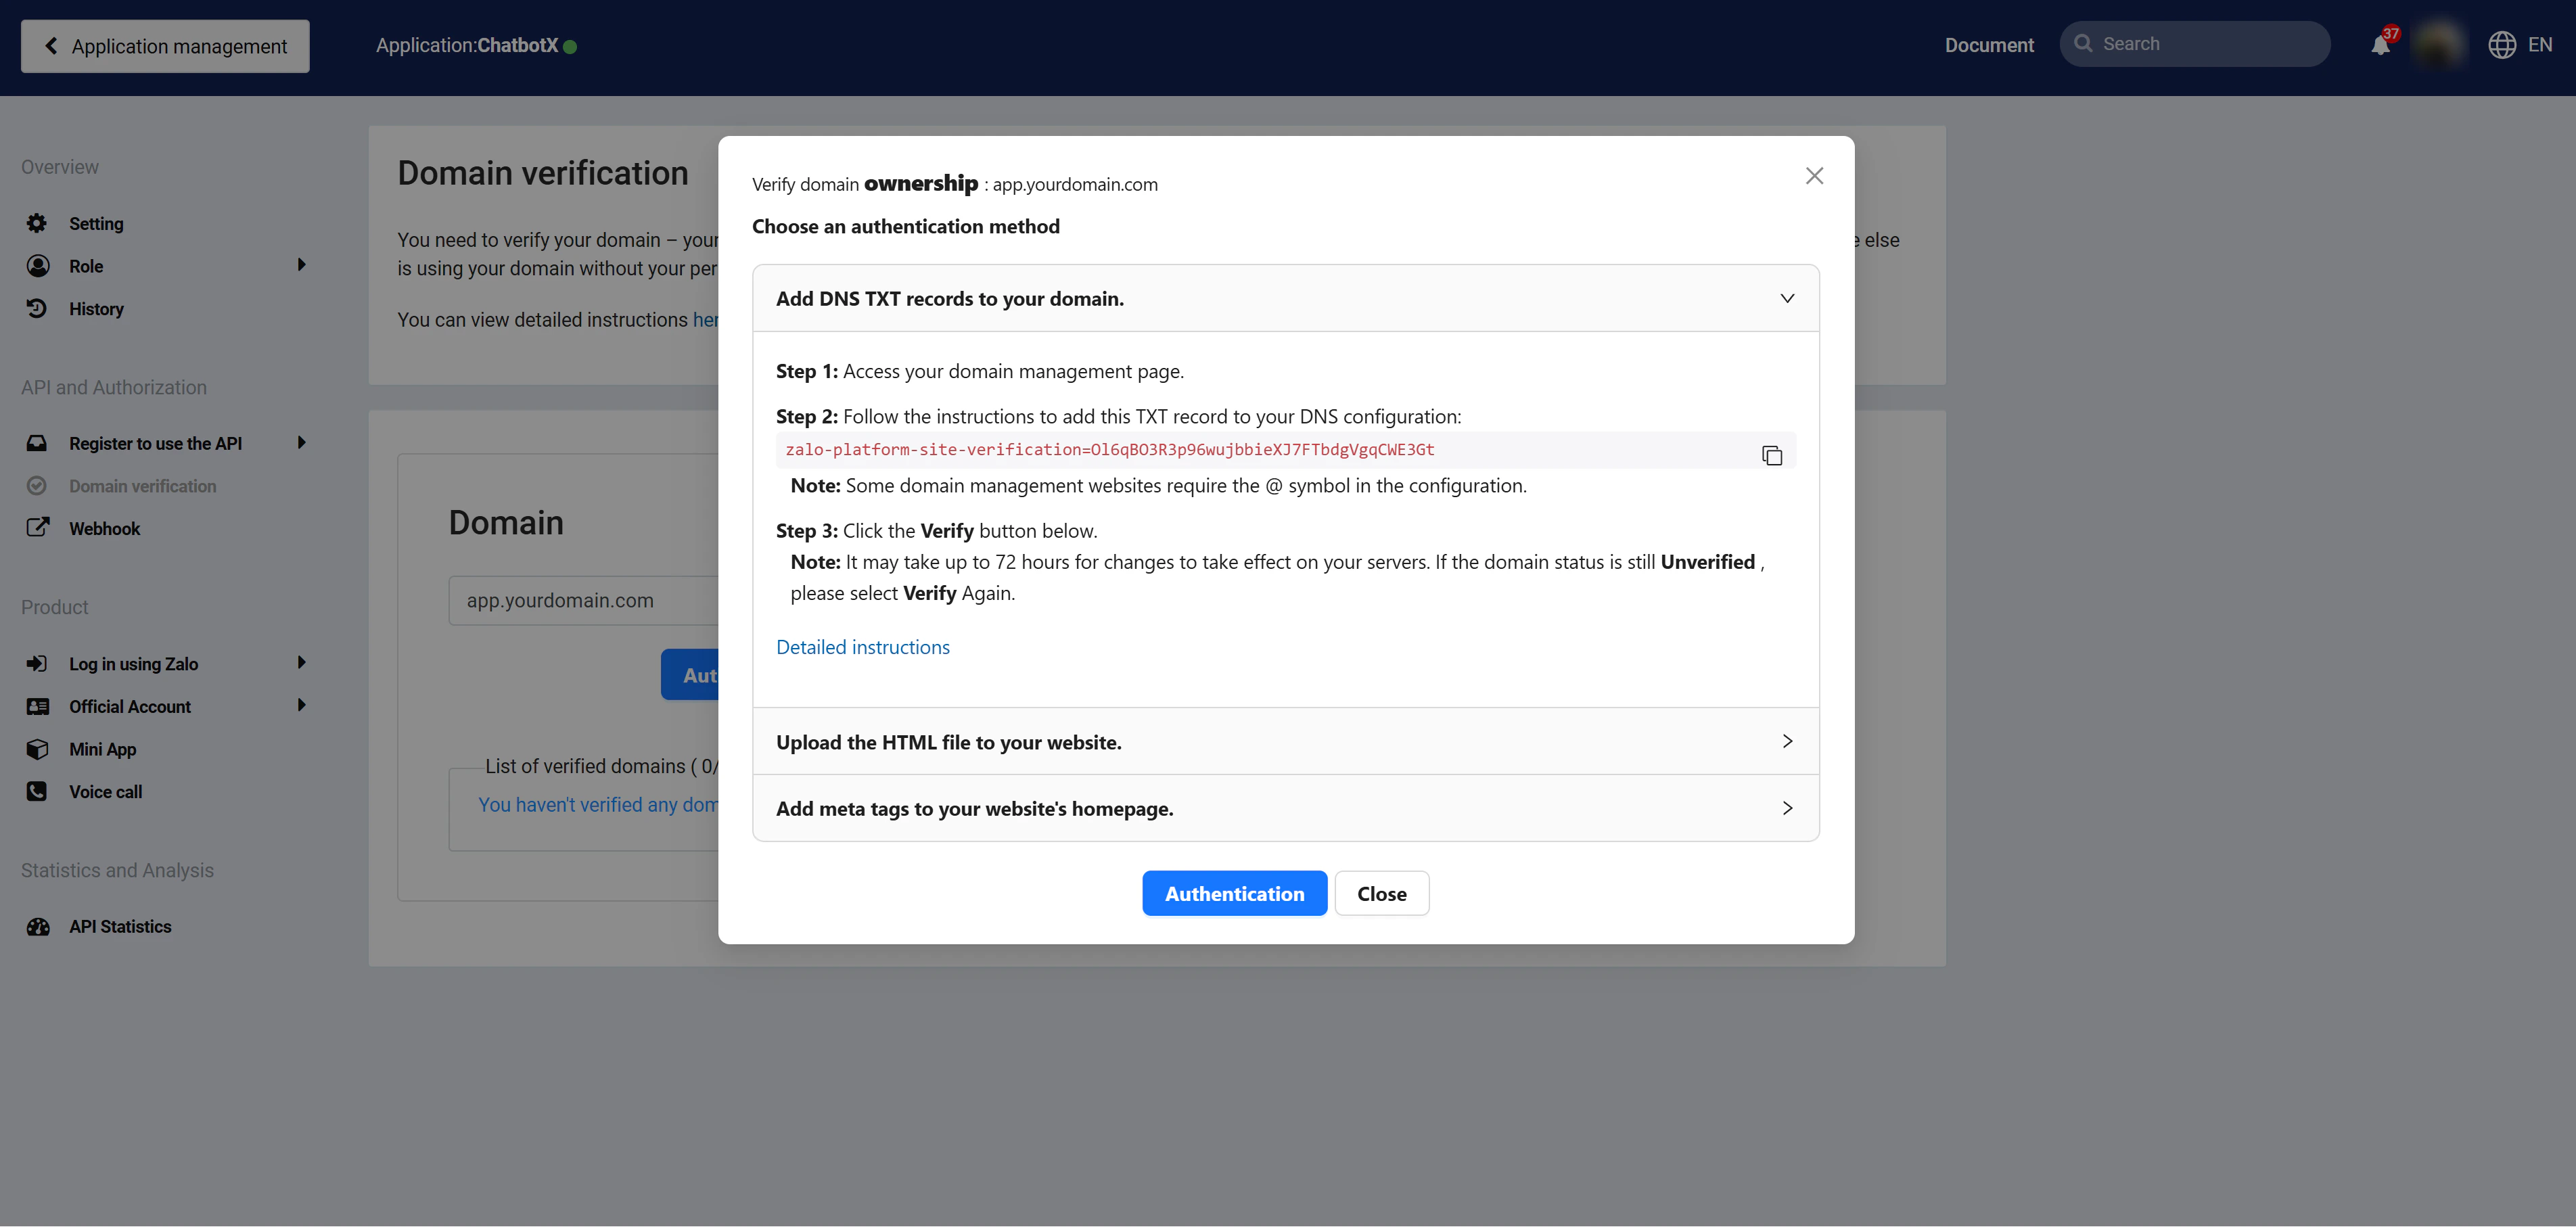
Step 4: Configure Callback and Webhook URLs
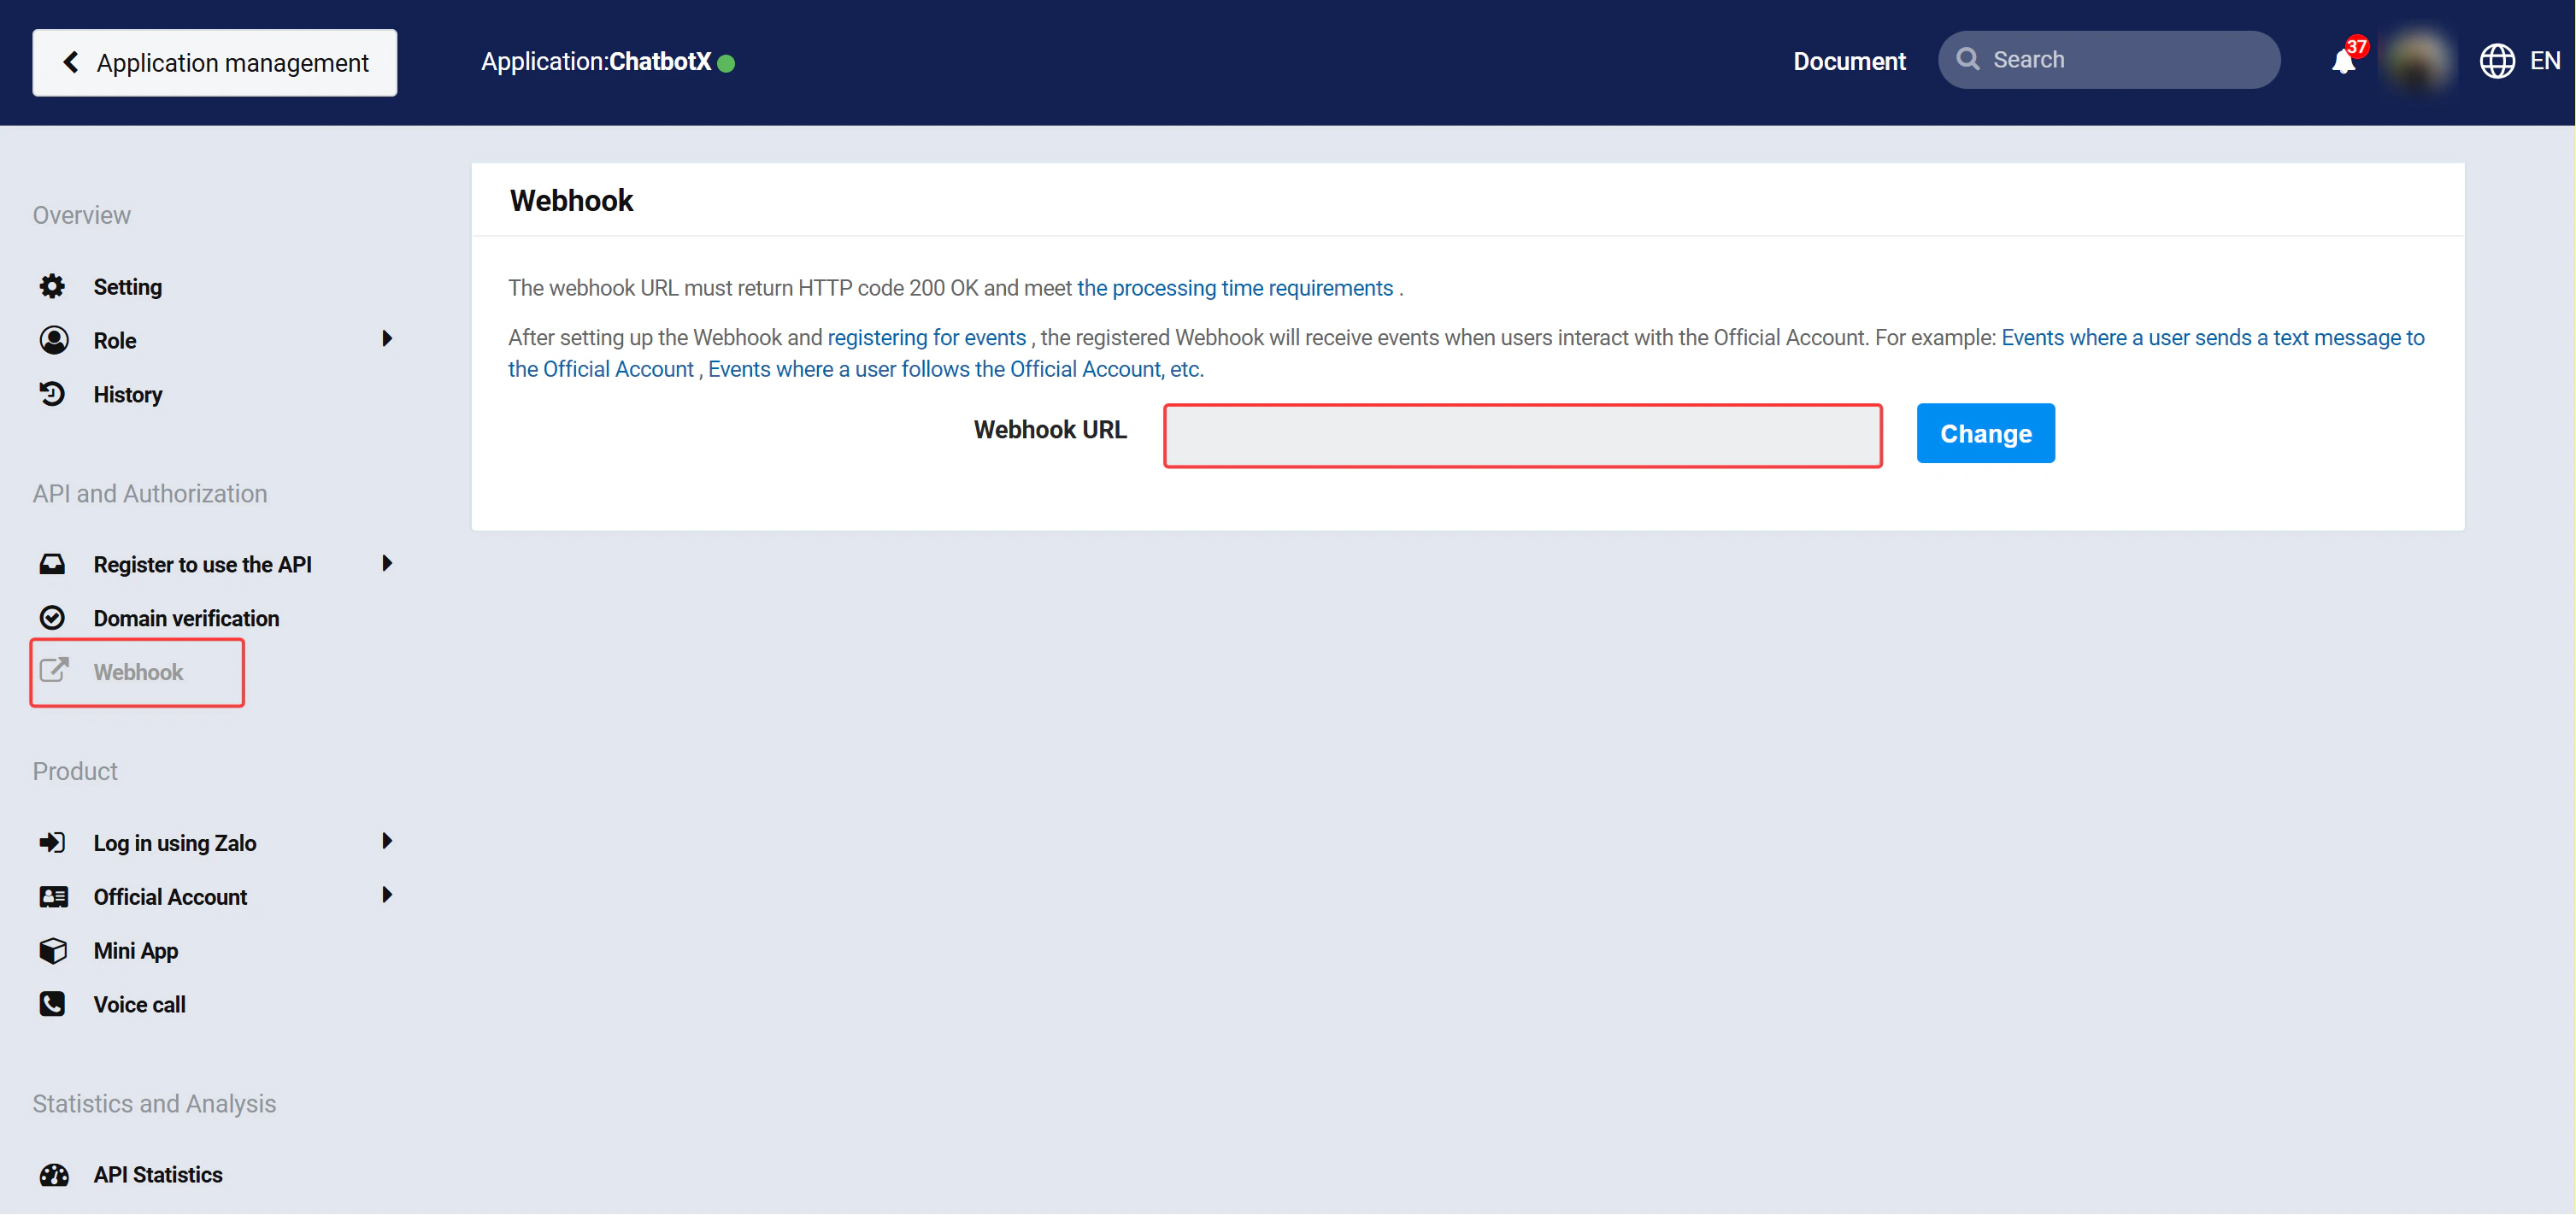
You need to configure two URLs in your Zalo application to receive messages and events on the portal.Set the Callback URL in Zalo
Copy the Auth Callback URL from the Admin Portal Zalo configuration settings, then paste it into your Zalo application settings and select the required permissions for OAuth authorization.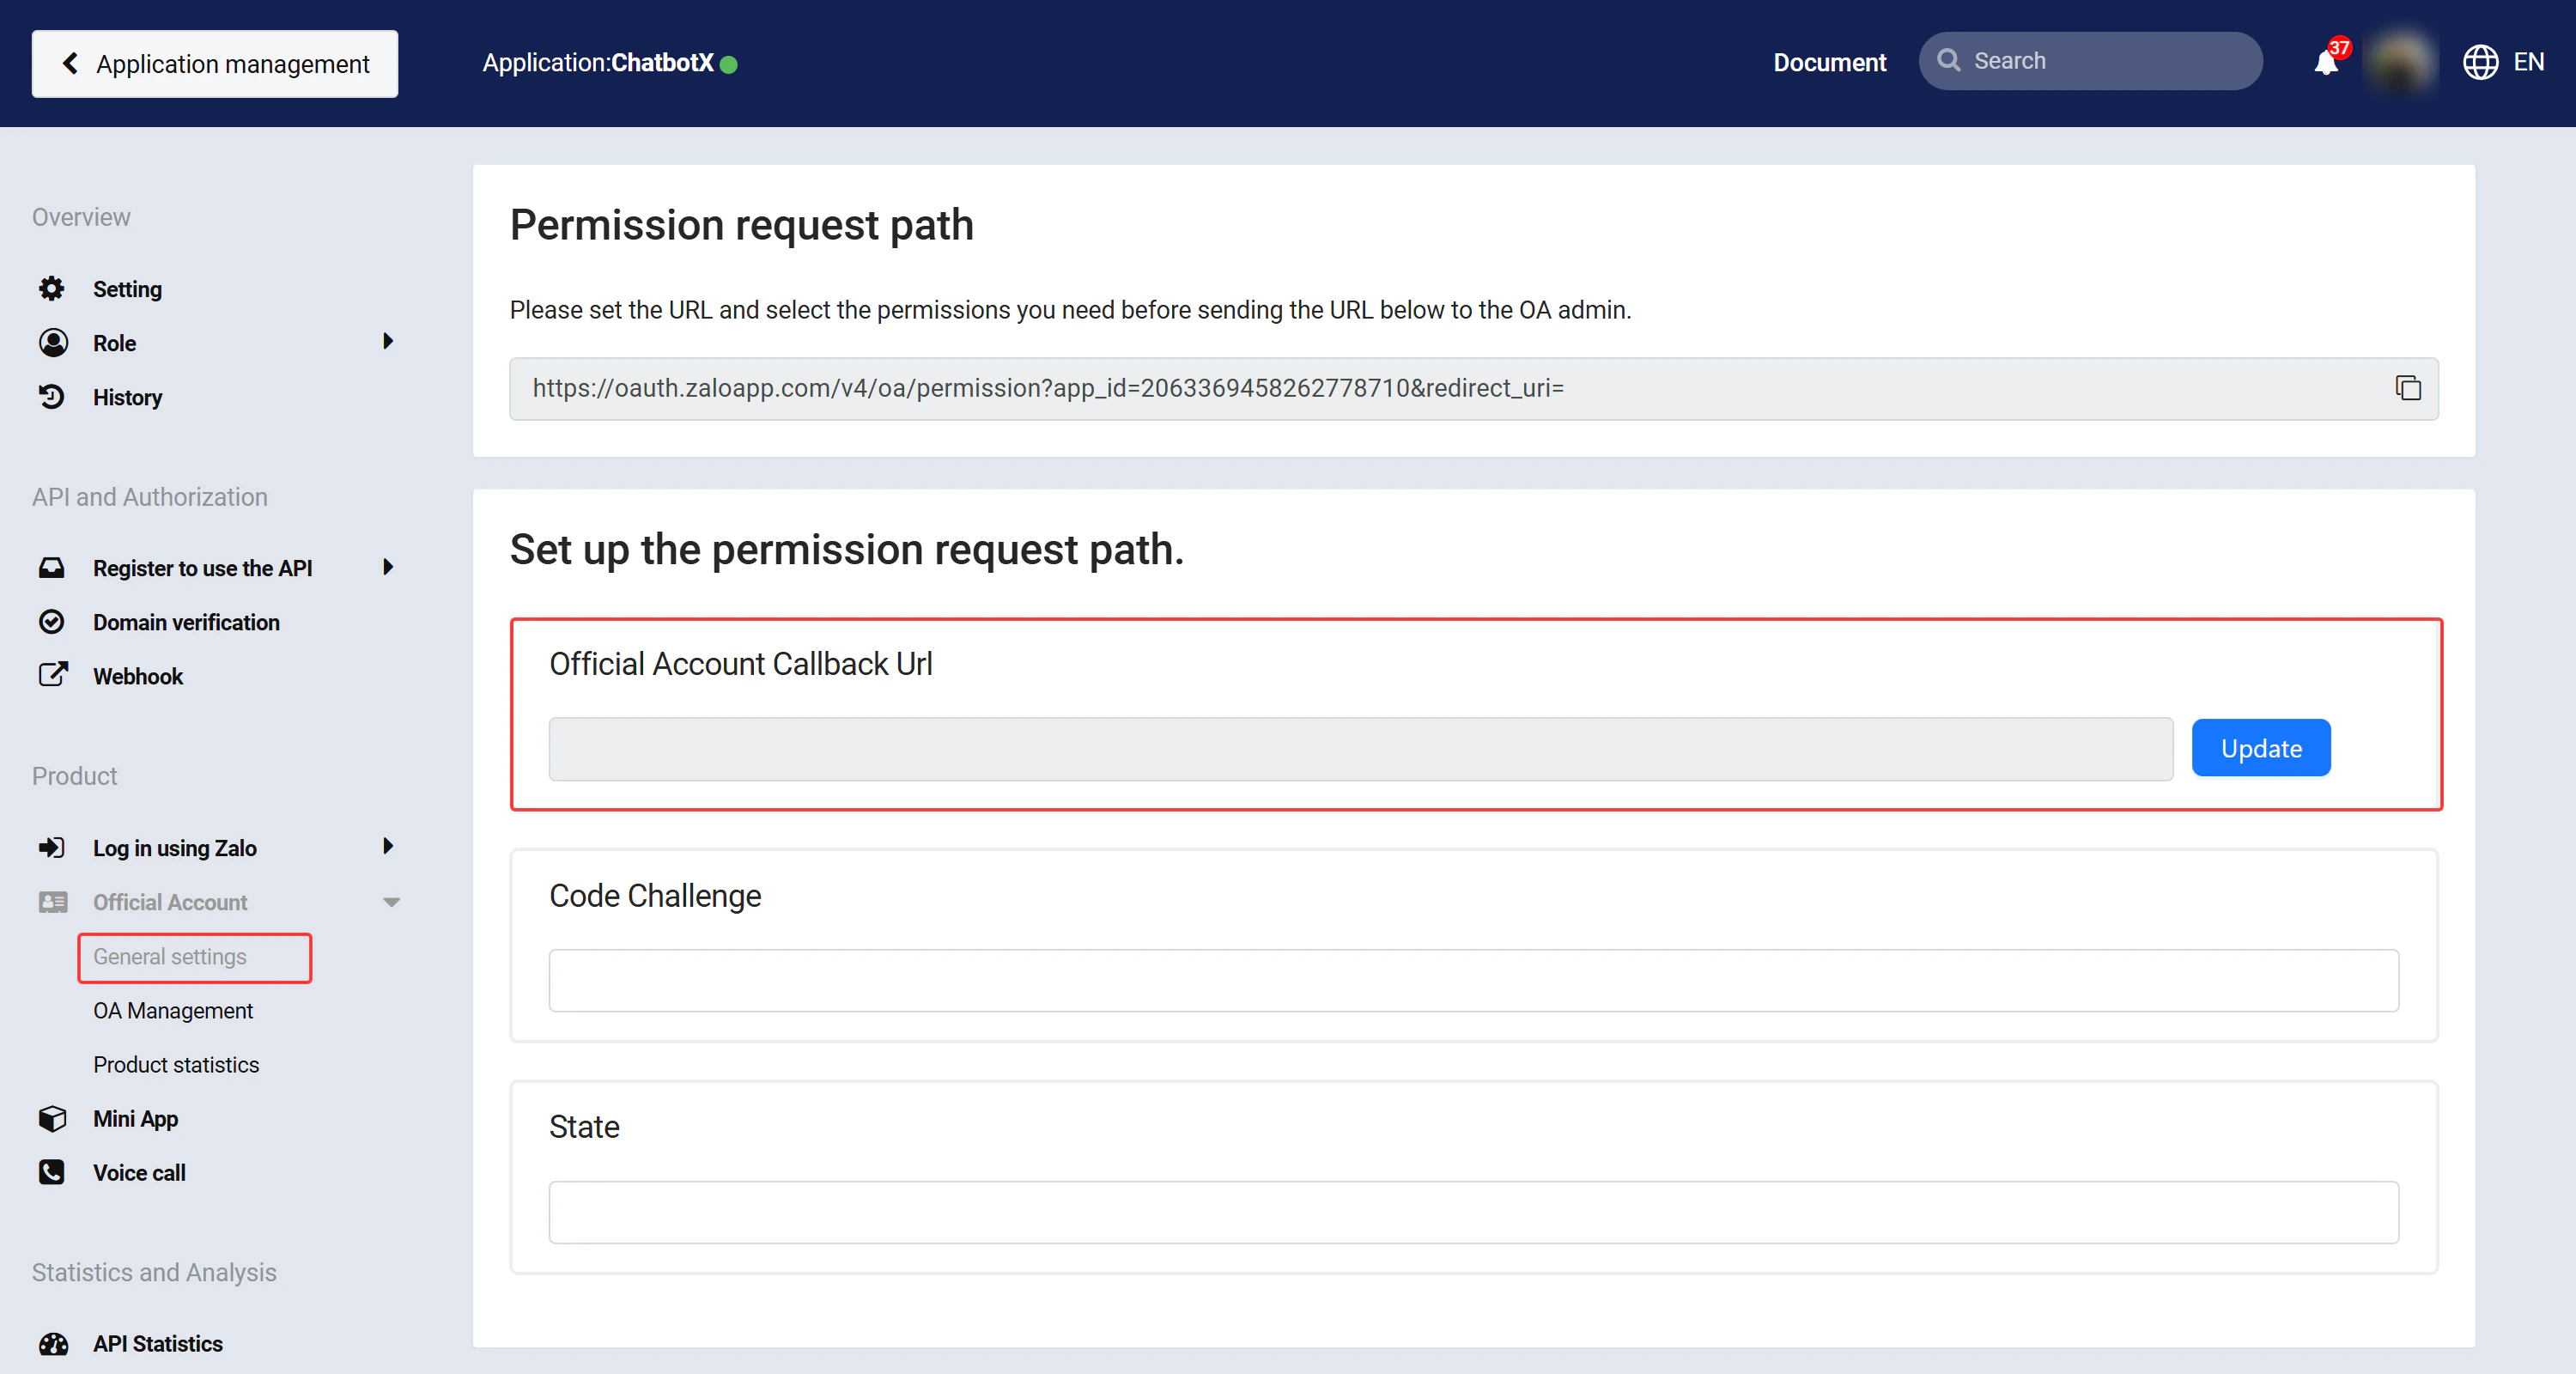
User Connection Guide
After completing the app configuration on Zalo Developers and entering the Credentials in the Admin Portal, your customers can connect their Zalo OA. For step-by-step instructions, see the Zalo OA Connection Guide.Troubleshooting
Messages not appearing in portal
Messages not appearing in portal
- Verify that the Webhook URL is correctly configured in your Zalo application
- Check that all required webhook events are subscribed (
send_msg,get_msg,follow,unfollow) - Confirm the Webhook Verify Token matches between the portal and Zalo
Domain verification failing
Domain verification failing
- Ensure your portal server is accessible via HTTPS
- Wait 3–5 seconds between verification attempts
- Try an alternative verification method (DNS TXT record vs meta tag)
How do I get help if the issue persists?
How do I get help if the issue persists?
- Check the server logs for error messages
- Verify all credentials in the Org Settings panel are correctly configured
- Ensure your Zalo OA and developer accounts meet the prerequisites
- Contact Community support with specific error messages if the issue persists