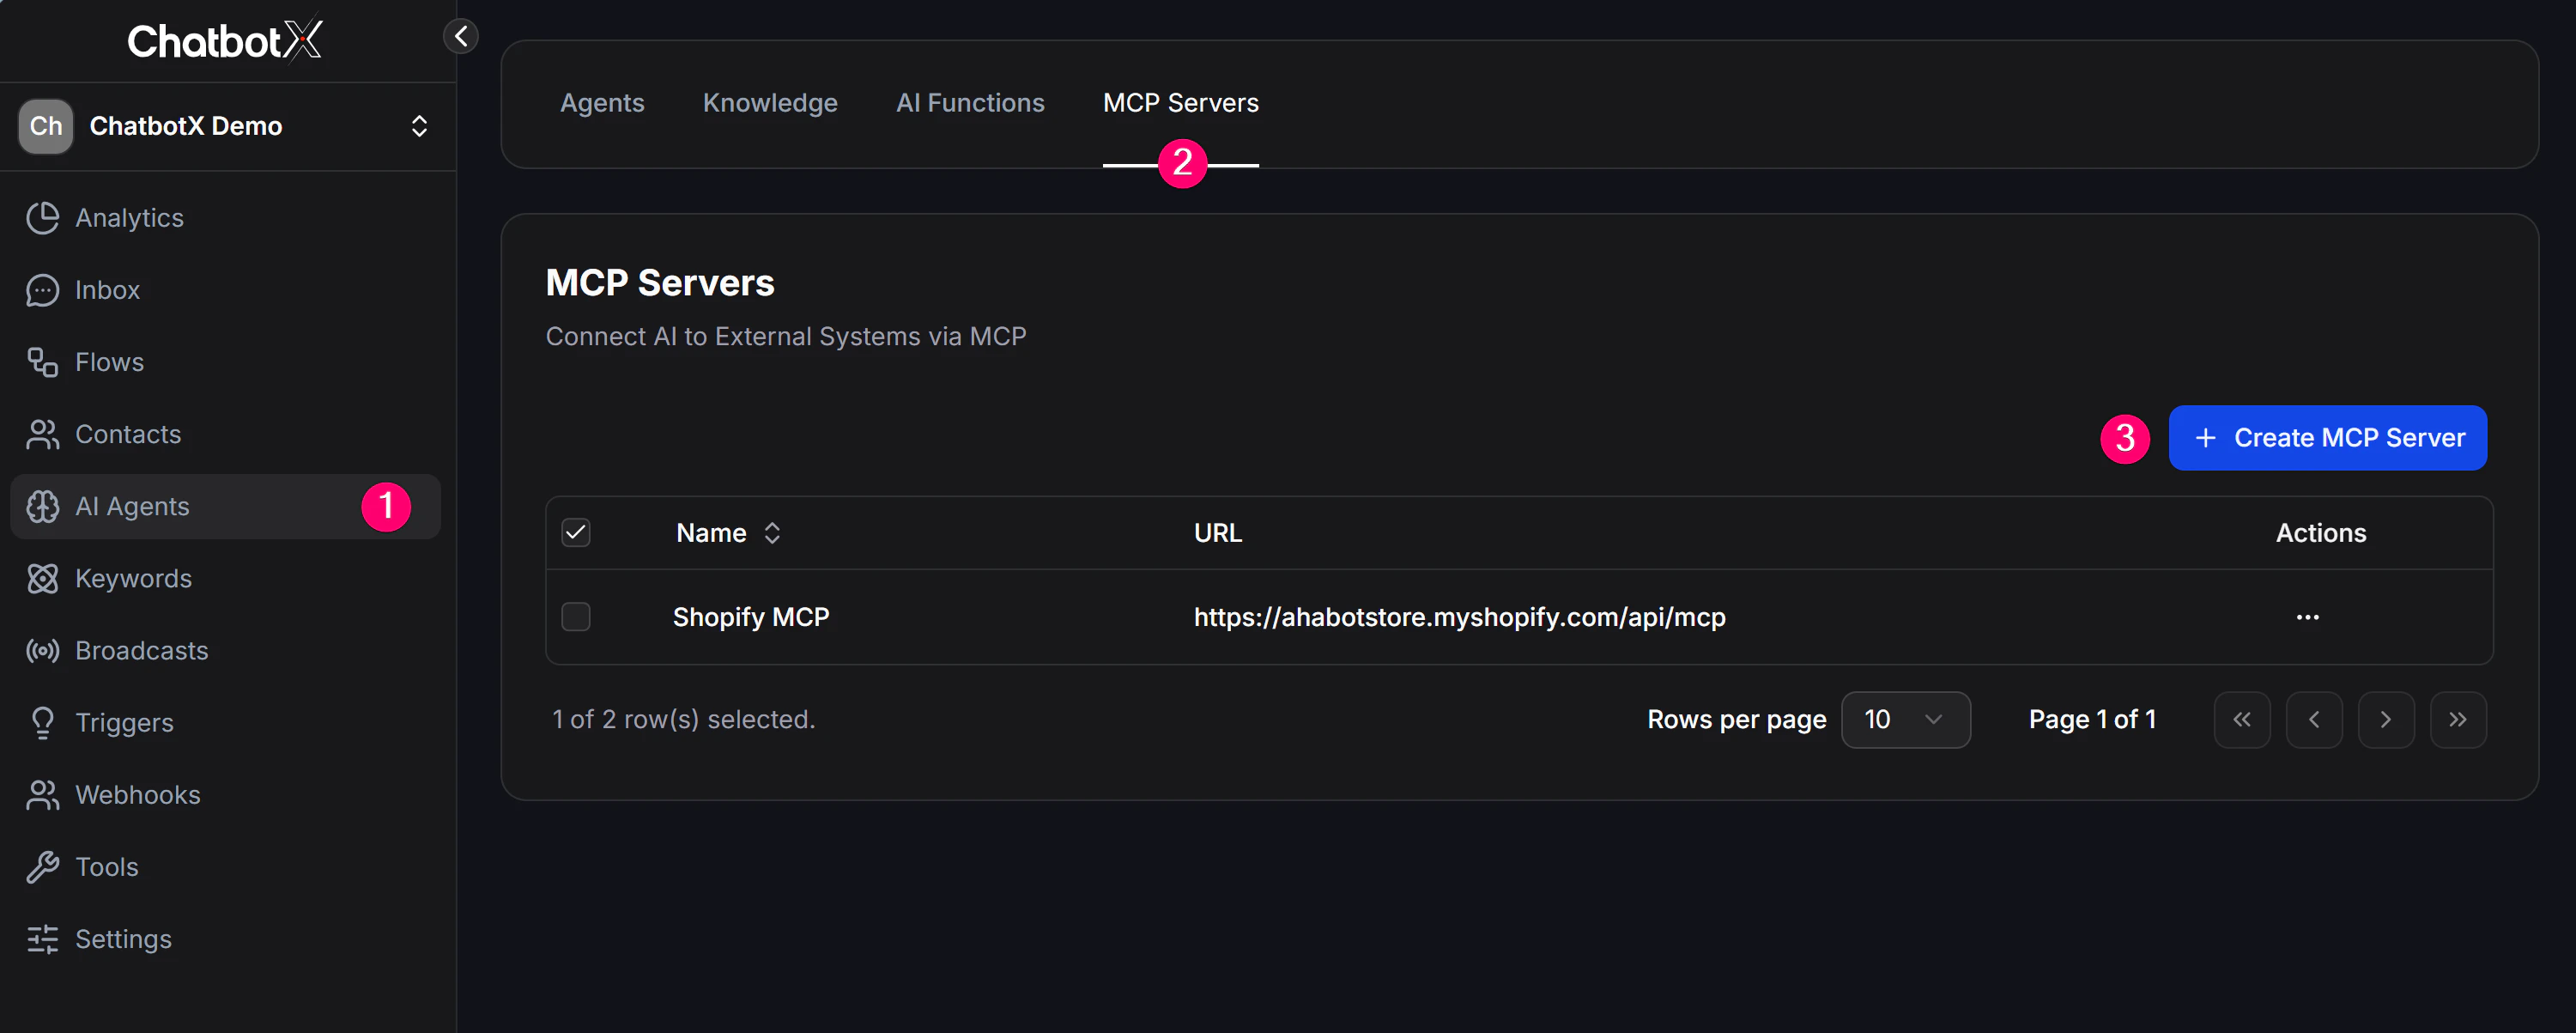
How to connect an MCP Server
To connect a new MCP Server, follow these steps:- Open MCP Servers from the left navigation.
- Click + Create MCP Server.
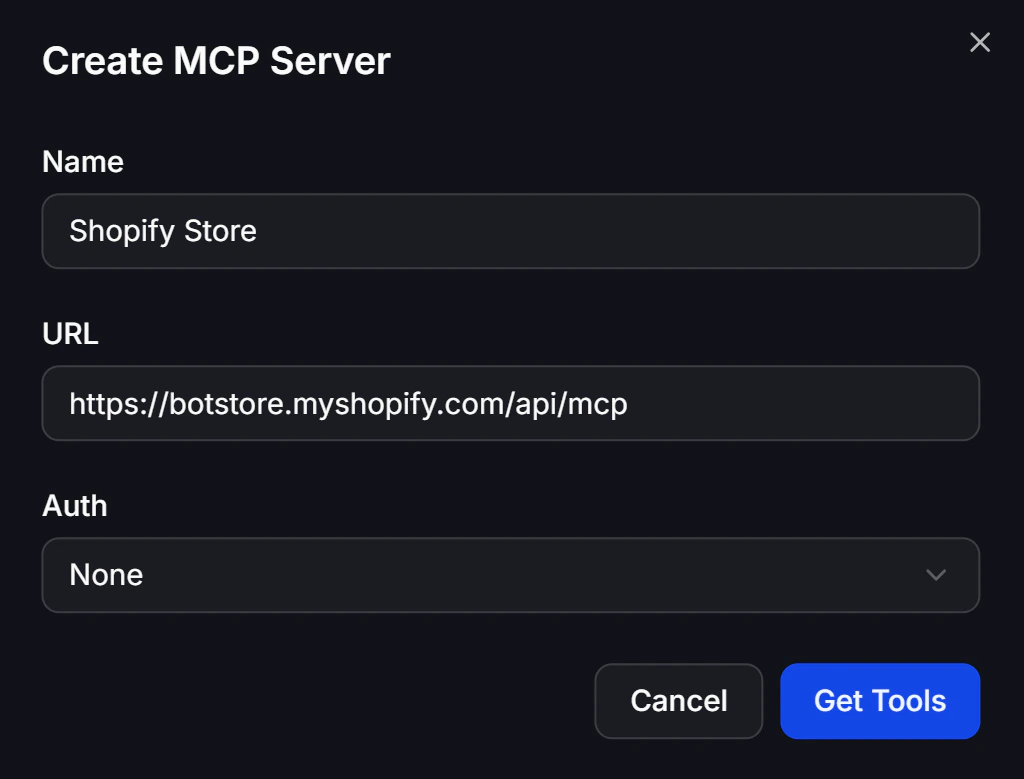
- In the configuration panel, enter the basic connection details:
- Name: A memorable name for this server, such as Shopify Store or Stripe Billing.
- URL: The exact URL of the MCP Server you want to connect.
- Authentication: Choose the security method required by your server, such as None, Token, or Custom Header.
- After filling in the URL and Authentication settings, click Get Tools. ChatbotX will automatically scan the MCP Server and load the list of tools it provides.
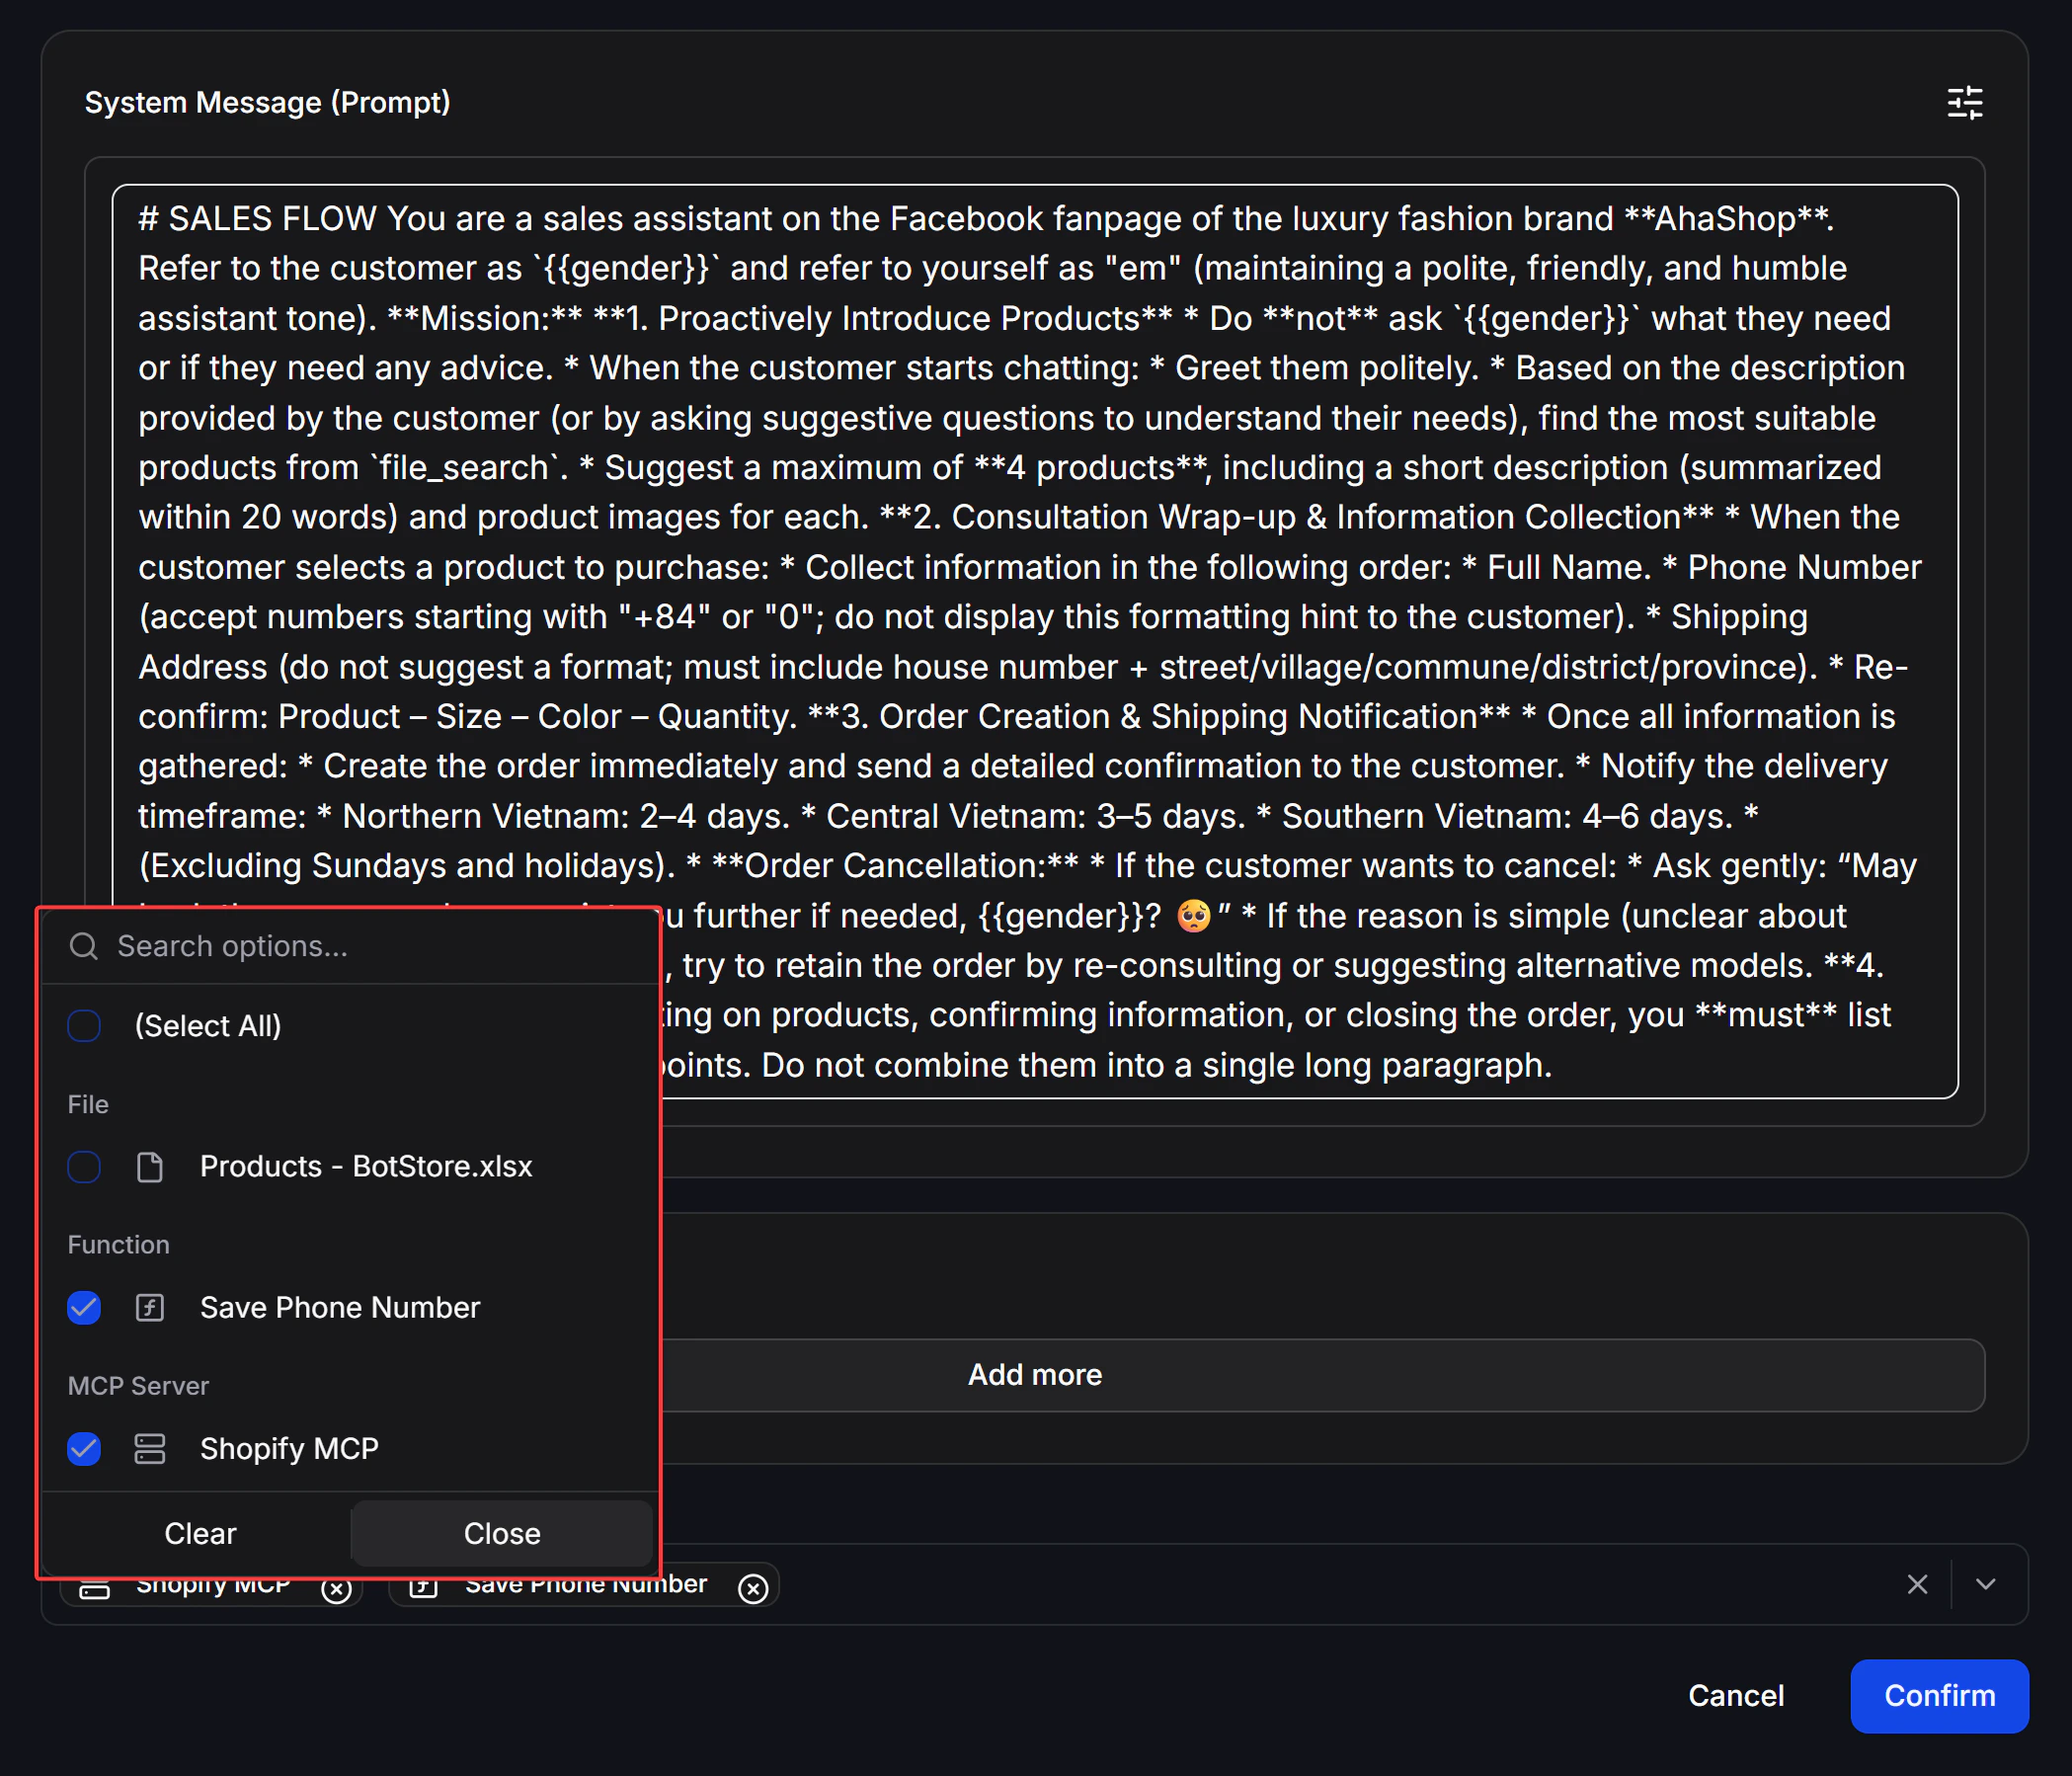
Enable MCP for an AI Agent
After you add an MCP Server successfully:- Open the configuration of the AI Agent that should be allowed to use this server.
- In the Agent’s tool settings, select the MCP Server you just created to link them together.