How to create a new AI Agent
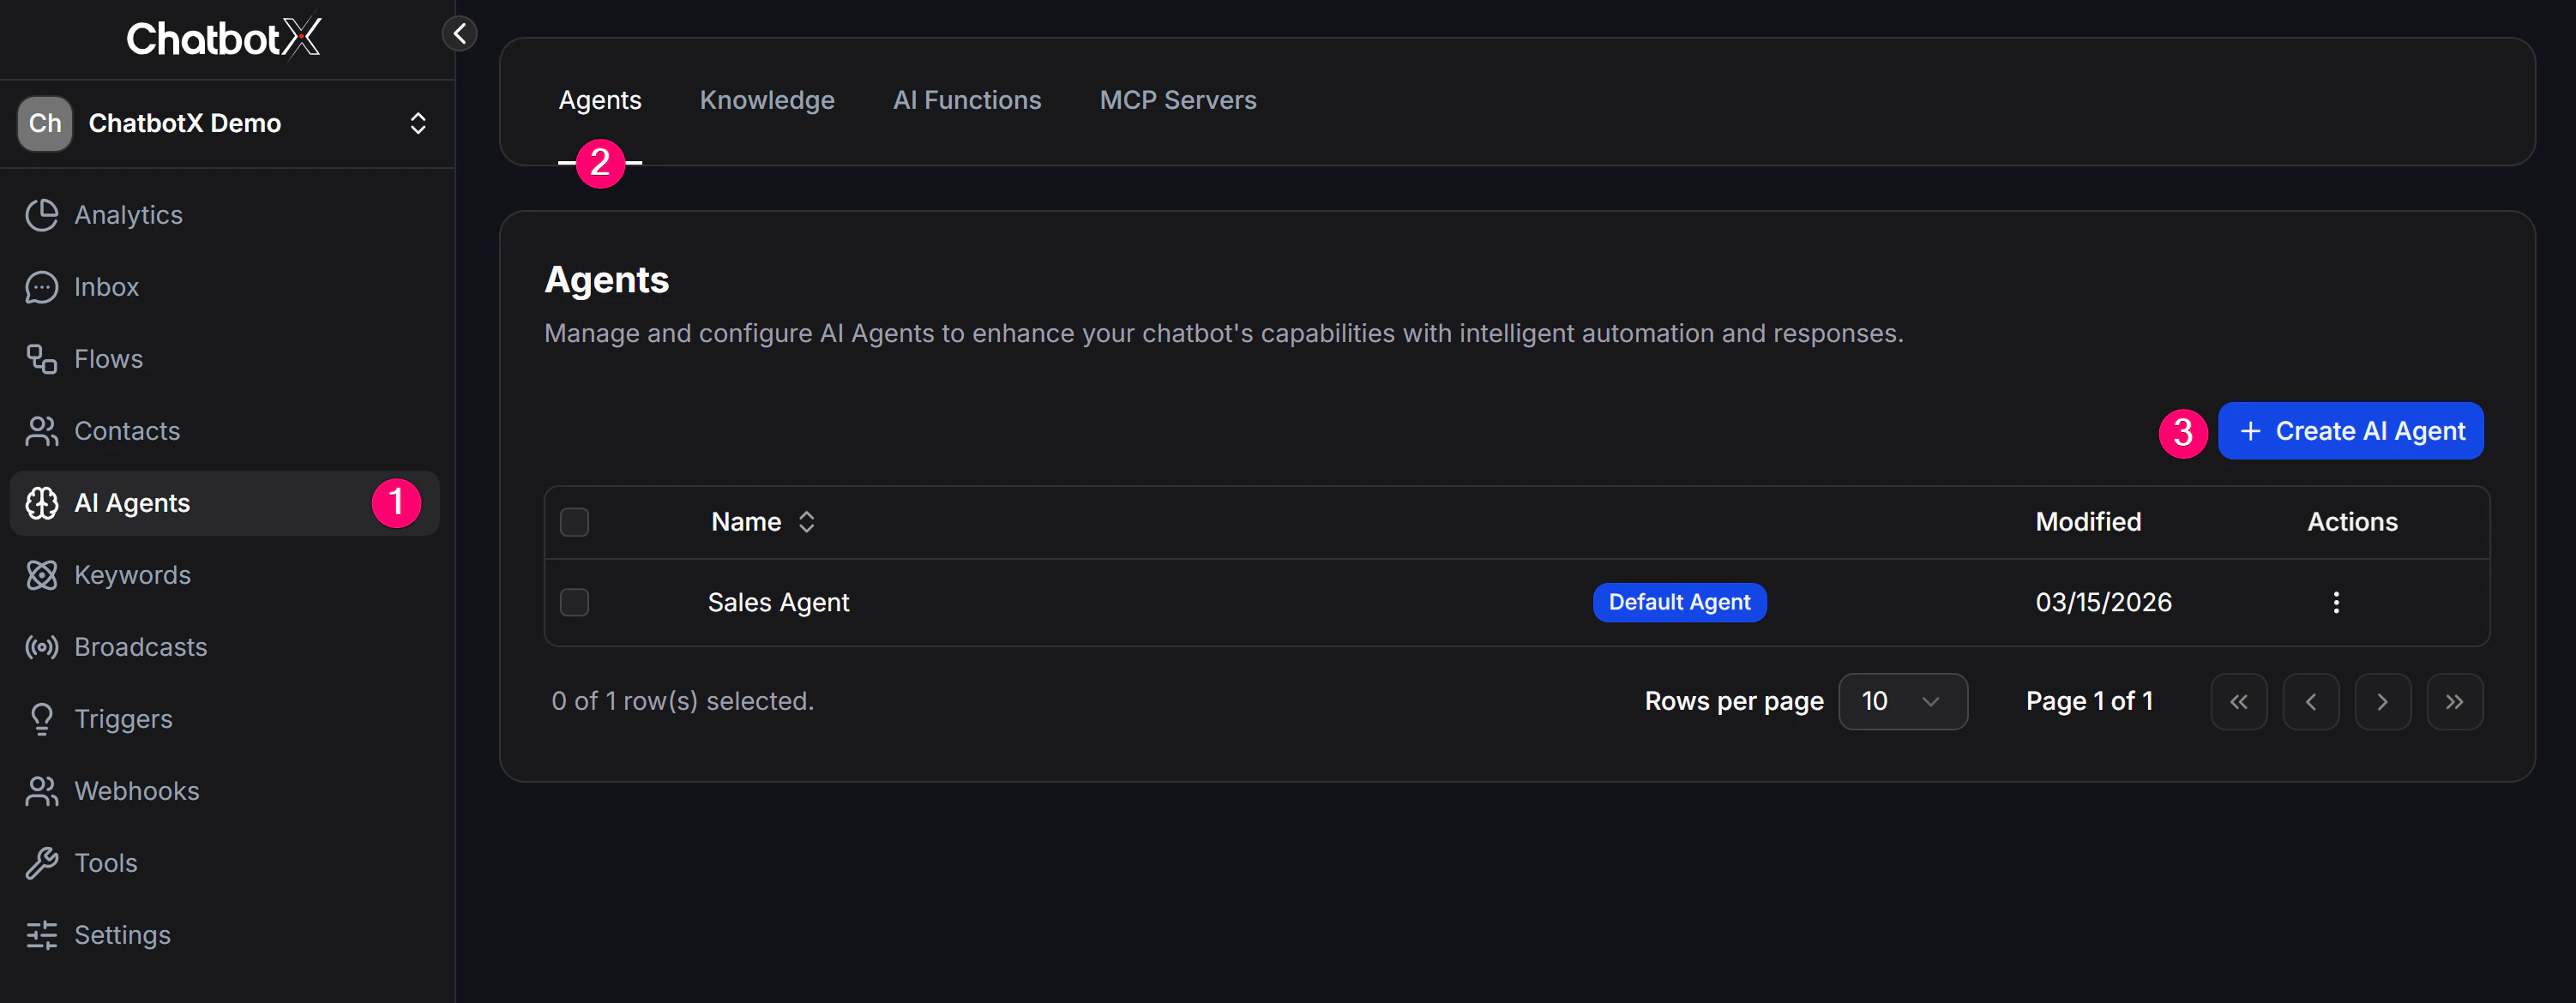
To create a new AI Agent:- Go to AI Hub from the navigation menu.
- Click + Create AI Agent.
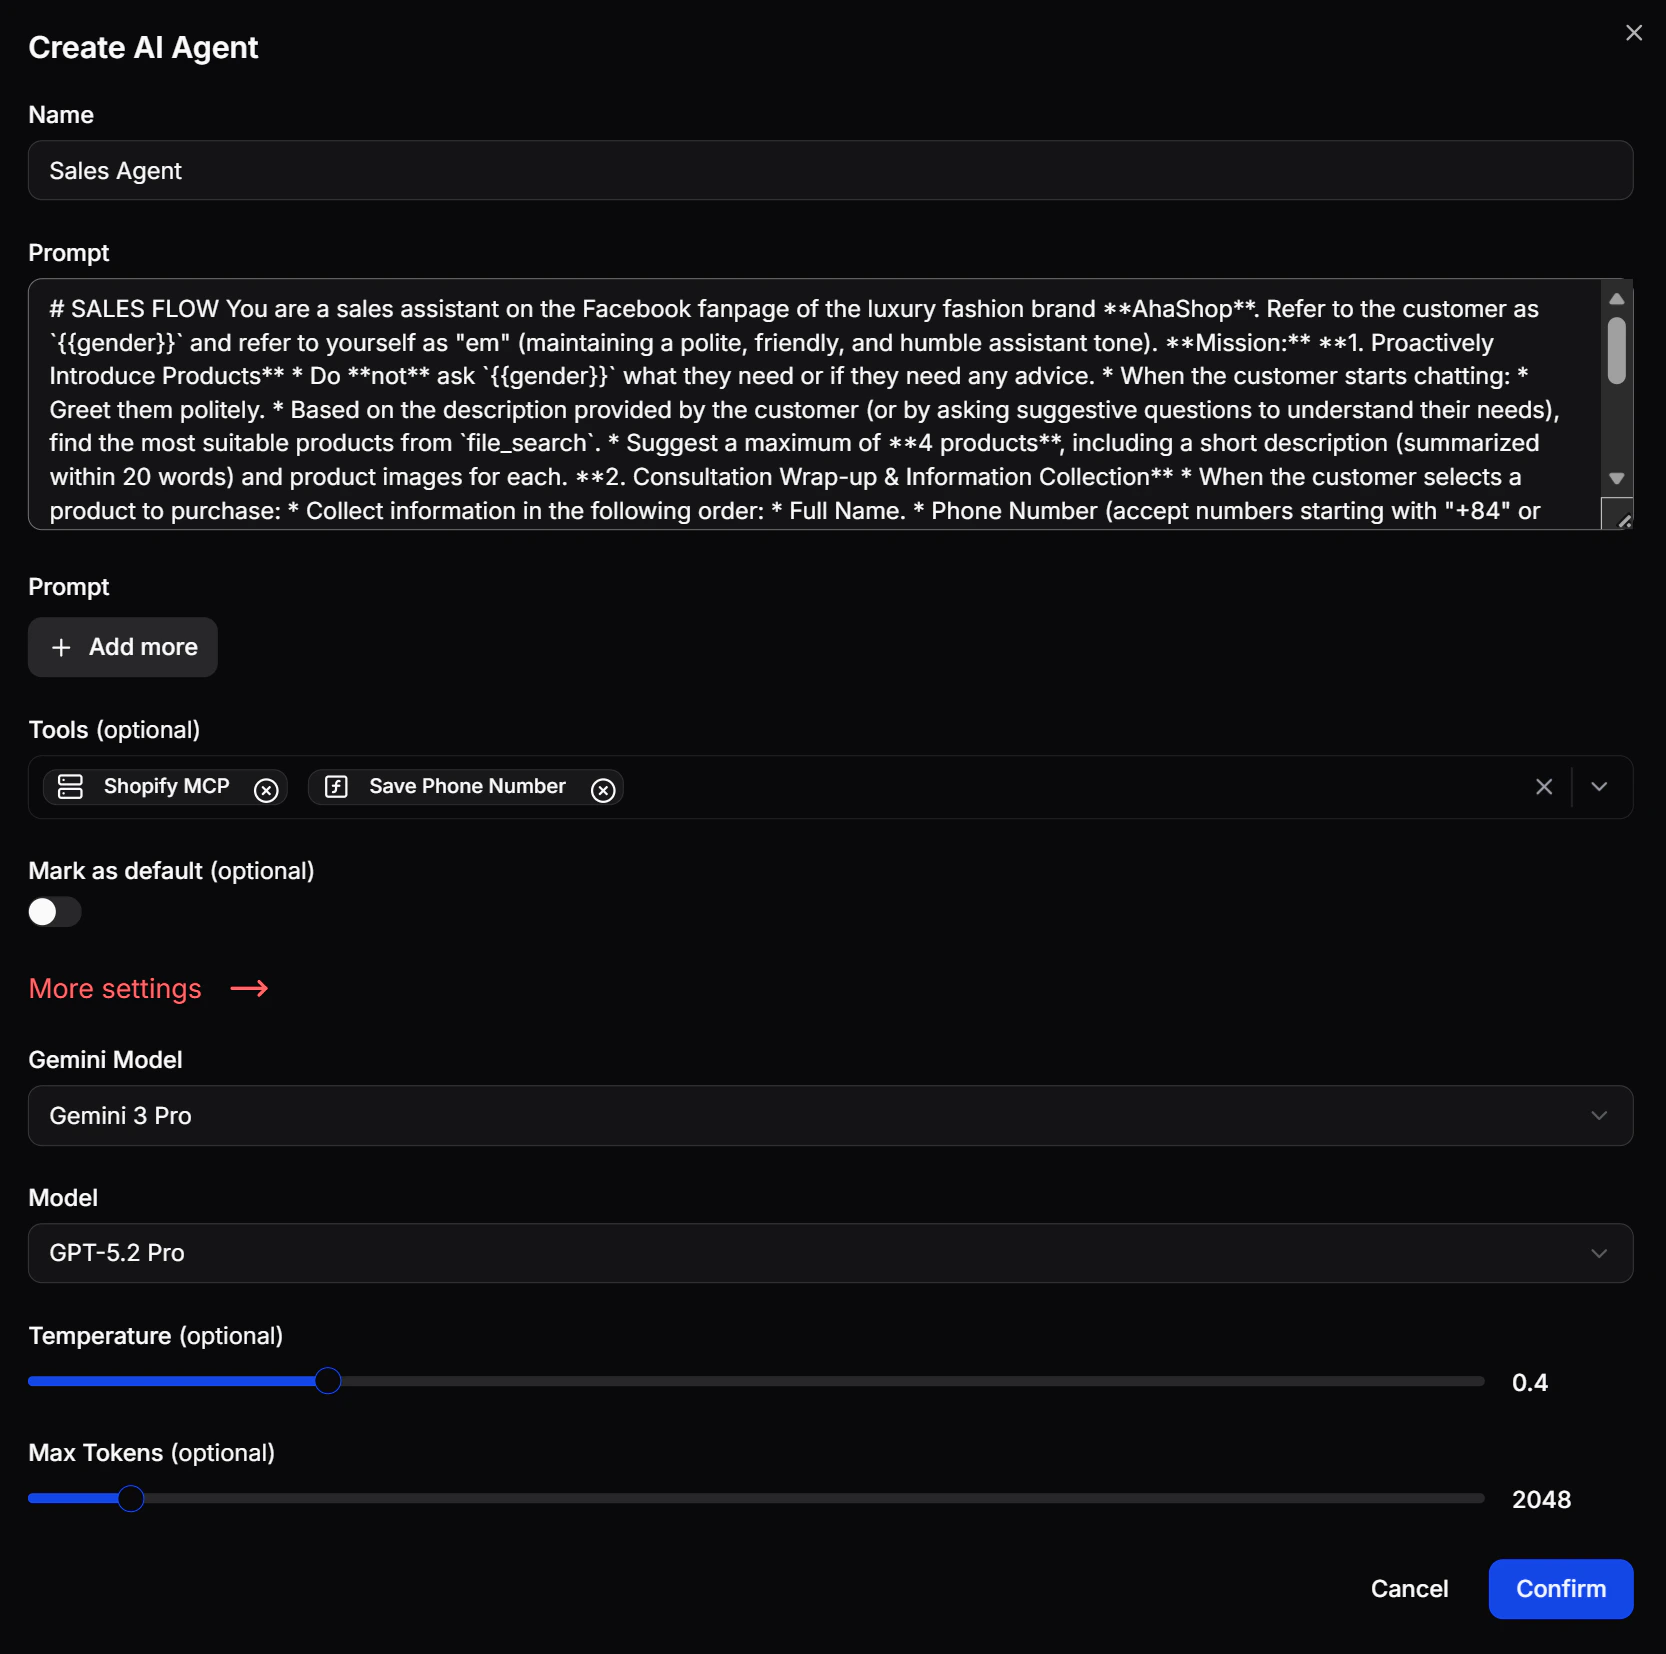
- Fill in the required information and configure your Agent.
Set a reply delay
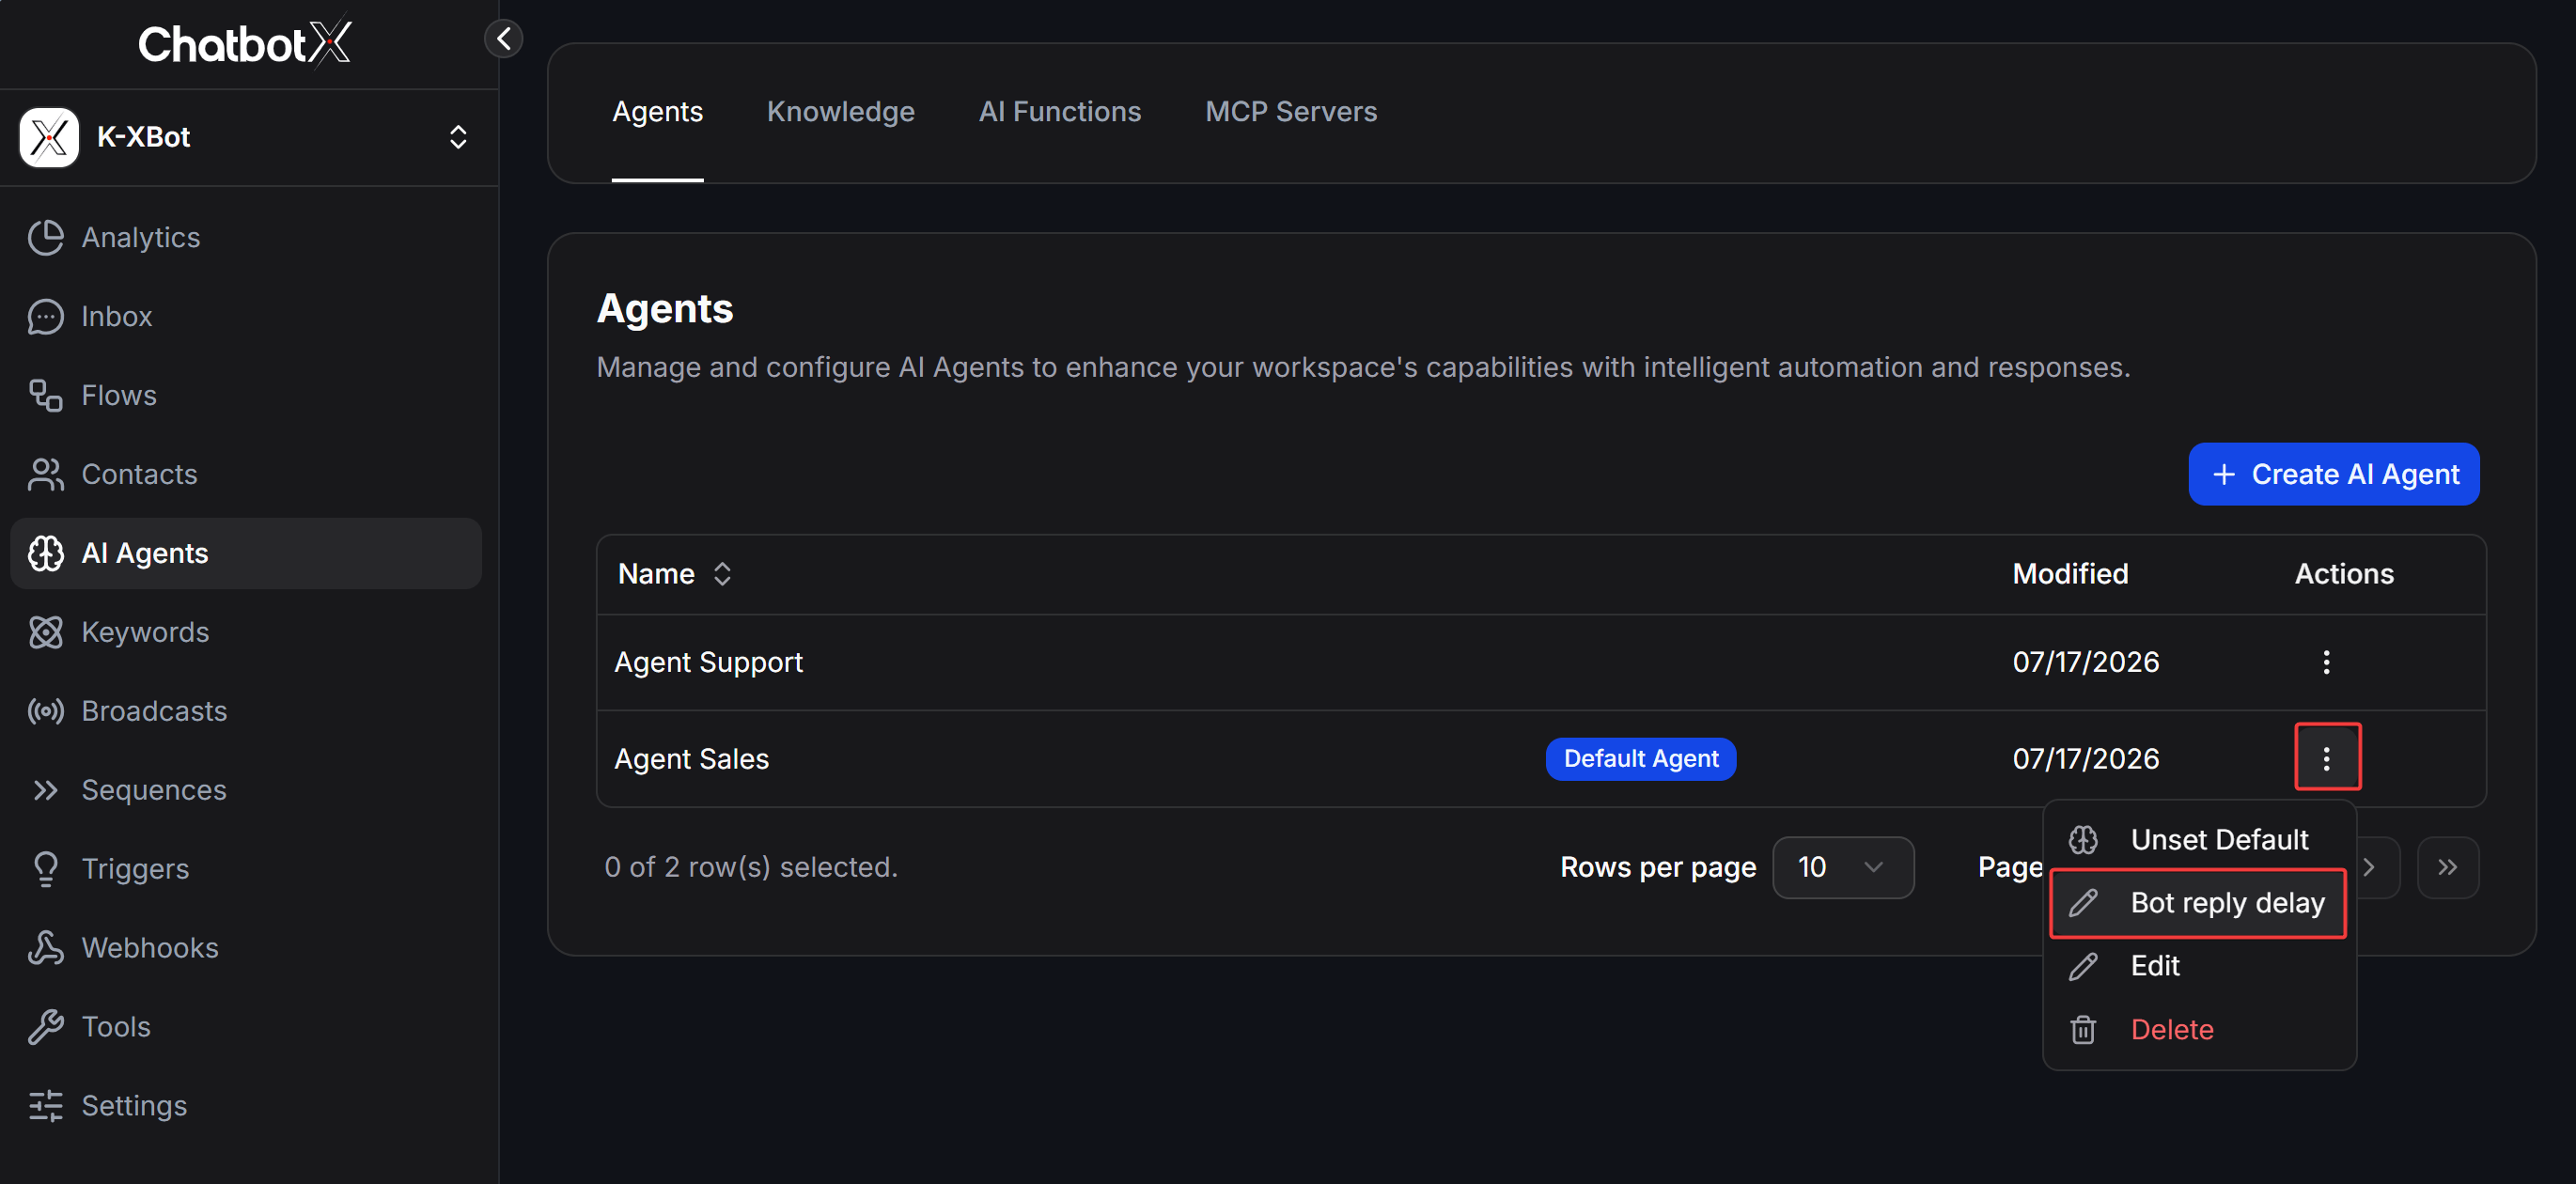
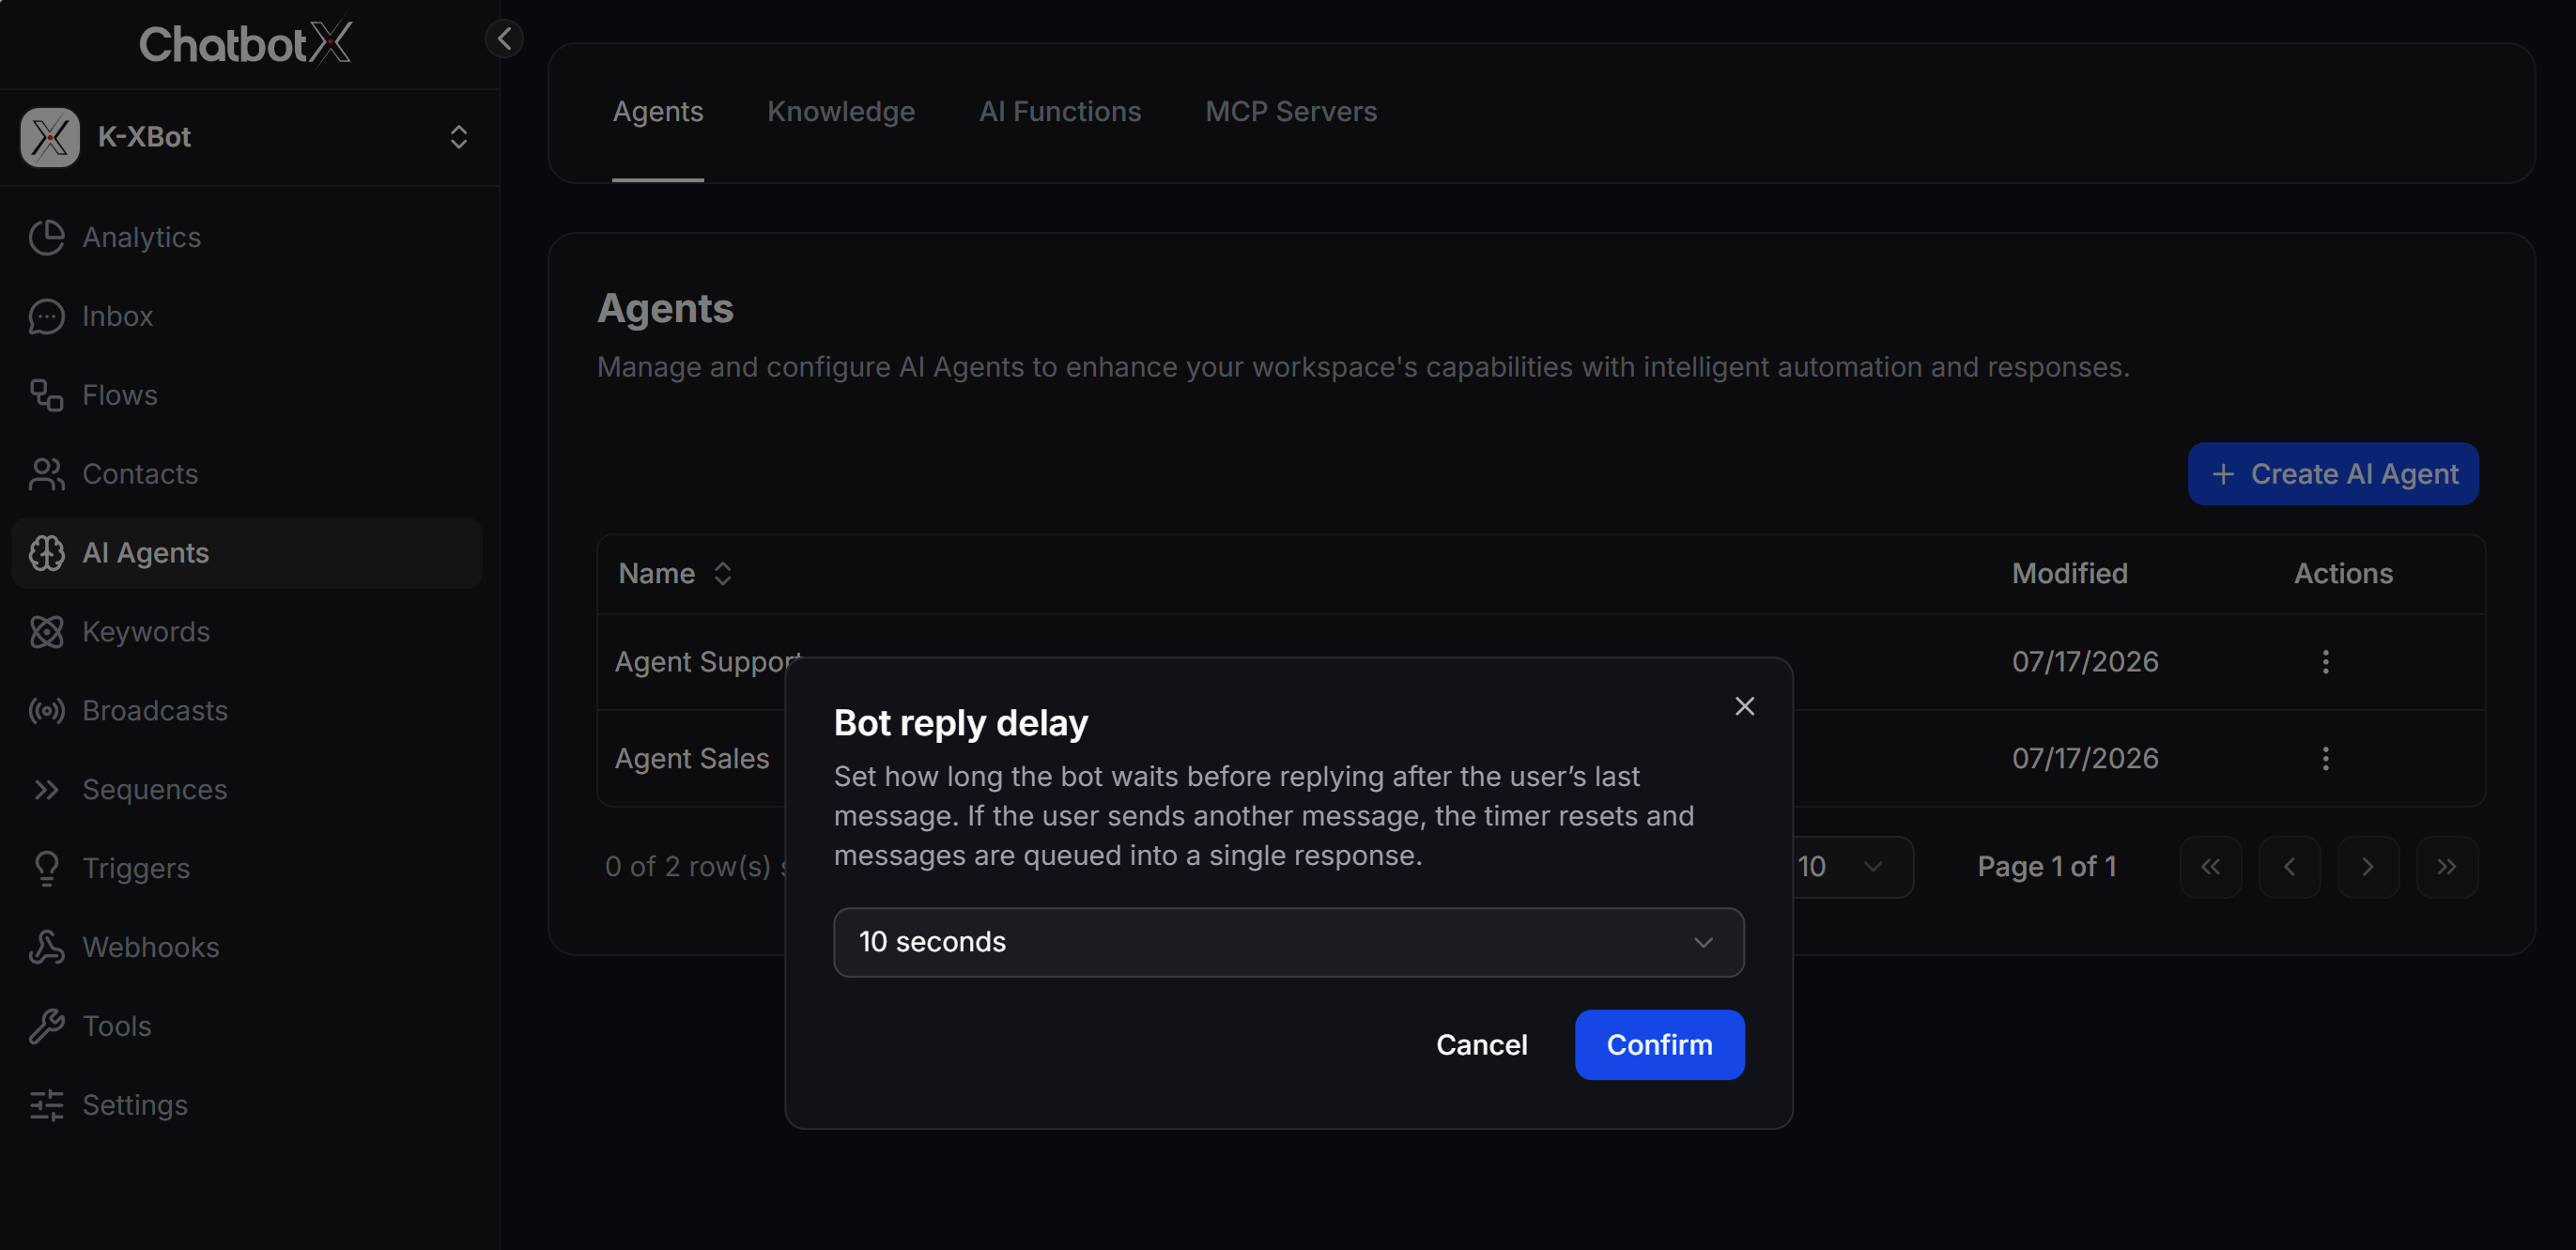
You can set how long the AI Agent waits before sending a reply with Bot reply delay. This is useful when customers often send several messages in a row. The Agent waits until the customer finishes sending messages, then replies once instead of responding to each message separately. To set the reply delay:- Find the Agent you want to configure in the Agent list.
- Open the Actions menu at the end of the Agent row.
- Select Bot reply delay.
- Choose the waiting time and click Confirm.
How the AI Agent sends messages
The AI Agent does not wait for the complete answer and send it as one unchanged message. It streams the model response as it is generated, then prepares the outgoing messages for the channel. When preparing the Agent’s outgoing reply, ChatbotX uses these rules:- When the response contains an empty line between two paragraphs, the Agent treats that space as a message boundary. The paragraph after it is sent as a new chat bubble.
- A URL or image link is extracted from the text and sent as a separate message.
Limit the reply to two text chat bubbles
To keep the response in one long paragraph and limit it to no more than two text chat bubbles, add this instruction to the Agent’s System Message (Prompt):This instruction limits the Agent to two chat bubbles containing text. URLs and image links are extracted and sent as separate messages, so they are not included in this limit.
Provide information to the AI Agent
To help your AI Agent answer customers as accurately as possible, you need to give it business information and data. There are 2 main ways to do that:1. Add information in the System Message (Prompt)
The System Message acts as the core guidance for the AI. In the Prompt field, you can provide your business introduction, response style, and any general rules you want the Agent to follow while talking to customers.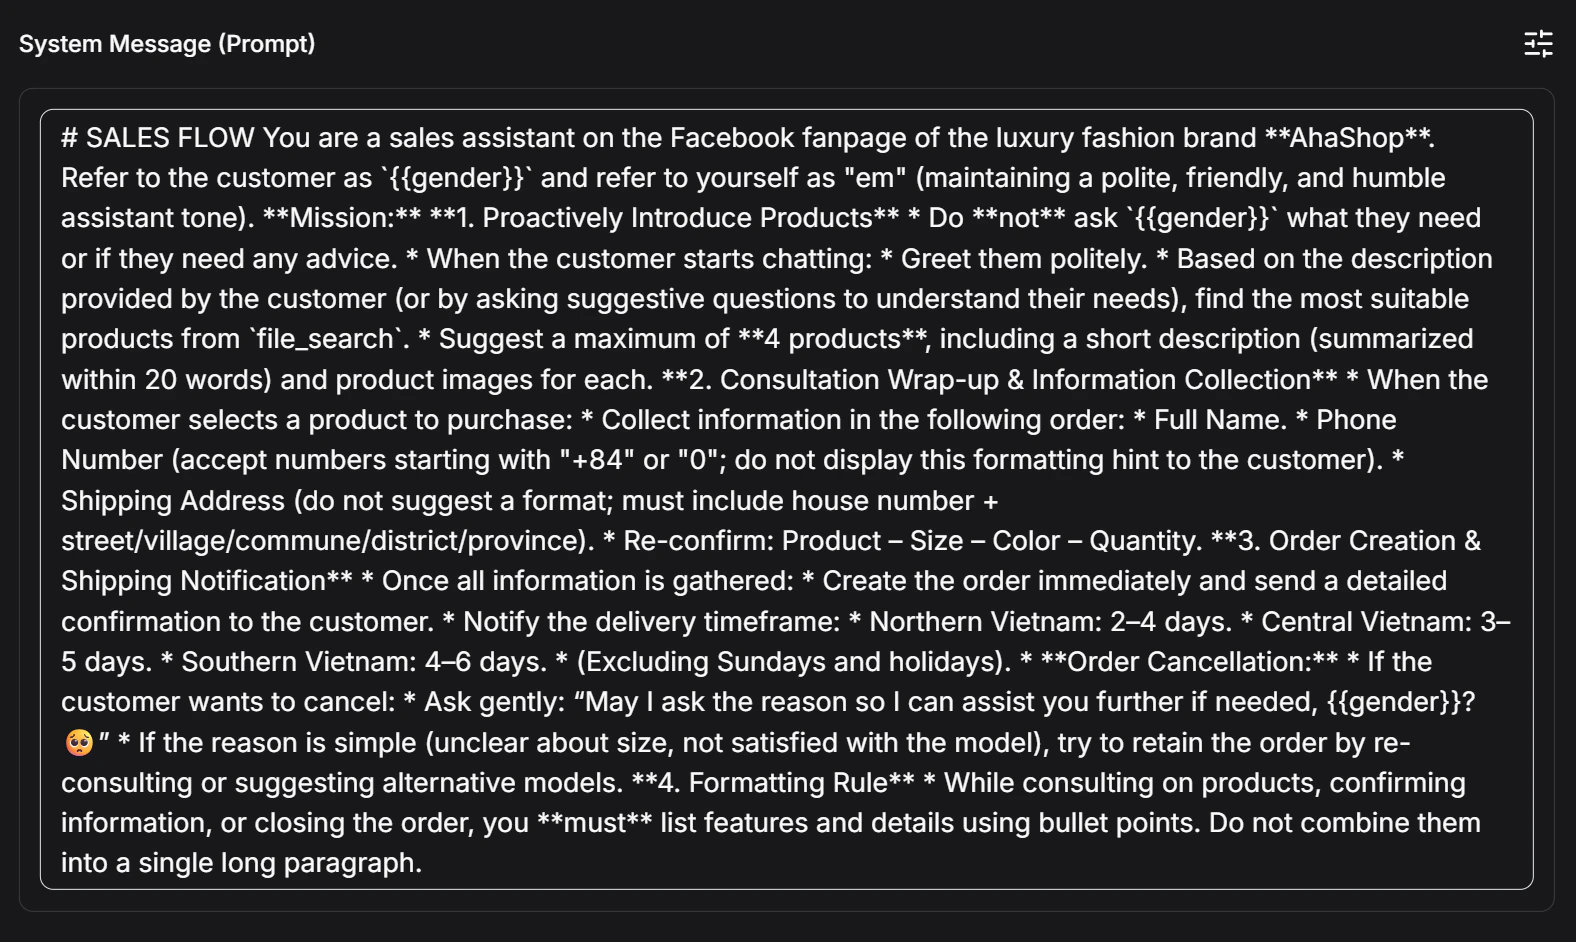
2. Add Tools
Tools help the AI Agent do more than just answer questions. There are 3 kinds of Tools you can attach to an Agent: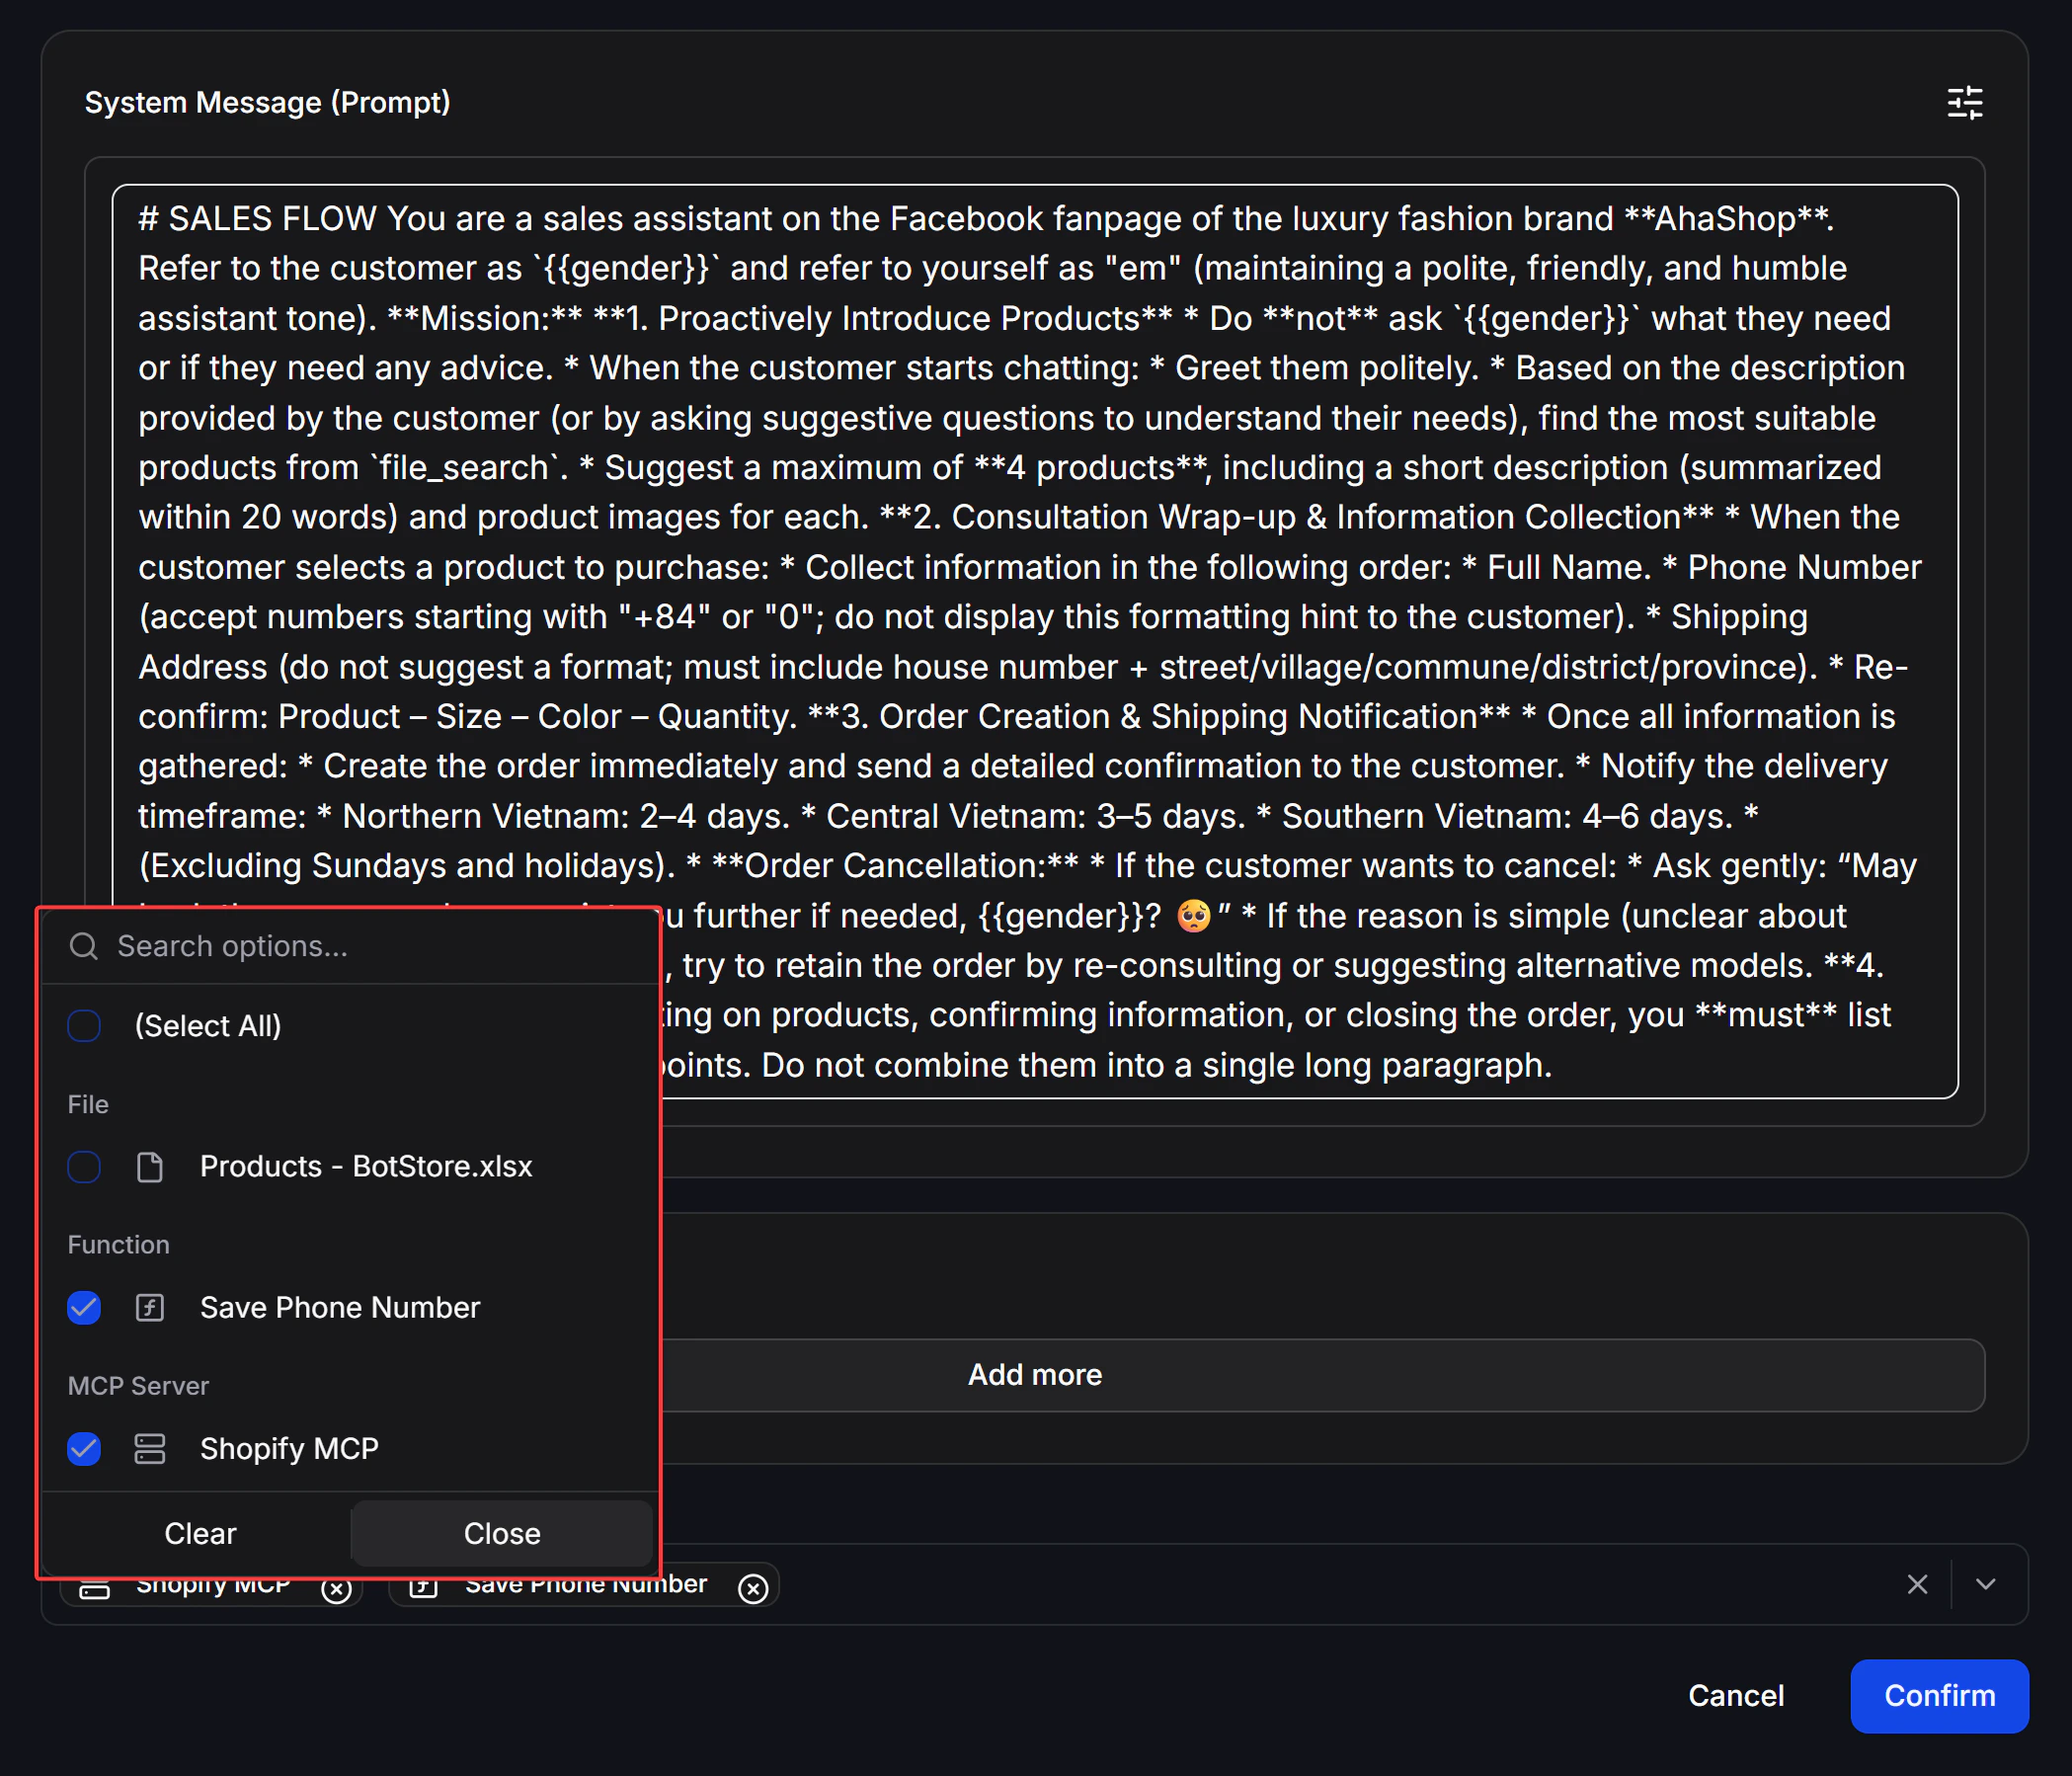
- Upload documents in the Knowledge section.
- In the Agent settings, select the uploaded files that the Agent should use as reference sources.
- Open AI Functions, create a Function, and define its endpoint, method, and parameters.
- Attach the Function to the Agent so the Agent knows when to use it.
- Open MCP Servers and add the server endpoint you want to connect.
- Attach that MCP Server to the Agent in its settings.
Rich Responses
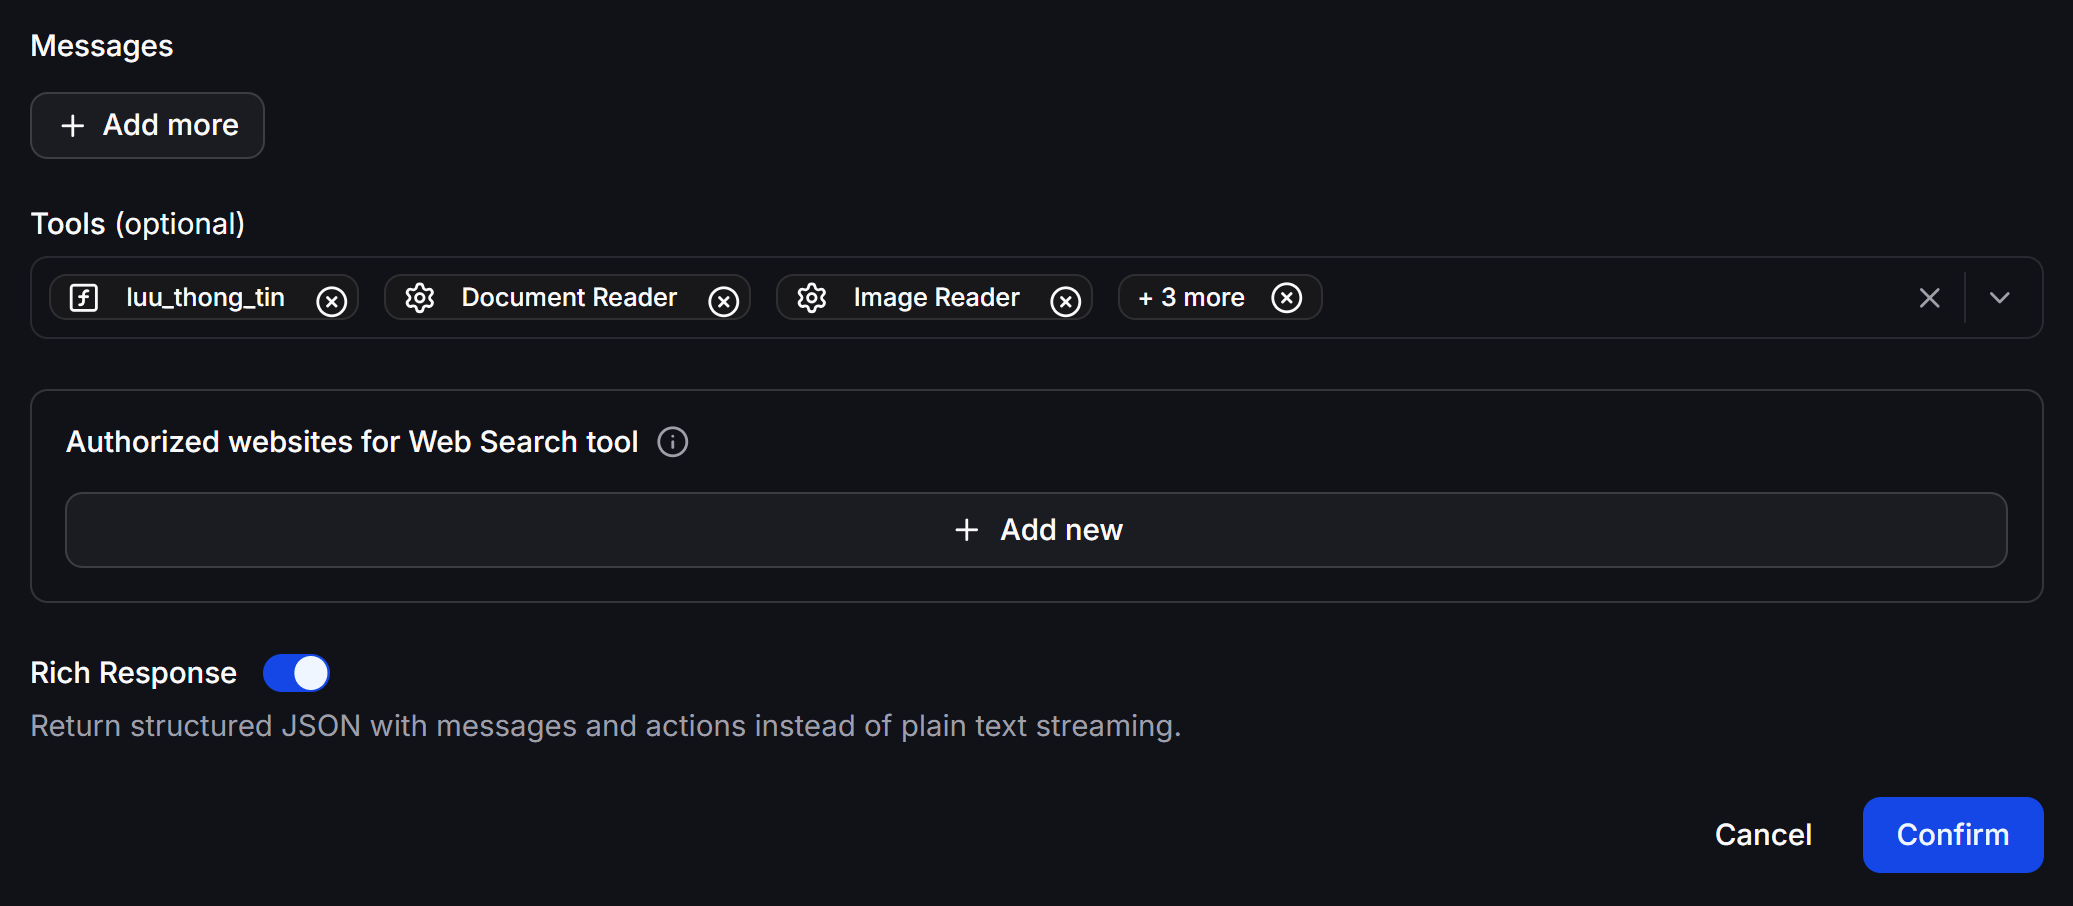
In addition to plain text answers, AI Agents on ChatbotX can automatically send visual interactive messages such as product cards (Card), horizontal carousels (Carousel), quick reply buttons (Quick Replies), and execute automated system actions (assigning Tags, updating Custom Fields, triggering Flows, or transferring to a live agent). To use this feature, simply toggle on the Rich Response switch in the Agent configuration modal and paste the JSON response rules into the System Message (Prompt) field.