

How it works
Each automation has four main sections:
For example, a customer comments
price on a product post. ChatbotX posts a public confirmation and then starts a consultation Flow in Inbox.
Create an Instagram Comment Automation
1
Open Instagram Comment Automation
Select Tools from the left menu. Then click the Instagram Comment Automation card.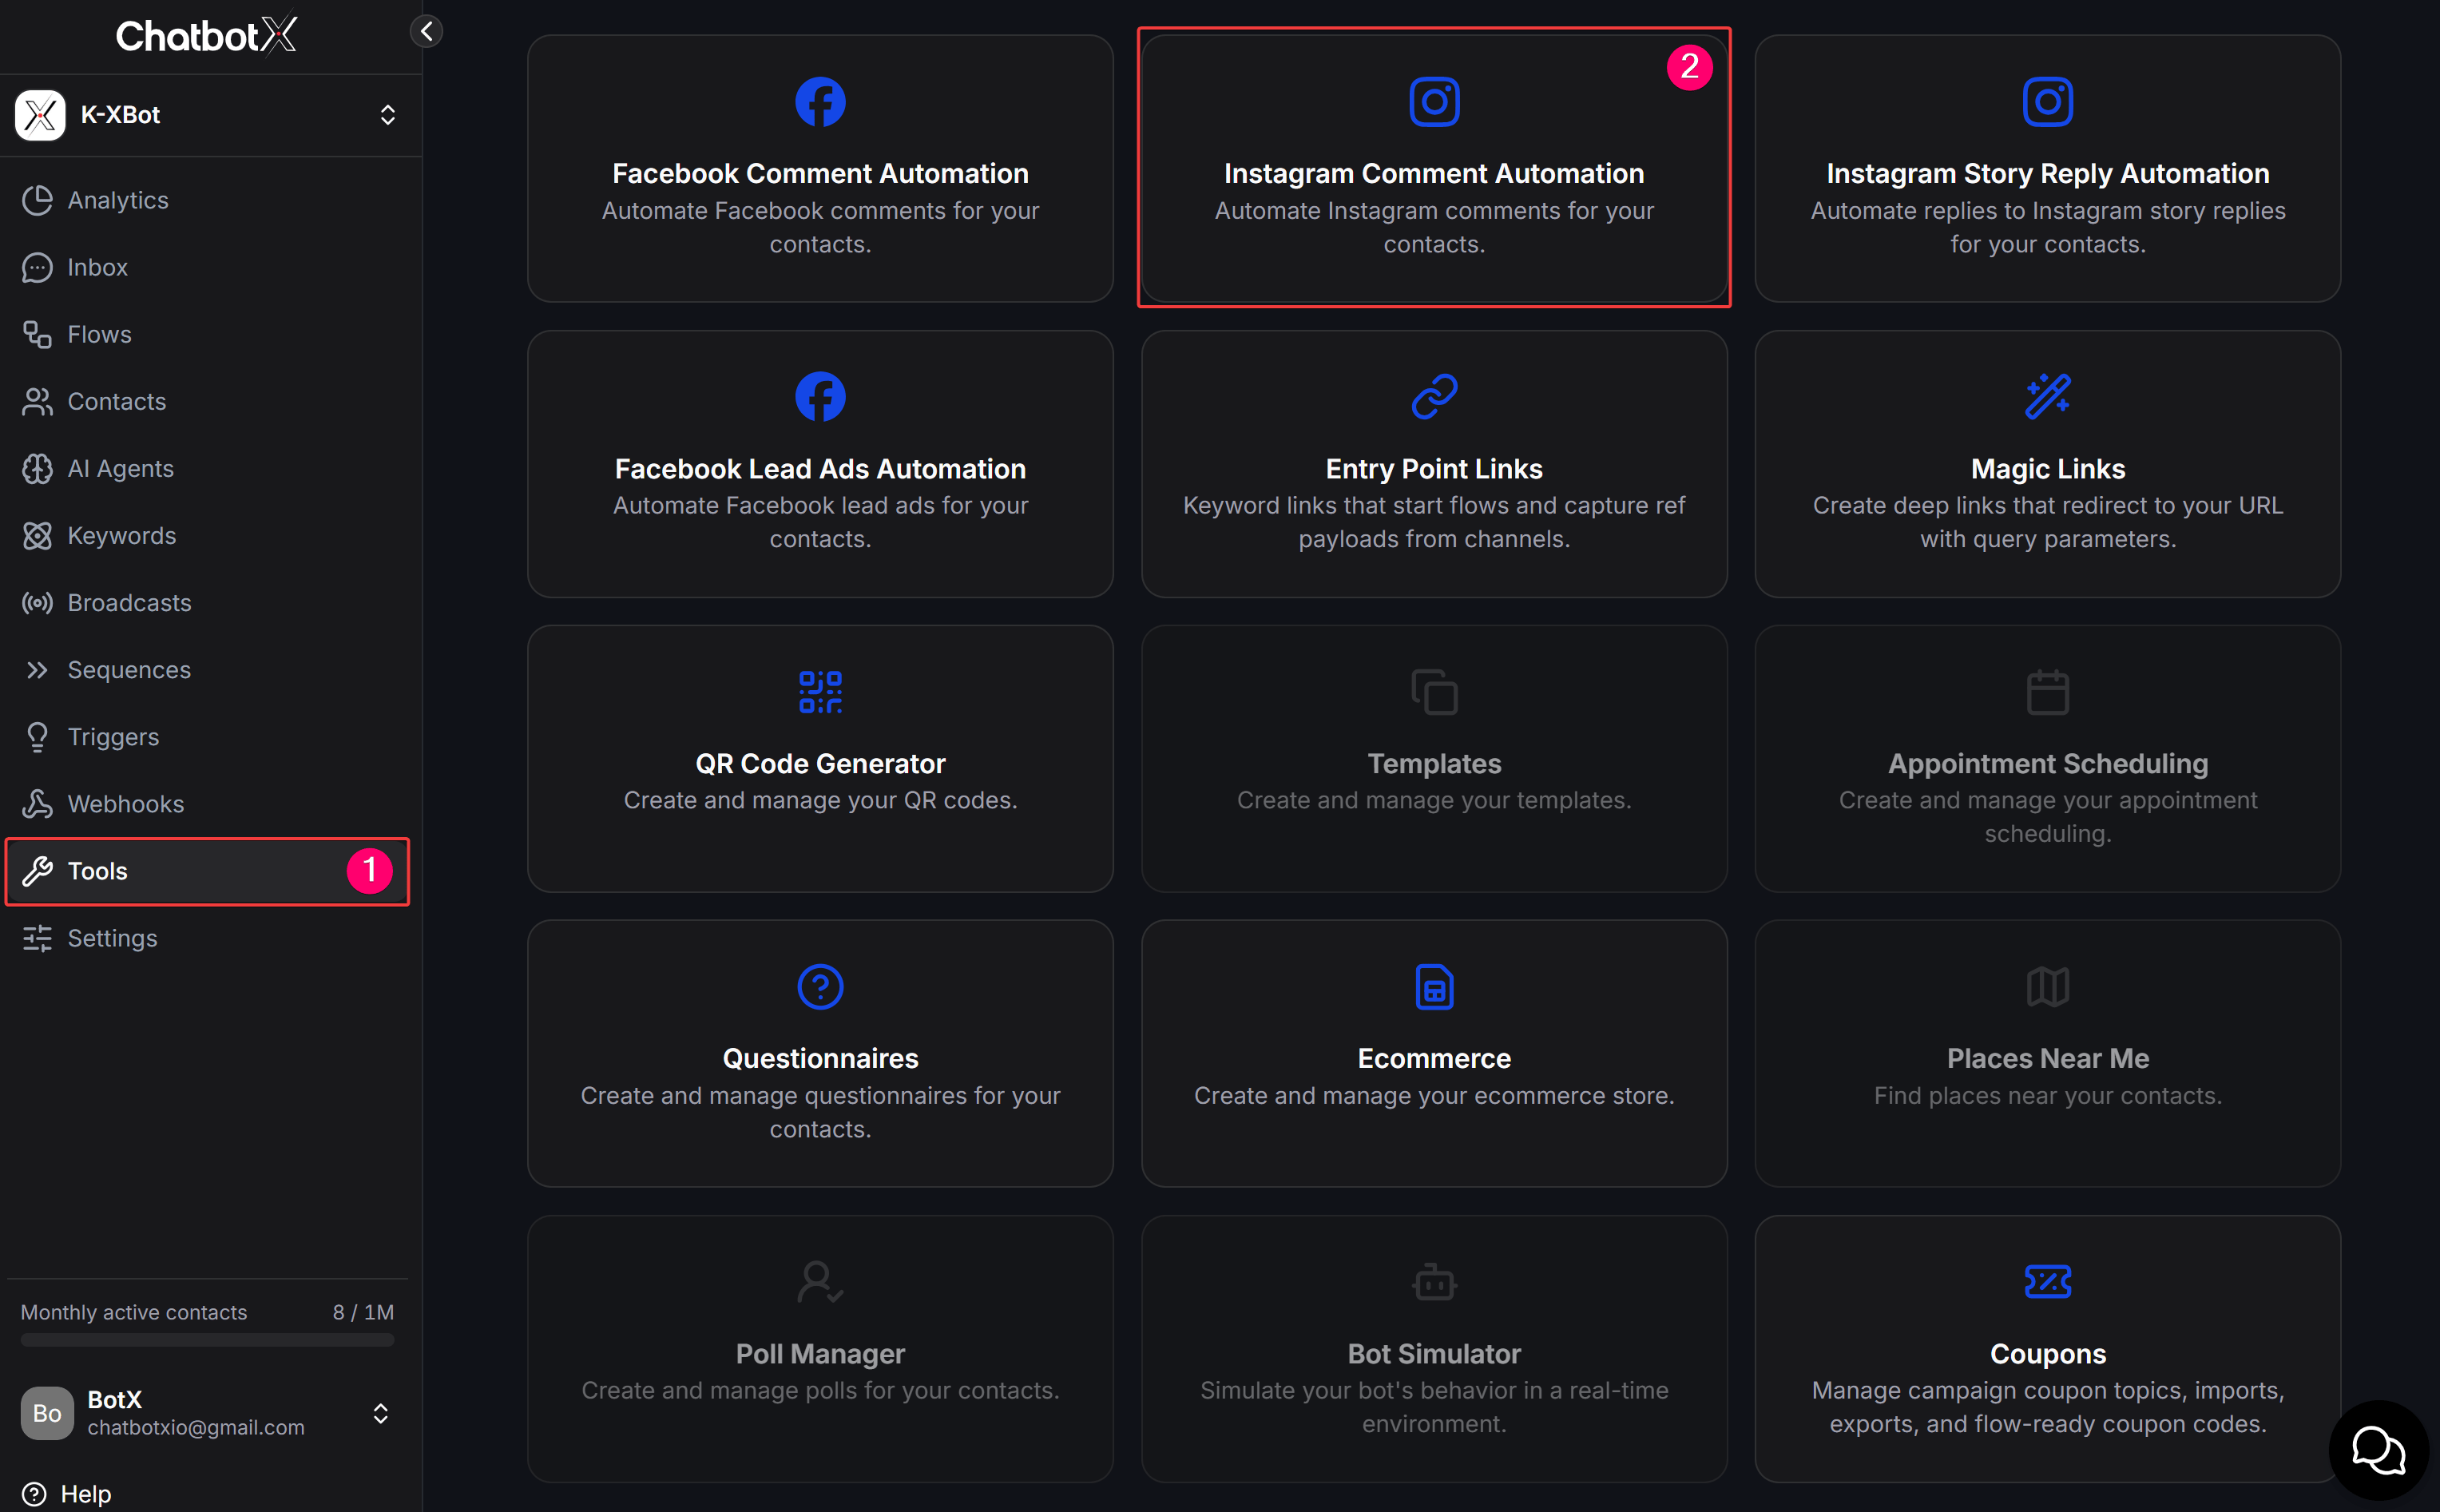
2
Initialize a new automation
On the campaign list table, click the Create Automation button in the top-right corner to begin creating a new campaign.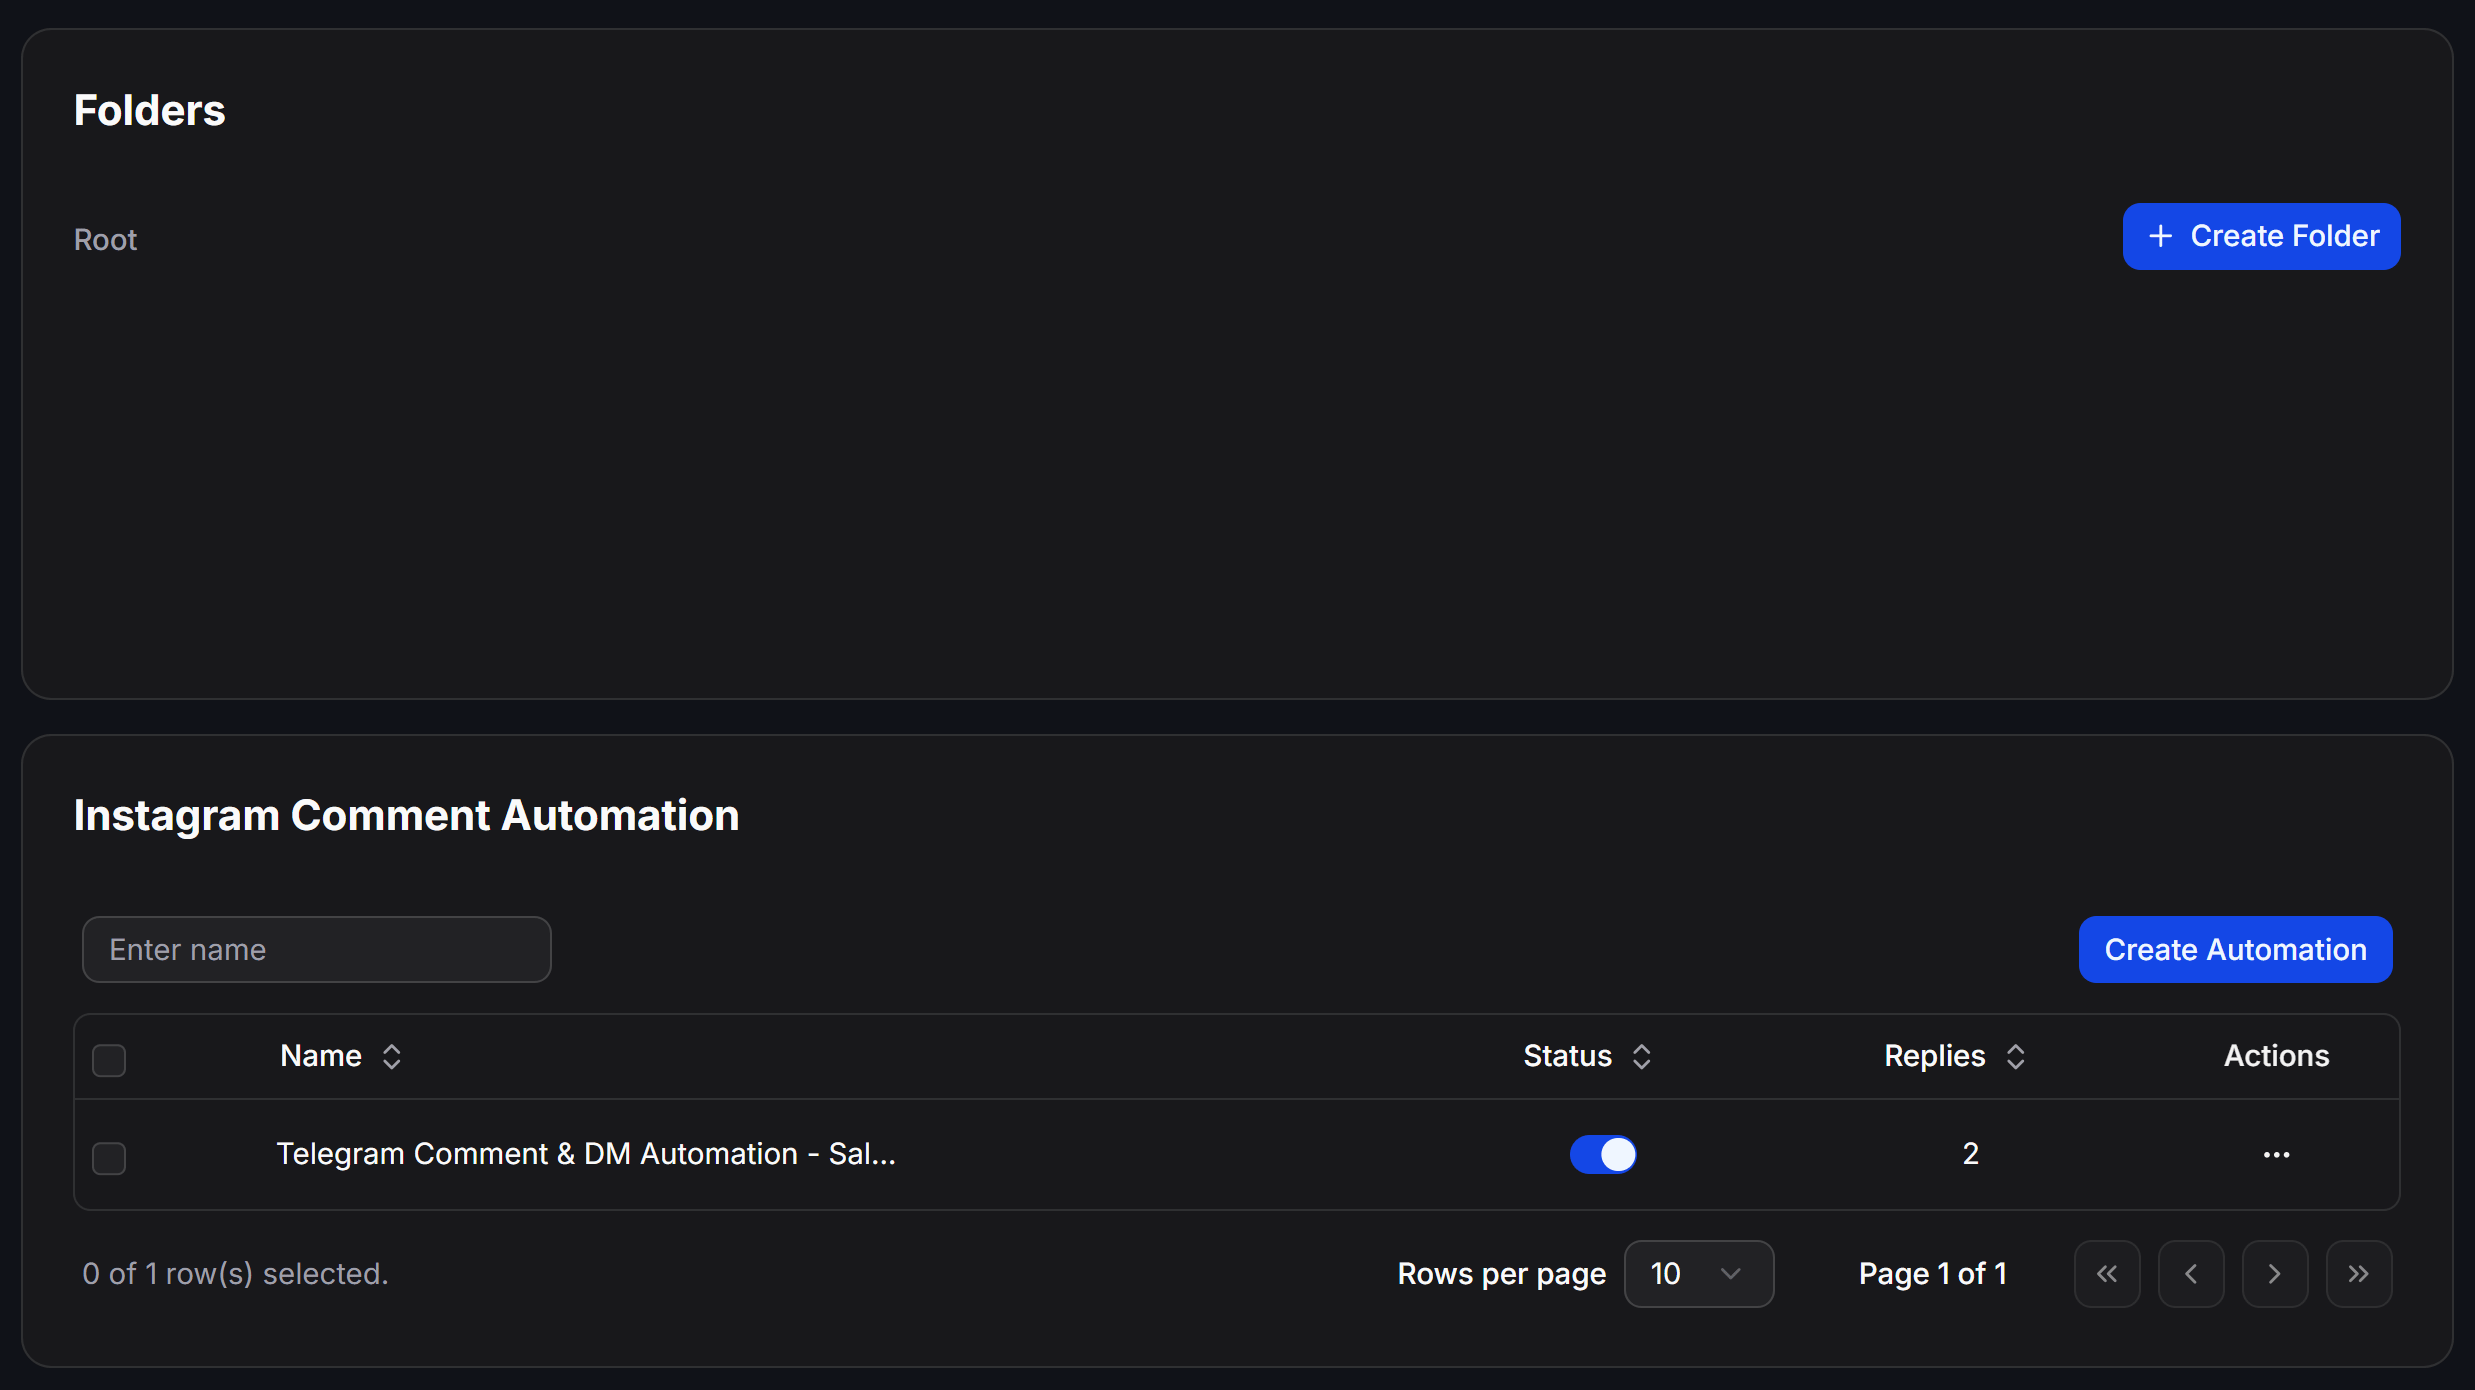
3
Choose Instagram connection type
The Choose Instagram connection type modal will appear. Select the connection mode that matches how your Instagram account is connected to ChatbotX: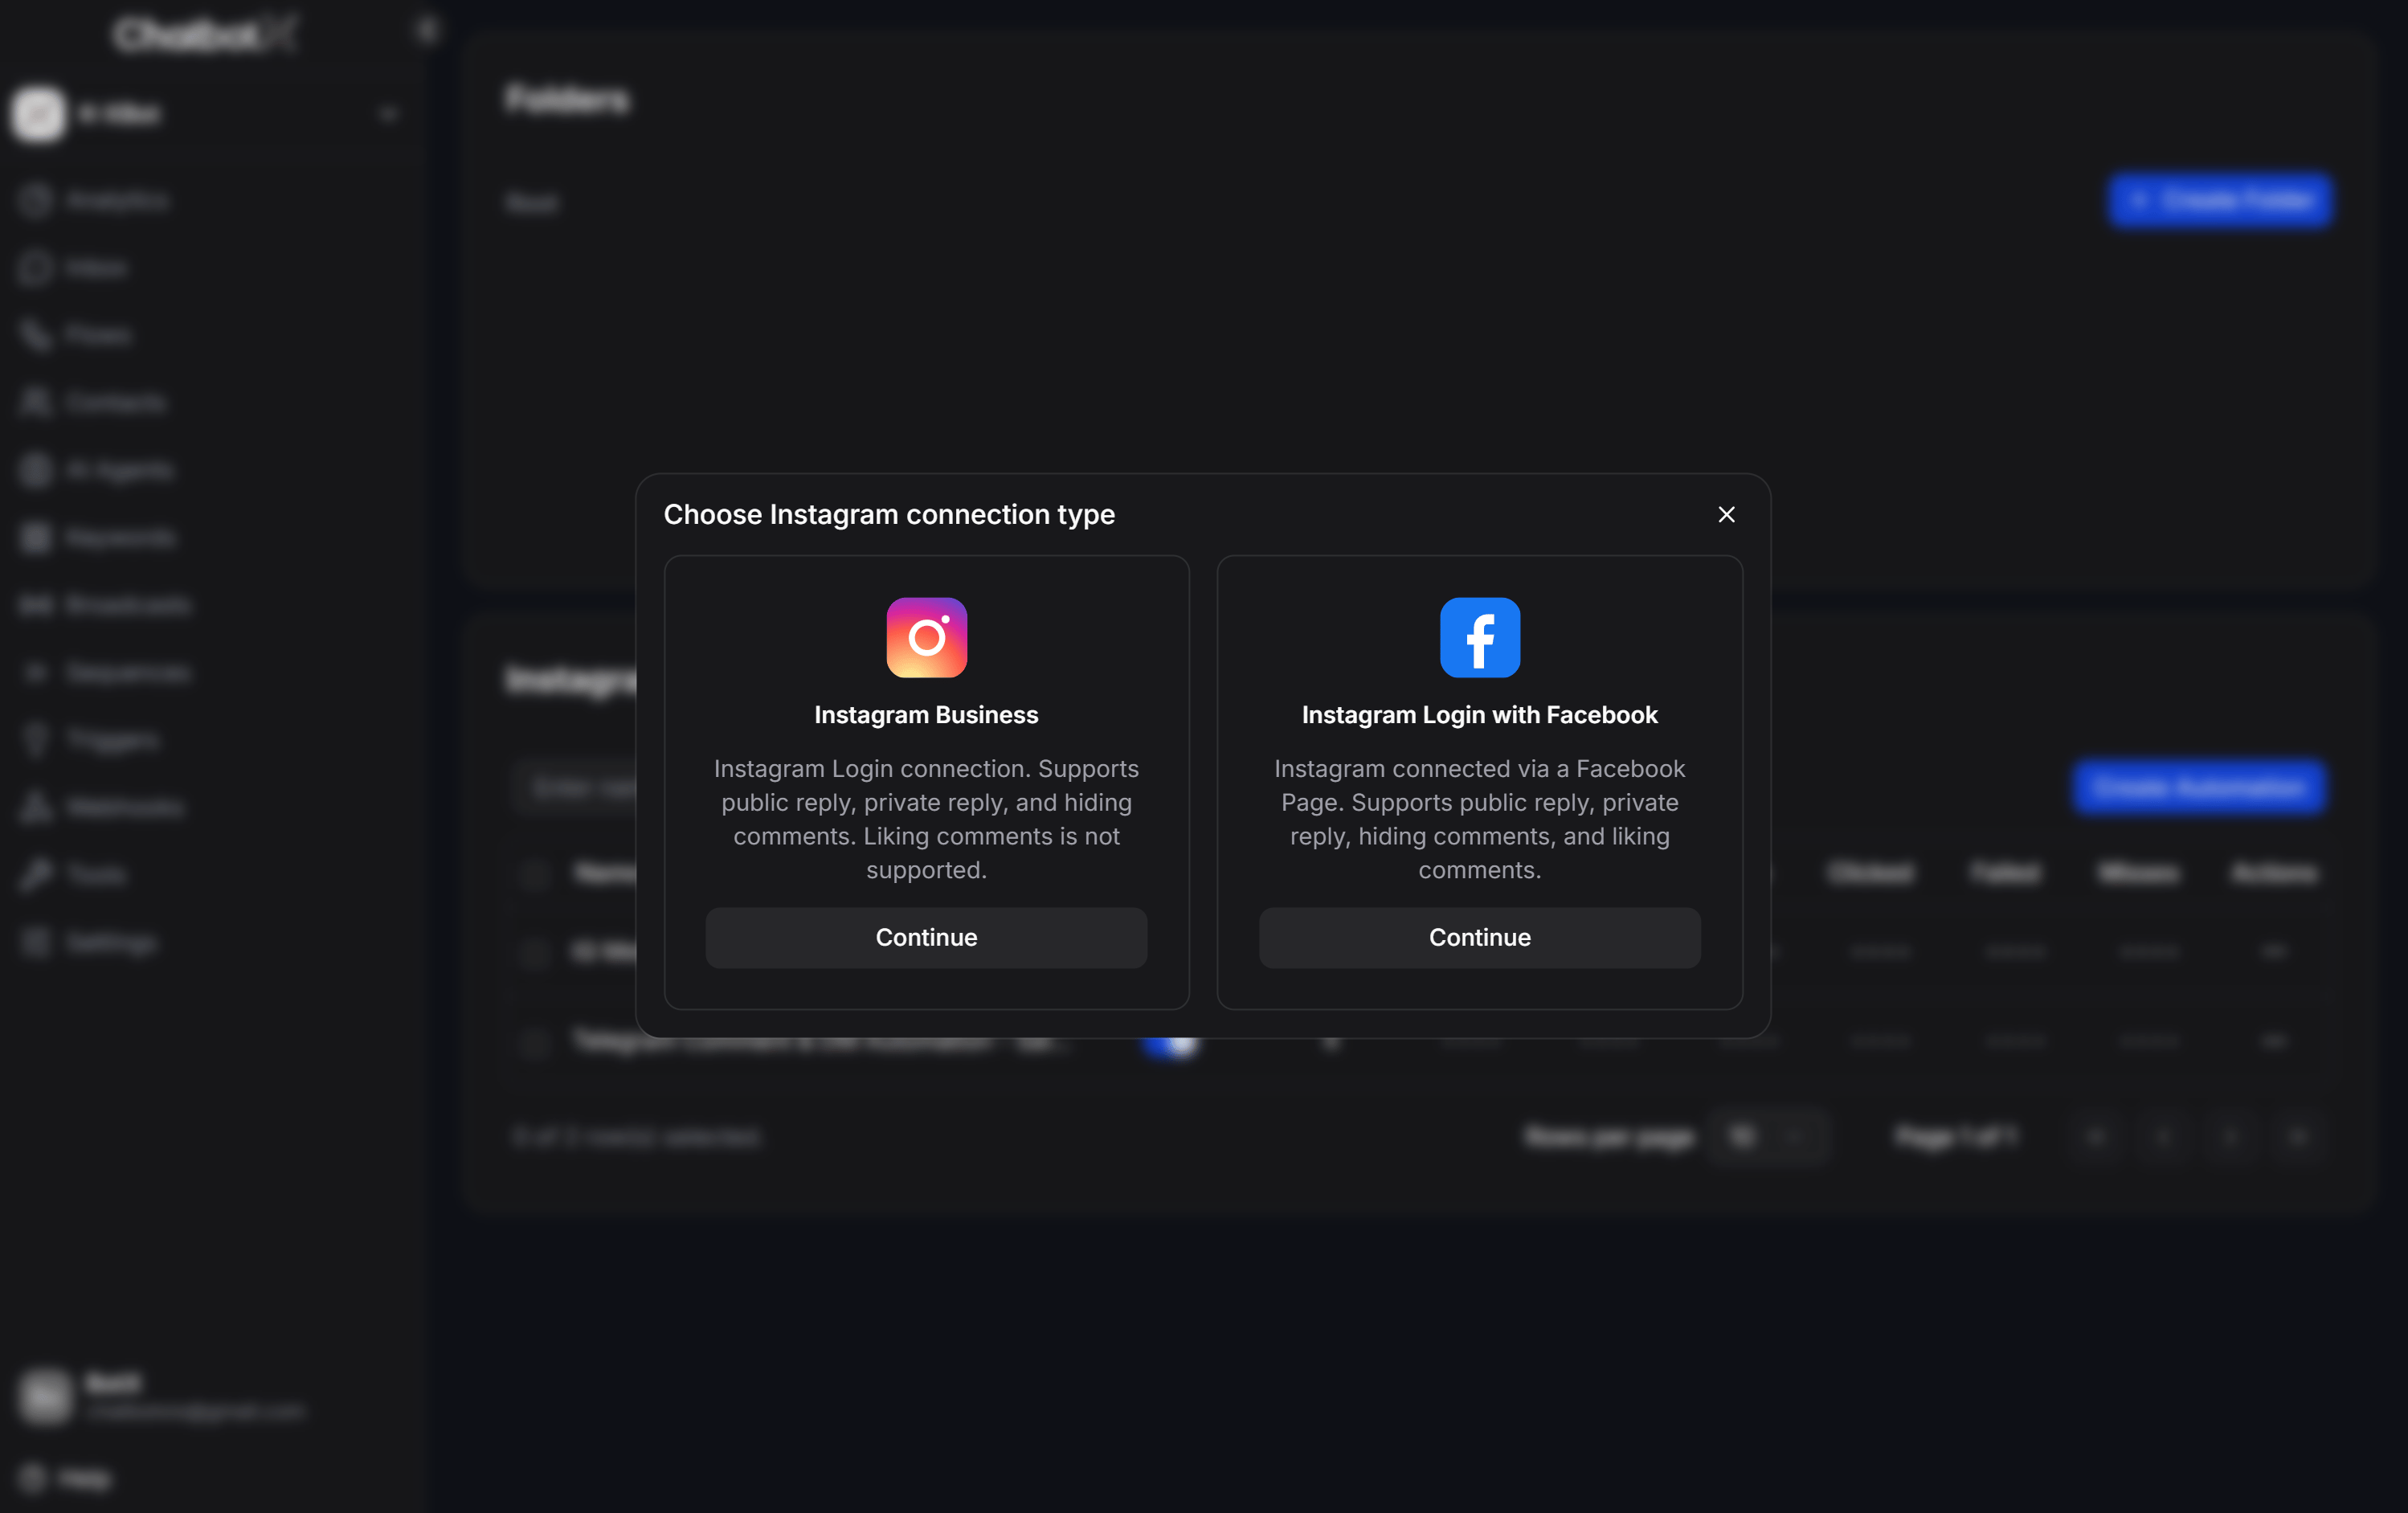
- Instagram Business: For accounts linked via direct Instagram Login. Supports public replies, private inbox replies, and hiding comments. Note: Automatically liking comments is not supported under this connection type.
- Instagram Login with Facebook: For Instagram accounts connected via an associated Facebook Page. Fully supports public replies, private inbox replies, hiding comments, and automatically liking customer comments.
4
Select the posts to track
Under Track comments on, select the post scope: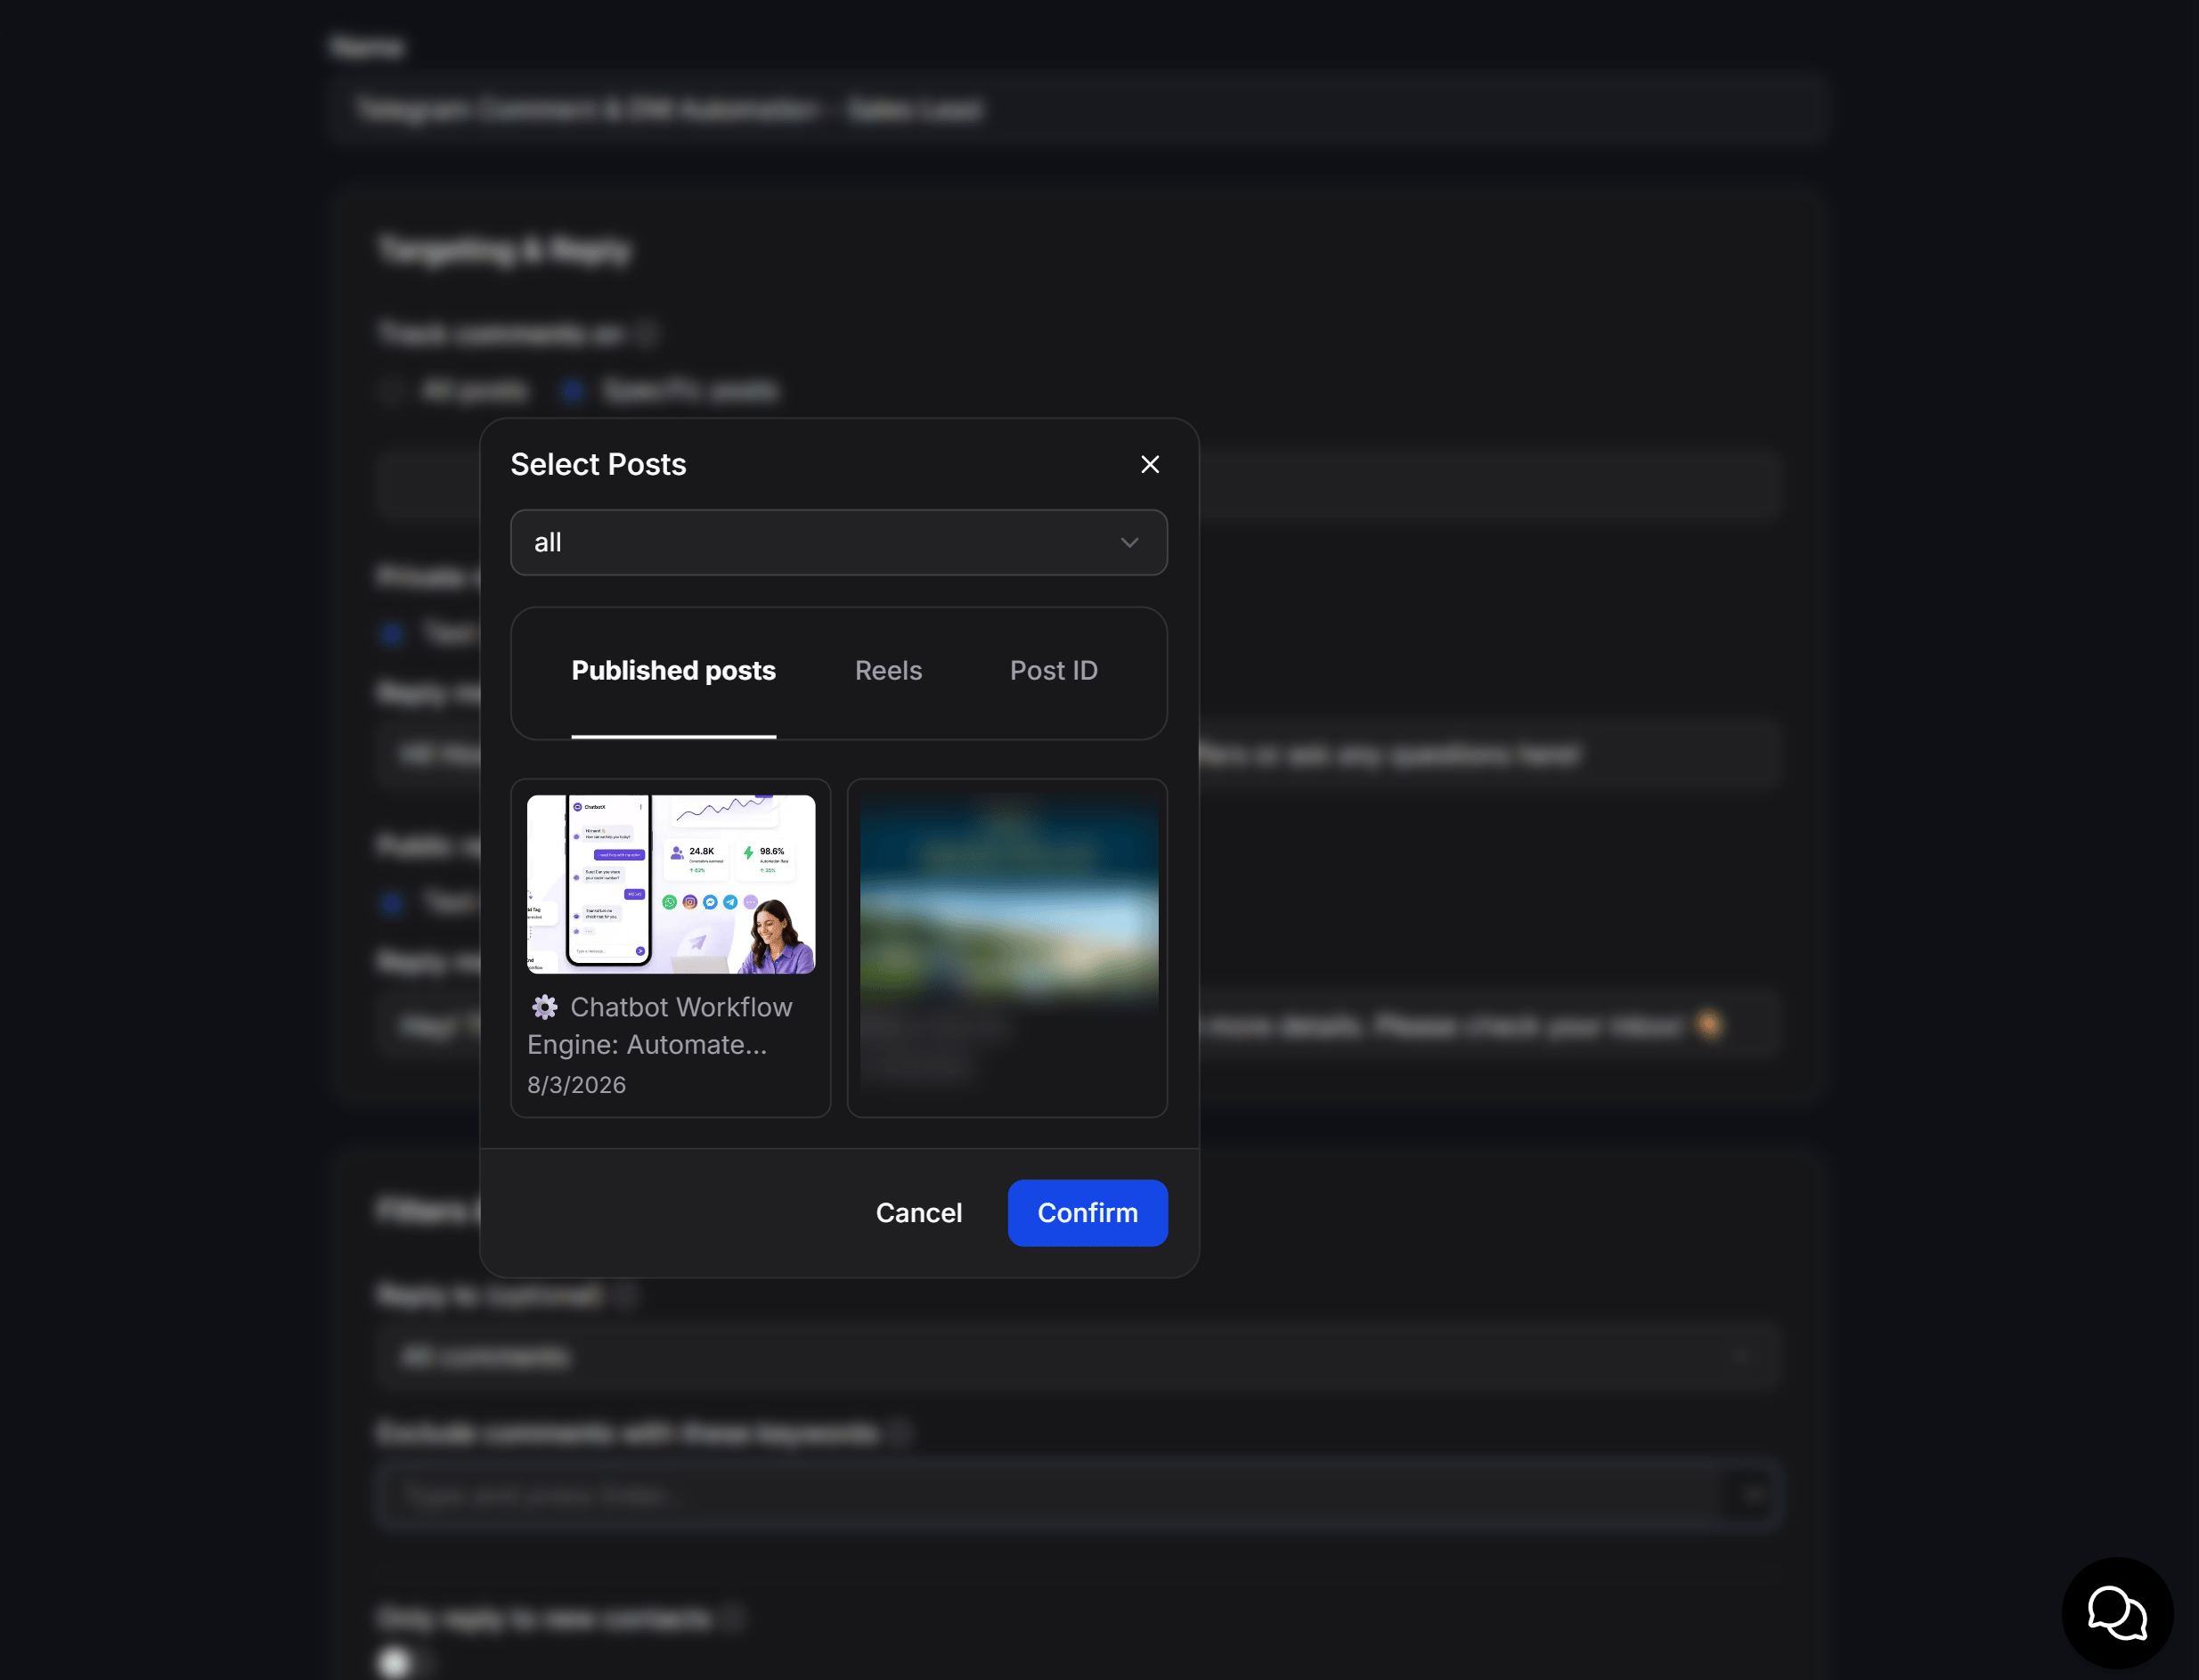
- All posts: Track comments on every post.
- Specific posts: Track comments only on the posts you select.
Select the post, then click Confirm.
5
Choose how to reply
Configure Private reply (inbox) and Public reply to comment separately. Each section provides four options: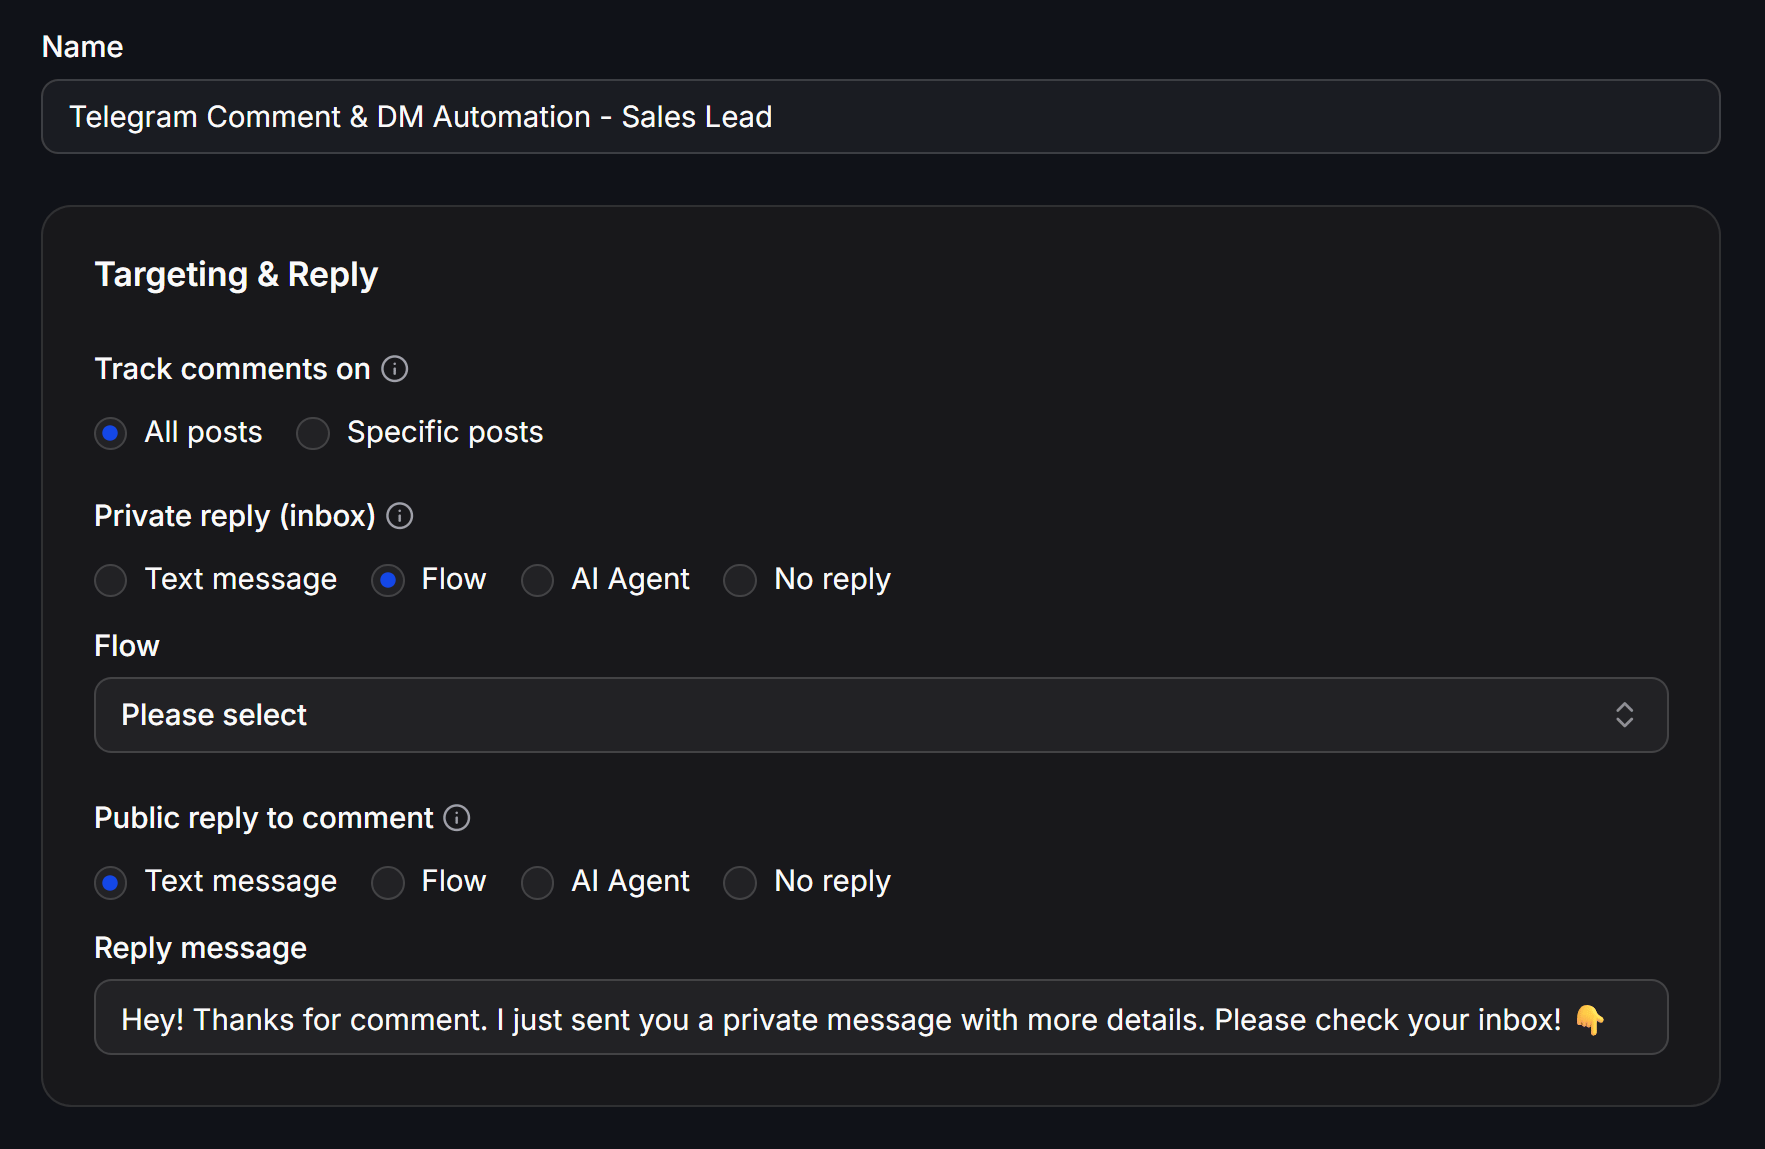
You can combine the two sections. For example, use Text message for the public reply and Flow to continue the conversation in Inbox.
6
Filter the comments to reply to
In Filters & Options, select a condition under Reply to (optional):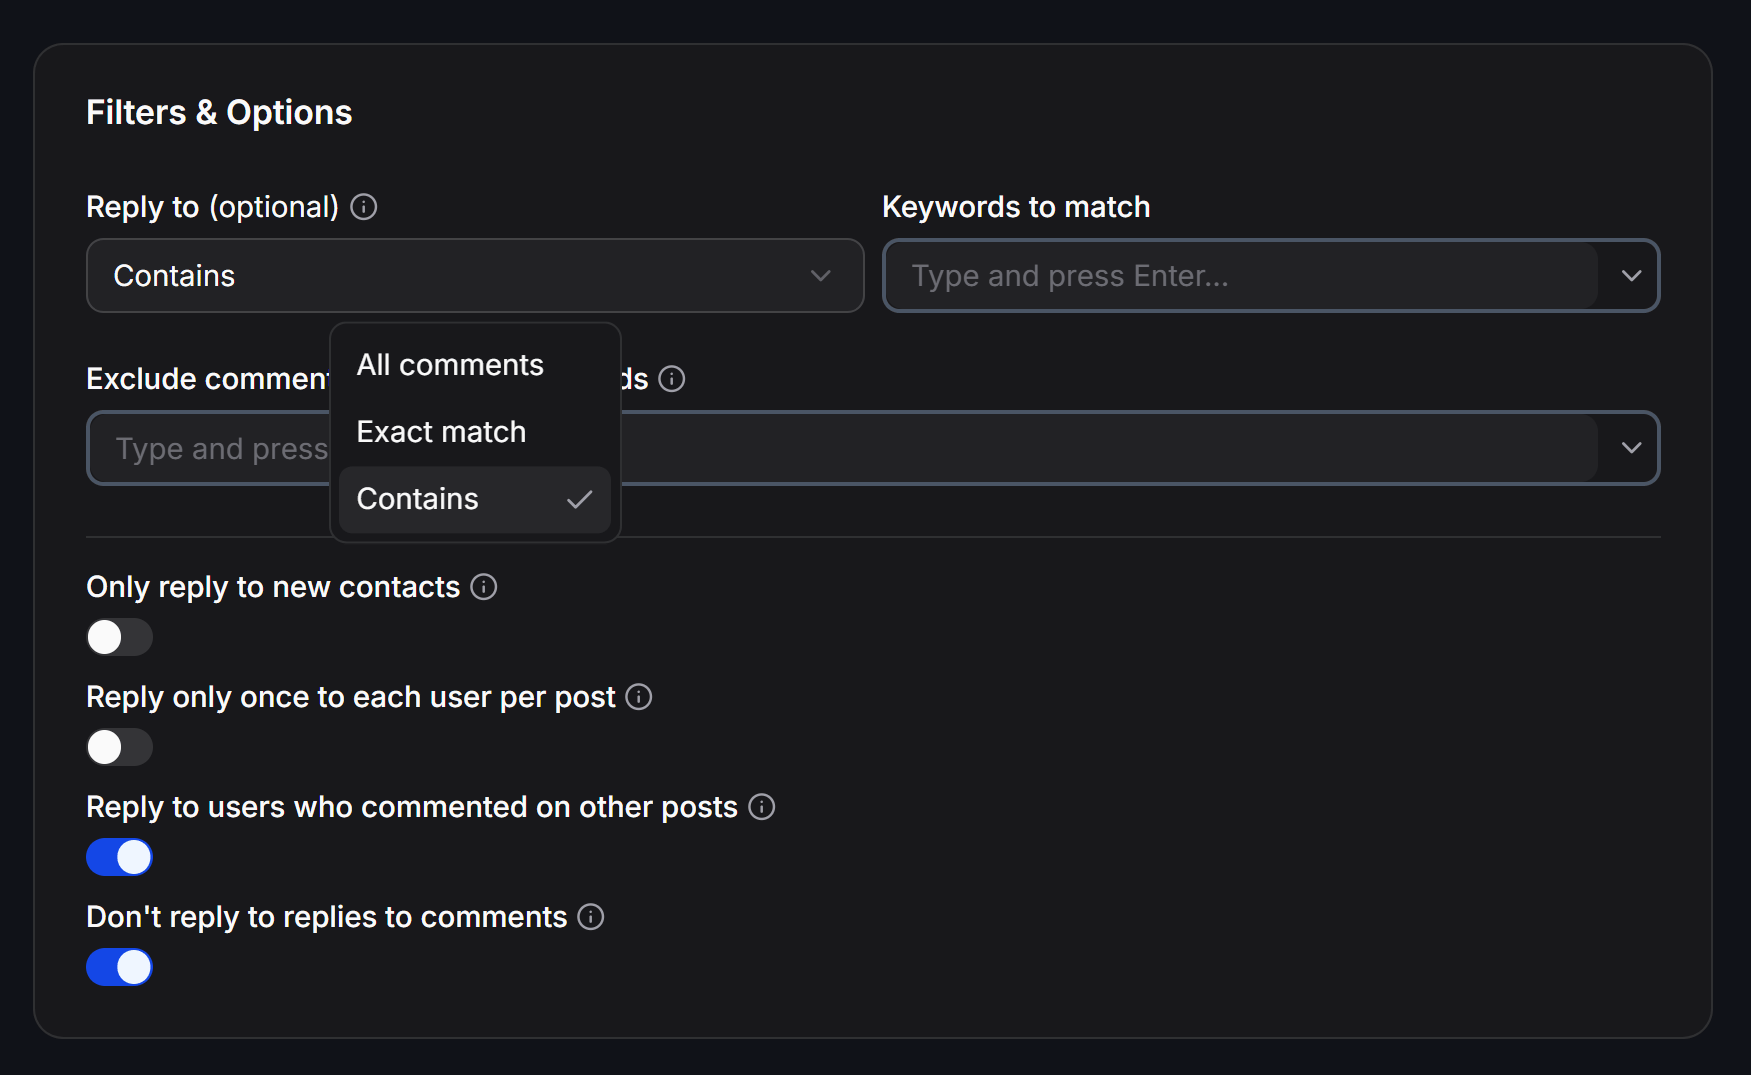
With Exact match or Contains, enter each keyword in Keywords to match and press Enter. Use Exclude comments with these keywords to skip comments containing unwanted words.Additional options include:
- Only reply to new contacts: Reply only to people ChatbotX identifies as new contacts.
- Reply only once to each user per post: Send only one automated reply to each person on each post.
- Reply to users who commented on other posts: Continue replying to people who commented on another post.
- Don’t reply to replies to comments: Ignore replies nested under another comment.
7
Set the reply timing
Under Reply Timing, open Reply after and select when the reply should be sent: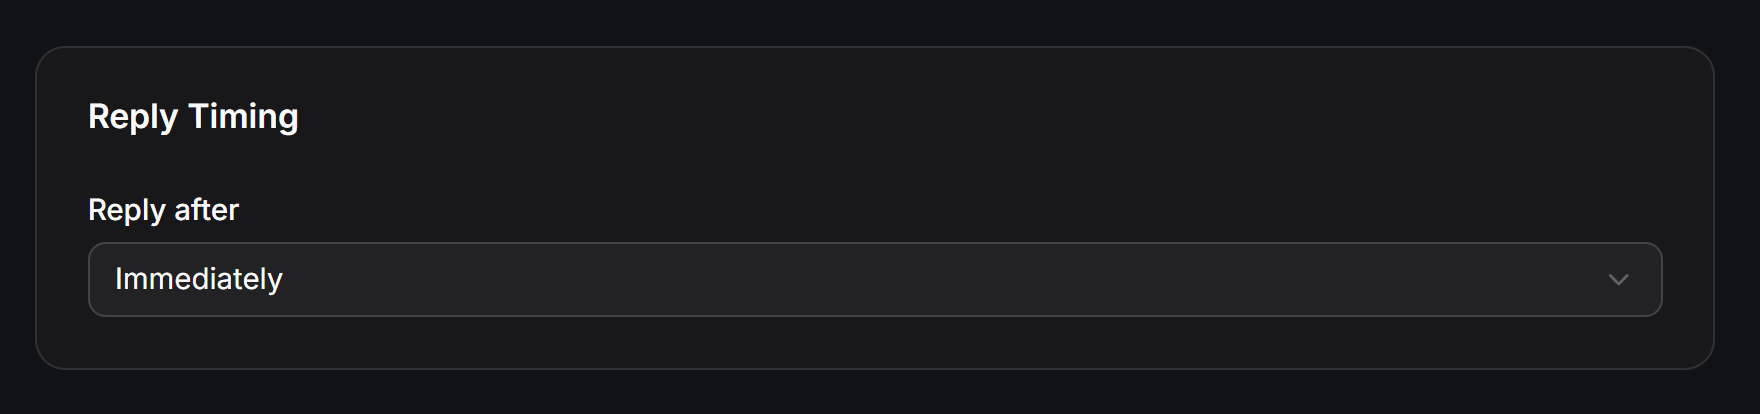
- Immediately: Reply as soon as the comment is received.
- After X seconds, After X minutes, or After X hours: Reply after the delay you specify.
- Random within 3 minutes through Random within 60 minutes: Reply at a random time within the selected period.
8
Configure hidden comments and save
Under Hide Comments, select the types of comments to hide: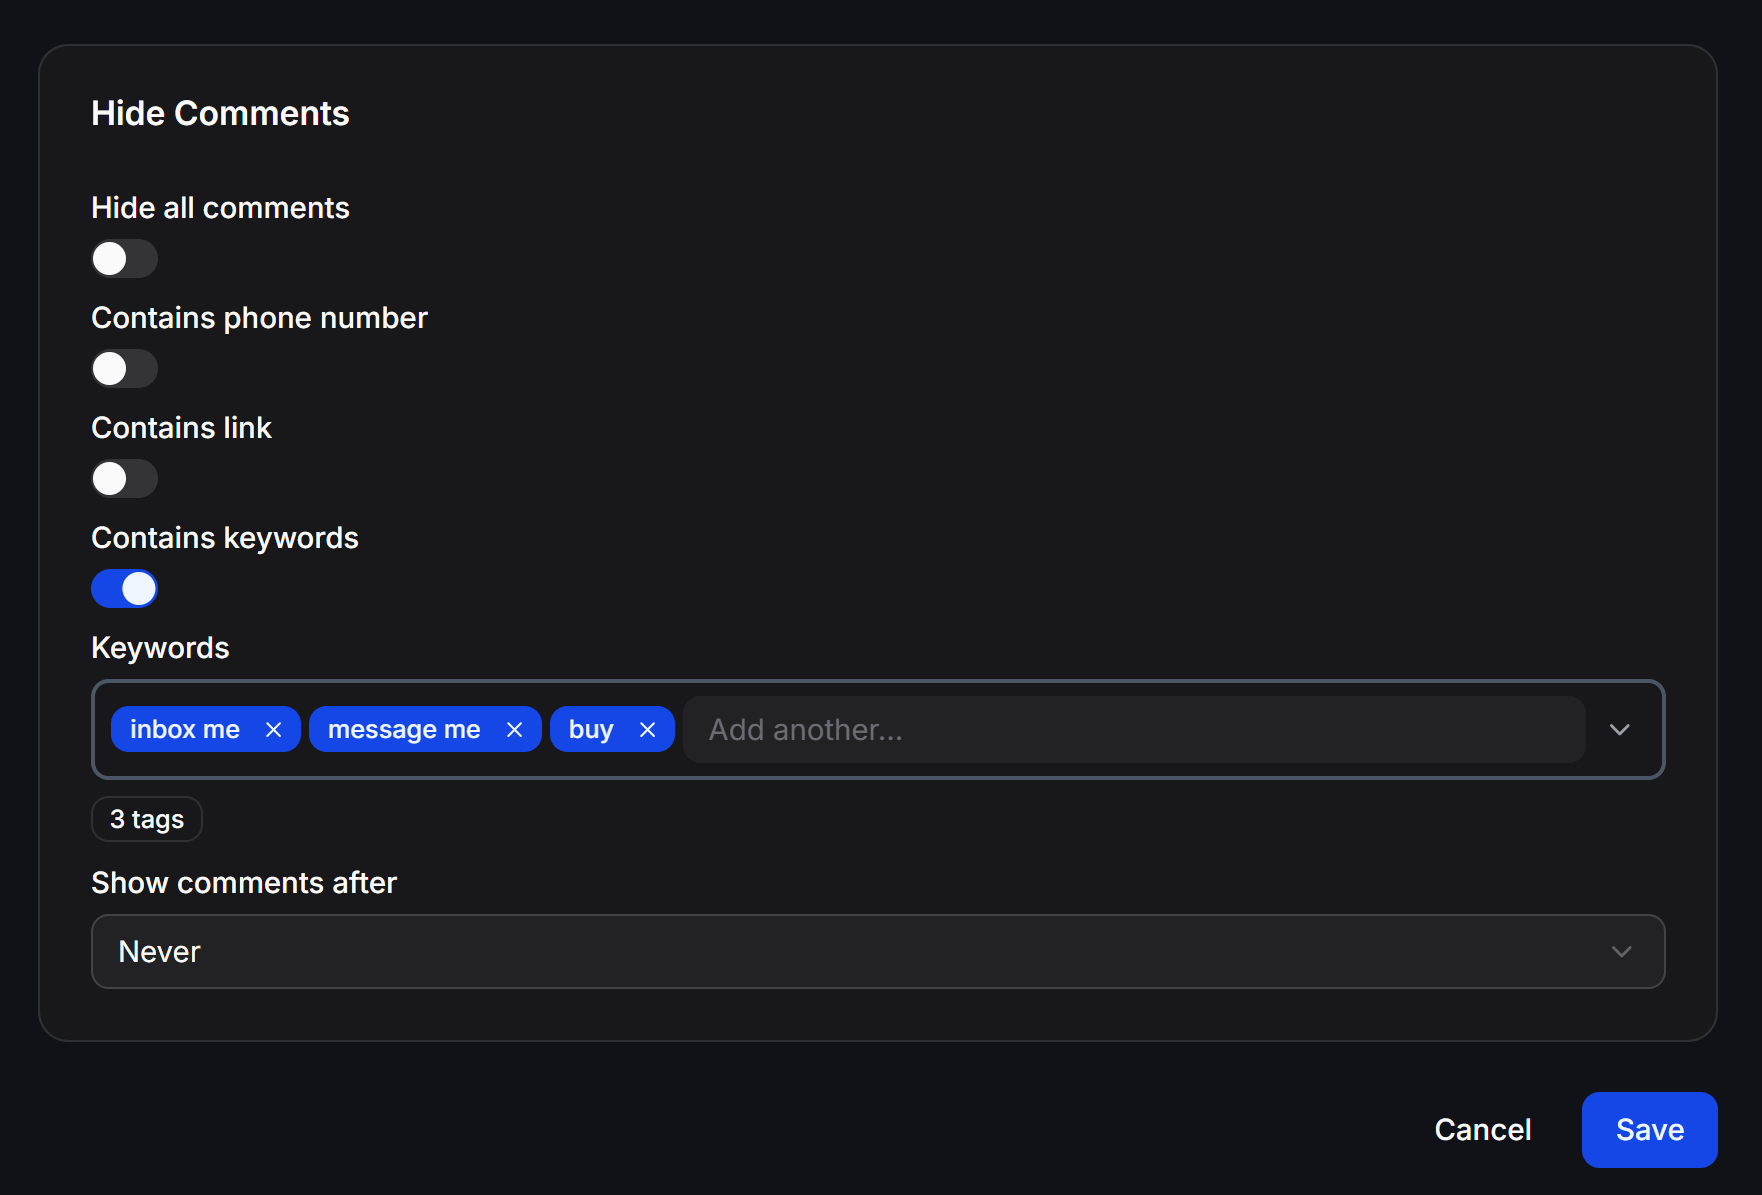
- Hide all comments: Hide every comment handled by the automation.
- Contains phone number: Hide comments containing a phone number.
- Contains link: Hide comments containing a link.
- Contains keywords: Hide comments containing words entered in Keywords.
Example: collect quote requests
Suppose you want to handle price questions under a product post:
When a customer comments
How much is this product?, the automation posts a public reply and starts the consultation Flow in Inbox. If the customer comments again on the same post, ChatbotX does not send another reply while the one-reply option is enabled.
Manage automations
Use the automation list to find and monitor the automations you created:- Folders: Create folders to organize automations by campaign or purpose.
- Enter name: Find an automation by name.
- Status: Use the switch to activate or pause an automation.
- Track Funnel Metrics: The data table provides end-to-end performance metrics: Replies (public comments posted), Sent (private inbox messages sent), Delivered (delivery count and rate), Seen (read rate), Clicked (CTA clicks), Failed (failed attempts), and Misses (skipped comments).
- Actions: Click the three-dot menu
...to open available actions:- Edit: Adjust campaign settings and filters.
- View Analytics: Open the Facebook & Instagram Comment Automation Analytics report to monitor volume trends, user comment breakdown, and real-time error logs.
- Rename: Rename the automation.
- Move: Move the automation to a folder.
- Delete: Remove the automation.
- Rows per page: Select how many automations appear on each page.
Test the automation on one specific post before enabling it for multiple posts. Check both the public reply and the Inbox message to prevent incorrect content from being sent.