

Overview of Templates
Templates allow you to package all chatbot resources (including message Flows, Triggers, AI Agents, Products, Custom Fields, and Settings) into a single shareable link. This feature enables you to duplicate, distribute, and install complete chatbot solutions with one click. Key benefits of Templates:- Instant Duplication: Easily deploy identical chatbot architectures across multiple accounts, business branches, or client workspaces without manual re-creation.
- Built for Agencies & Creators: Package industry-specific chatbot workflows to deliver or monetize turnkey solutions for clients.
- Resource Organization: Automatically nest installed assets into dedicated folders on recipient workspaces to prevent conflicts with existing flows.
- Smart Update Mechanisms: Notify recipients or automatically synchronize updated flows and assets when authors republish templates.
Accessing the Templates Tool
To open the Templates management dashboard, navigate to Tools from the left sidebar and click on the Templates card.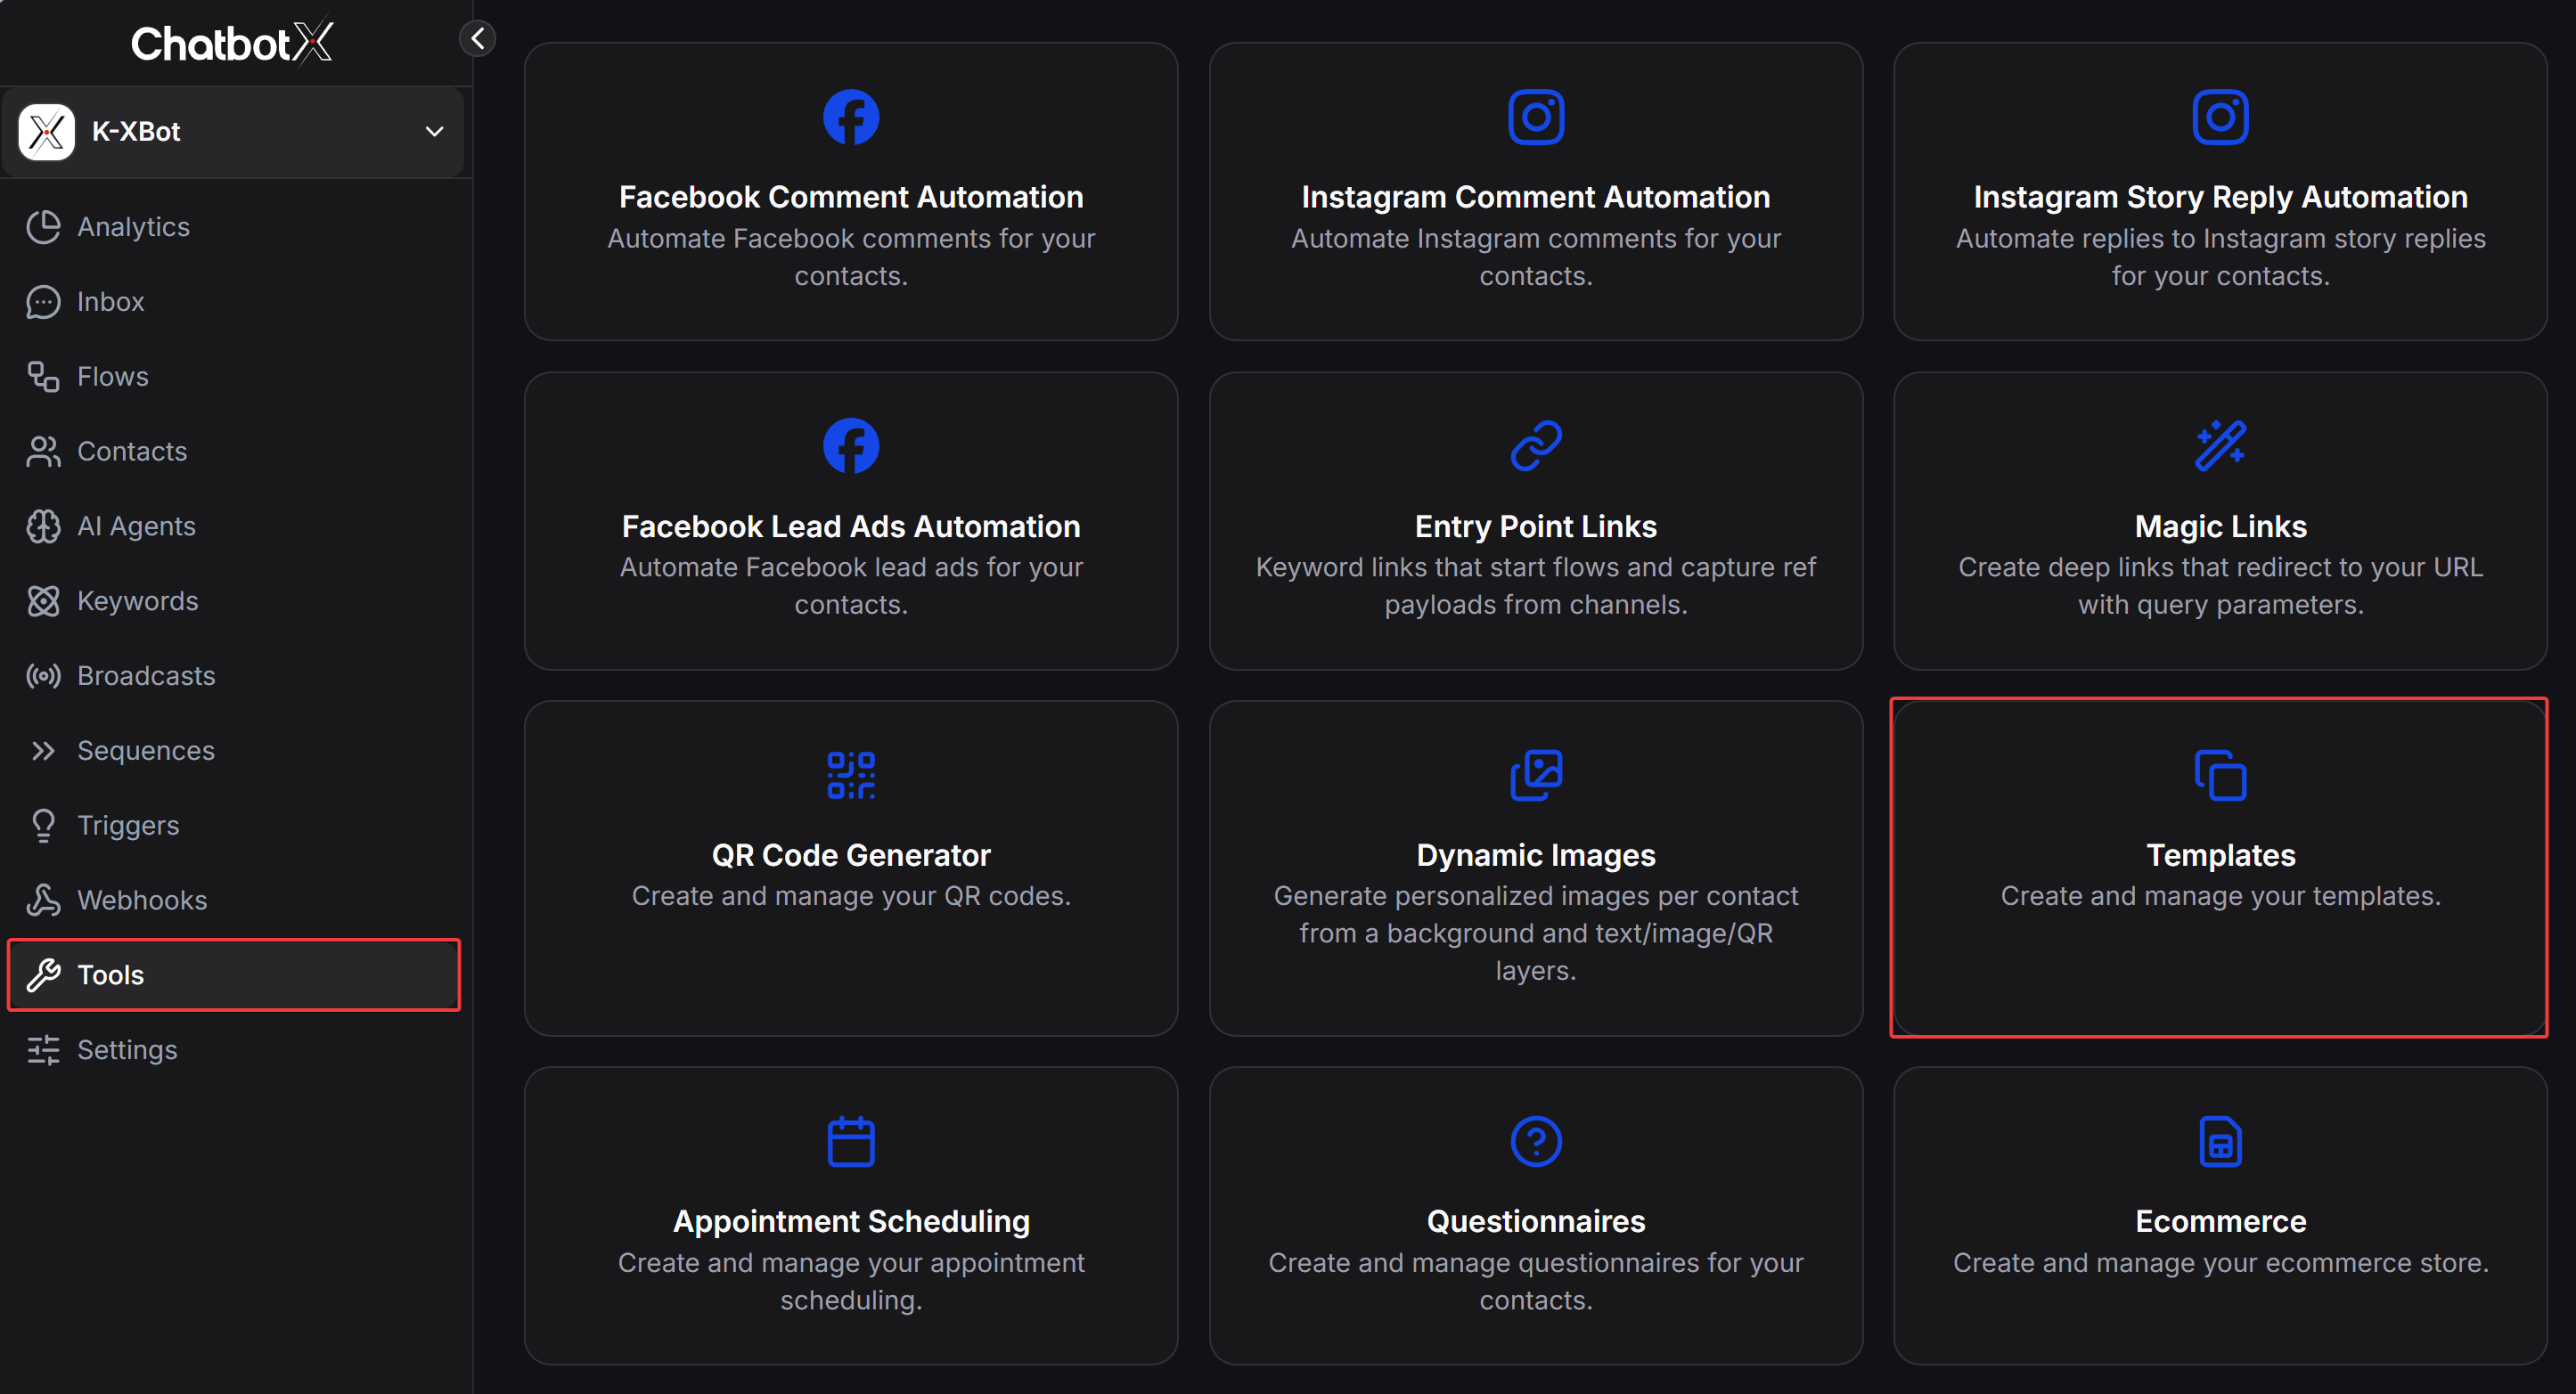
Templates Management Dashboard
The main Templates interface displays all created templates along with real-time operational statistics: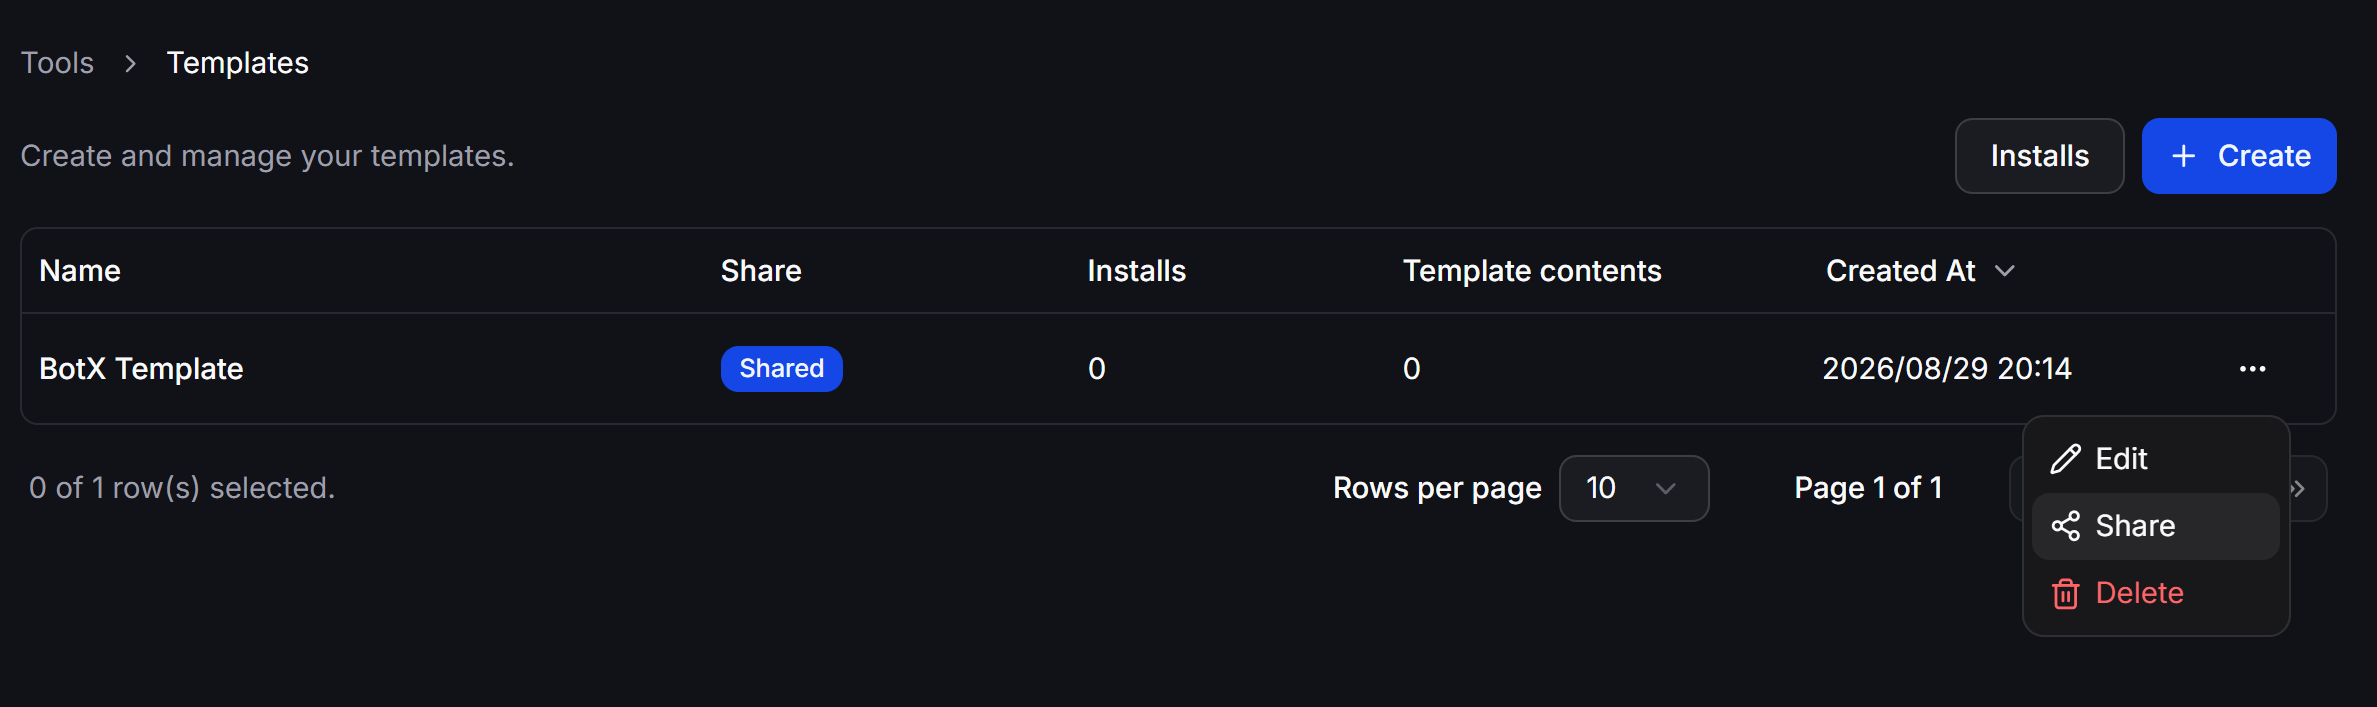
Dashboard Columns
- Name: The title of the template.
- Share: Sharing link status (displays the
Sharedbadge when public sharing is enabled). - Installs: Total count of workspaces that have installed this template.
- Template contents: Total number of packaged assets included in the template.
- Created At: Timestamp when the template was created.
Key Actions
- + Create Button: Starts the step-by-step creation workflow for a new template.
- Installs Button: Switches to the installations tracker and auto-update management view.
- Row Options Menu (
...):- Edit: Reopen the configuration form to modify details or adjust included assets.
- Share: Open the sharing modal to manage and copy the public template URL.
- Delete: Permanently delete the template.
Creating a New Template
To bundle your chatbot configuration into a shareable template, complete the 3 configuration steps:1
Configure General Information (Details)
Click + Create in the Templates dashboard and fill in the introduction fields: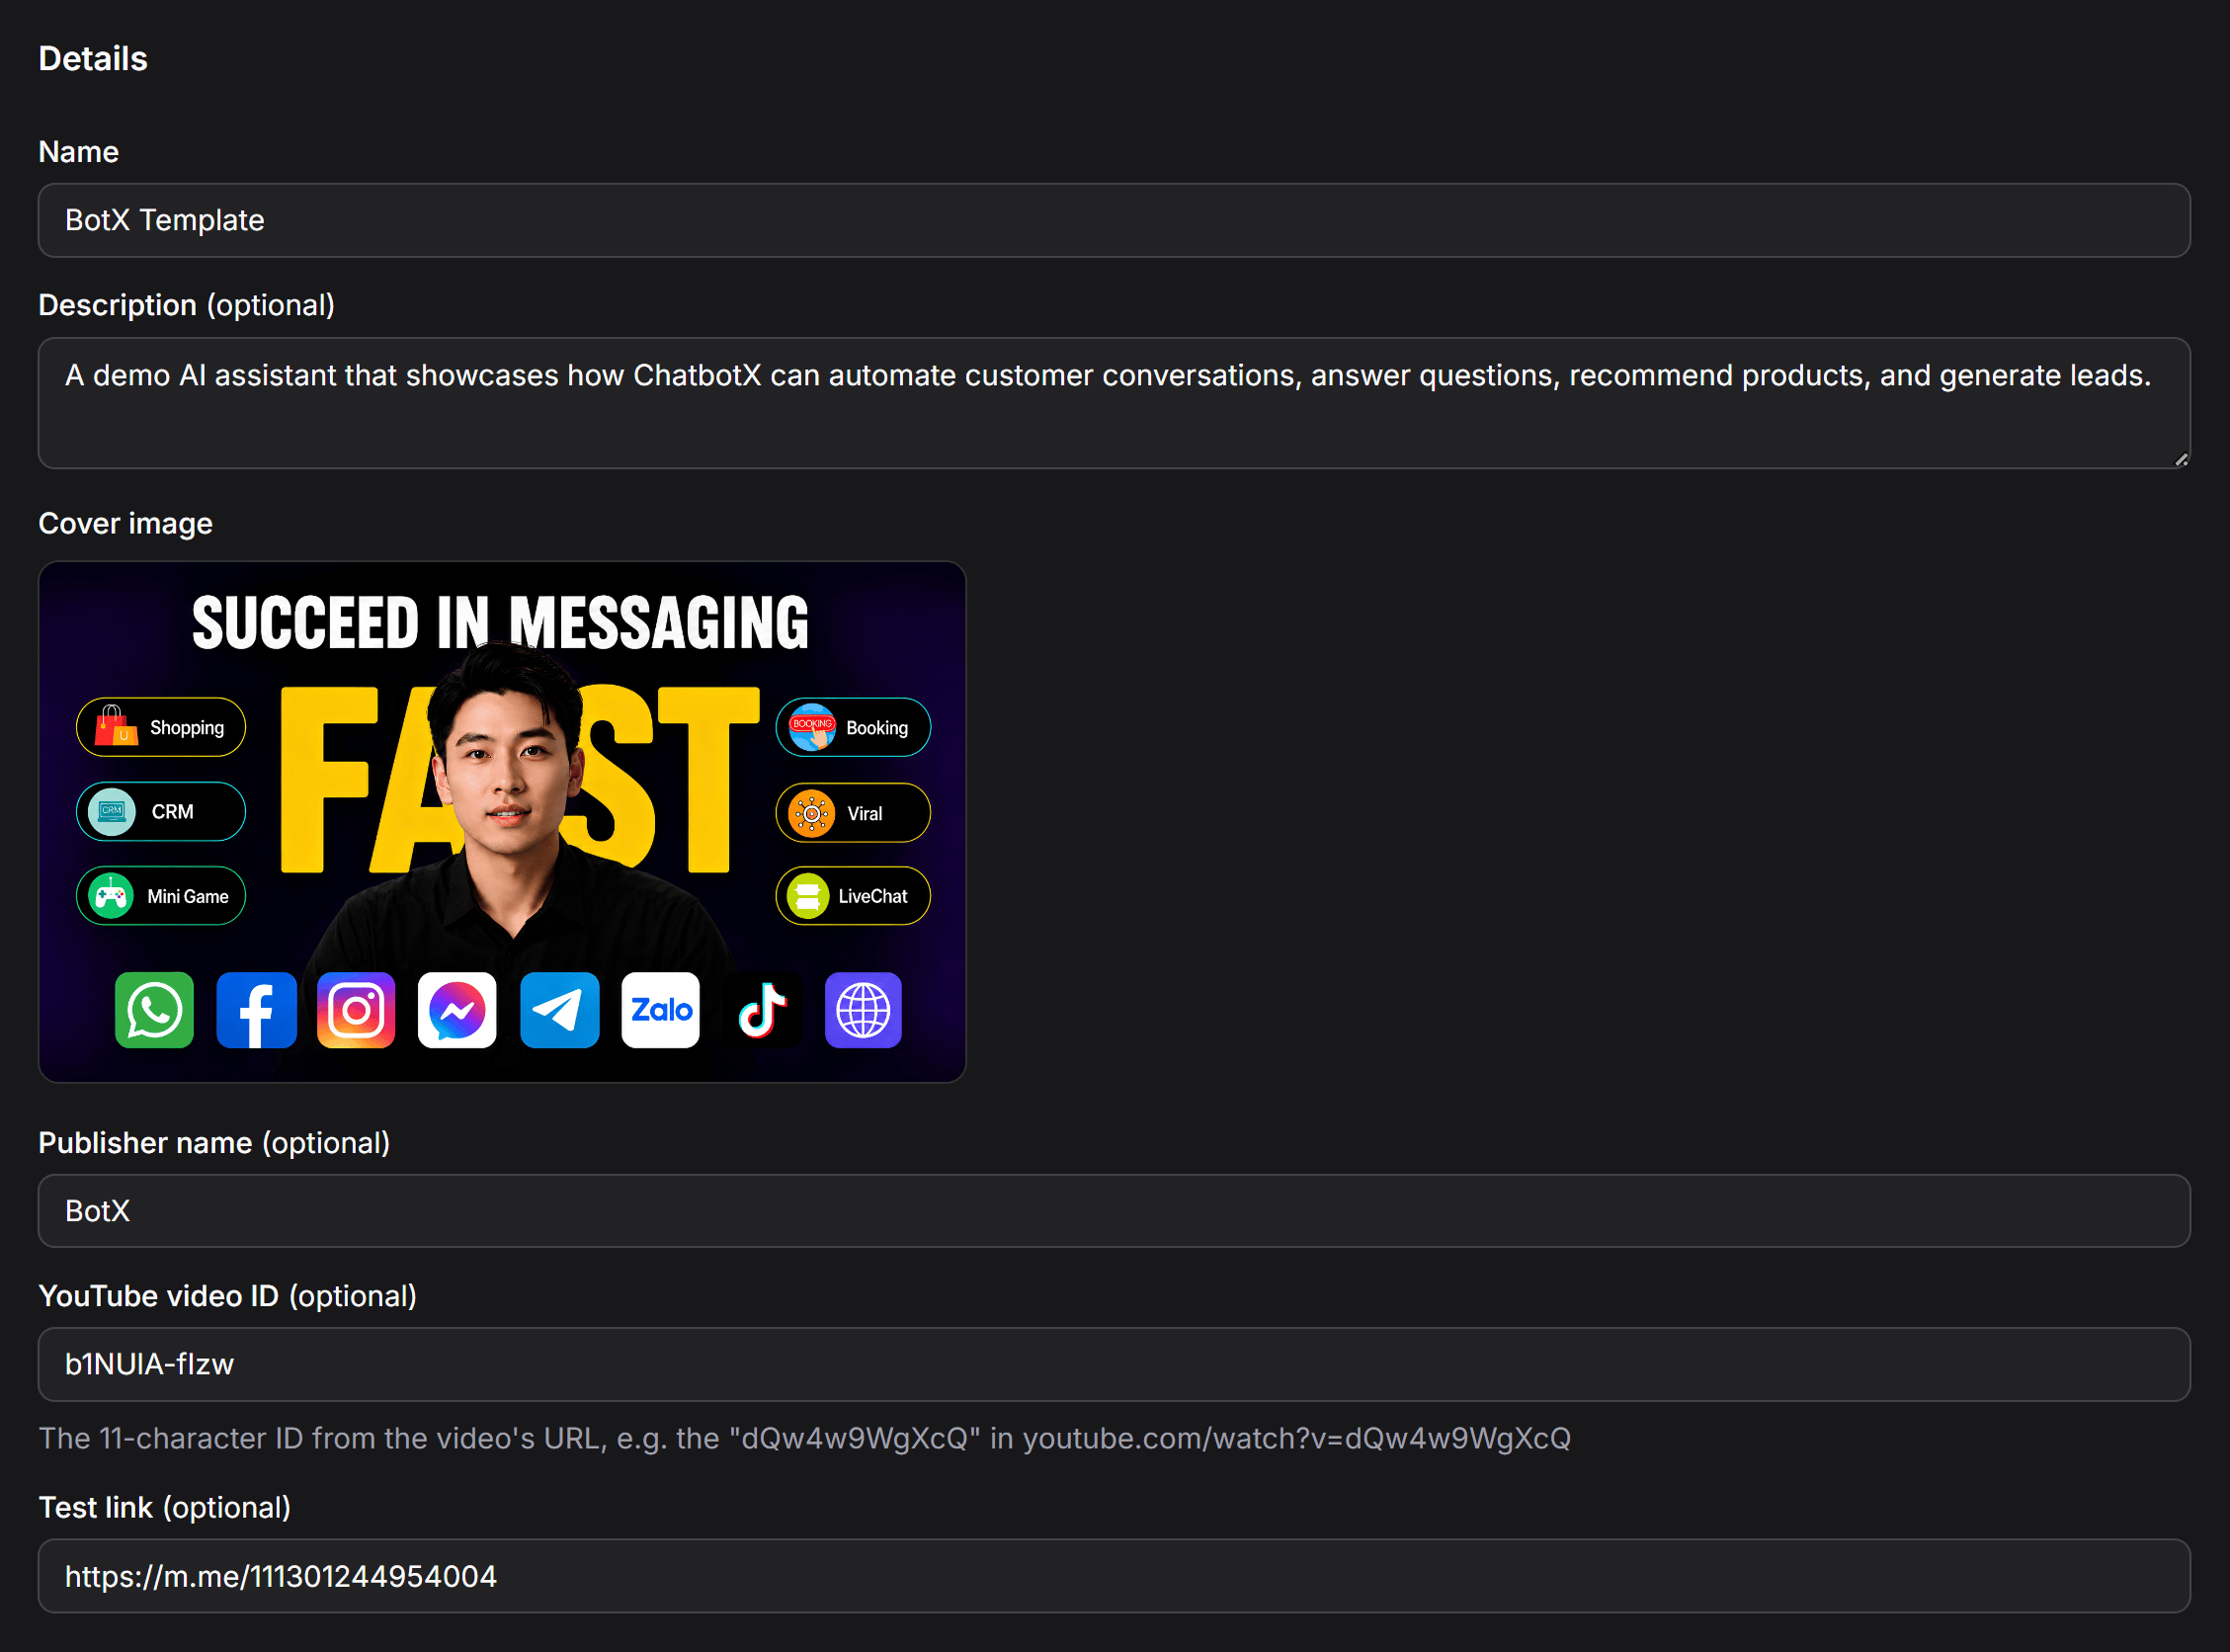
- Name: The template title (required).
- Description (optional): A summary describing the features, value, and target use cases.
- Cover image: Upload a thumbnail banner from your computer or select an existing asset from the Media Library.
- Publisher name (optional): The author or organization name (for example:
BotX,ChatbotX). - YouTube video ID (optional): Enter the 11-character video ID from a YouTube walkthrough (for example:
b1NUIA-flzw). - Test link (optional): A direct link to a live preview chatbot (such as a Messenger link
https://m.me/...).
2
Select Packaged Assets (Template contents)
Under the Template contents section, select the system resources you want to bundle into the template. The system supports 14 asset categories: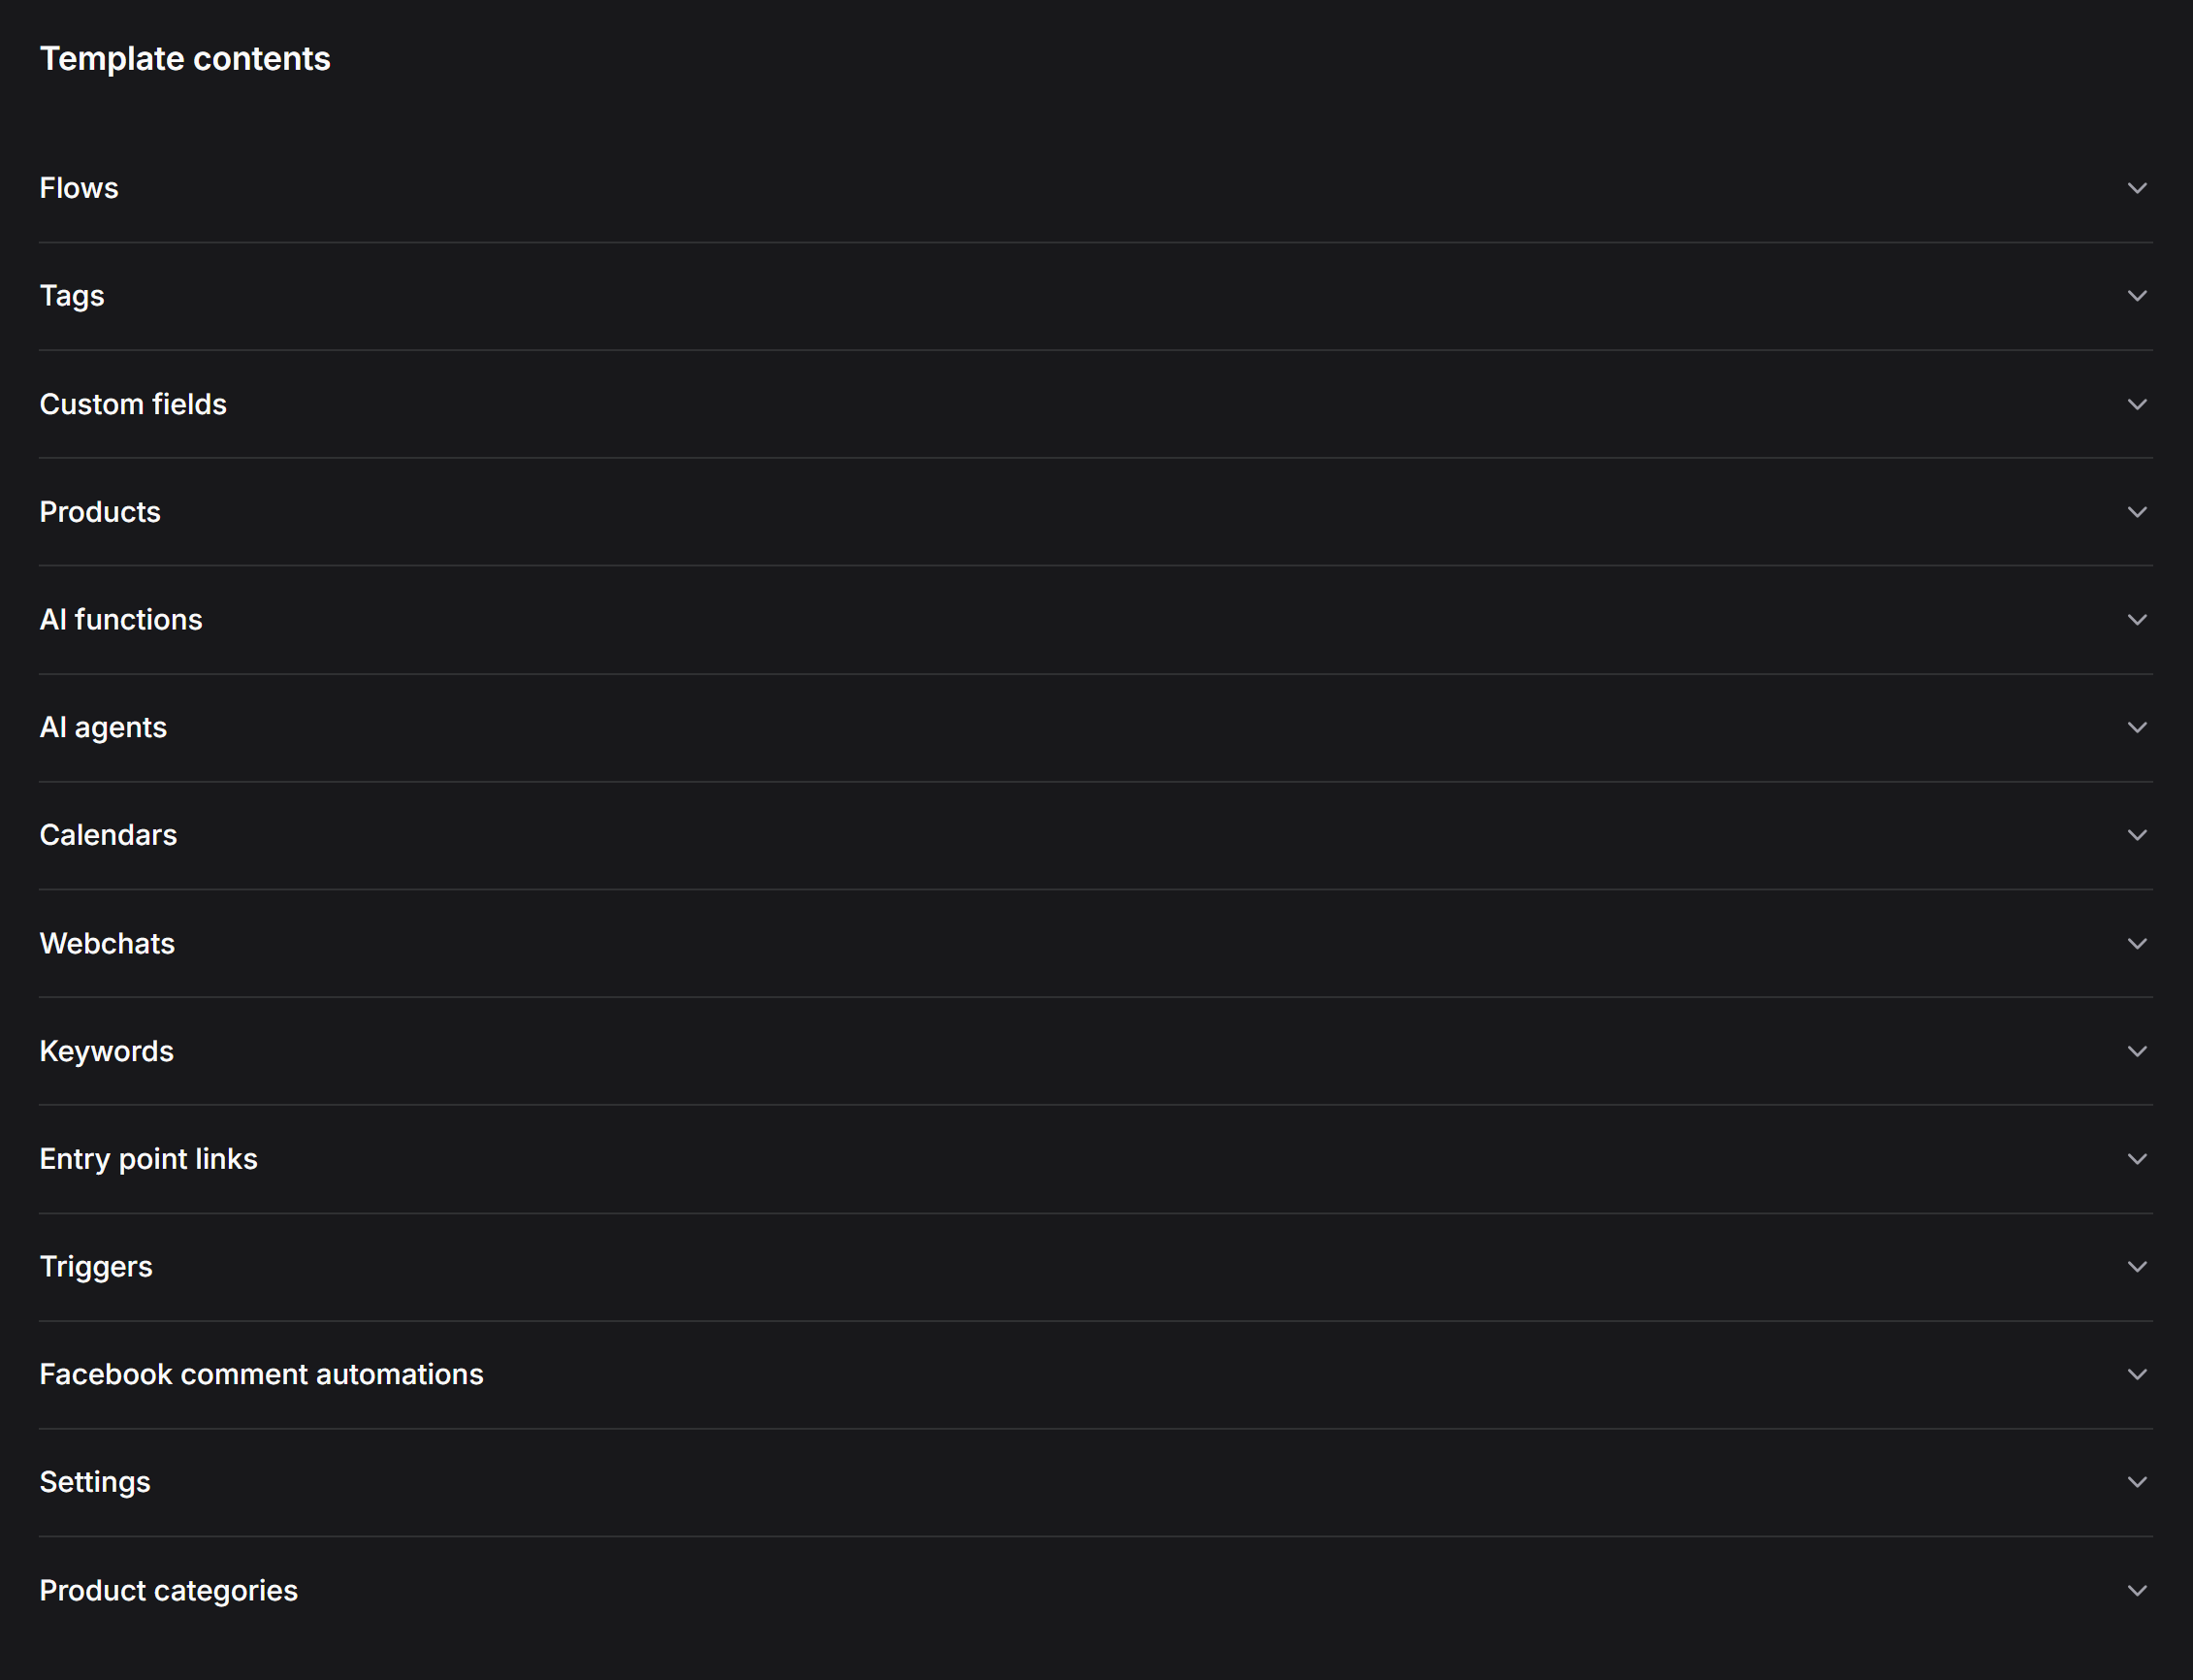
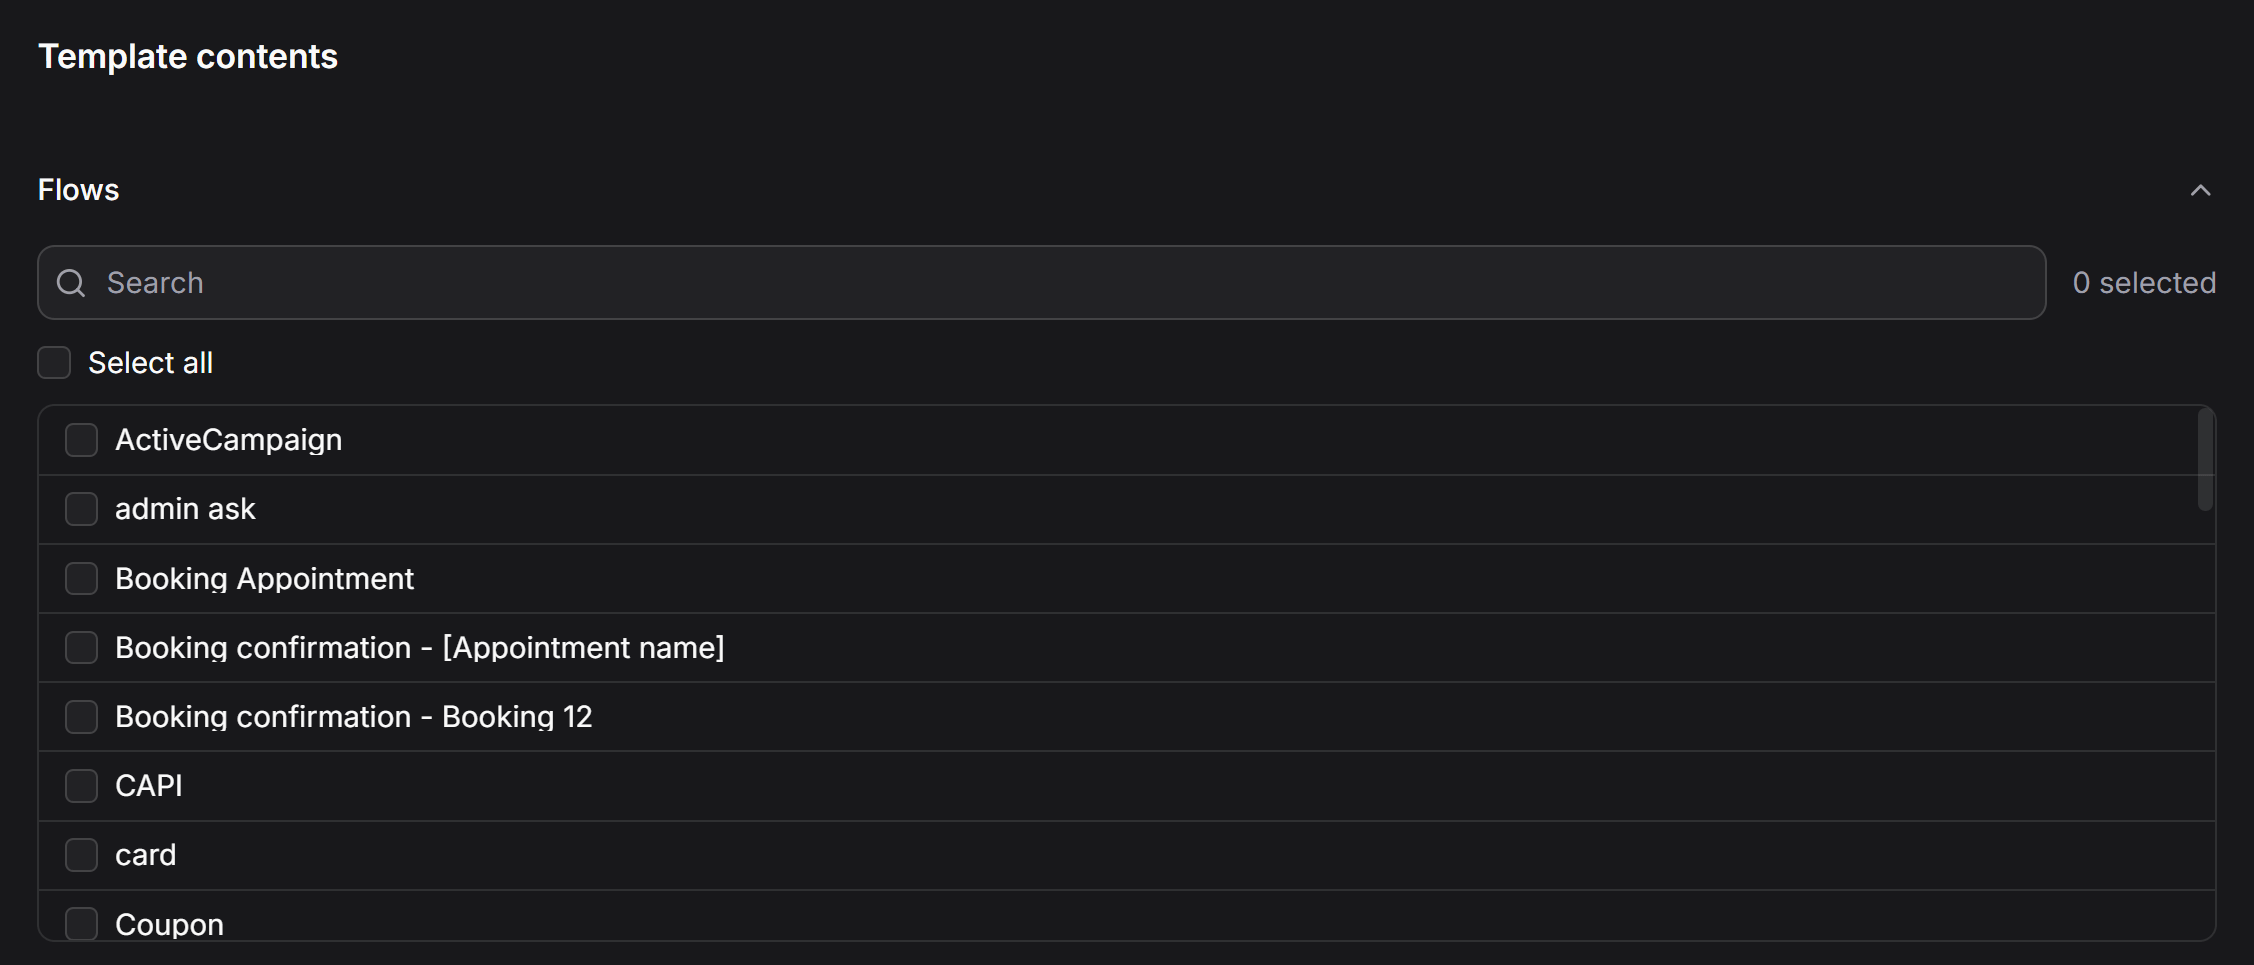
- Flows: Message scripts. You can choose Select all or handpick specific Flows.
- Tags: Contact categorization tags.
- Custom fields: Custom user attributes.
- Products & Product categories: Ecommerce items and store categories.
- AI functions & AI agents: Configured AI personas and connected tools.
- Calendars: Booking and appointment schedules.
- Webchats: Webchat widget customizations.
- Keywords: Keyword triggers.
- Entry point links: Reflink entry points.
- Triggers: Automation event listeners.
- Facebook comment automations: Facebook auto-reply rules.
- Settings: General system configurations.
3
Configure Permissions and Install Behavior
Set access rights and behavioral defaults for workspaces that install this template: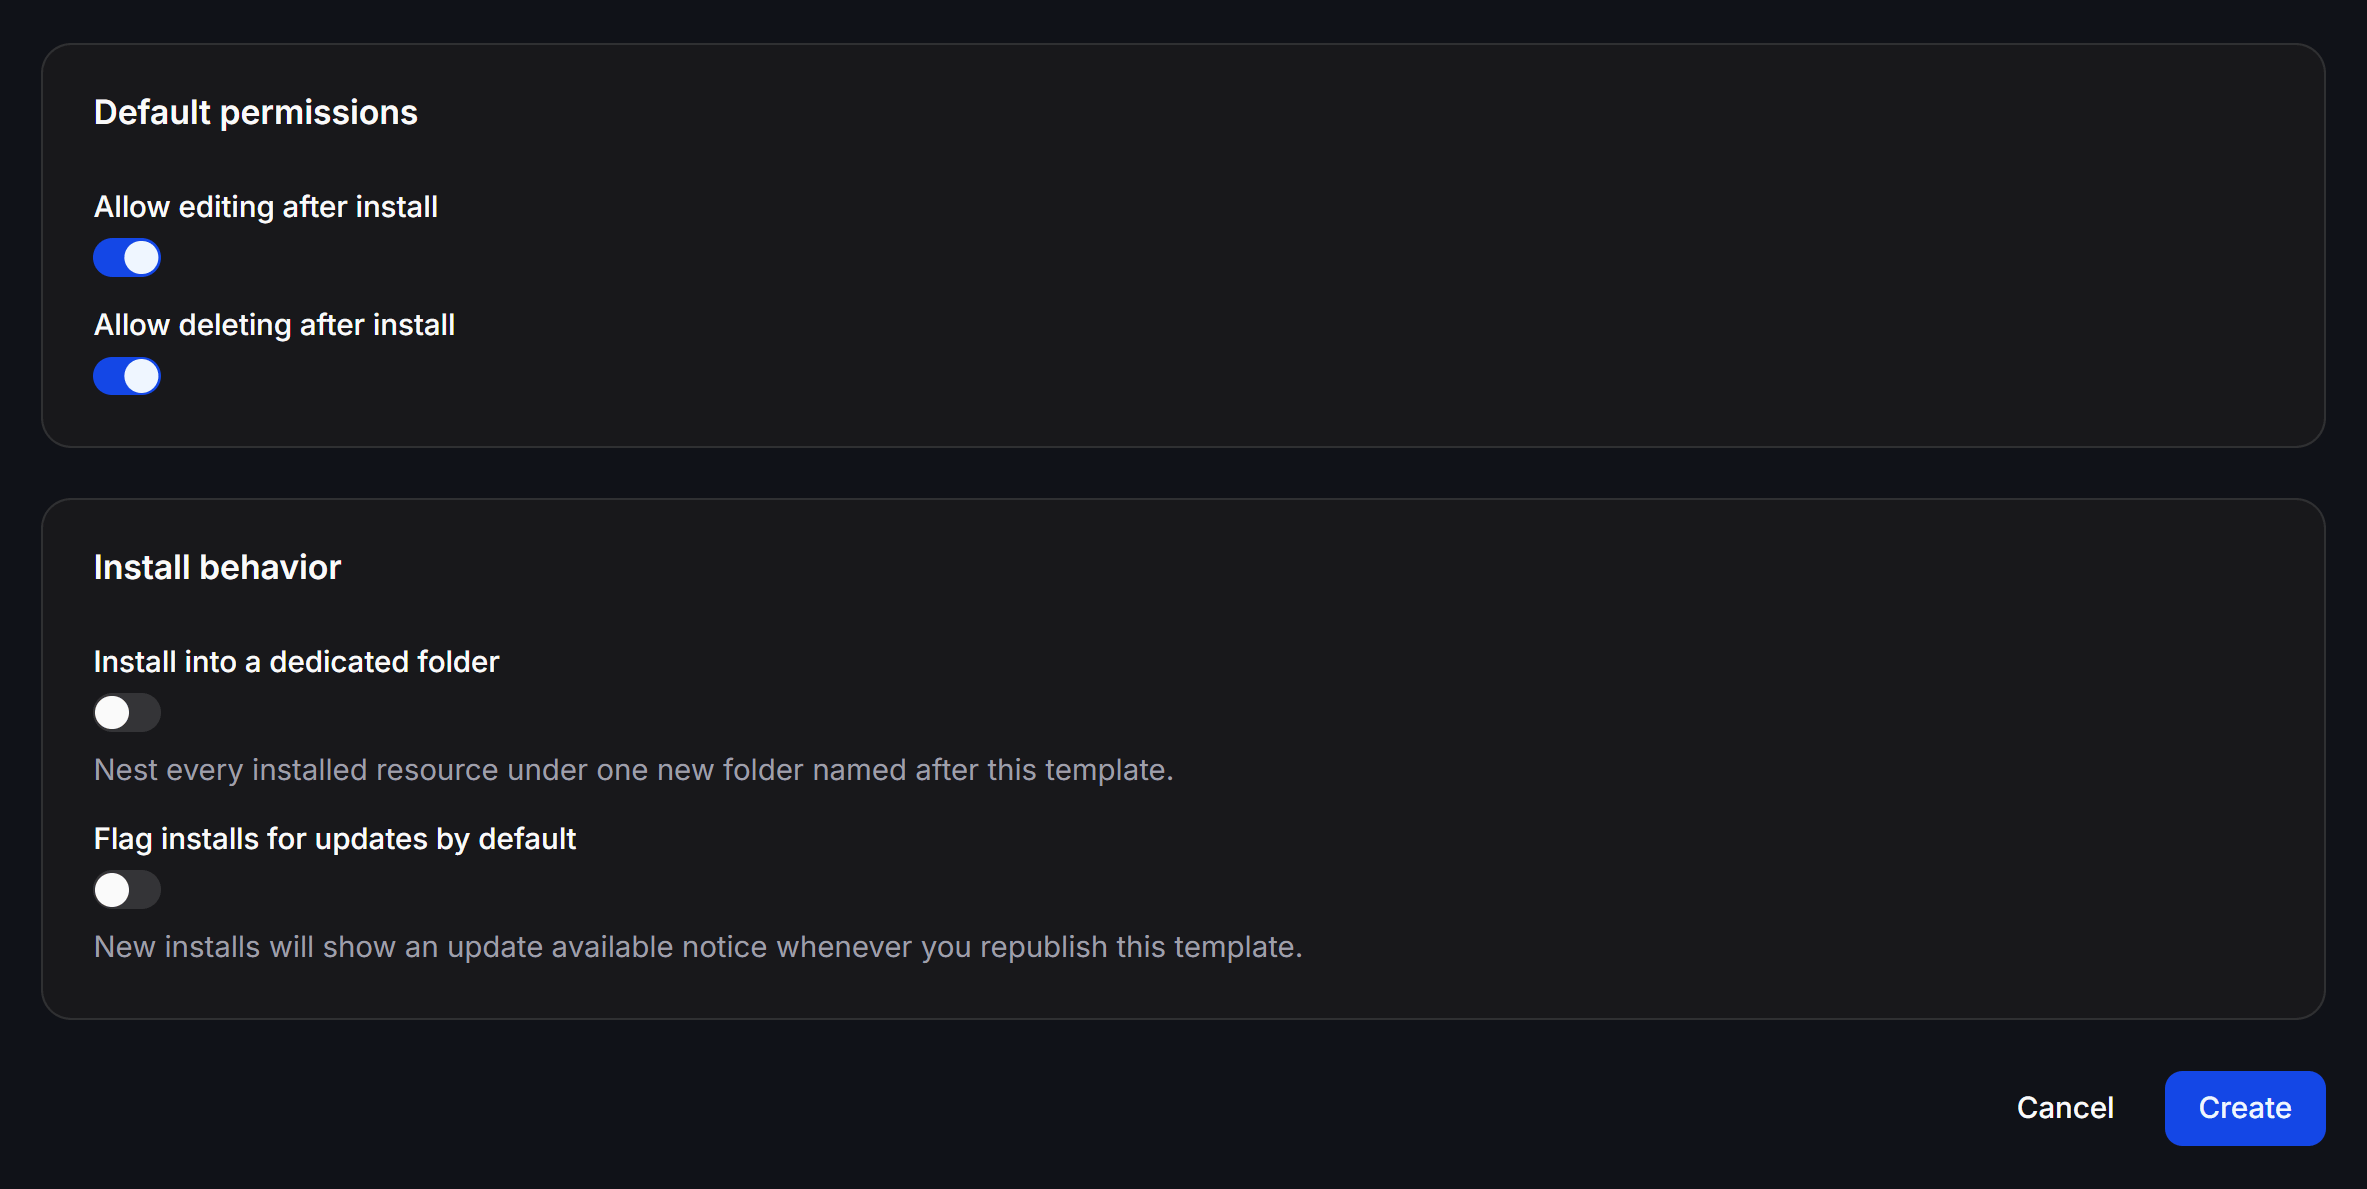
- Default permissions:
- Allow editing after install: Permits recipients to edit and customize installed resources.
- Allow deleting after install: Permits recipients to delete installed assets when no longer needed.
- Install behavior:
- Install into a dedicated folder: Nests every installed asset under one new folder named after this template, keeping existing workspace flows clean.
- Flag installs for updates by default: Automatically notifies recipients when you publish updates or improvements to this template.
Sharing Your Template (Share Link)
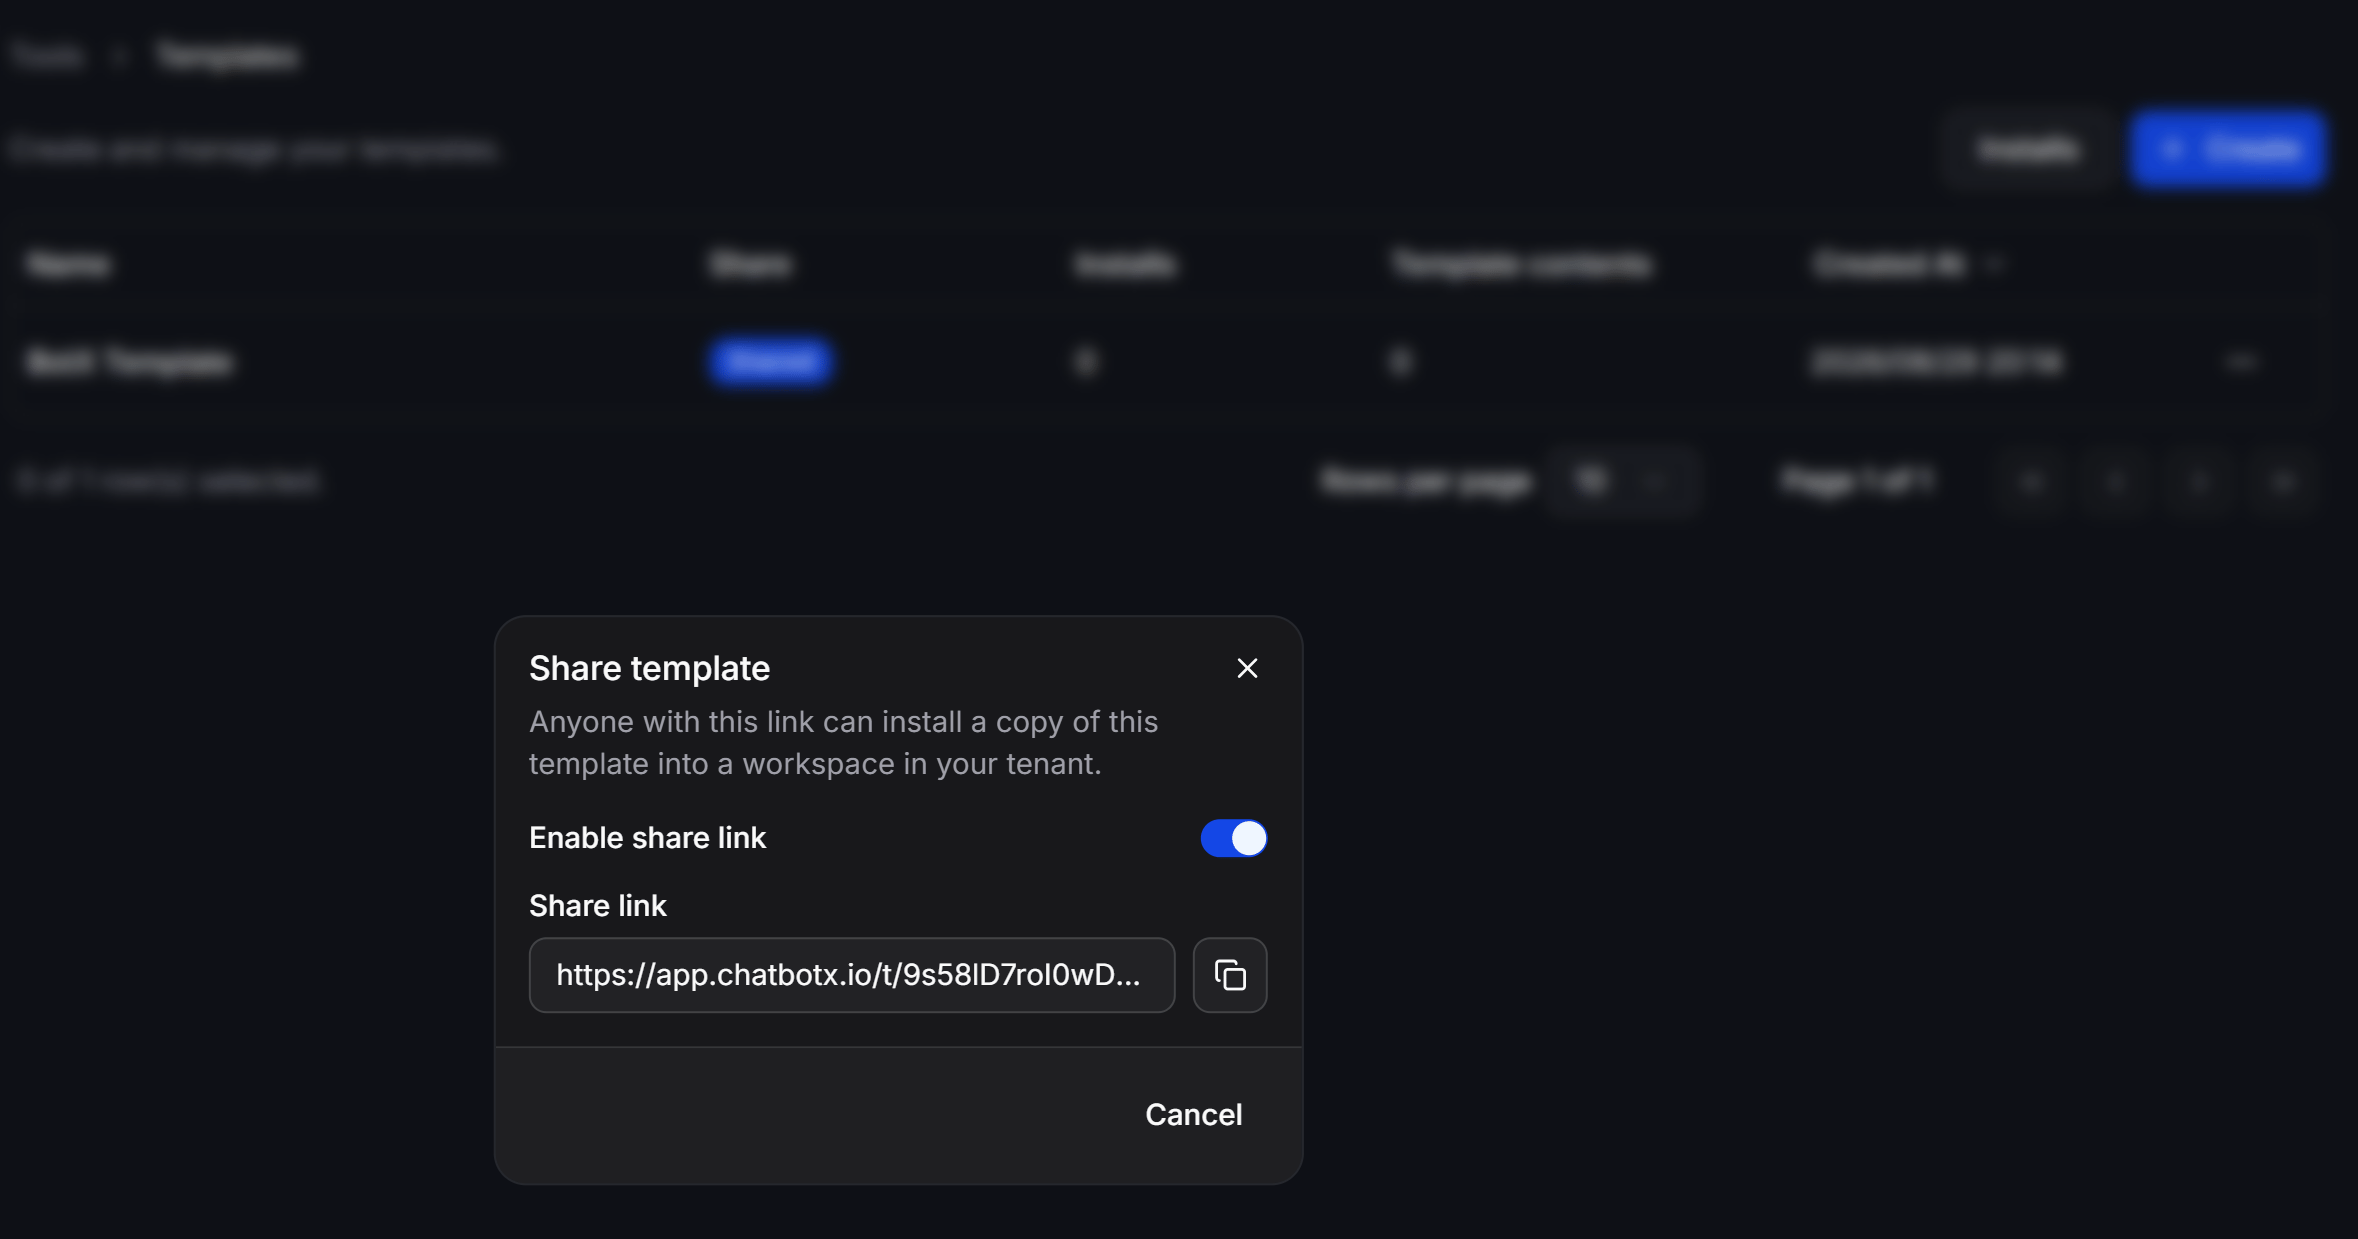
Once created, generate a public sharing link to distribute your template:- In the Templates table, click the three dots
...on the target template row > select Share. - Toggle on Enable share link.
- Click the copy icon next to Share link to copy the URL formatted as
https://app.chatbotx.io/t/....
Installing a Shared Template (Recipient Guide)
When recipients open a template link in their browser:- Template Landing Page: They can watch the YouTube video, read the overview, and click Preview to inspect the flow diagram.
- Installation Options: Clicking Install presents 2 choices:
- Install into an Existing Bot: Select an active workspace / bot from their account to import the packaged resources.
- Create a New Chatbot: Select a channel platform (Messenger, Instagram, WhatsApp, TikTok, Telegram, Webchat…) to create a fresh bot with the template pre-installed.
Tracking & Managing Installations (Installs)
The Installs dashboard provides comprehensive tracking for both template users and authors:
1. For Template Users (Installation Status & Auto-Update)
When you install a template into your workspace, the Tools > Templates > Installs table displays:- Name: The title of the installed template.
- Status: Installation health (
Completed,Installing, orFailed). - Resources: Count of successfully imported assets.
- Warnings: Asset conflict or duplicate warnings (if any).
- Created At / Completed at: Start and completion timestamps of the installation process.
- Auto-update Switch: Enable or disable automatic asset synchronization when the original author republishes updates.
2. For Template Authors (Workspace Overview & Remote Uninstall)
As a template author, the Installs menu allows you to:- View a detailed list of all client or student workspaces that have installed your template.
- Monitor real-time installation metrics.
- Remote Uninstall: Click Uninstall next to a specific workspace to remotely revoke and remove the template assets (ideal when a subscription or service agreement ends).
When you republish a Template with updated flows or new features, all workspaces with Auto-update enabled will automatically receive the newest version without needing to reinstall manually.