

POST request to your unique ChatbotX Webhook URL, the system automatically looks up or creates the contact, writes the incoming data into designated contact fields, and runs configured follow-up actions (such as tagging contacts or triggering automated flows).
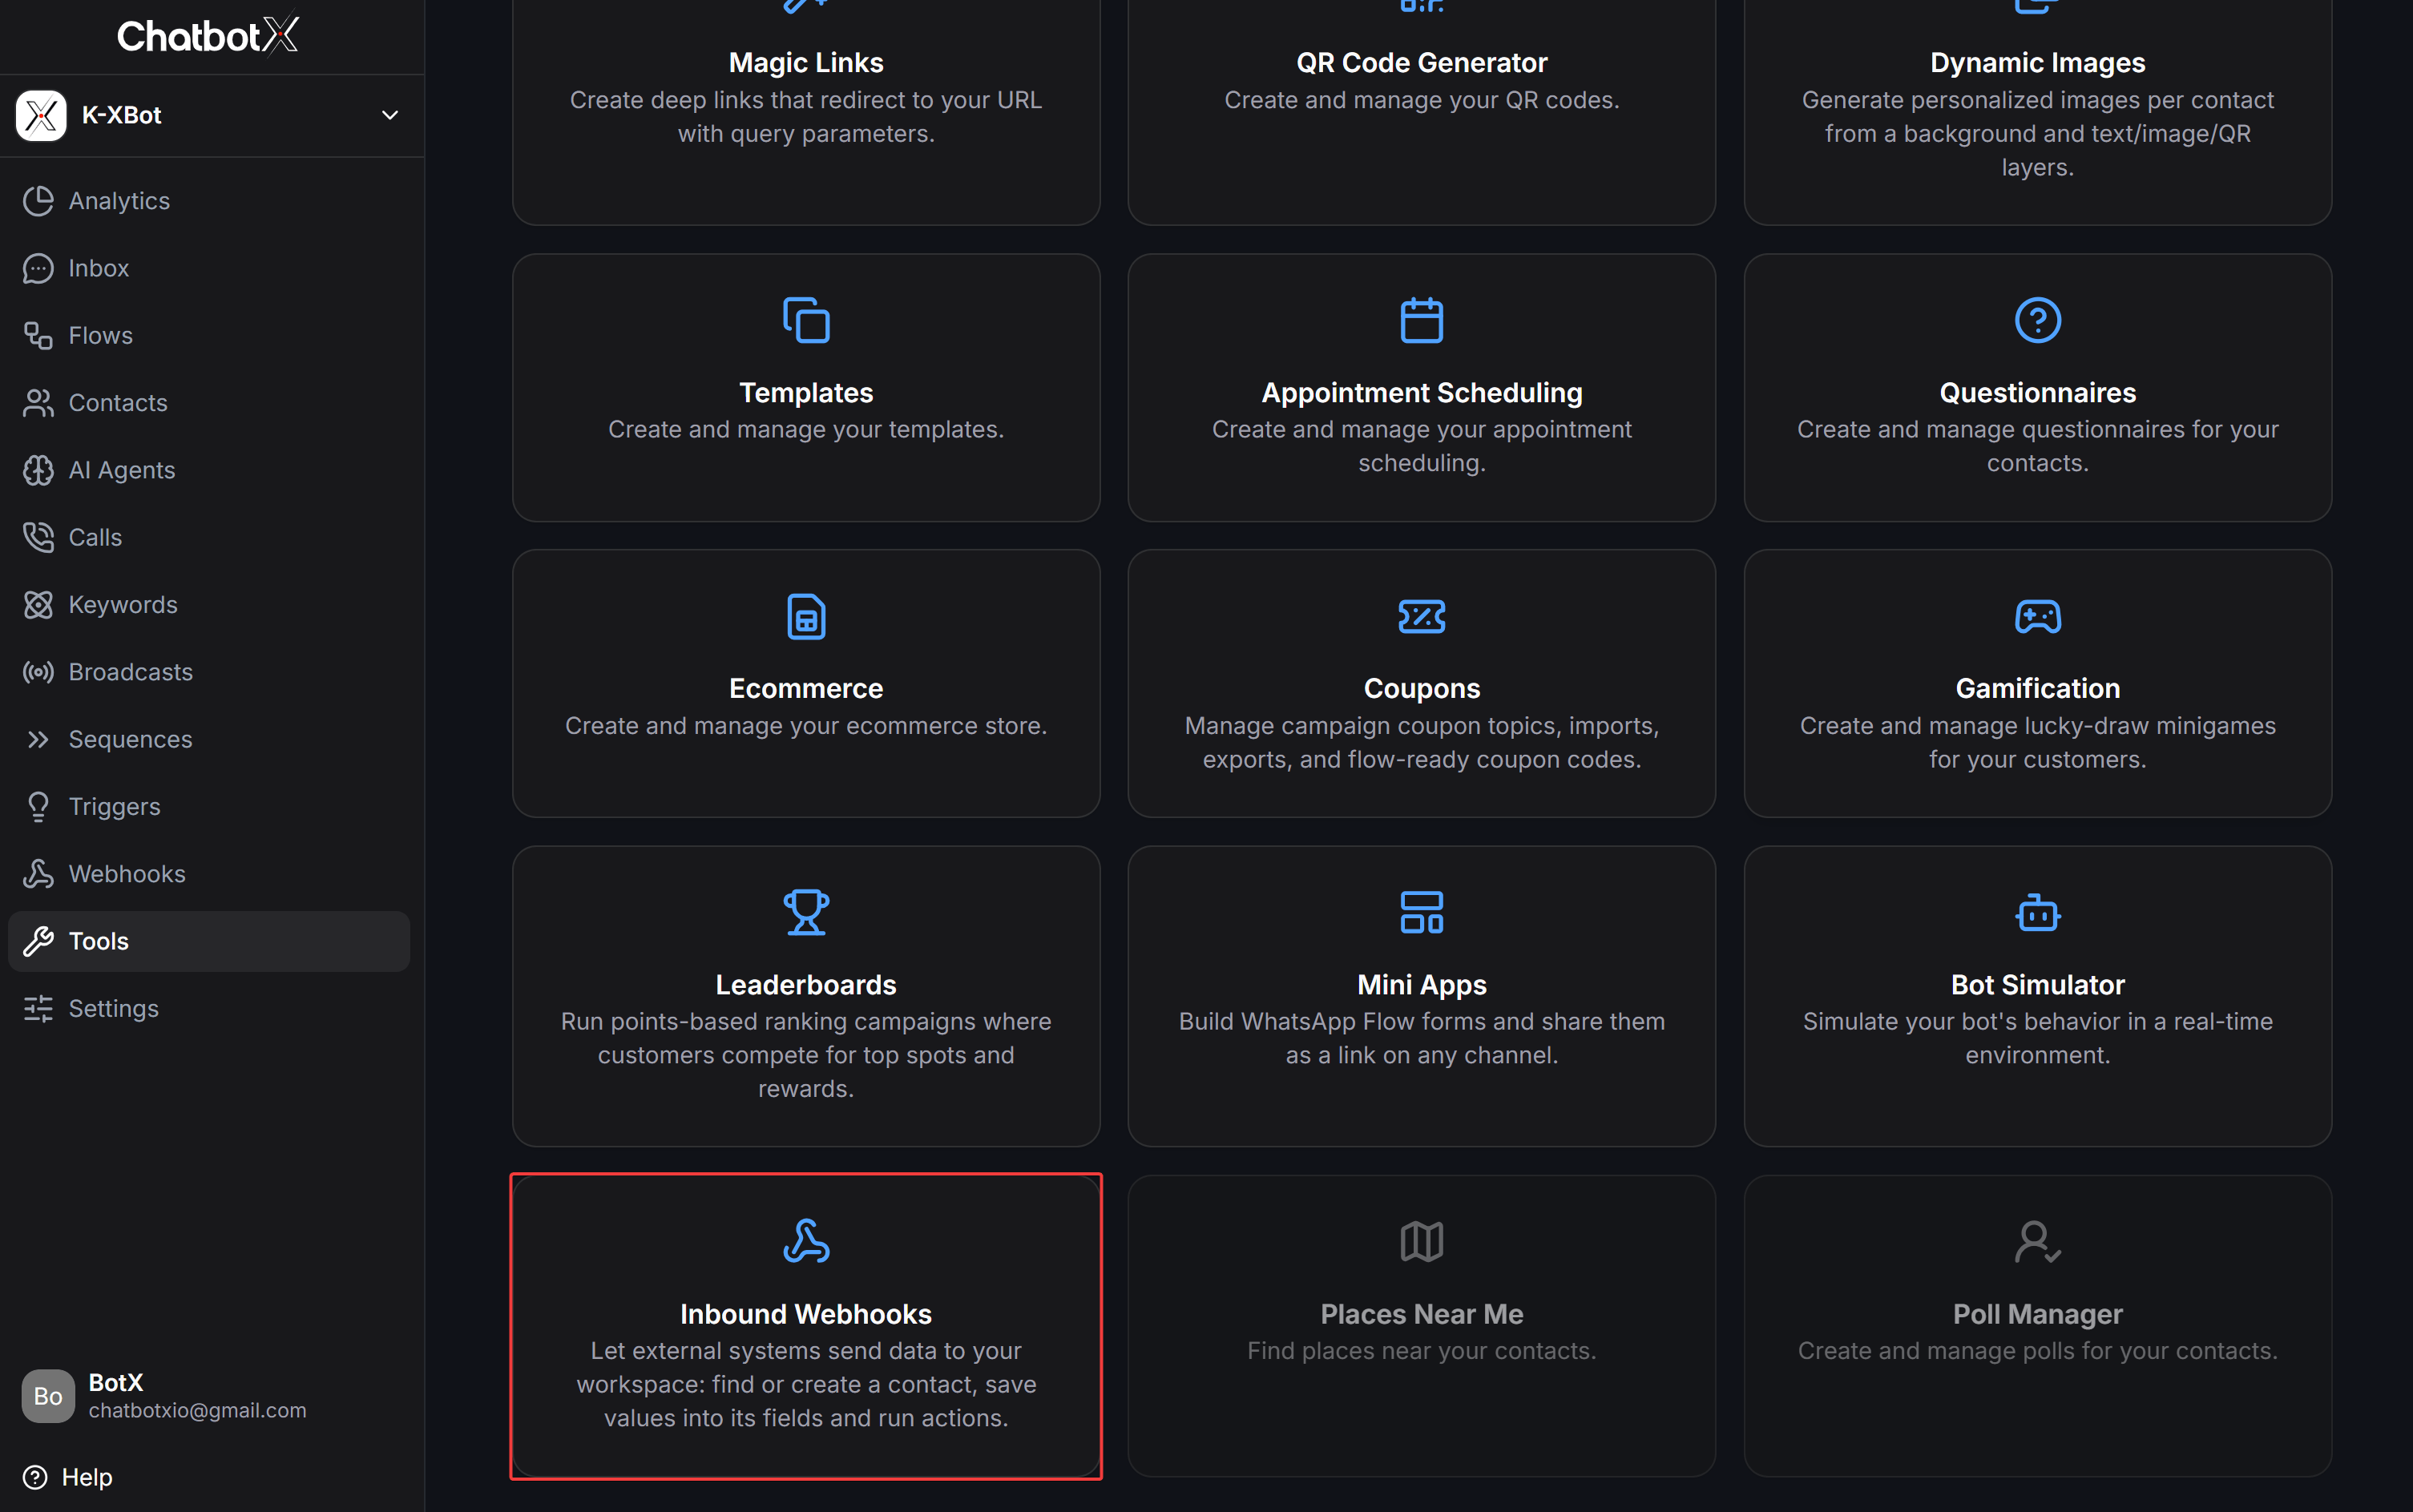
Inbound Webhooks tool card in the Tools dashboard
Understanding Webhooks in ChatbotX
To select the right tool for your automation requirements, understand the distinction between the webhook mechanisms available in ChatbotX:Core Mechanics and Requirements
1. Request Protocol
External systems must deliver a standardPOST request with a JSON-formatted payload (Content-Type: application/json) to the designated webhook endpoint.
2. Contact Matching Logic (First Match Wins)
ChatbotX searches for an existing contact within the specified inbox using four fallback tiers in exact order:- Channel User ID (e.g.,
Messenger PSID, WhatsApp Phone Number, or Telegram User ID) - Phone Number (formatted in standard international E.164, e.g.,
+84901234567) - Email Address (e.g.,
alex.johnson@example.com) - Full Name (e.g.,
Alex Johnson)
3. Execution Pipeline
When a webhook payload is received, ChatbotX executes operations in a deterministic sequence:Step-by-Step Configuration Guide
Access Inbound Webhooks and create a webhook
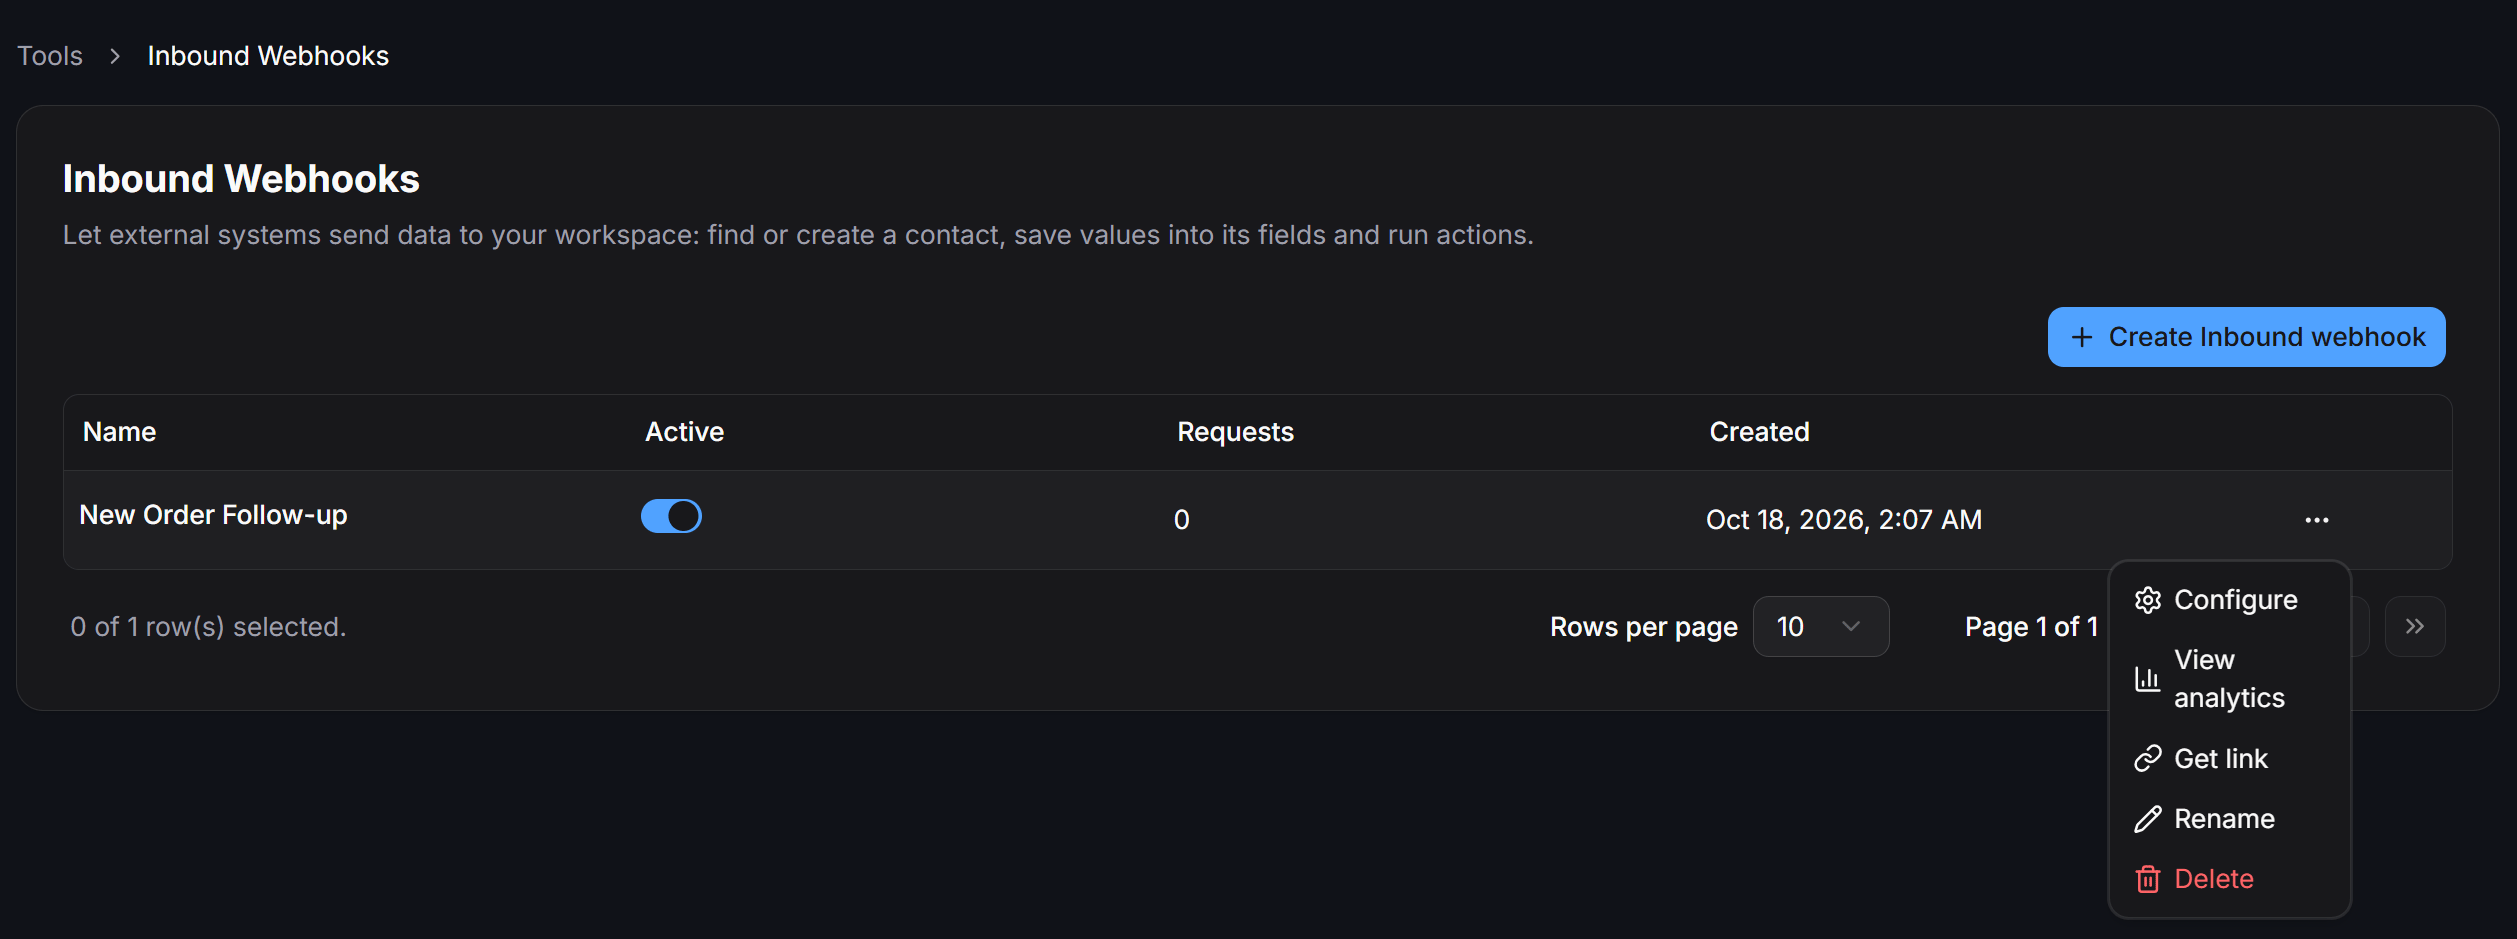
Inbound Webhooks dashboard showing the list of webhooks and management options
New Order Follow-up or Website Lead Capture).Load and format sample JSON
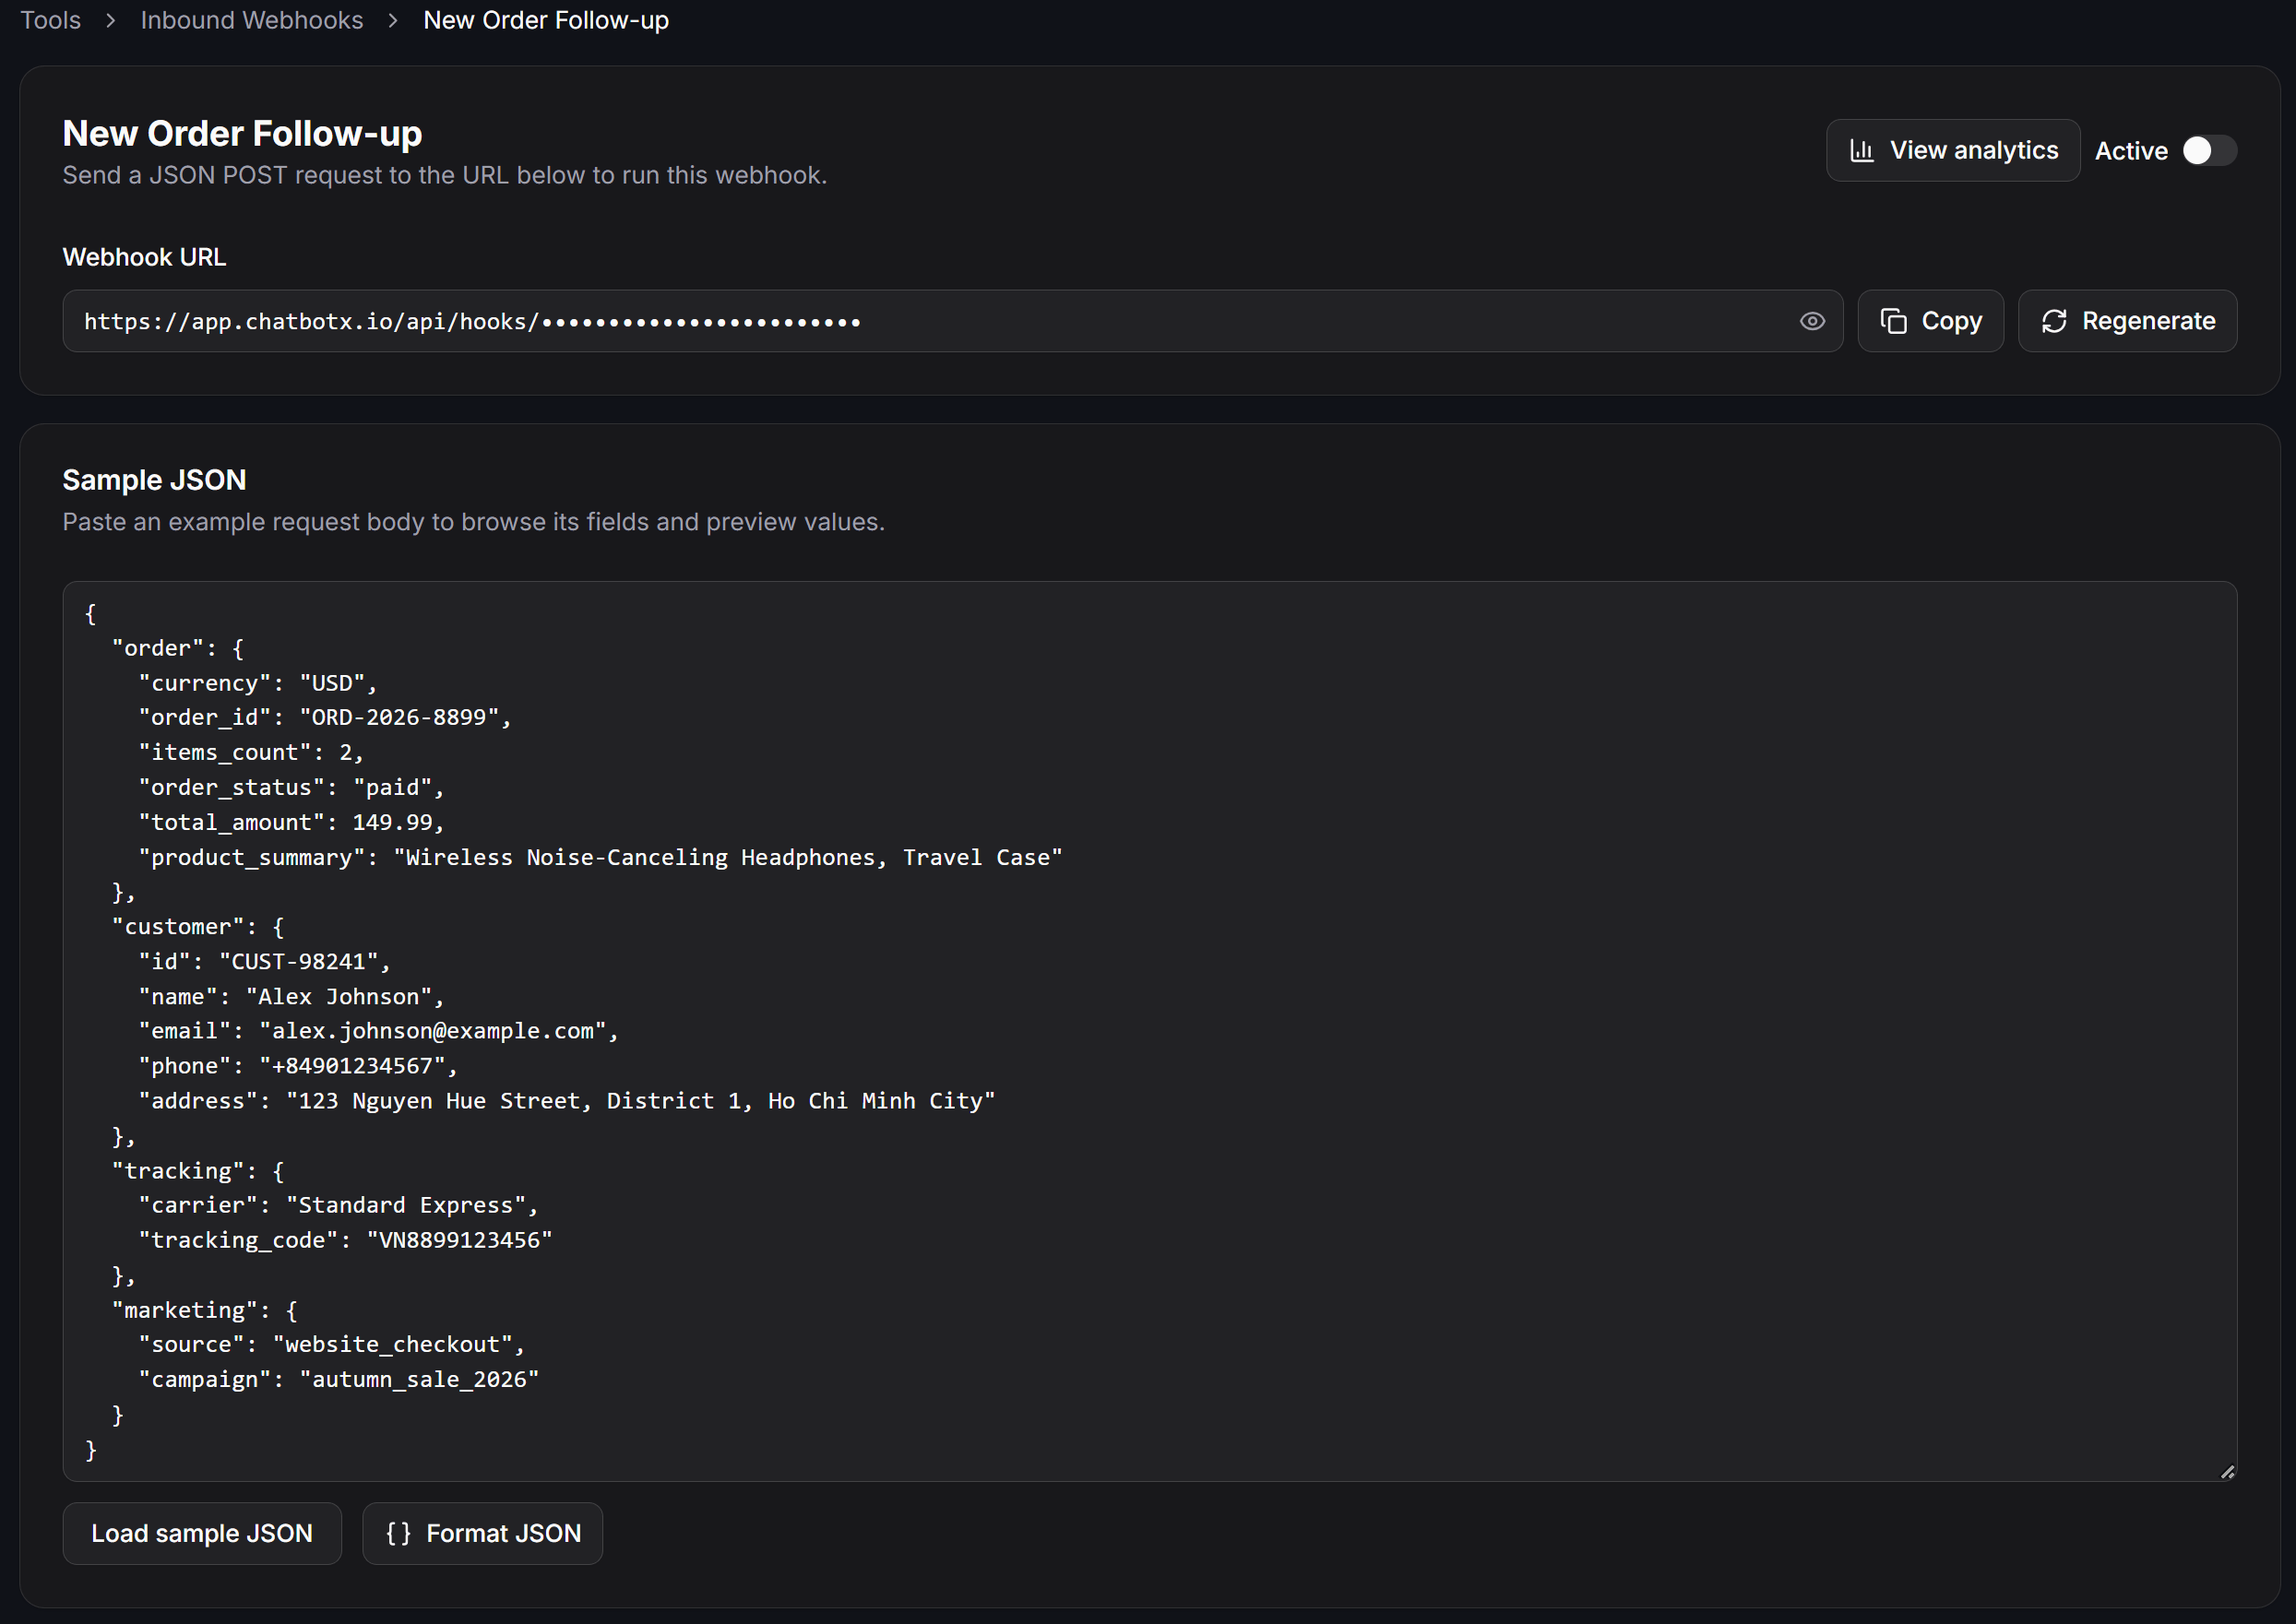
Webhook URL configuration and formatted sample JSON payload
Configure contact identification (Find or create contact)
- Specific inbox: Assigns all incoming requests to a fixed channel and inbox (for example,
BotX AI · MessengerorWhatsApp Official). - From payload: Dynamically resolves the destination inbox ID from a JSONPath variable in the incoming request.
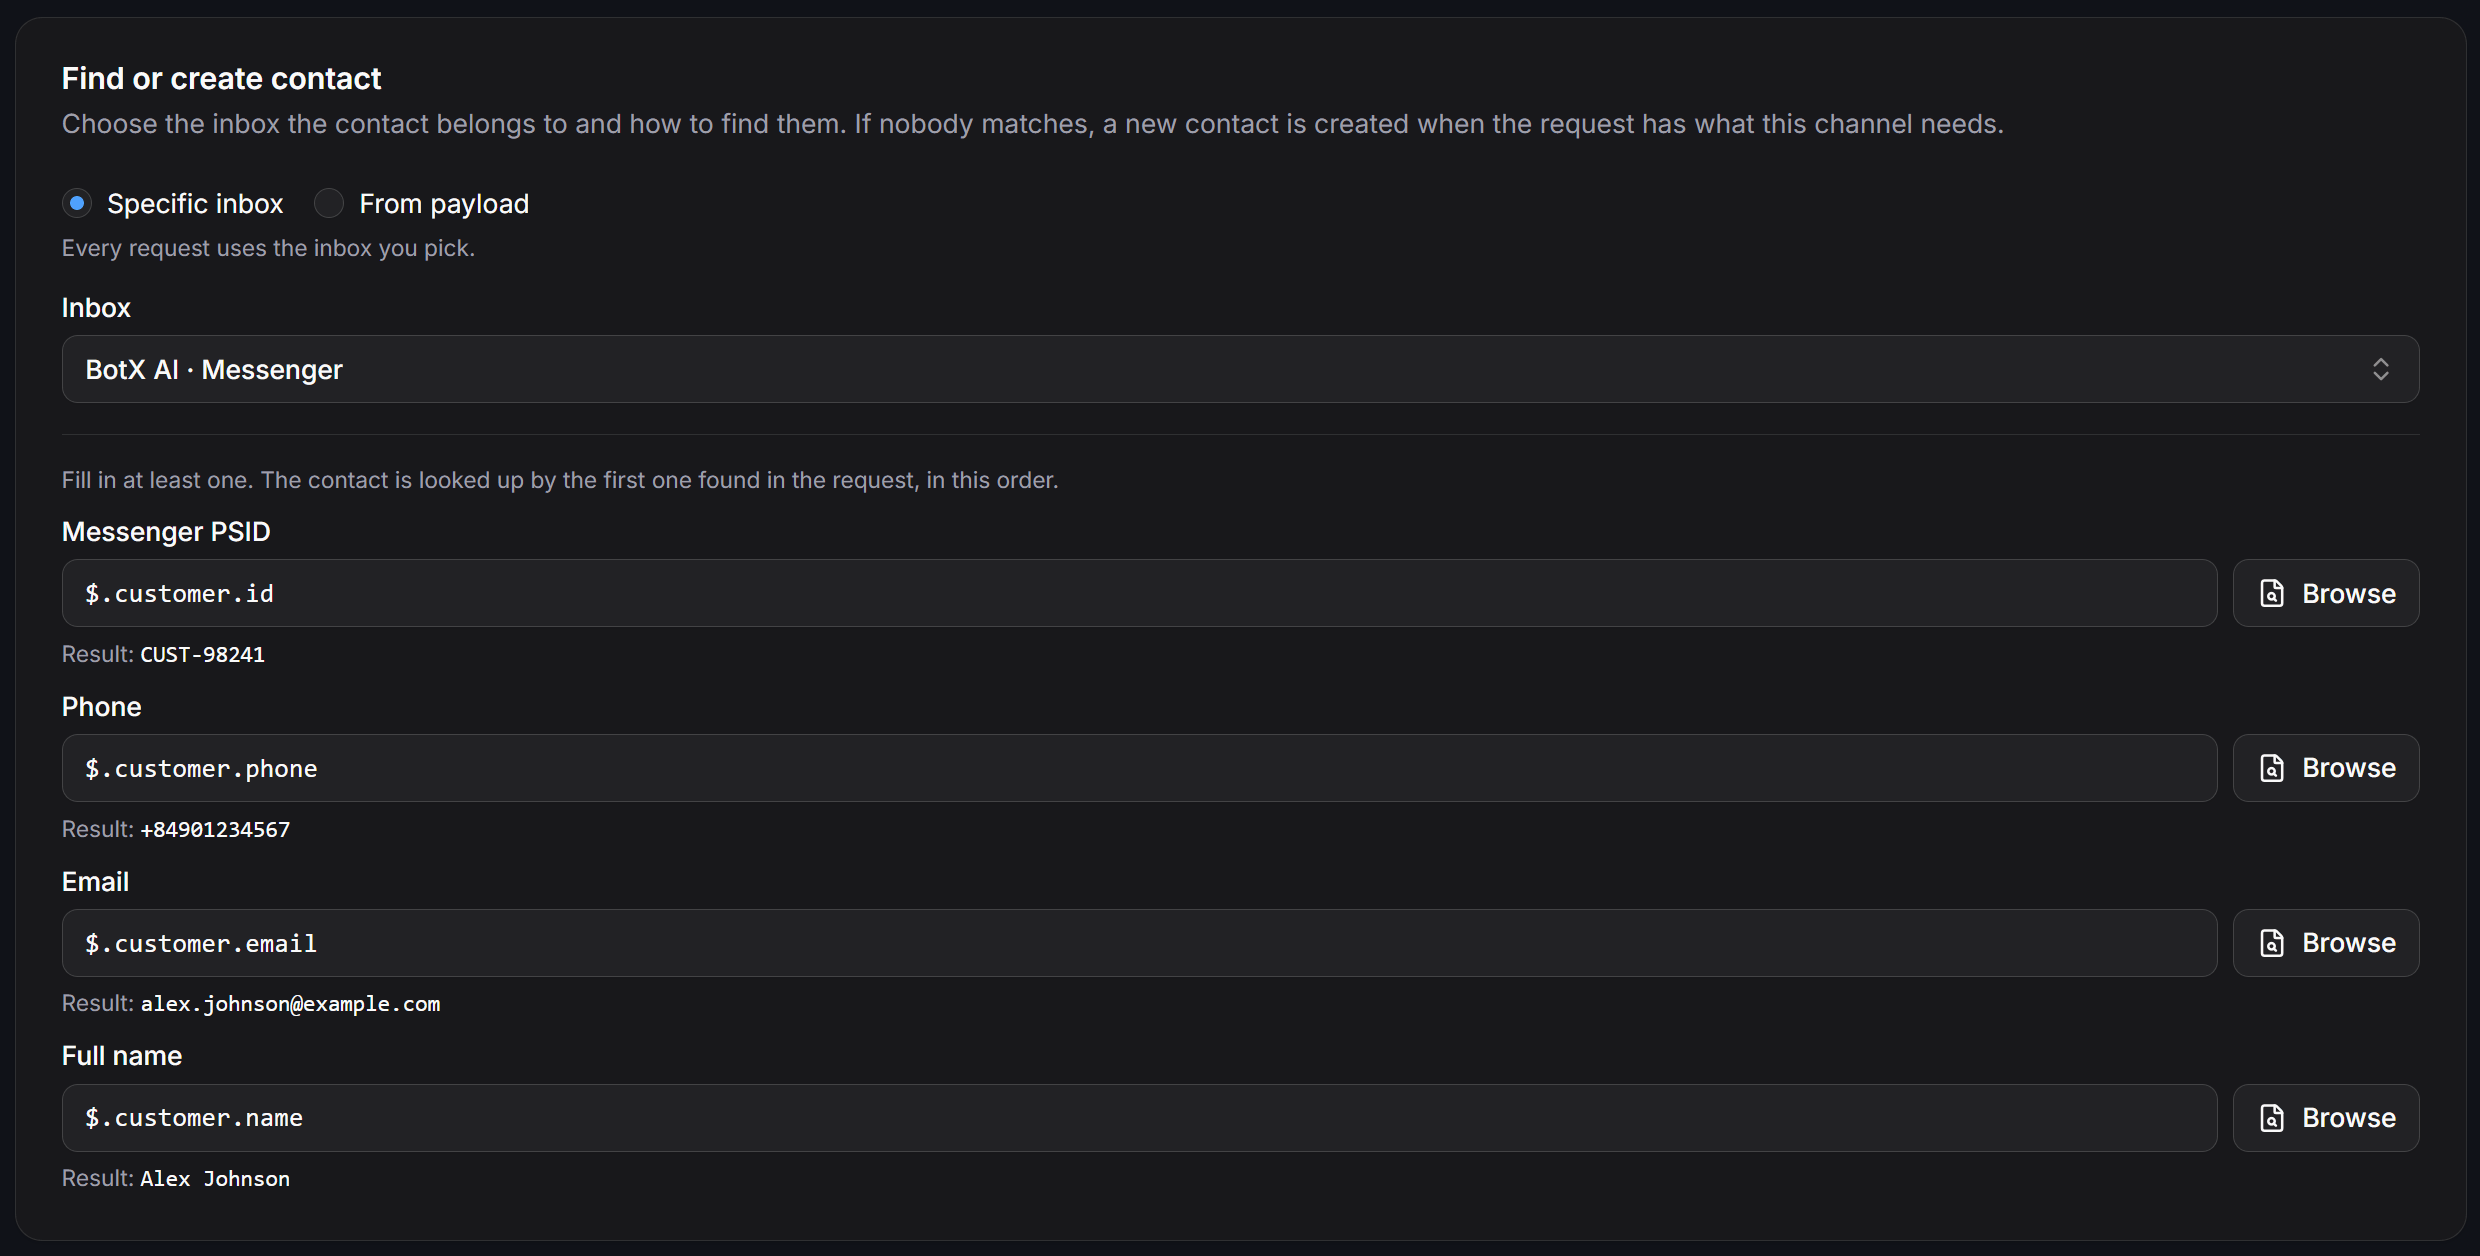
Configuring inbox selection and contact lookup identifiers with live value previews
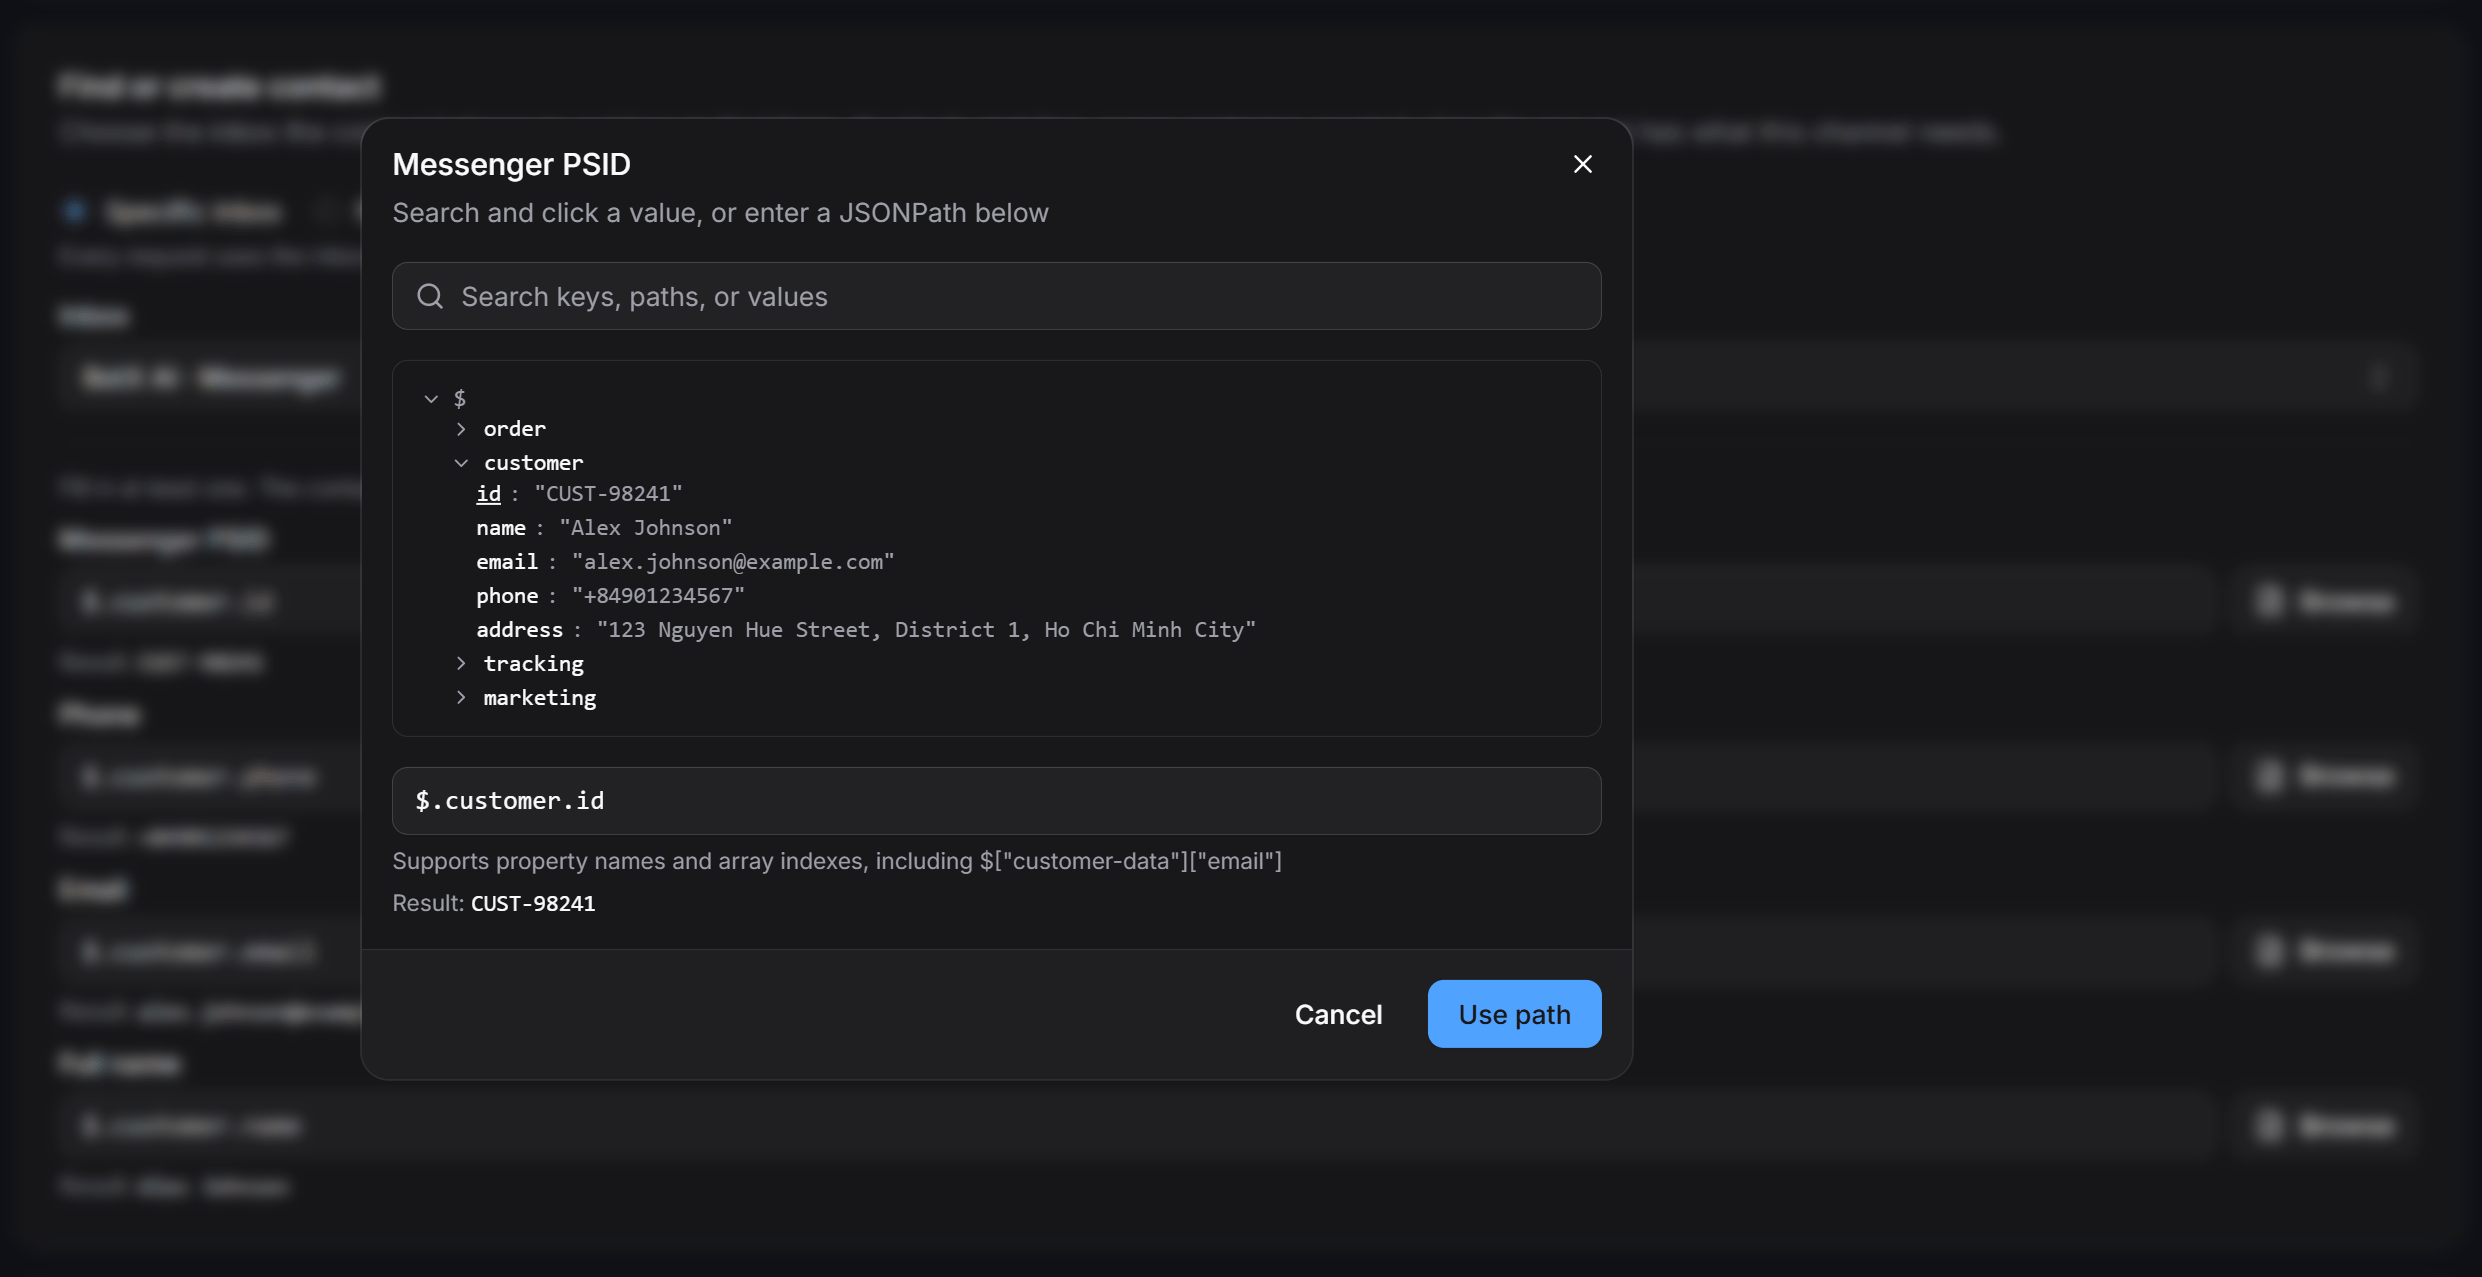
Visual Browse modal showing parsed JSON hierarchy and live result preview
- Use the search bar to locate specific keys, paths, or values.
- Click any node in the tree structure to automatically populate the JSONPath.
- Check the Result preview line to verify the extracted value (for example,
Result: CUST-98241orResult: +84901234567). - Click Use path to apply the path to your field configuration.
Map incoming values to contact fields (Save incoming data)
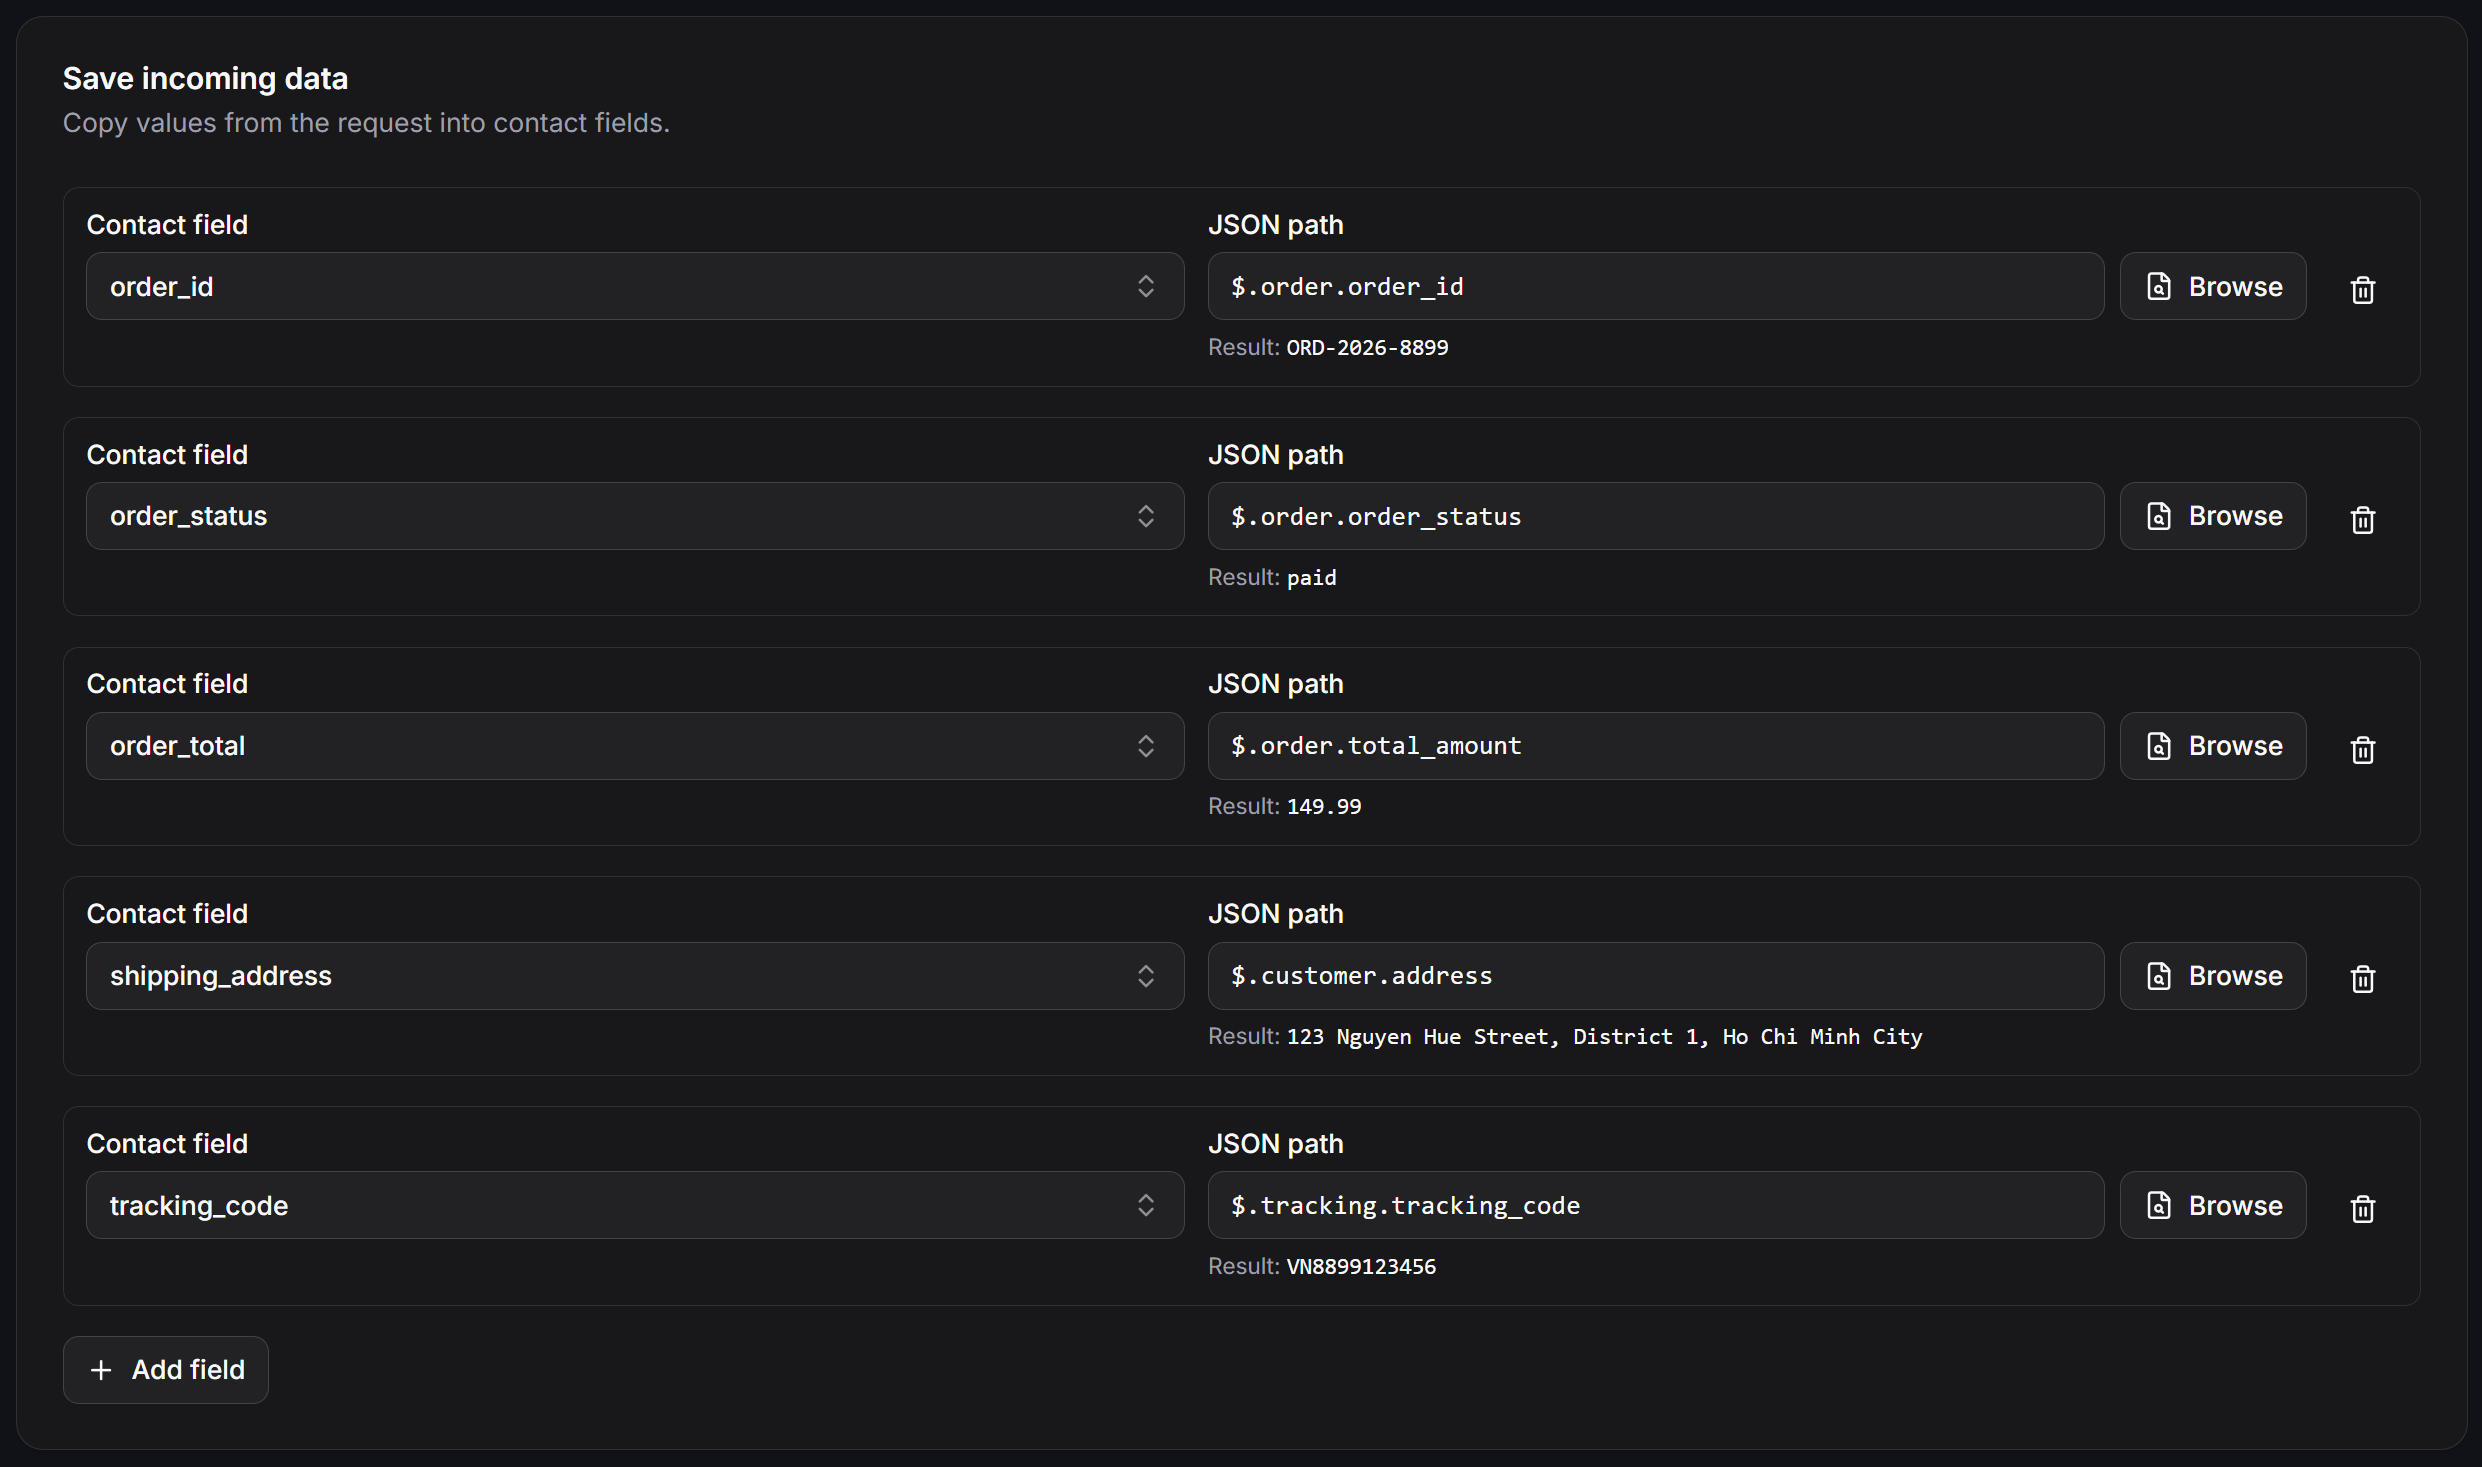
Mapping payload properties to contact fields with live preview results
- Click + Add field.
- Under Contact field, select the target system field or custom field (for example,
order_id,order_status,order_total,shipping_address, ortracking_code). - Under JSON path, click Browse to choose the attribute from the sample payload, or type the path manually.
- Confirm that the extracted value displayed below the input matches your expected value.
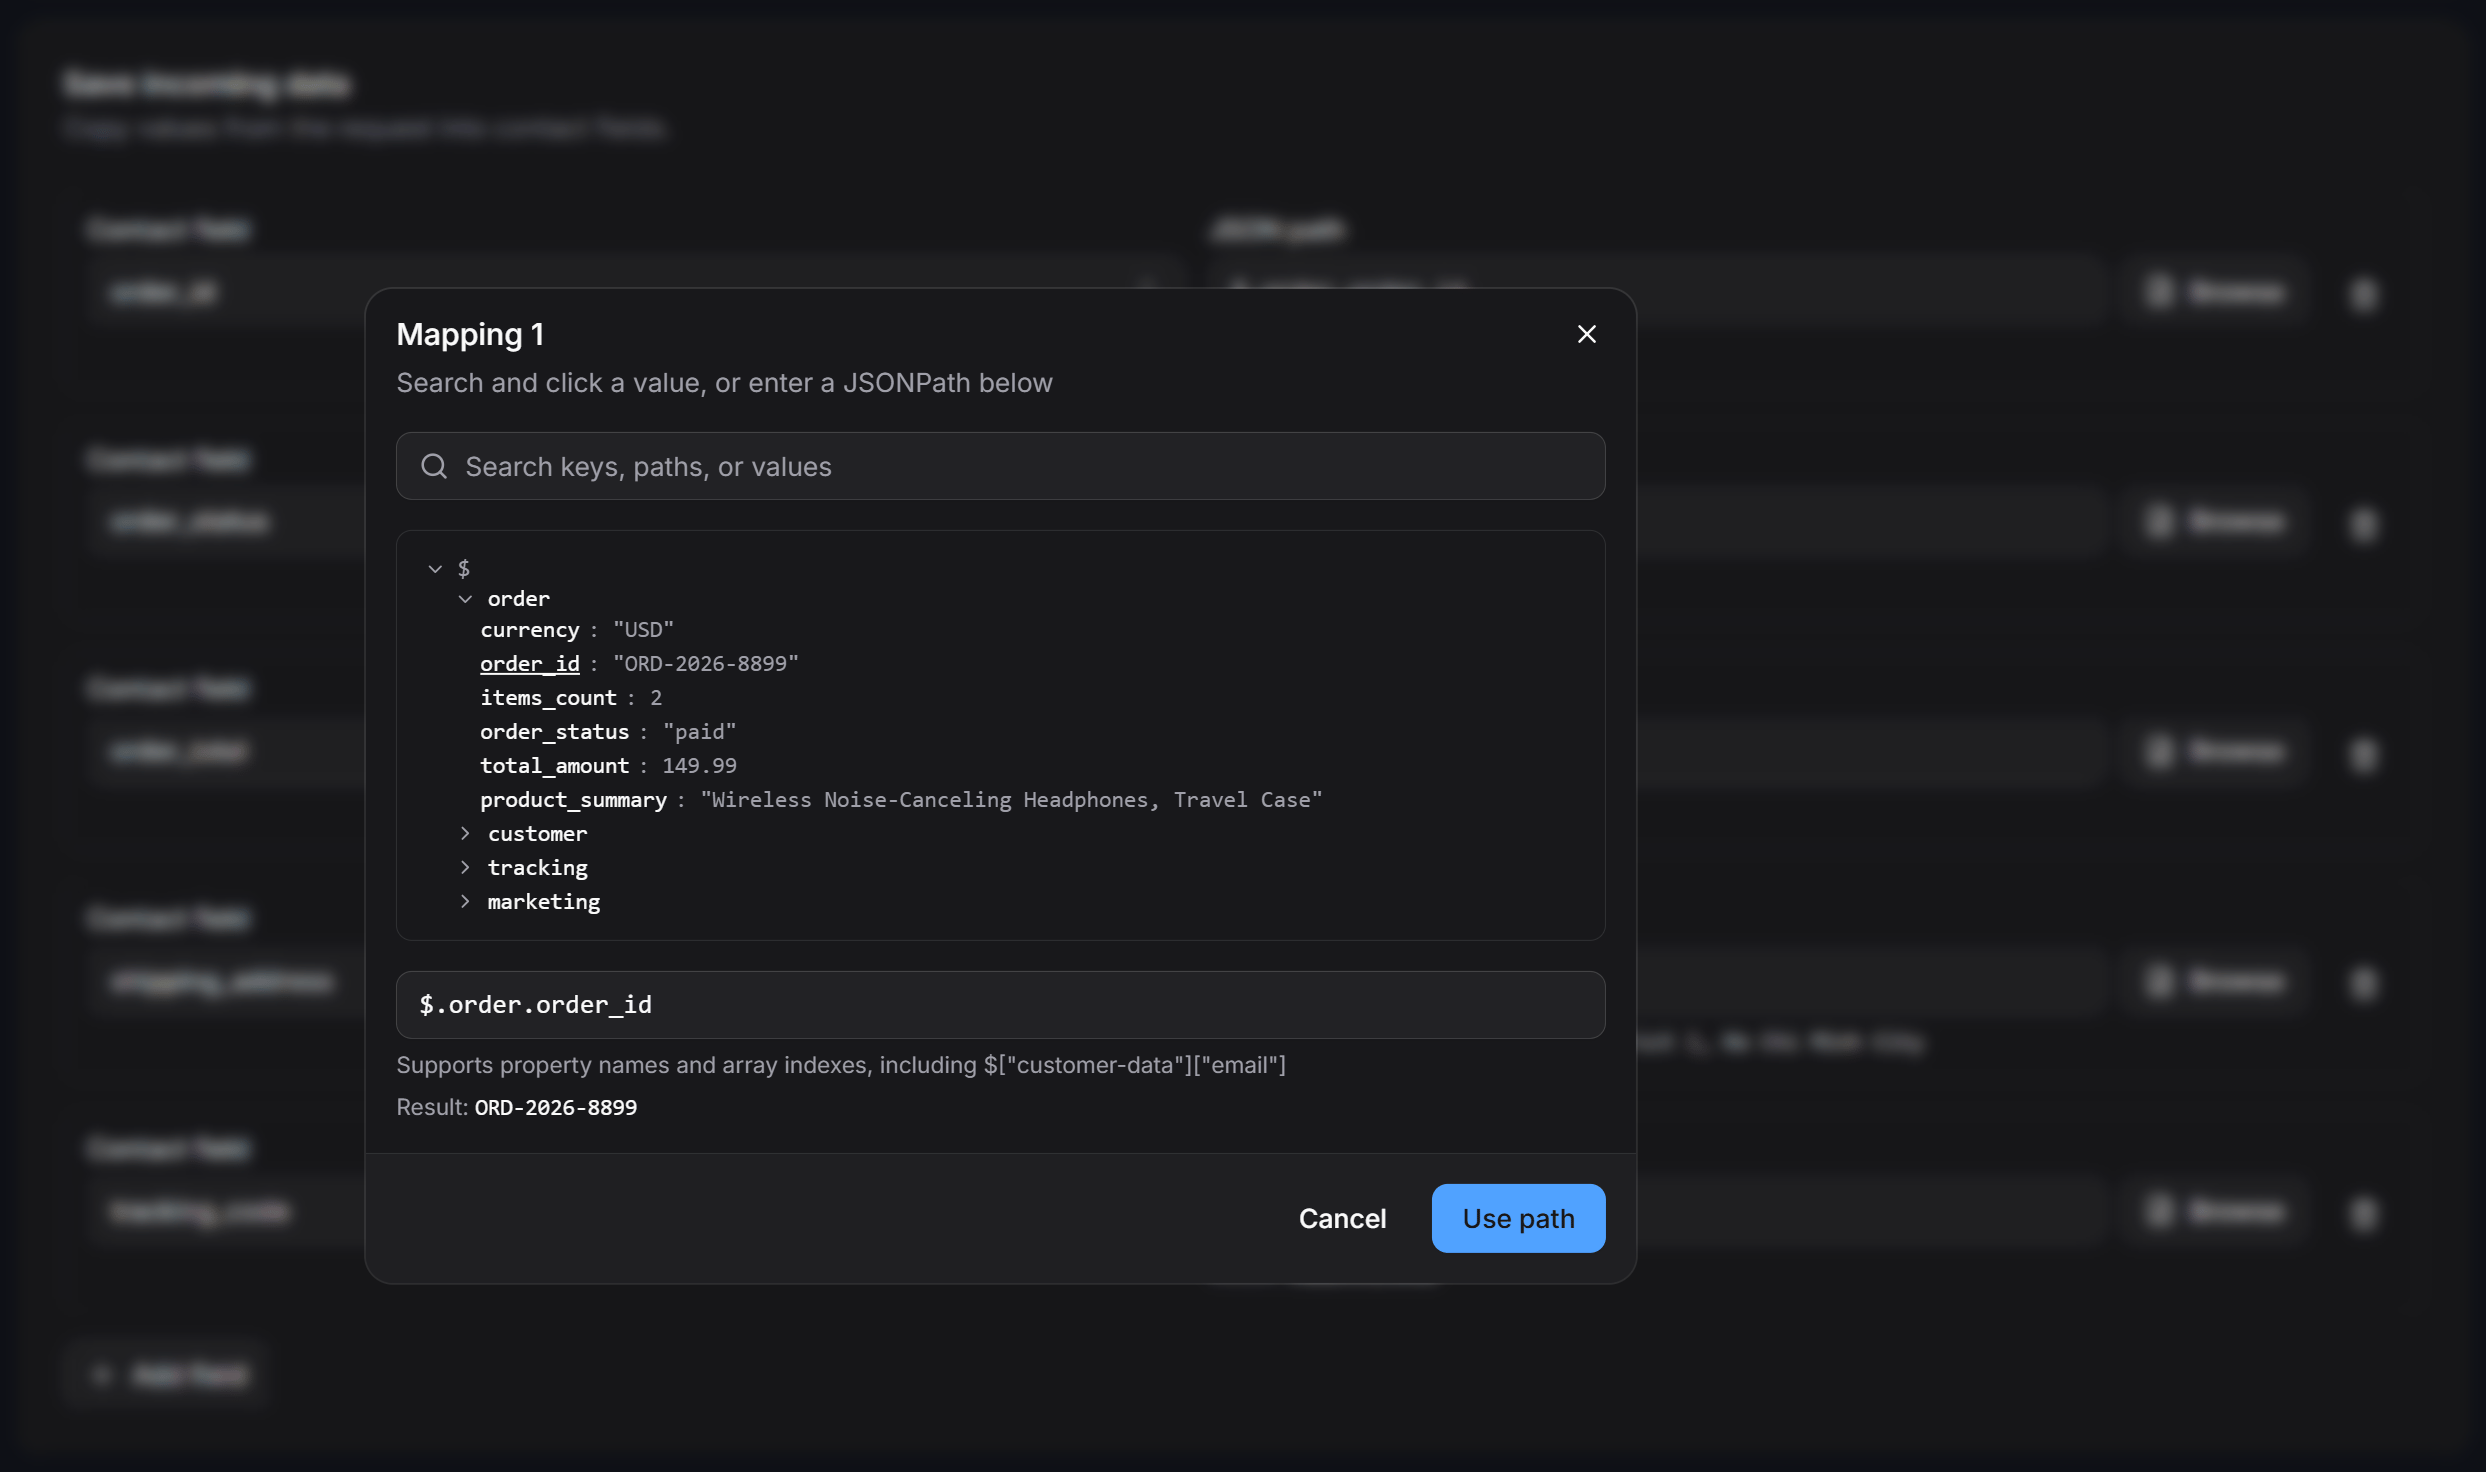
Browsing order details in the visual JSON hierarchy to map into custom fields
Set up automated actions (After saving data)
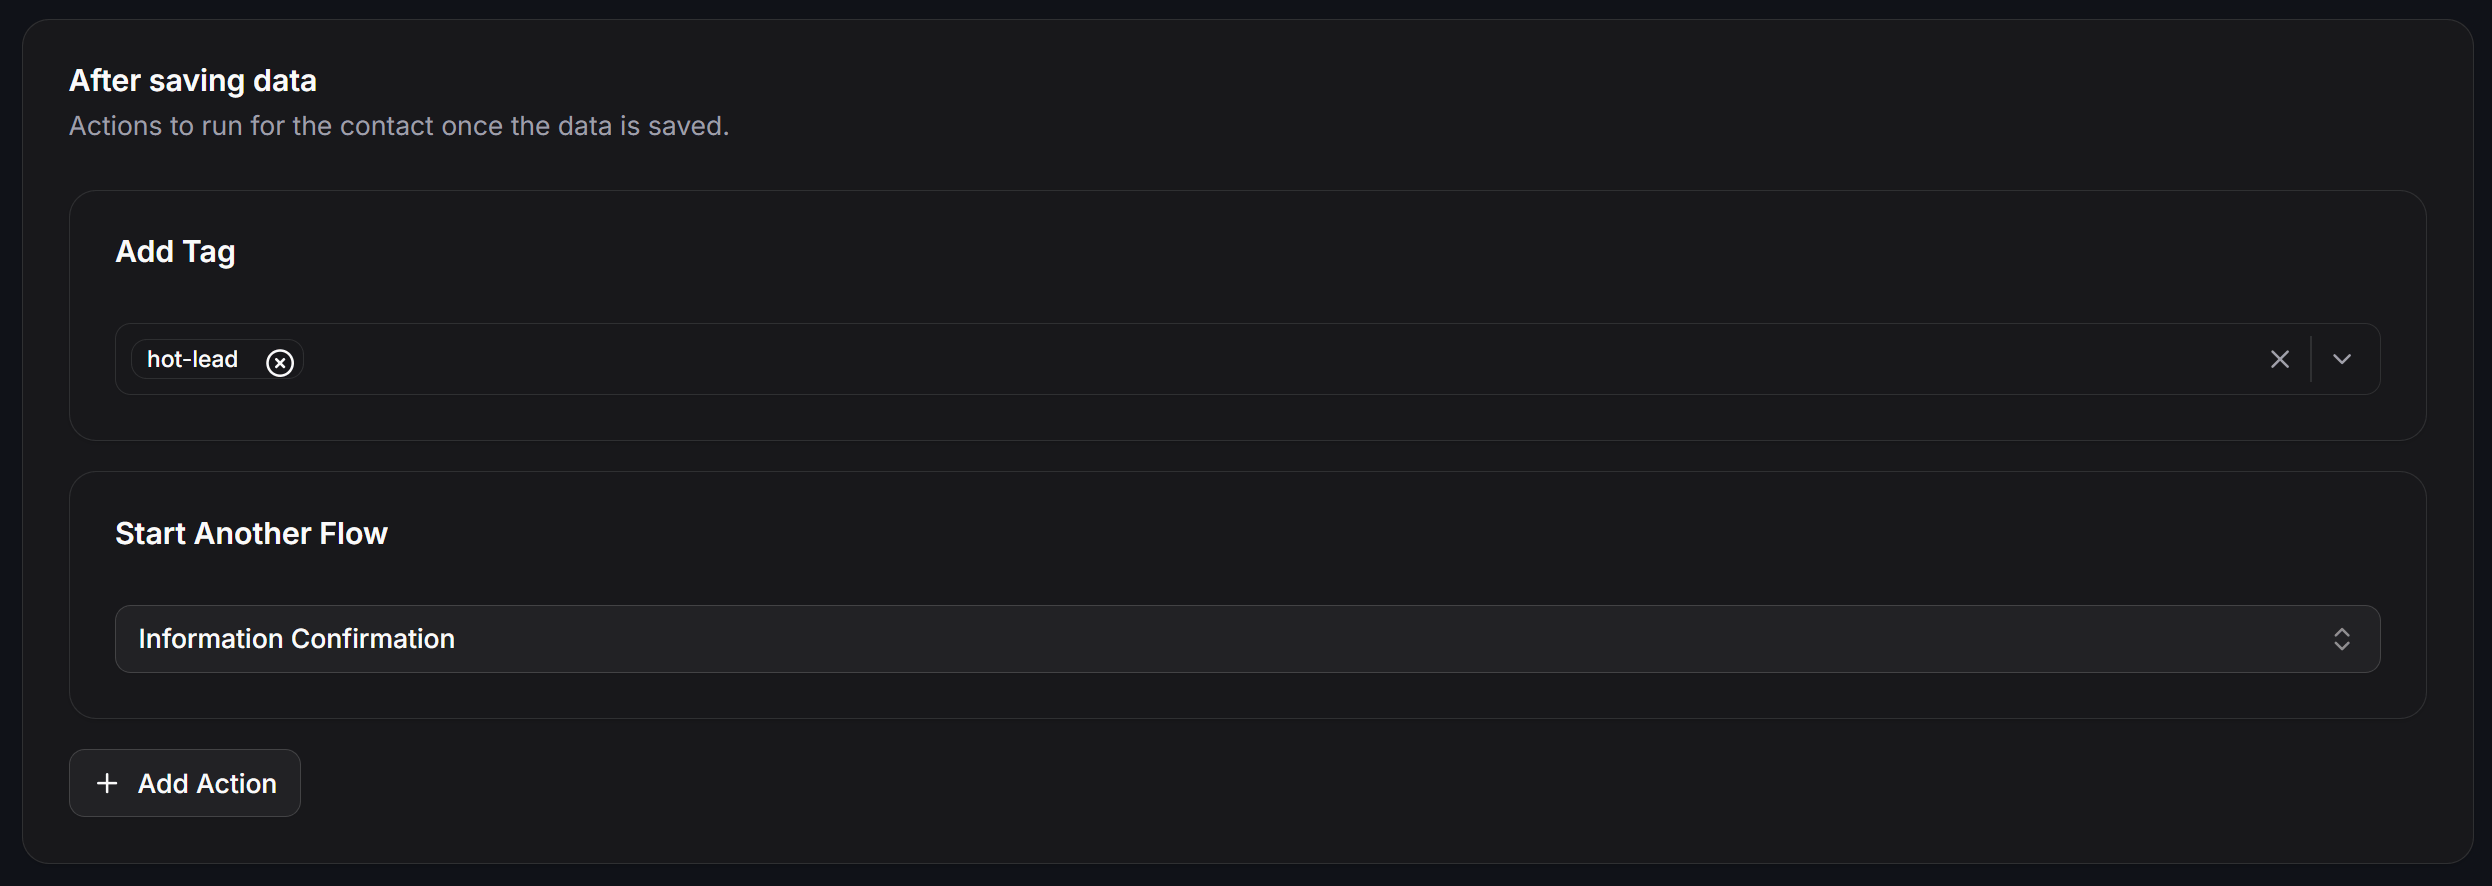
Configured automated actions executed immediately after data is saved
- Add Tag: Applies tags to segment or label the contact (for example,
hot-lead,new_order, orpaid_customer). - Remove Tag: Removes outdated tags (for example, clearing an
unpaidorabandoned_carttag). - Set Custom Field: Updates a fixed value or timestamp in another custom field.
- Clear Custom Field: Resets an existing custom field value to empty.
- Start Another Flow: Triggers an automated conversational flow (such as an order confirmation flow or appointment reminder). The triggered flow can immediately reference the contact fields populated by this webhook.
- Transfer Conversation to Human: Automatically flags the conversation for live agent takeover in Live Chat.
Save, activate, and integrate your webhook
Security and Token Regeneration
The Webhook URL contains a private authentication token that authorizes data ingestion directly into your workspace.- Masking: The token is obscured by default. Click the eye icon to inspect the full URL.
- Regeneration: If your webhook URL has been exposed or compromised, click Regenerate to invalidate the existing token and generate a new secure endpoint.
Monitoring and Analytics
ChatbotX provides dedicated analytics for each inbound webhook to help monitor integration health:- Click View analytics in the upper-right corner of the webhook editor, or select View analytics from the three-dot menu (
...) on the Inbound Webhooks dashboard. - The Analytics dashboard provides:
- Total requests received: Cumulative count of all accepted webhook requests since creation (duplicates excluded).
- Delivery logs: Timestamped logs of recent deliveries kept for the latest 30 days.
- Refresh: Click Refresh to poll the latest inbound logs.
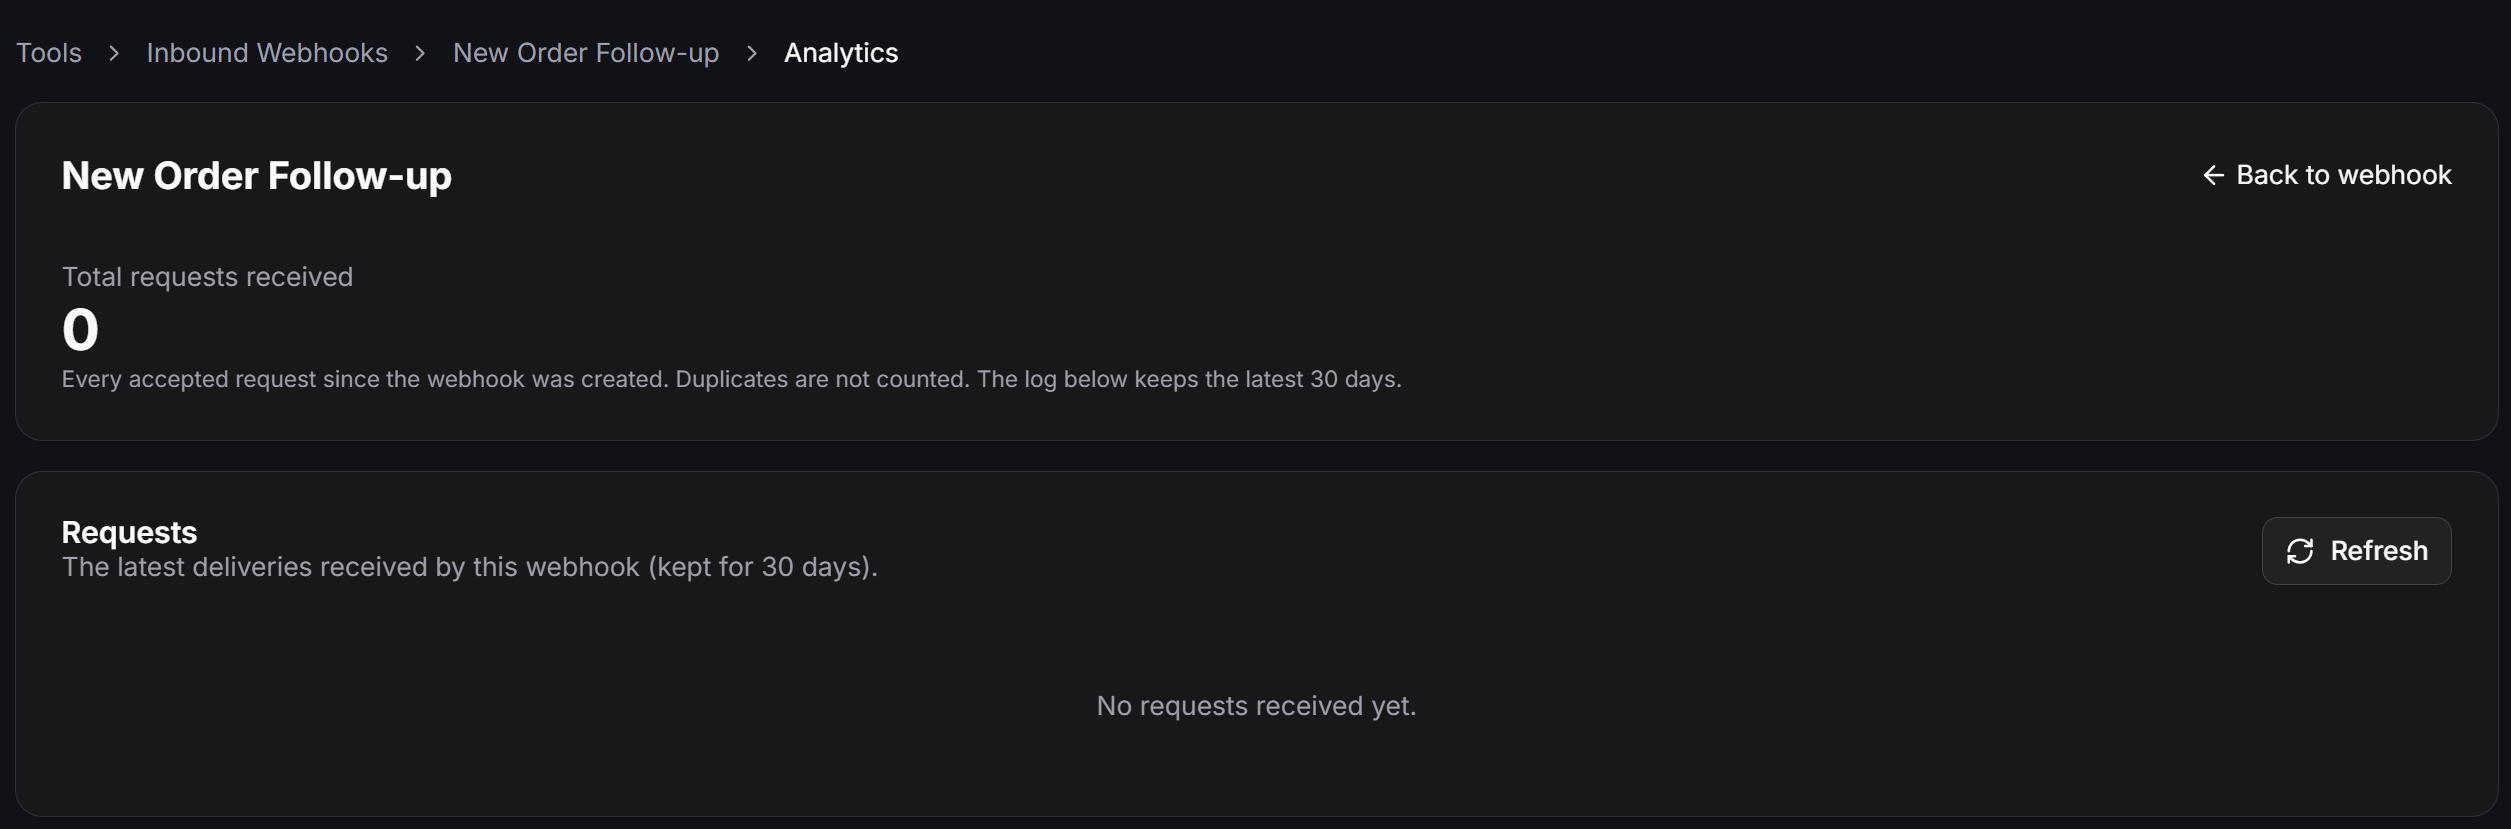
Inbound Webhooks analytics view displaying request count and delivery logs
JSONPath Syntax Reference
ChatbotX supports standard JSONPath notation, including dot notation and bracket notation:Frequently Asked Questions
Do I need to configure both an email address and a phone number?
Do I need to configure both an email address and a phone number?
What happens if the contact does not exist in ChatbotX yet?
What happens if the contact does not exist in ChatbotX yet?
Can the flow triggered by 'Start Another Flow' use the incoming data?
Can the flow triggered by 'Start Another Flow' use the incoming data?
{{order_id}}, {{order_total}}, or {{shipping_address}}.Can I create multiple Inbound Webhooks for different services?
Can I create multiple Inbound Webhooks for different services?
How do I troubleshoot if data is not being saved?
How do I troubleshoot if data is not being saved?